Progress of building my little cabin at my family's summer place
(written on 6.2.2020, updated on 26.10.2023)
About this webpage:
The page is written in English because I originally made it to present it to my non-Finnish friends. Also note that the loading of the images might take some time because they haven't been packed in any way. The page is also not mobile-friendly. This website is in no way a representation of my web development skills. This page was put together purely for presenting this project!
Some stats and info about the project:
- Got the idea in 2018, I was 16.
- I started looking for the place to build and preparing the ground in late 2018. The place had to be chosen from the property of our summer cottage. It's a relatively vast area for a summer cottage place.
- Started working on it in April of 2020, I was 17.
- Finished the build (for the most part) in October of 2020 and spent my first night there right away. I was 18 at that point.
- I didn't really count all the costs but my estimate is 700-1000€, including materials and fuel (for my car).
- The floor area is less than 5m^2 so I didn't need a building permit from the municipality.
- There's really running water, sewage system, or electricity at the building site.
- I mostly used a hand saw but the wood store sawed lot of the wood at their place thankfully (and for free).
- Mostly used torx screws and a cordless drill.
- I did some blueprints but nothing too fancy, and the plans changed multiple times on the way.
- The door, main window, furniture and some of the electrical components are second hand.
- Most of the wood is thin 22x100mm planks or thick 2x4 (inches) planks.
Updates on the project and some things I would do differently the next time:
- The hut is still standing without any major damage
- No water damage is to be detected.
- The hut withstood a tree falling on it last winter (February 2023). Nearby trees softened the landing so it didn't fall with full force, but definitely could have made a dent in the roof and harmed the roof material. But amazingly there isn't even a scratch on the hut!
- The first wall (see photos below) has started to fall apart a little bit (cracking near the screws, bottom part starting to come loose). I should have left a bit more room for them to "live" when I installed them and not install them directly into each other without any gaps.
- I still haven't had the time and resources (money) for painting the hut.
- One of the corners of the building has sunken a little bit (the one in the far left corner if you're standing at the door facing inwards). I am planning on raising that corner with a jack and putting an extra piece of something under it.
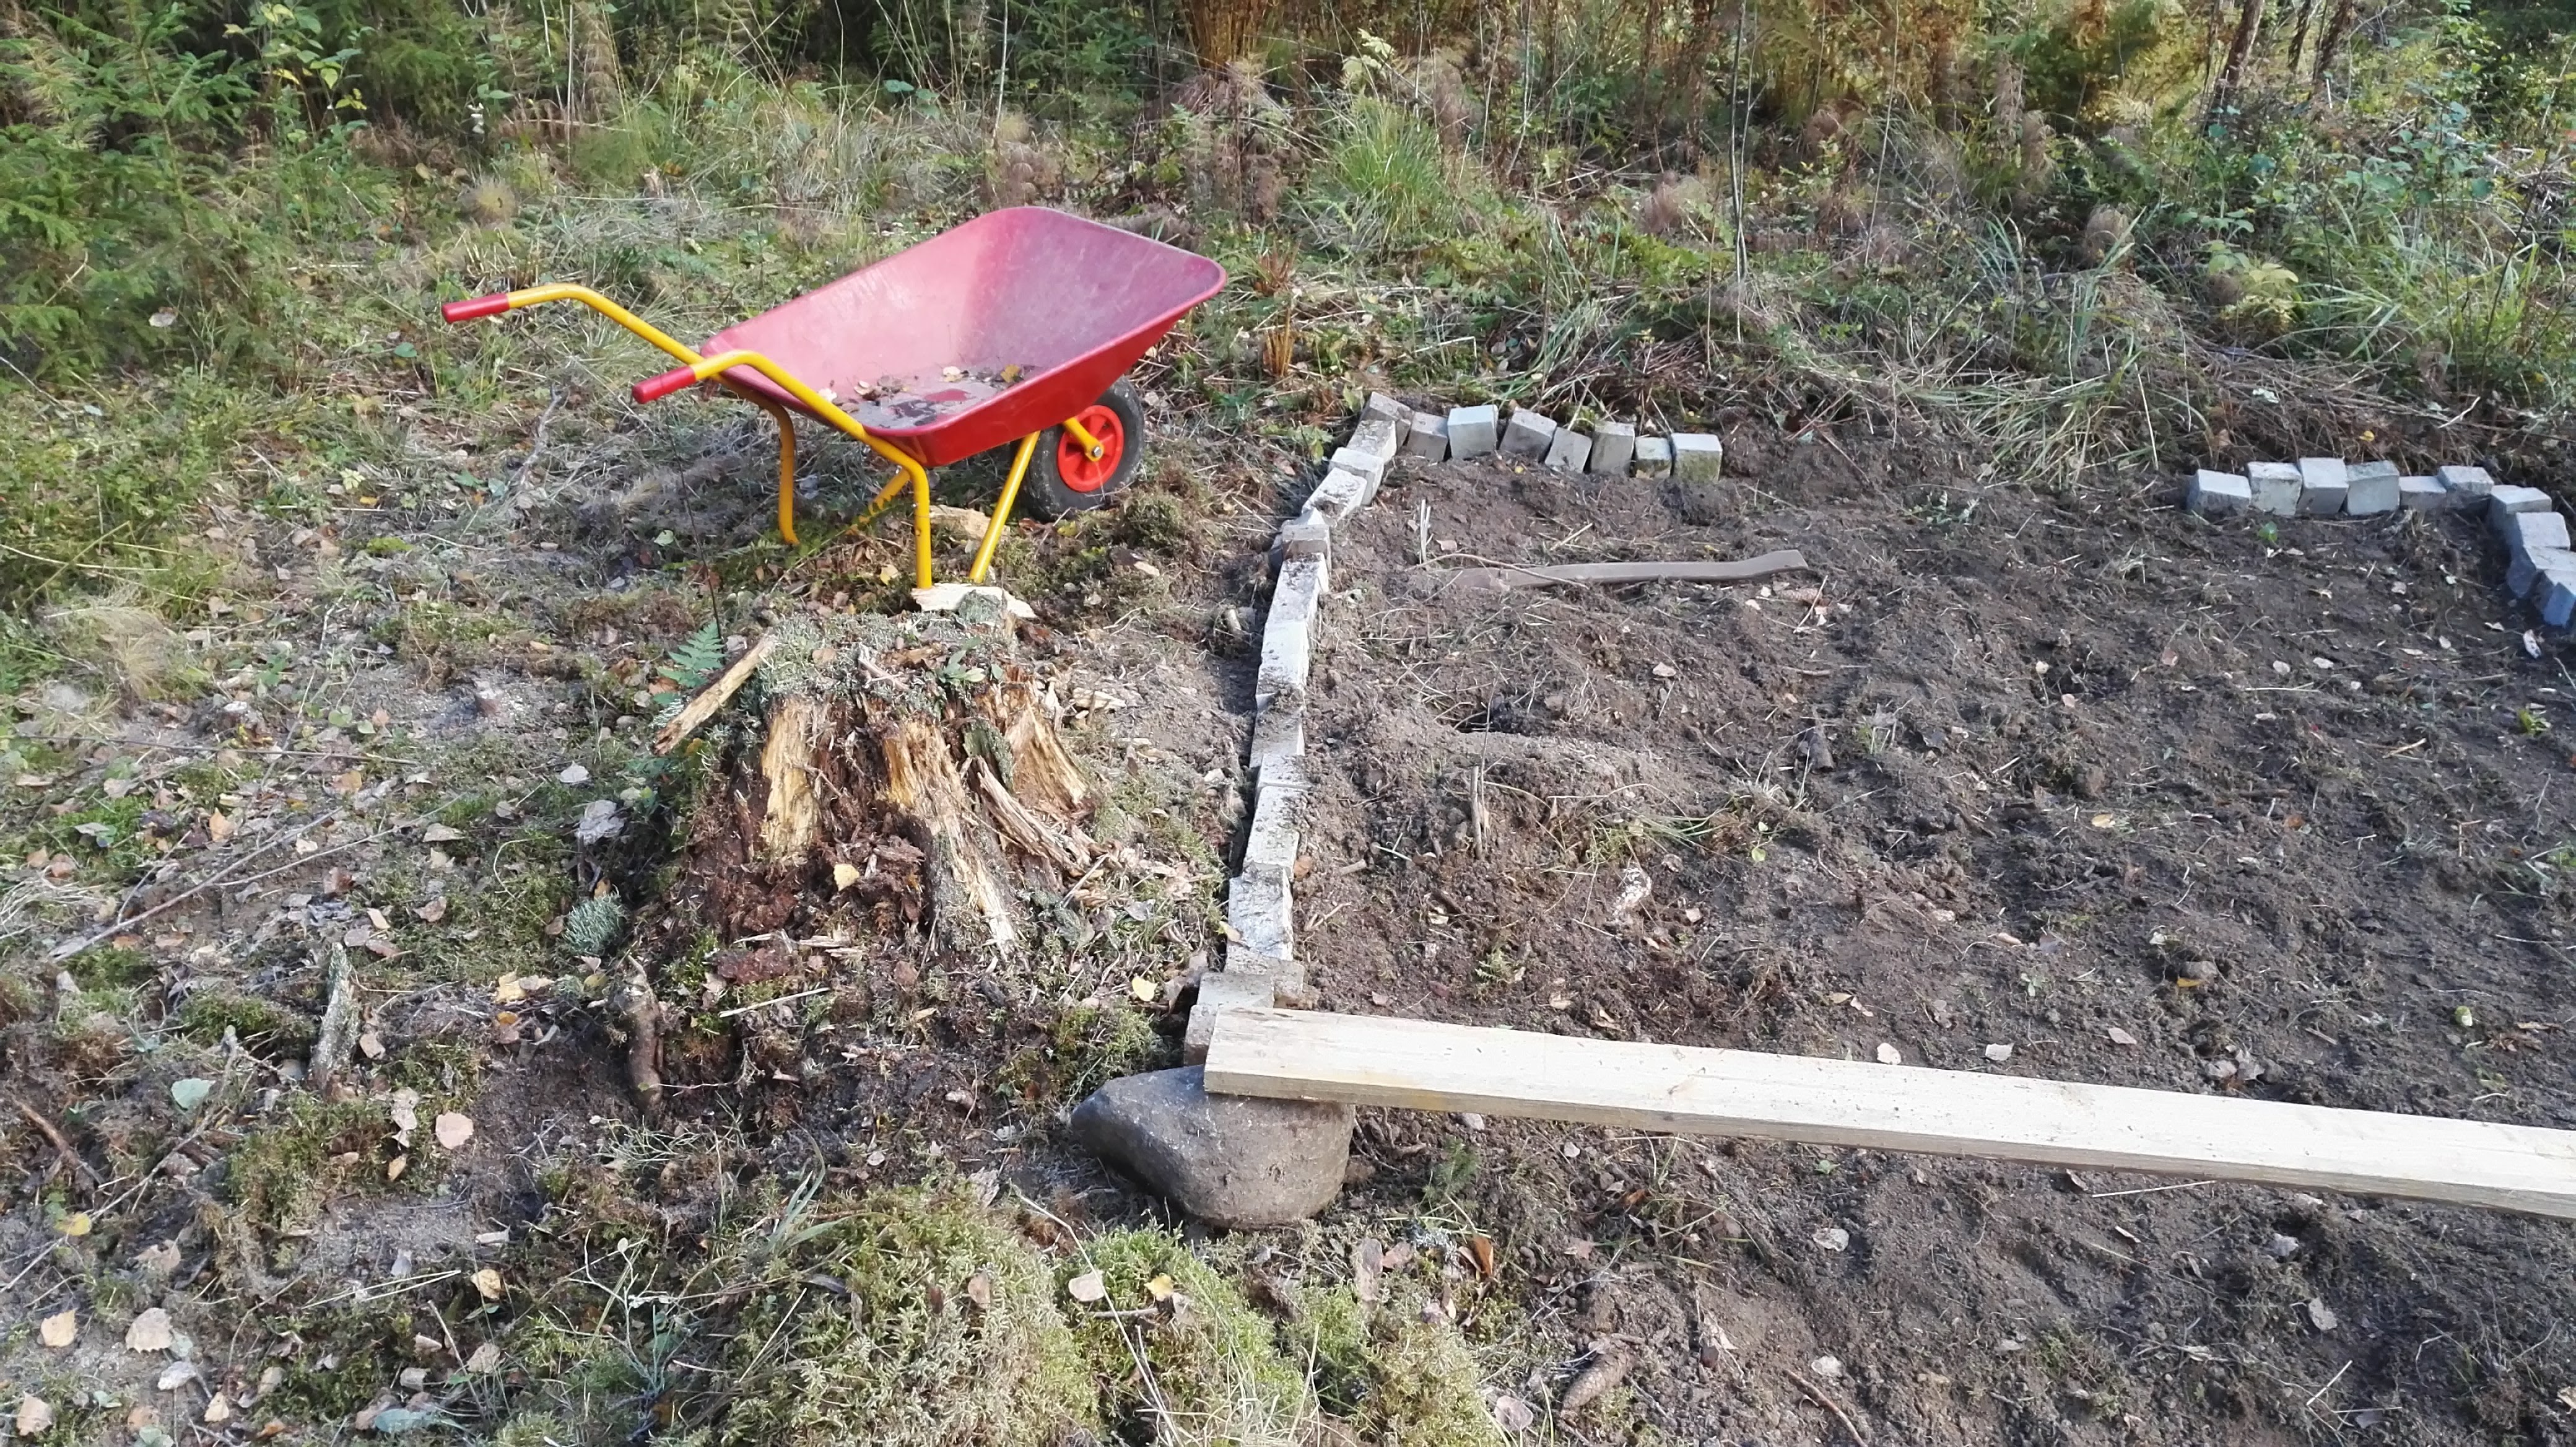 First plans of sketching the hut on the ground (09/2018)
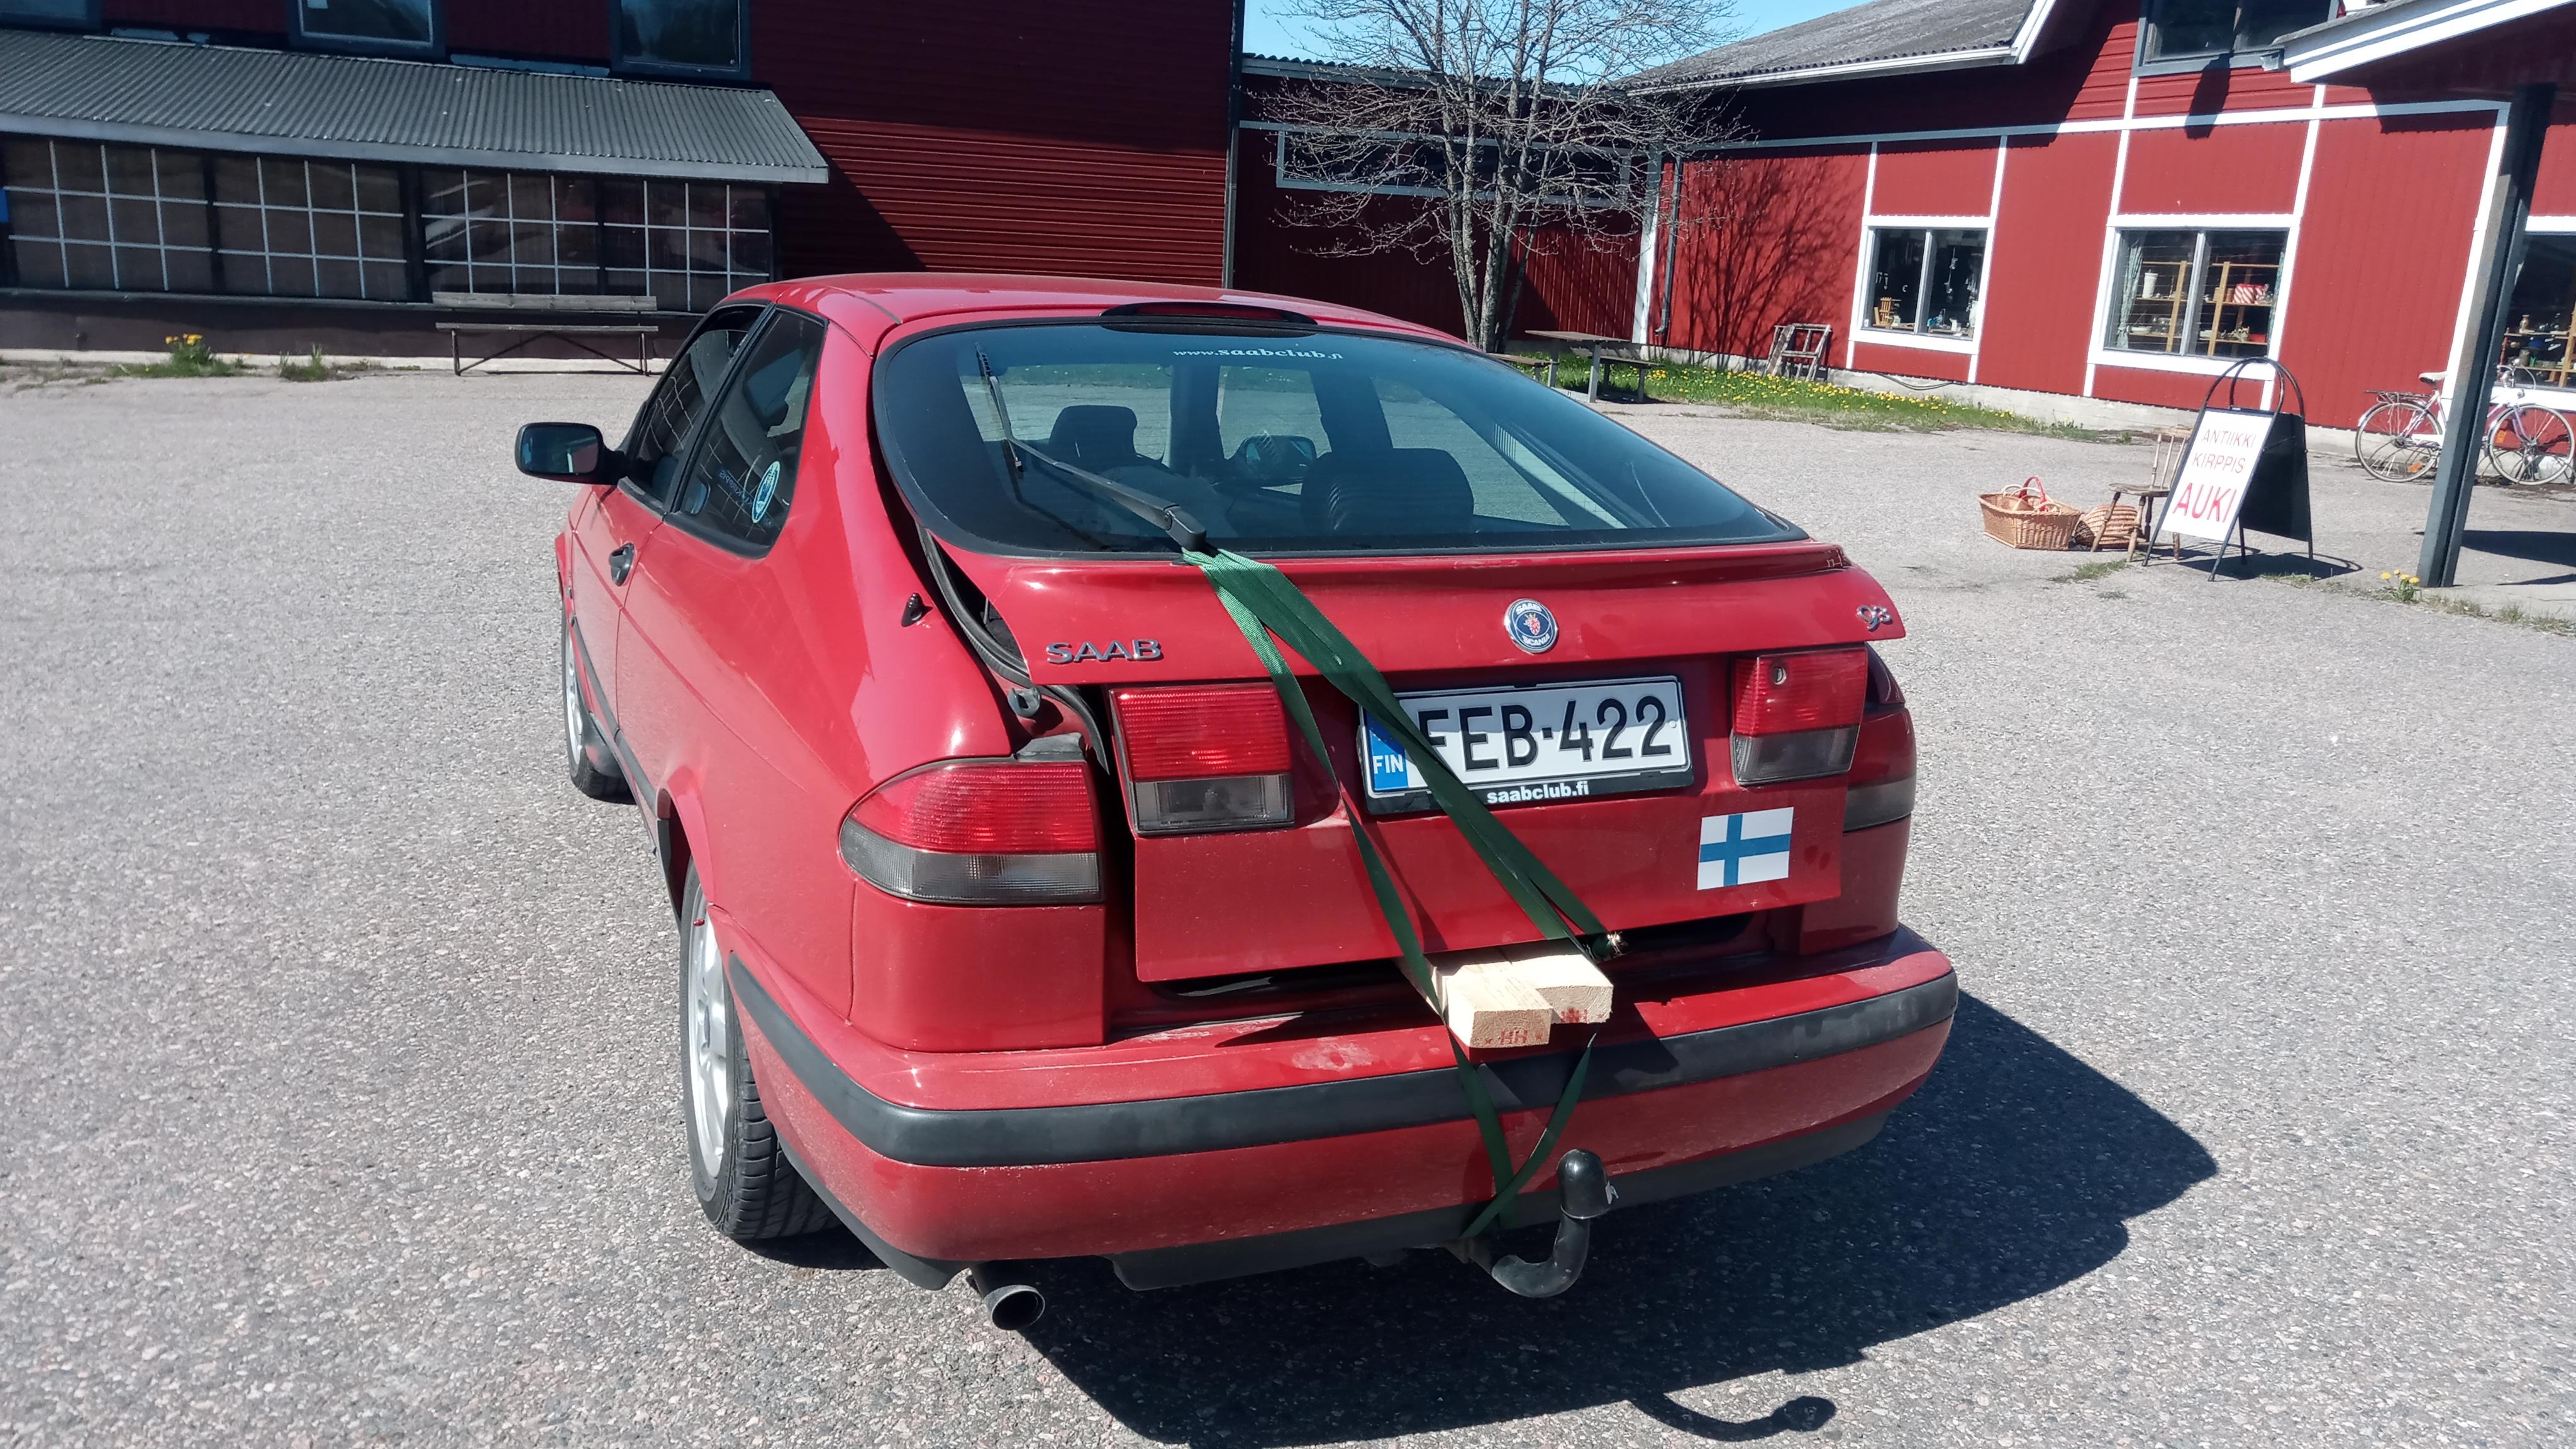 Hauling wood to the building site (04/2020)
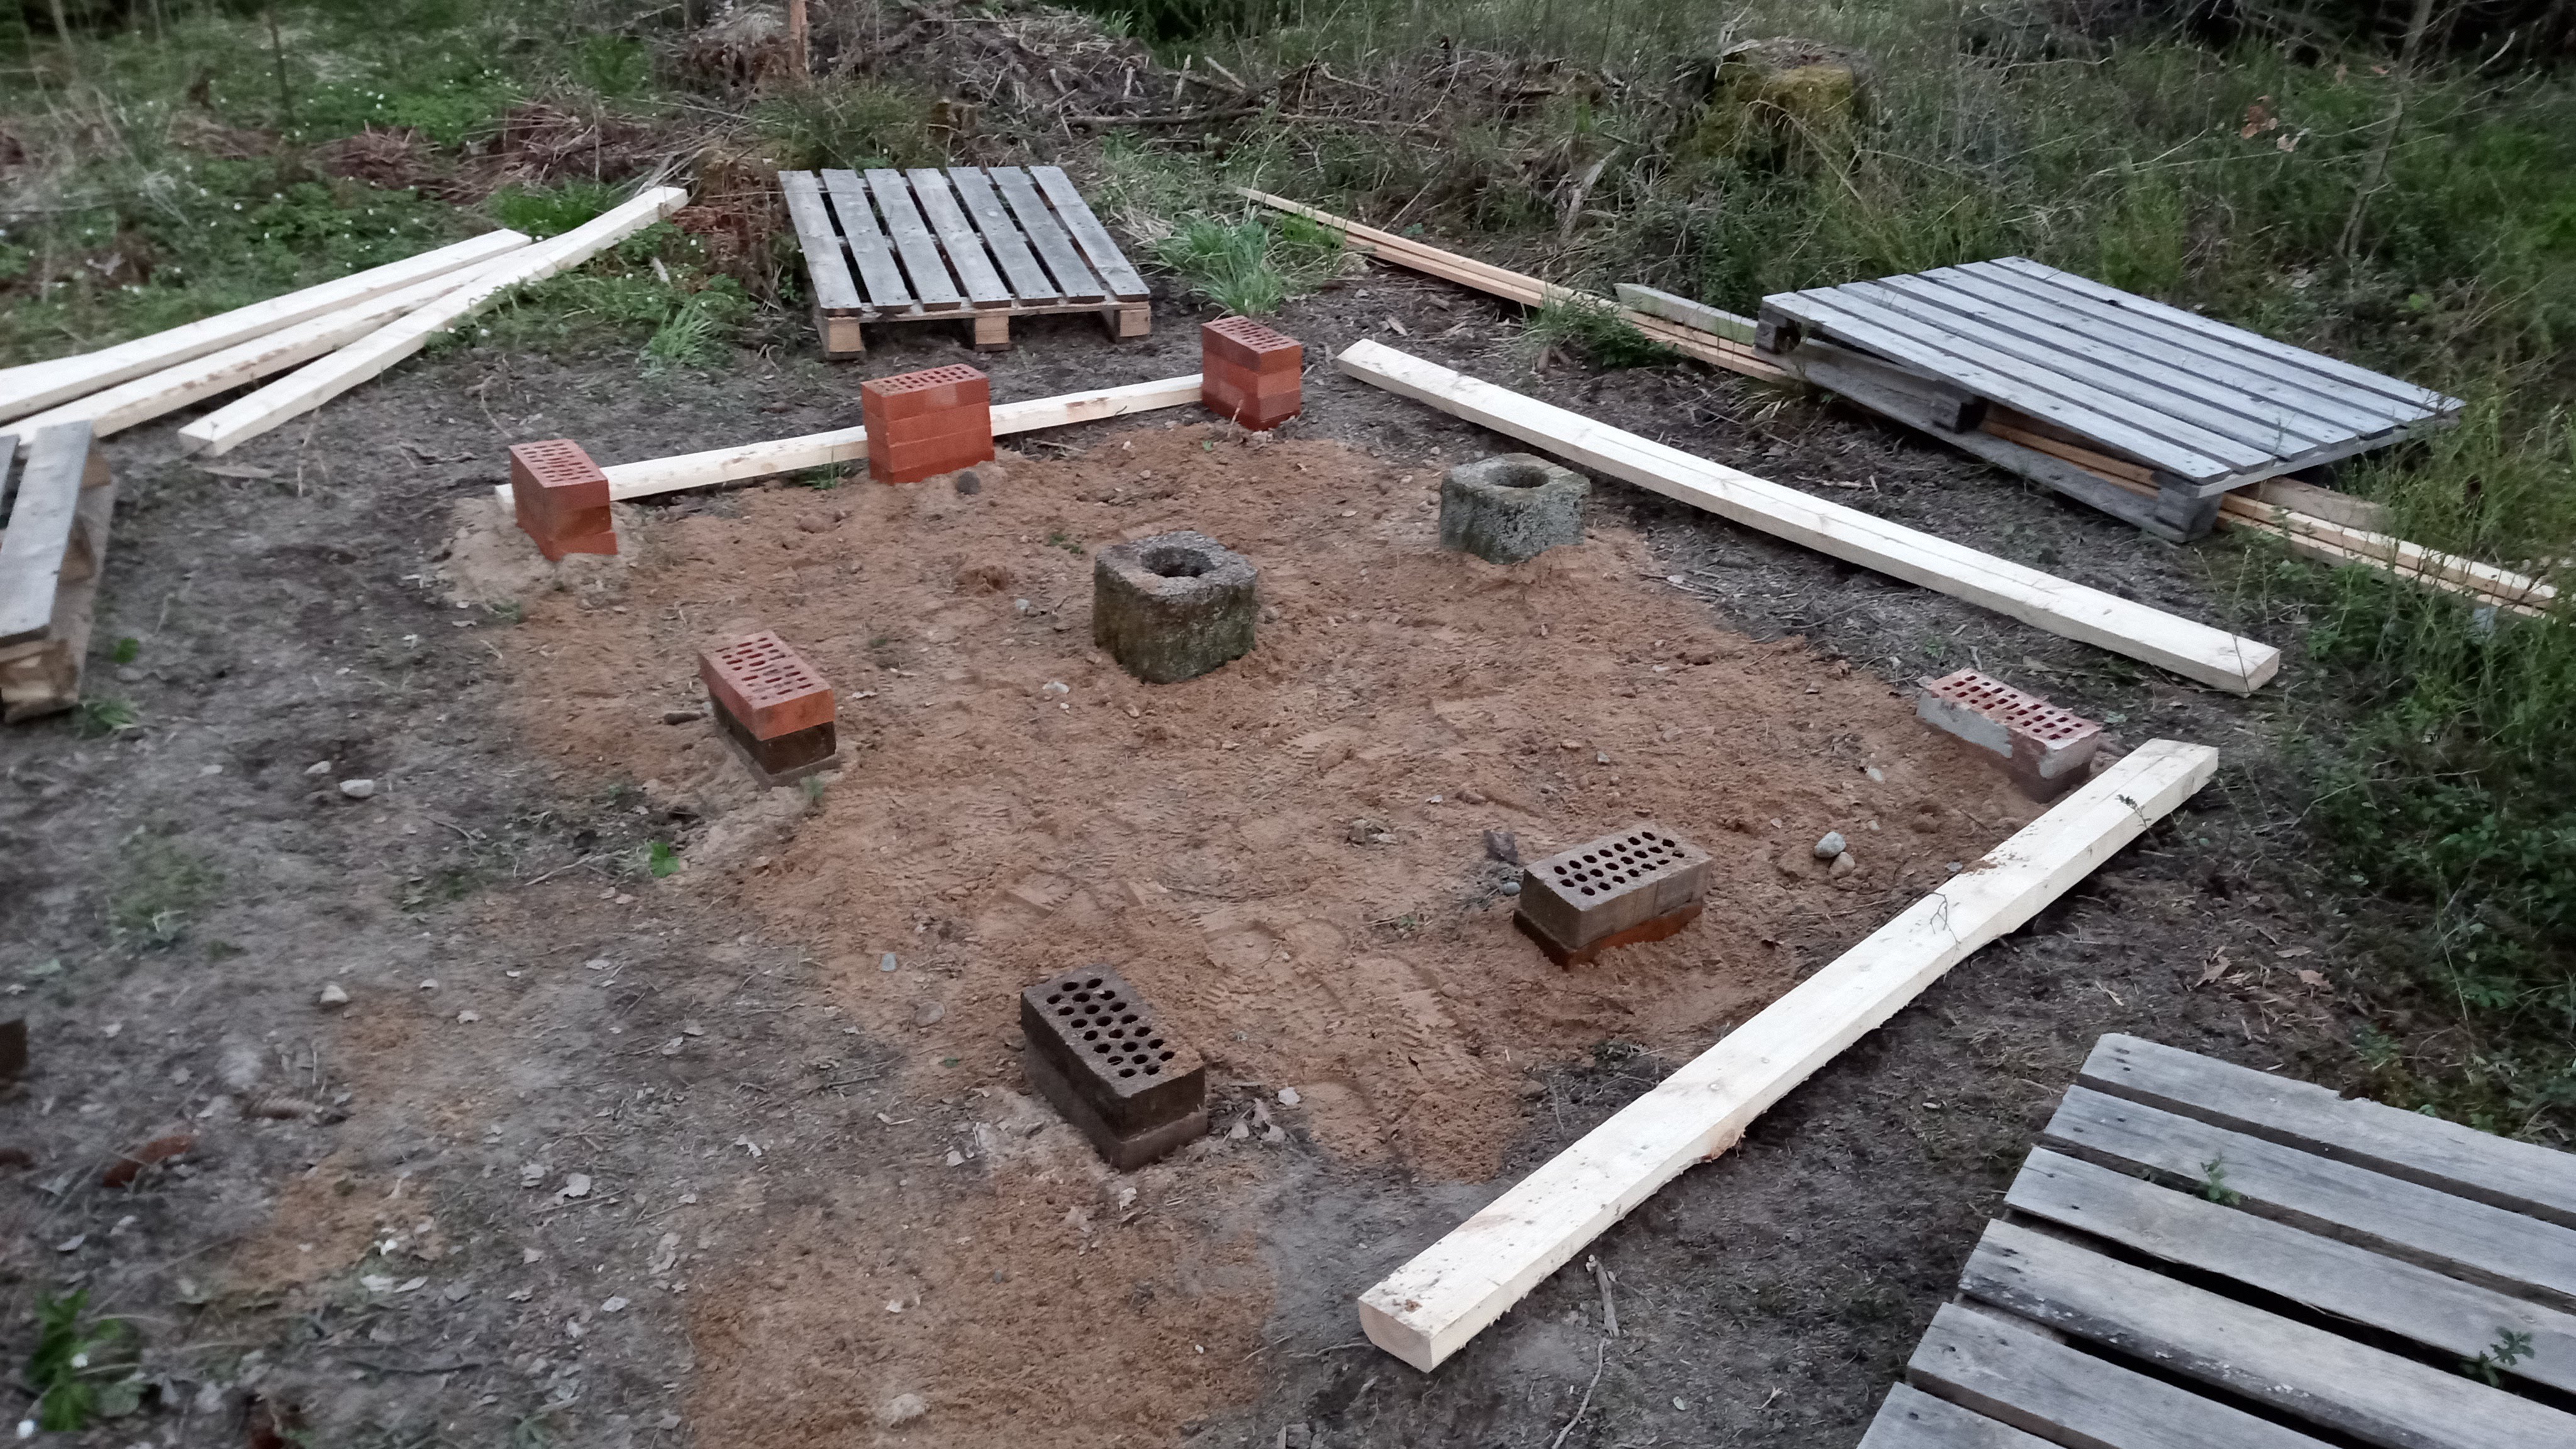 Started laying out the foundation, it's nothing really fancy but appears to be sufficient for this kind of light build
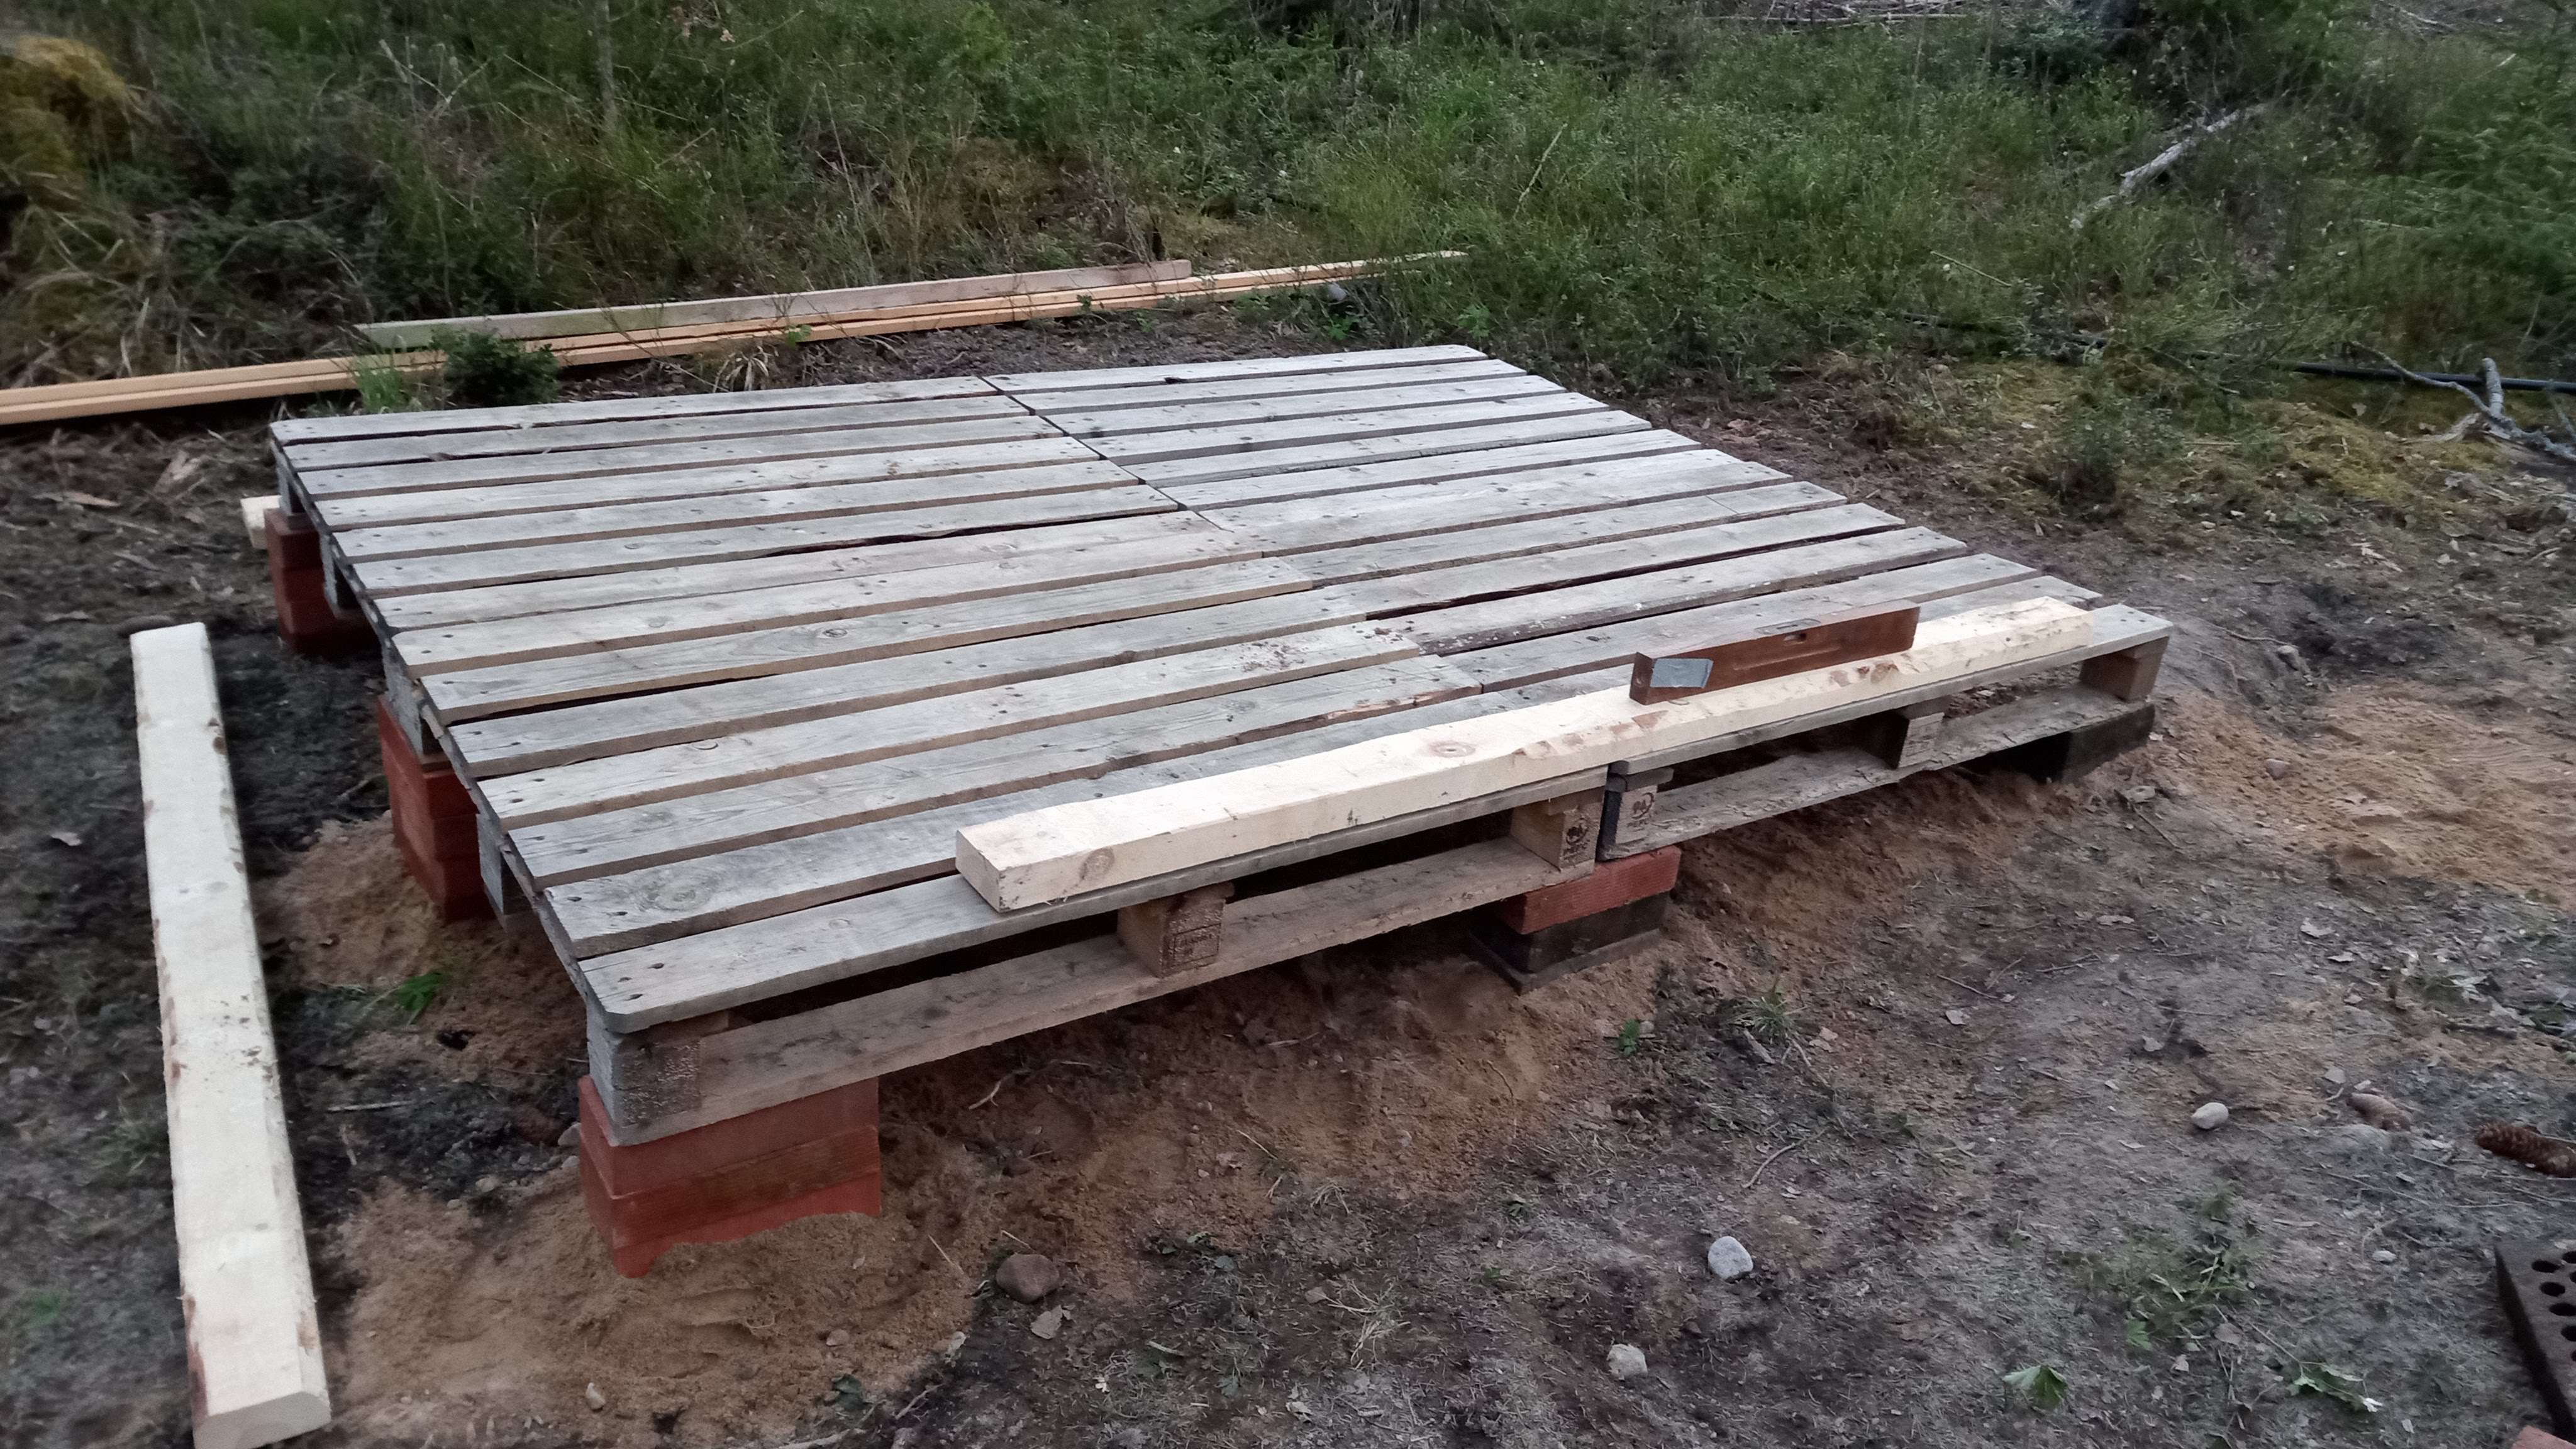 Making the pallets level. The pallets are forming the base of the structure.
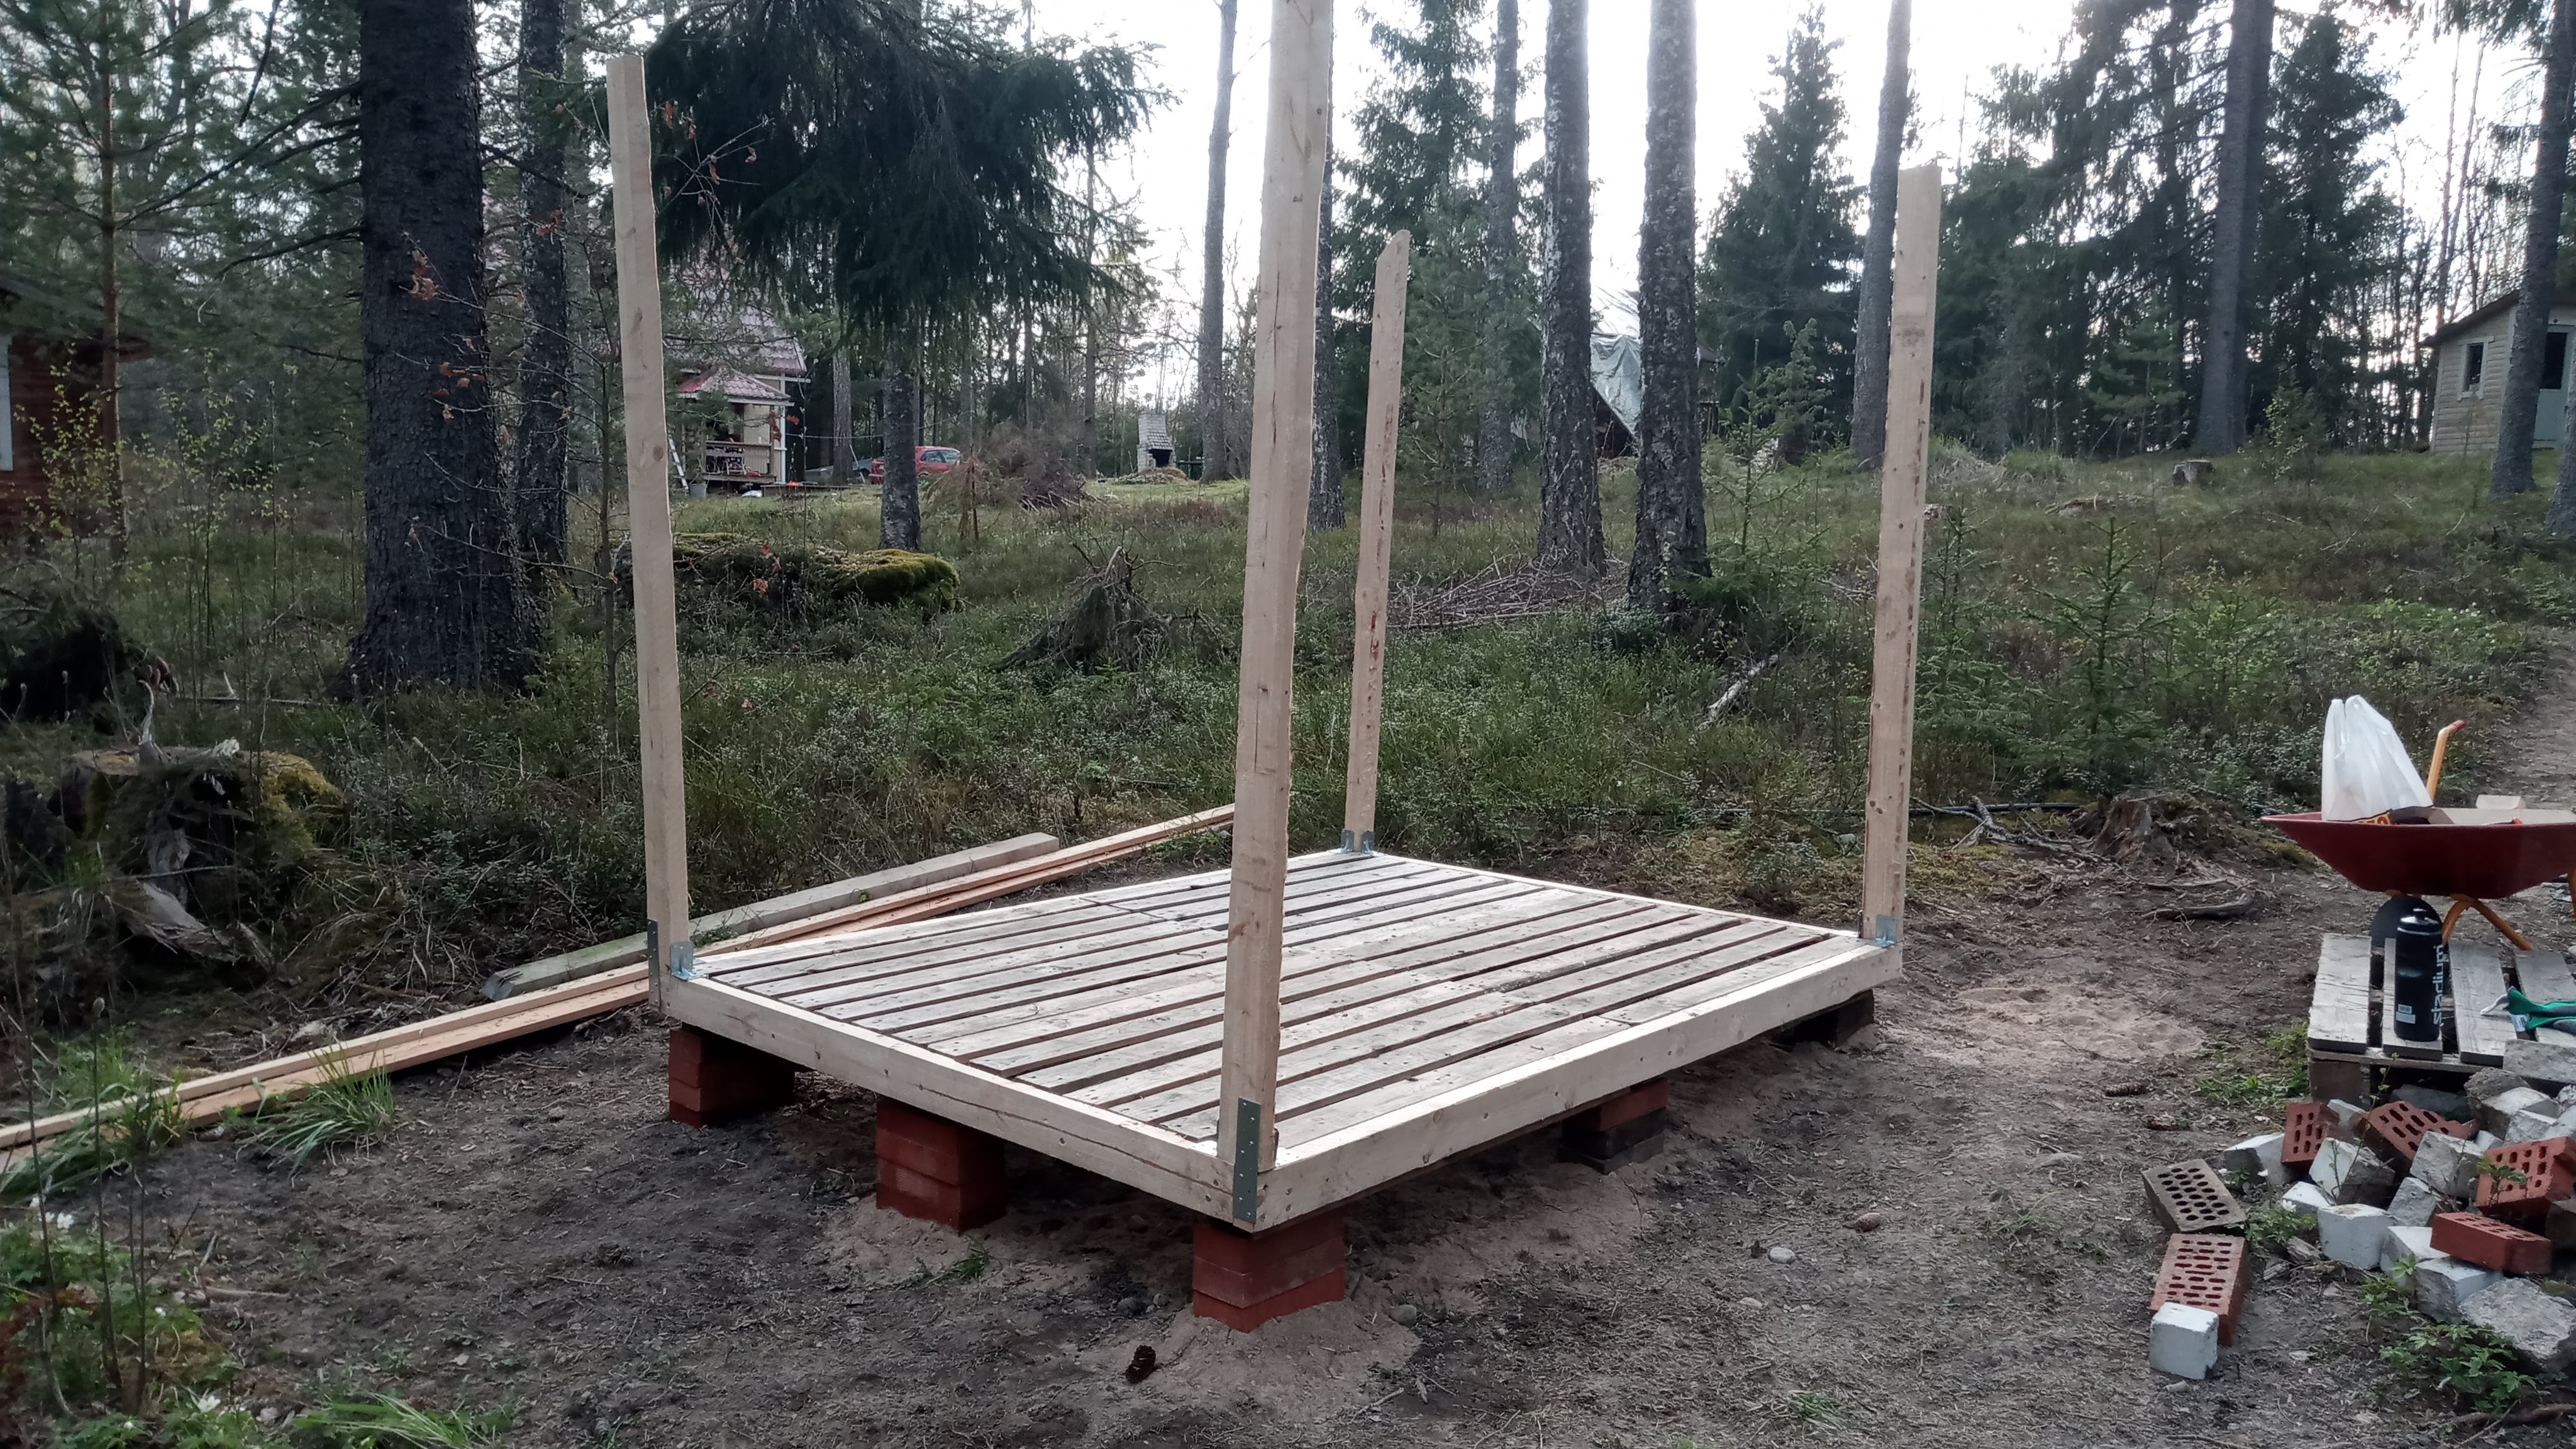 Installed the 2 by 4s in the corners, each one is 200cm (05/2020)
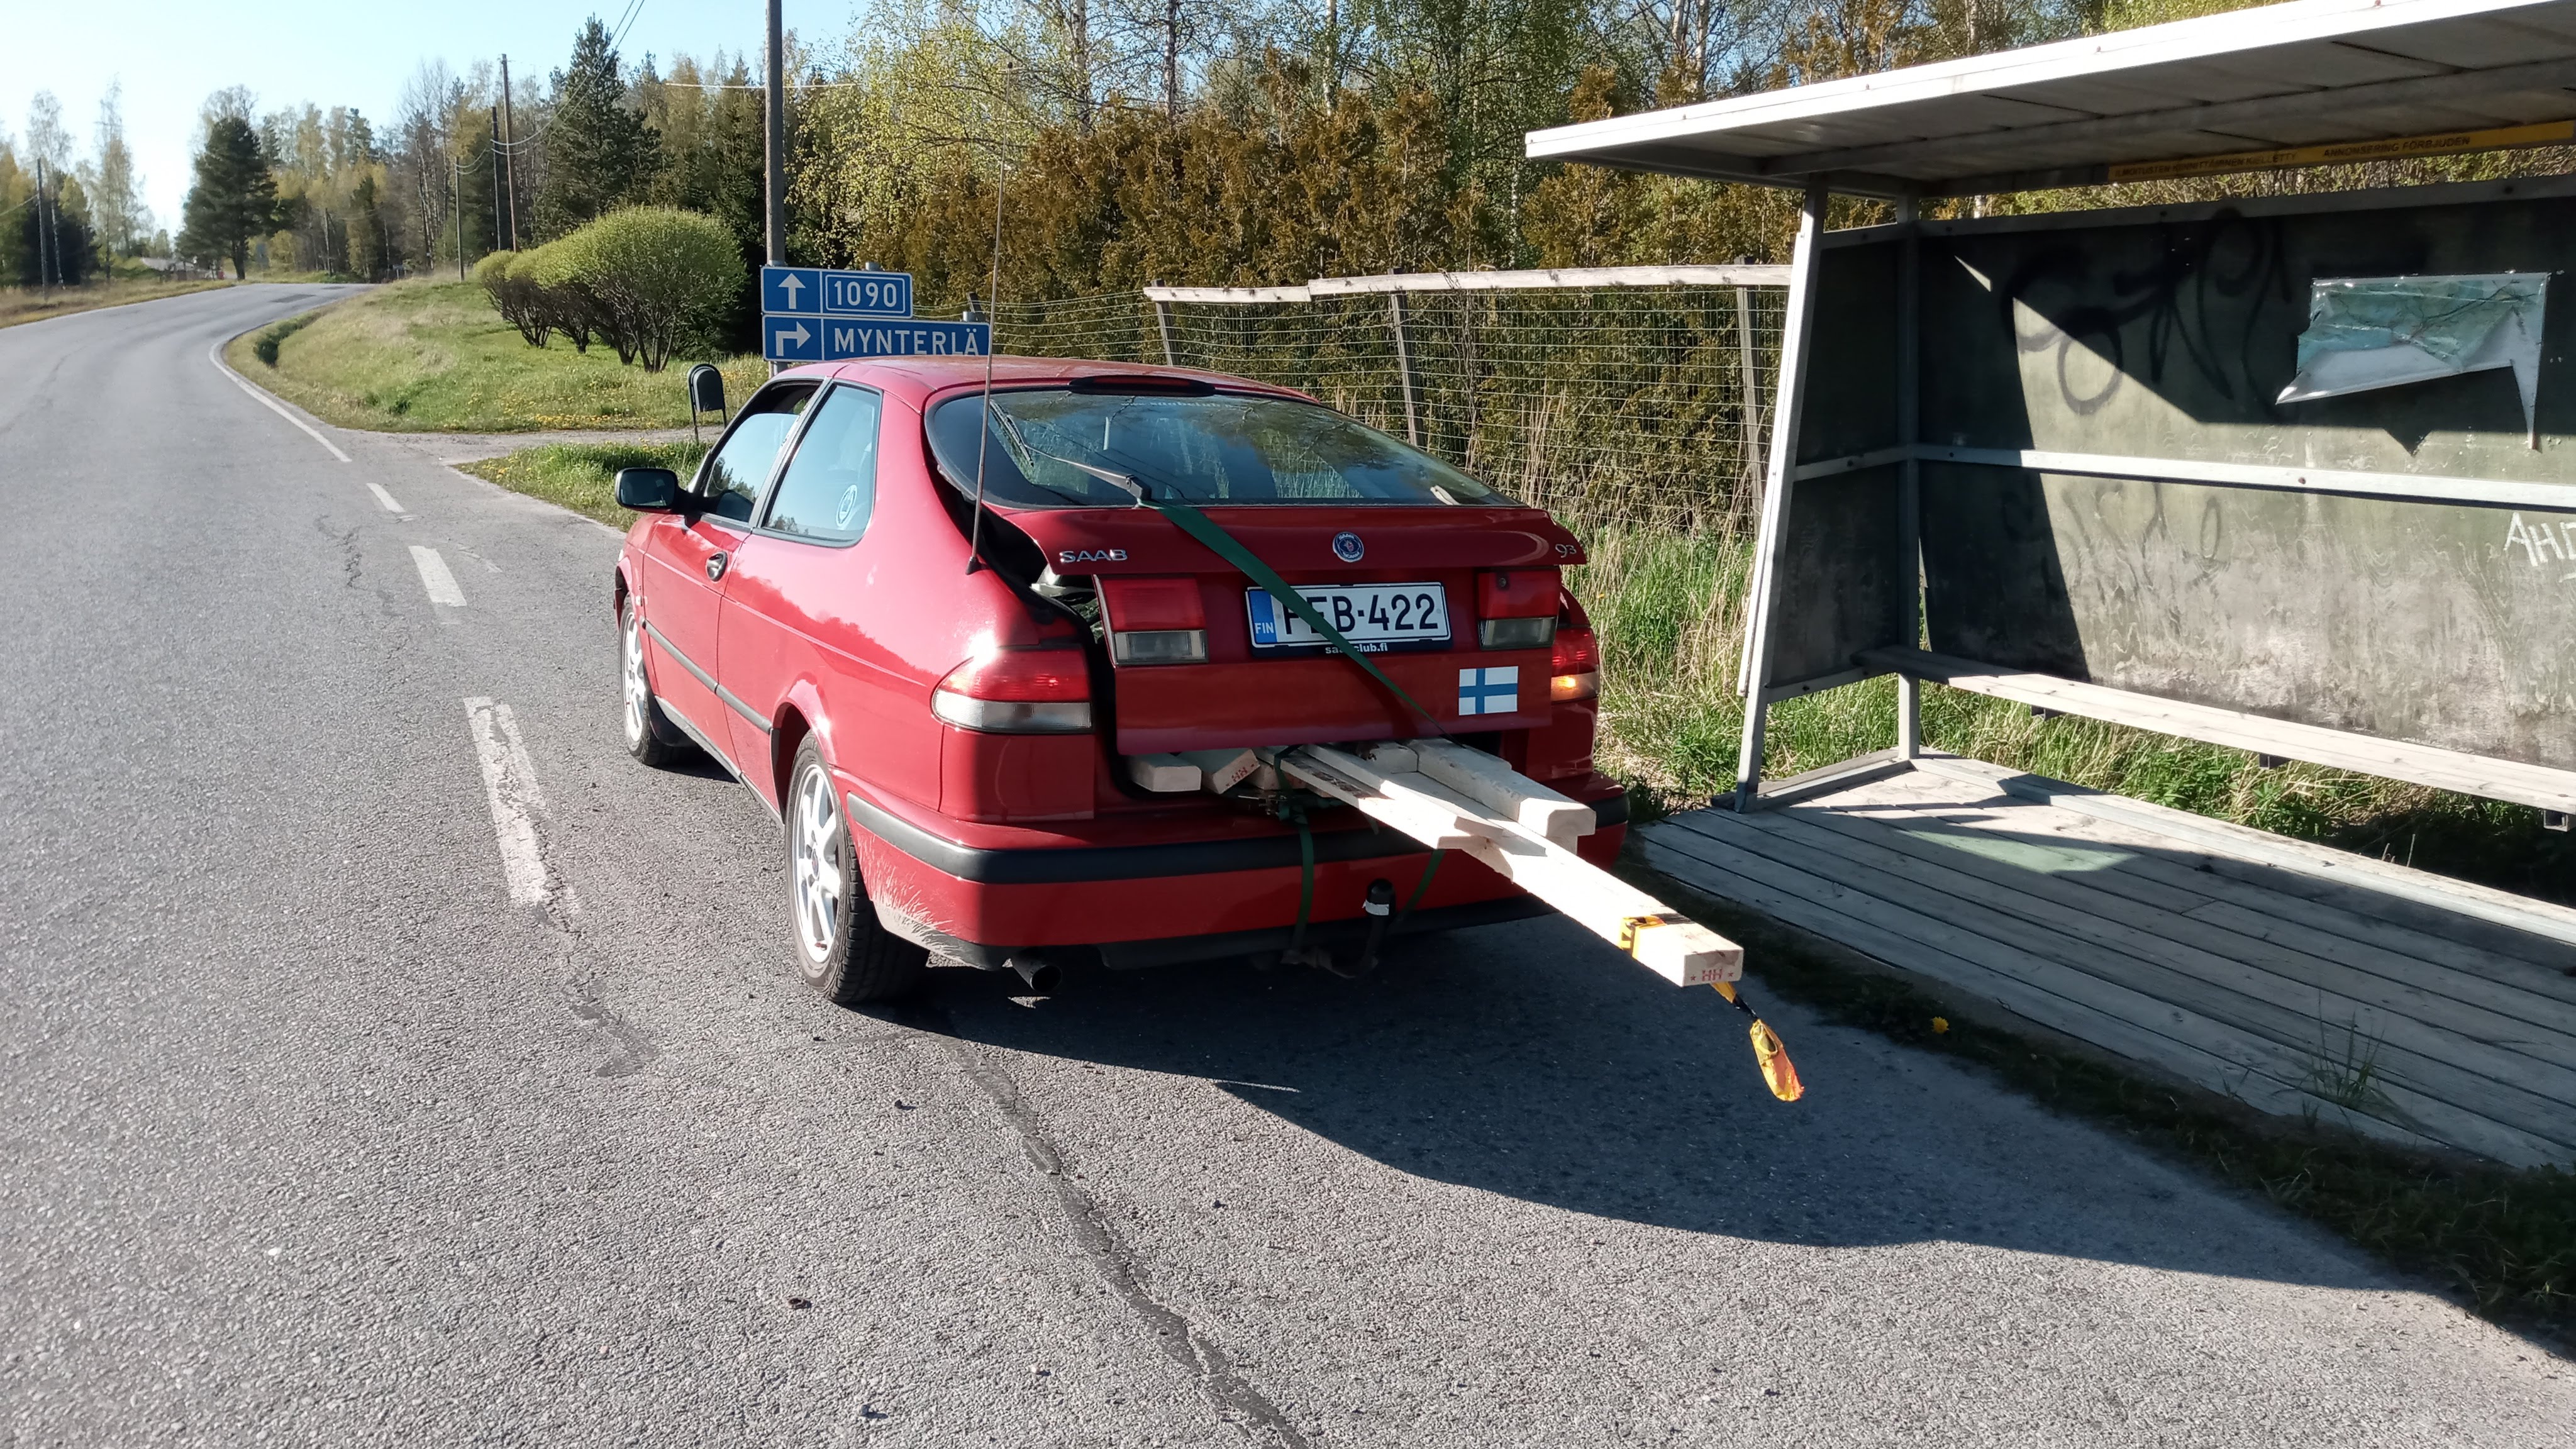 Hauling some more wood
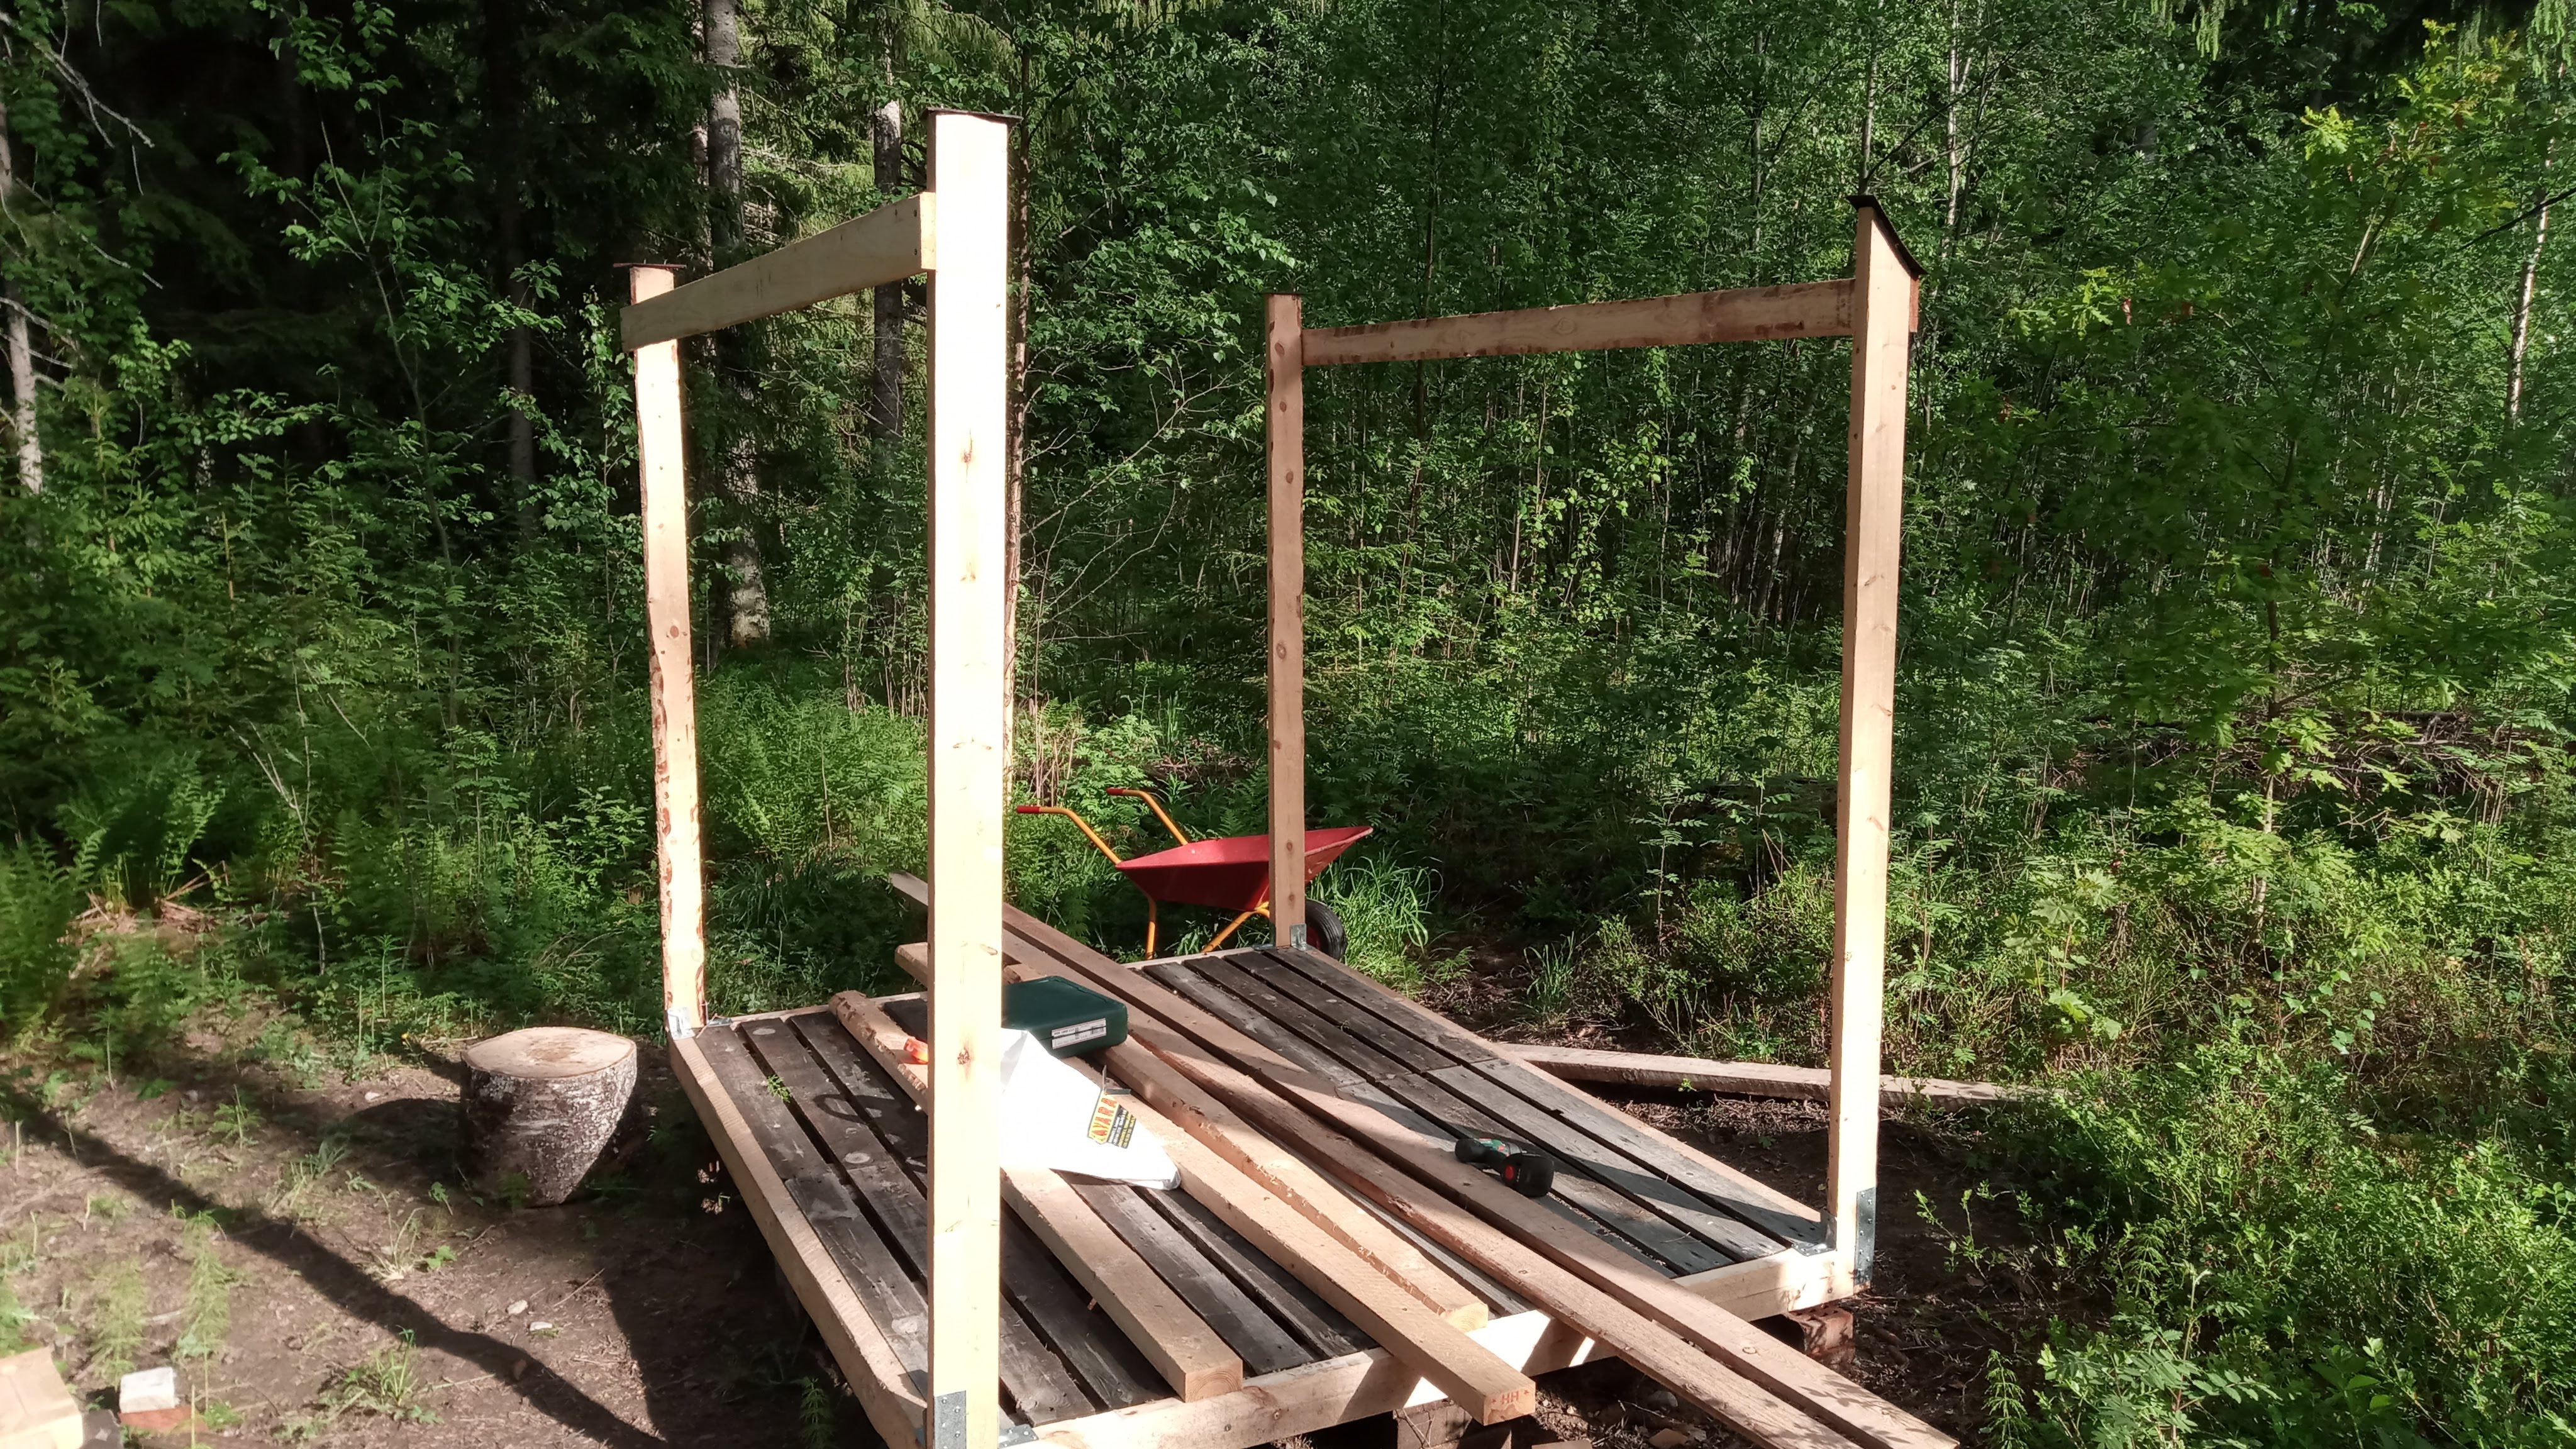 Installed two horizontal planks (06/2020)
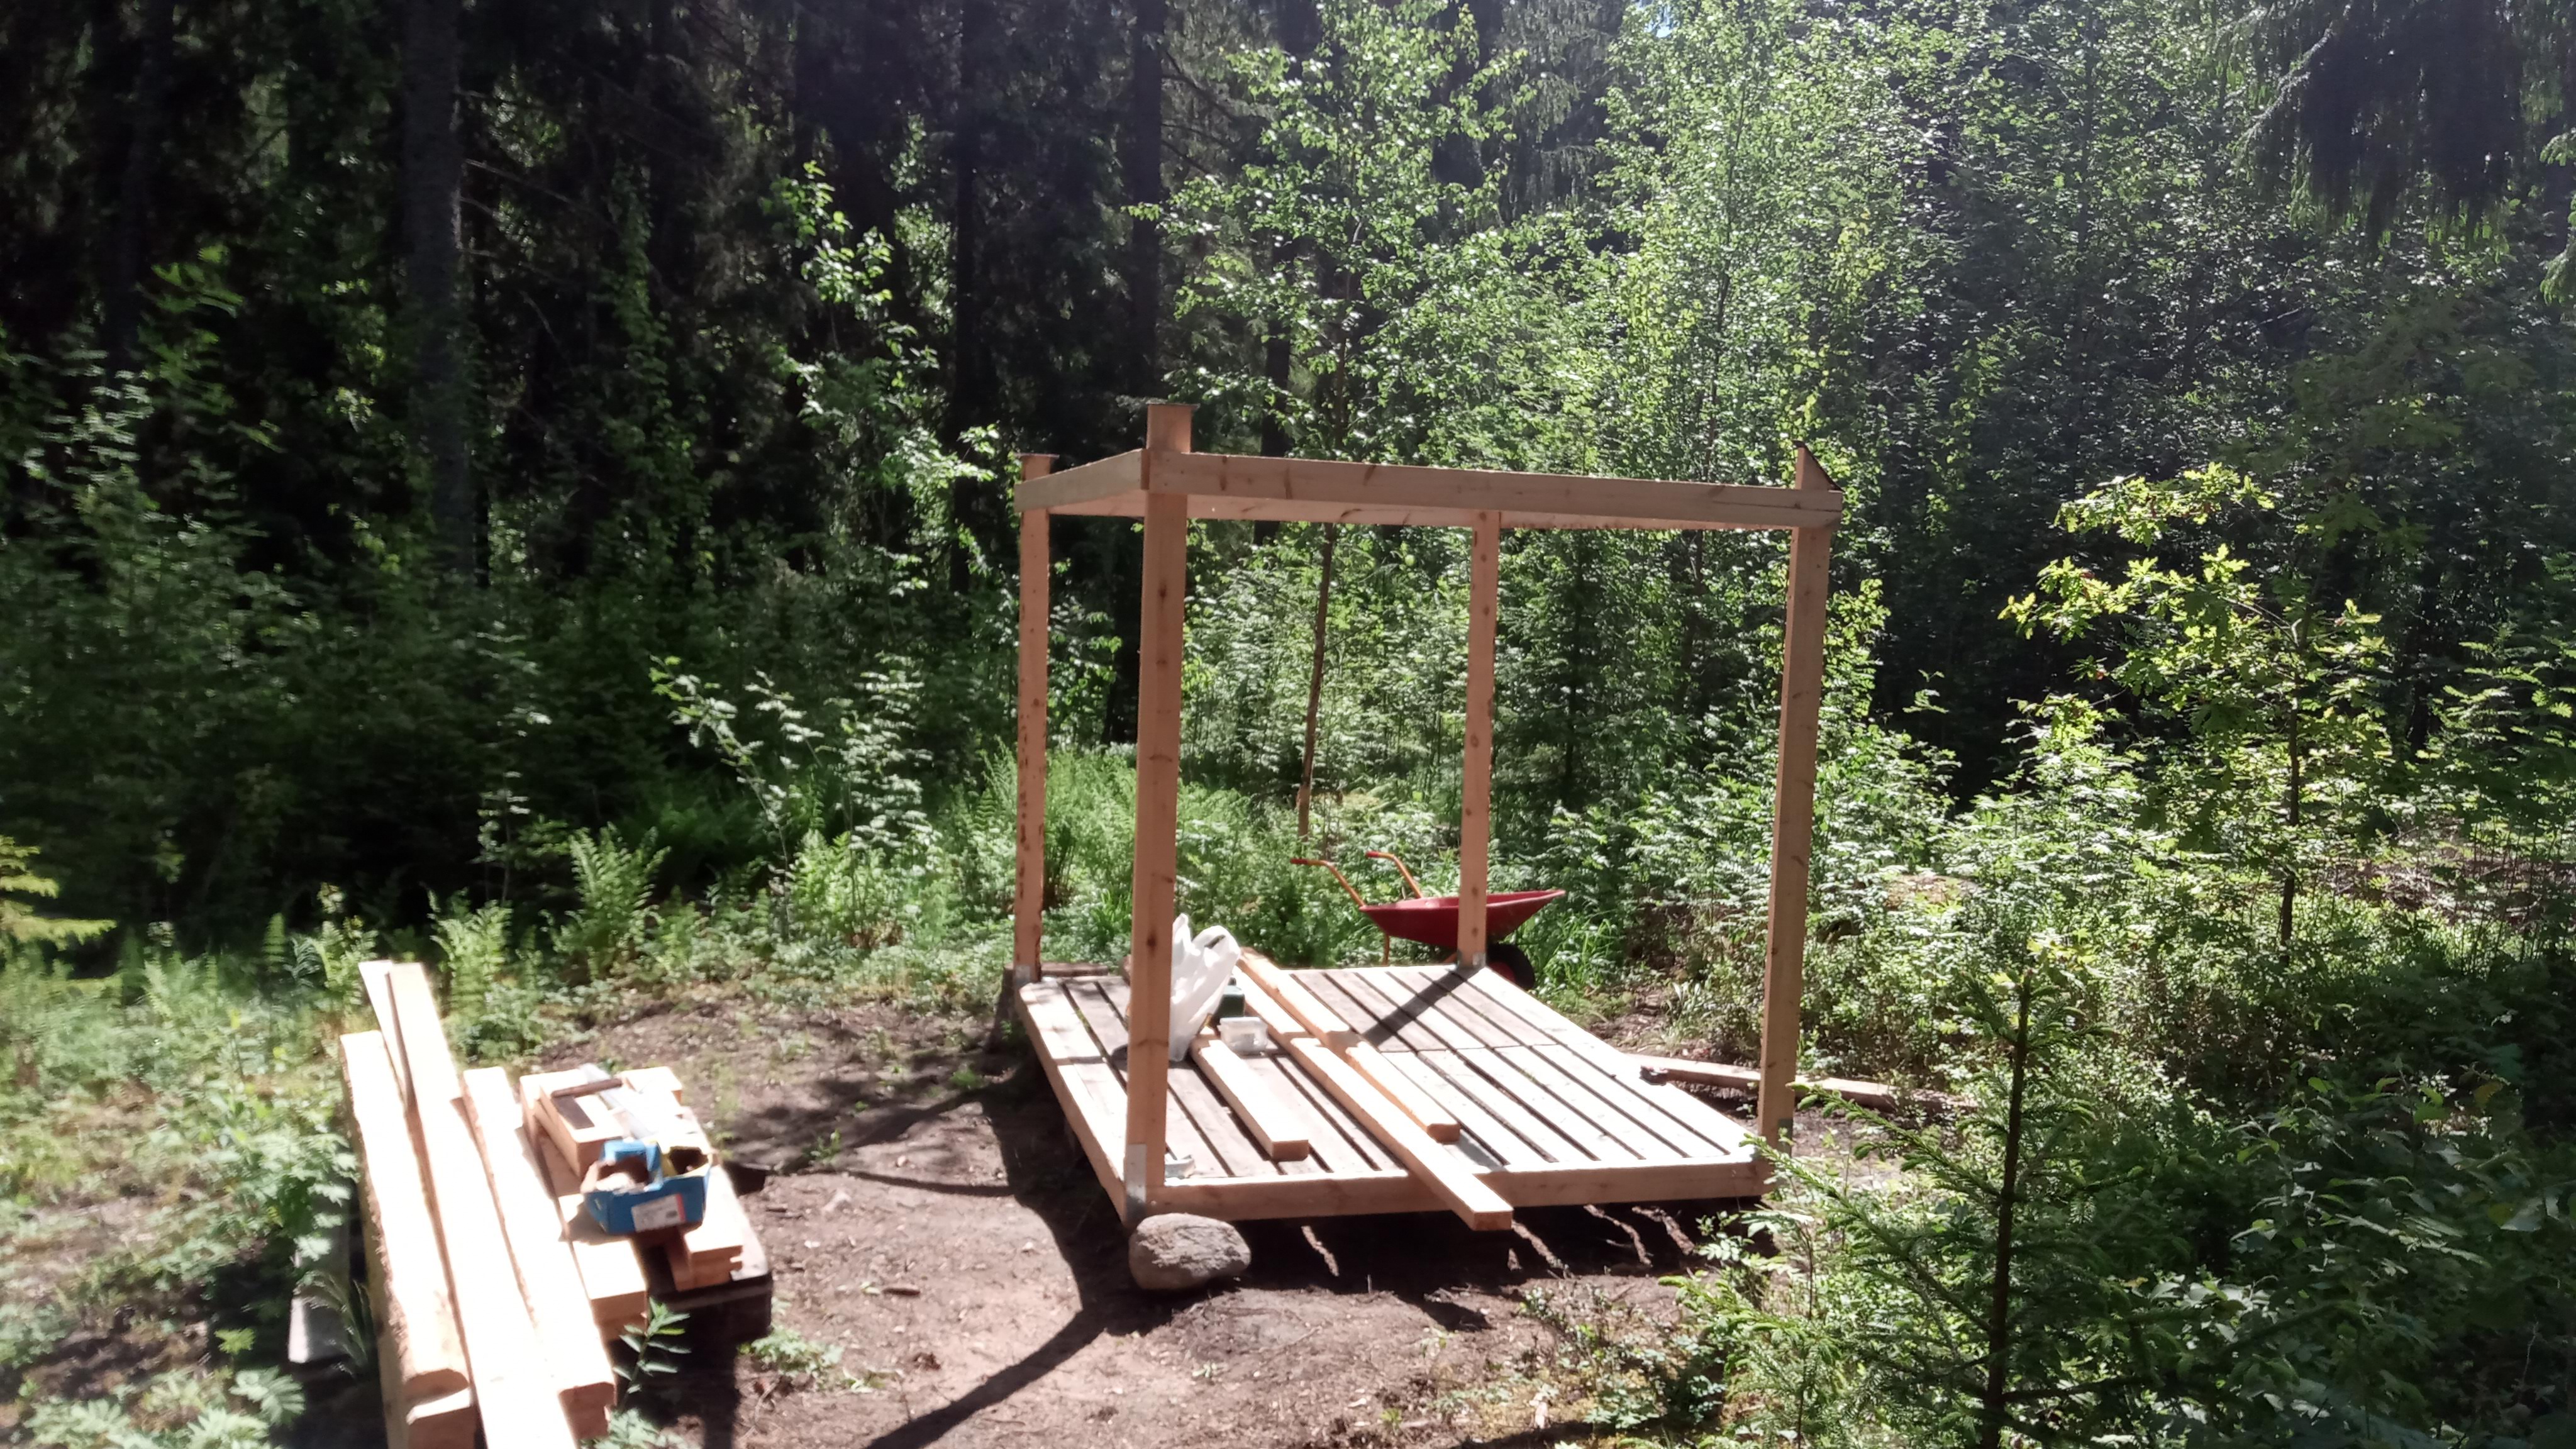 Installed a couple more of the horizontal planks
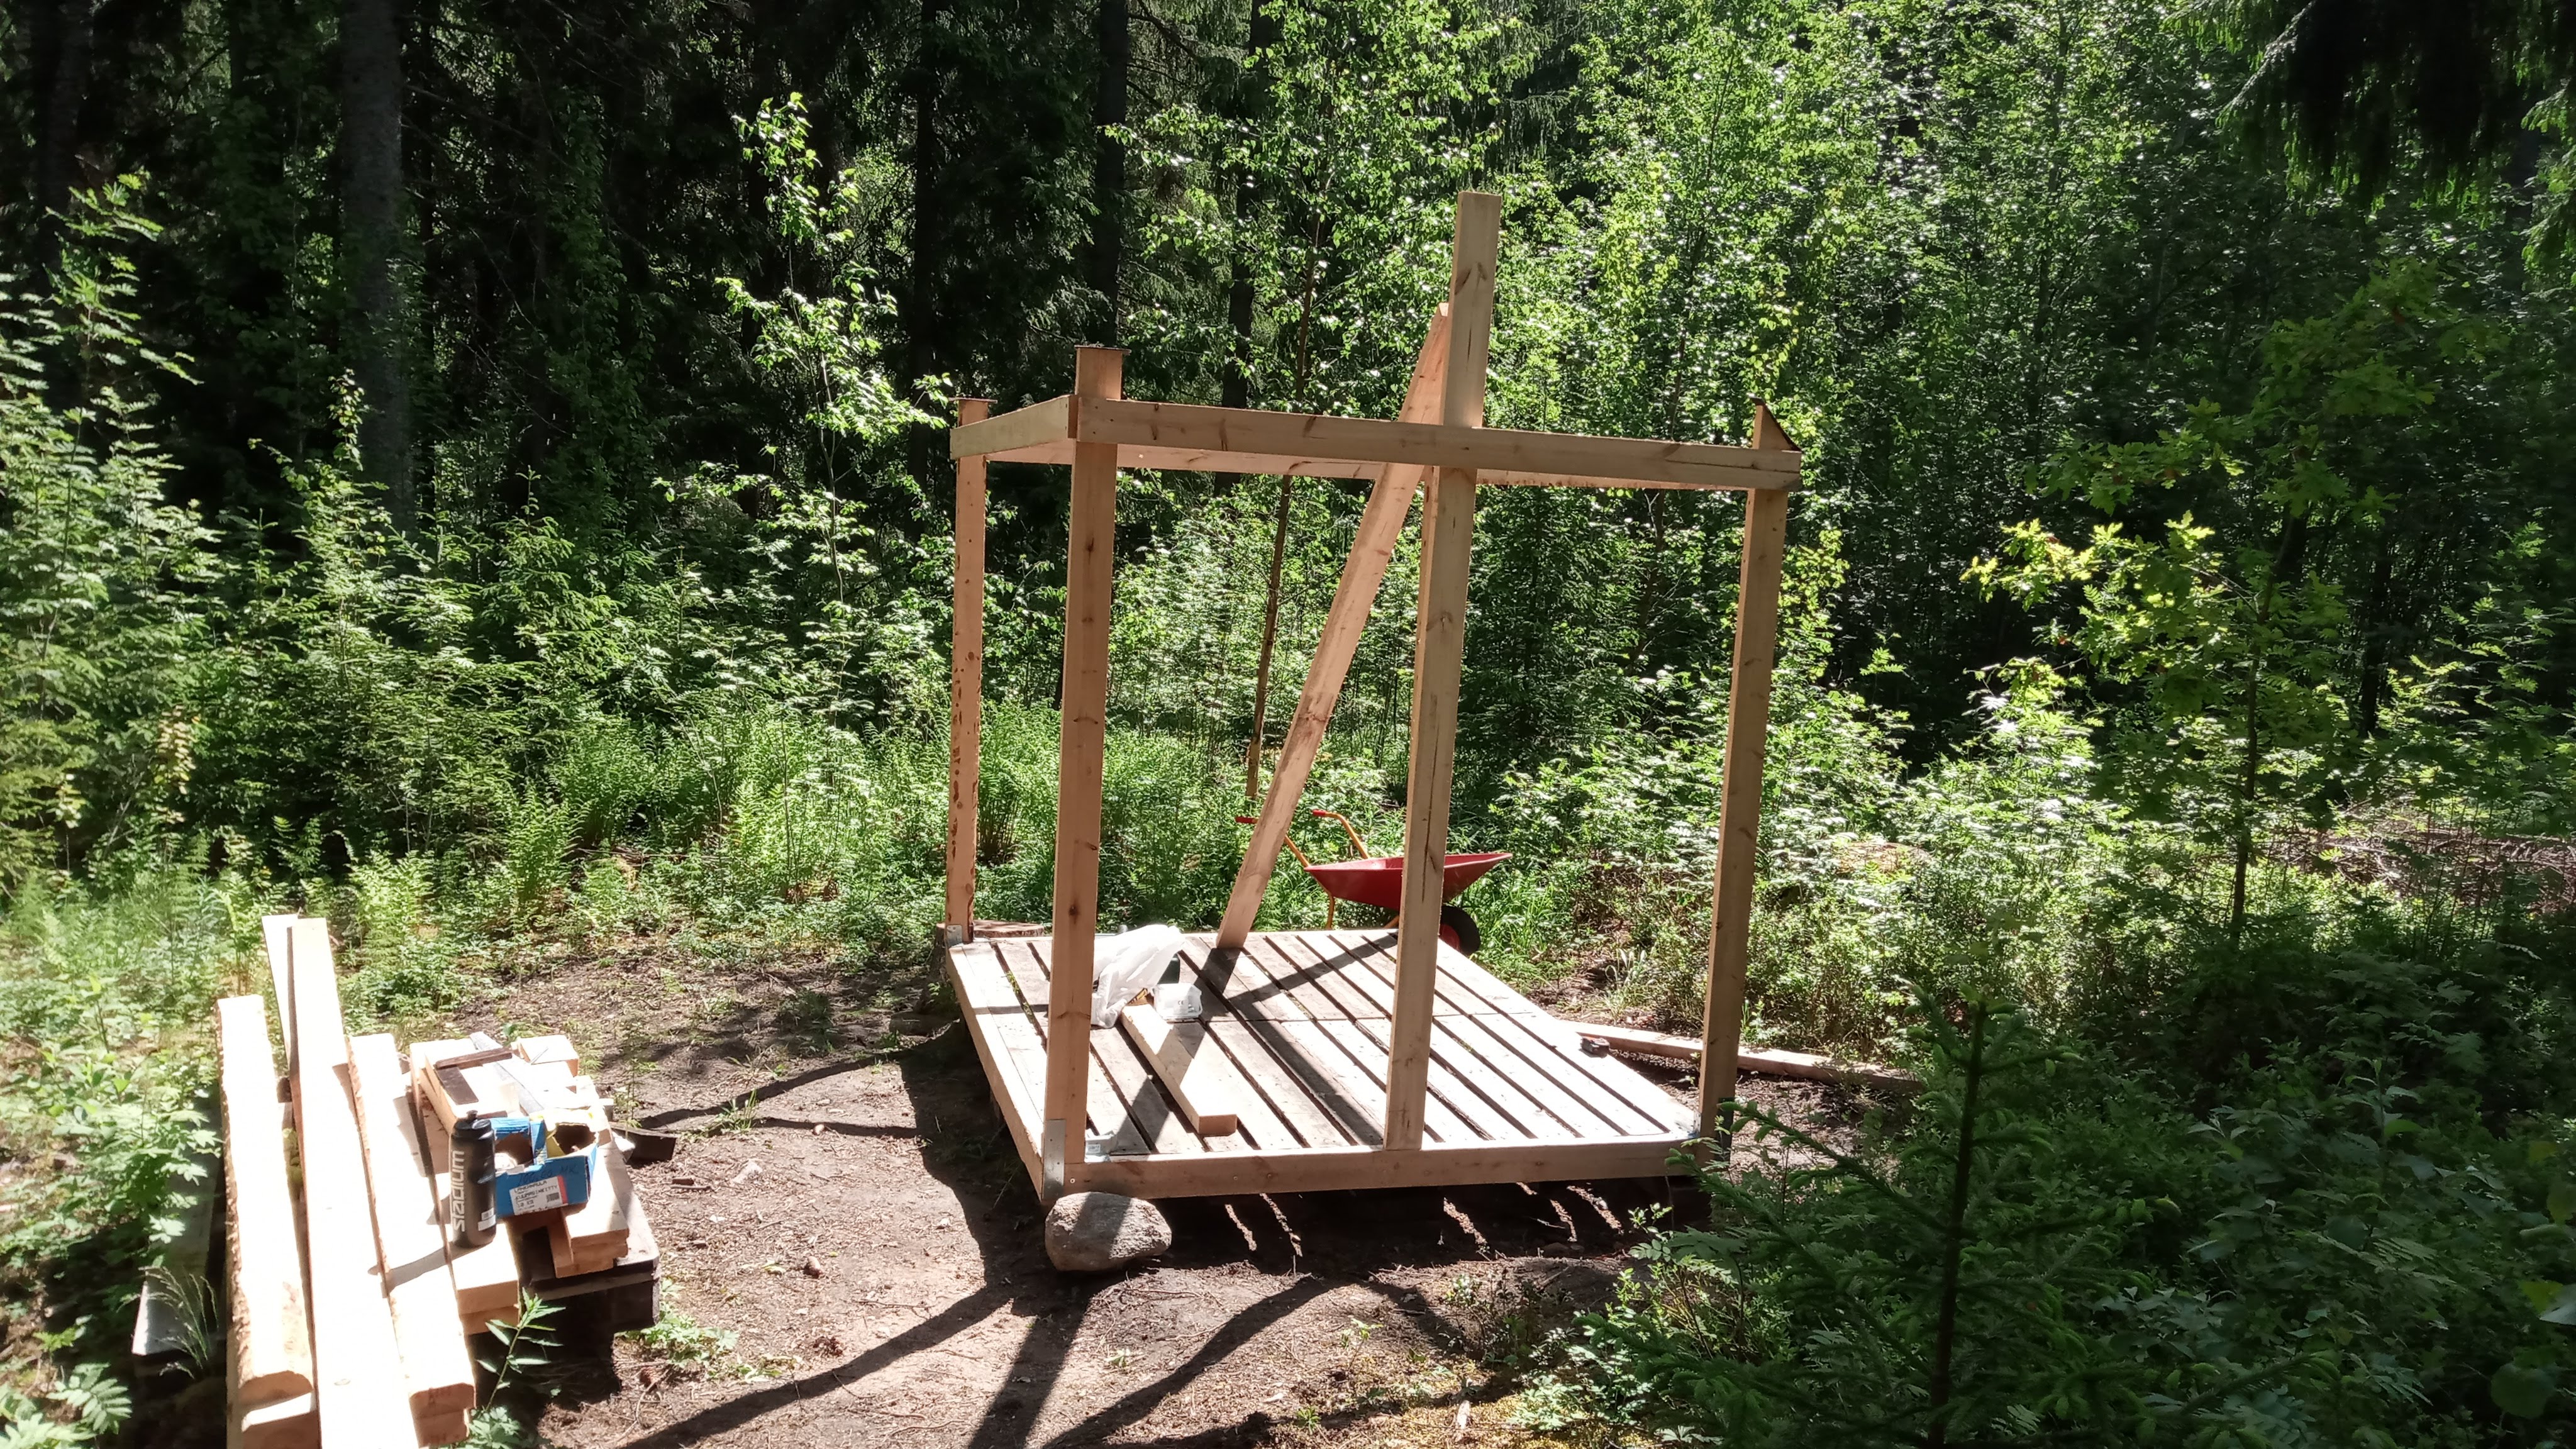 Installed the first tall vertical plank, ~235cm
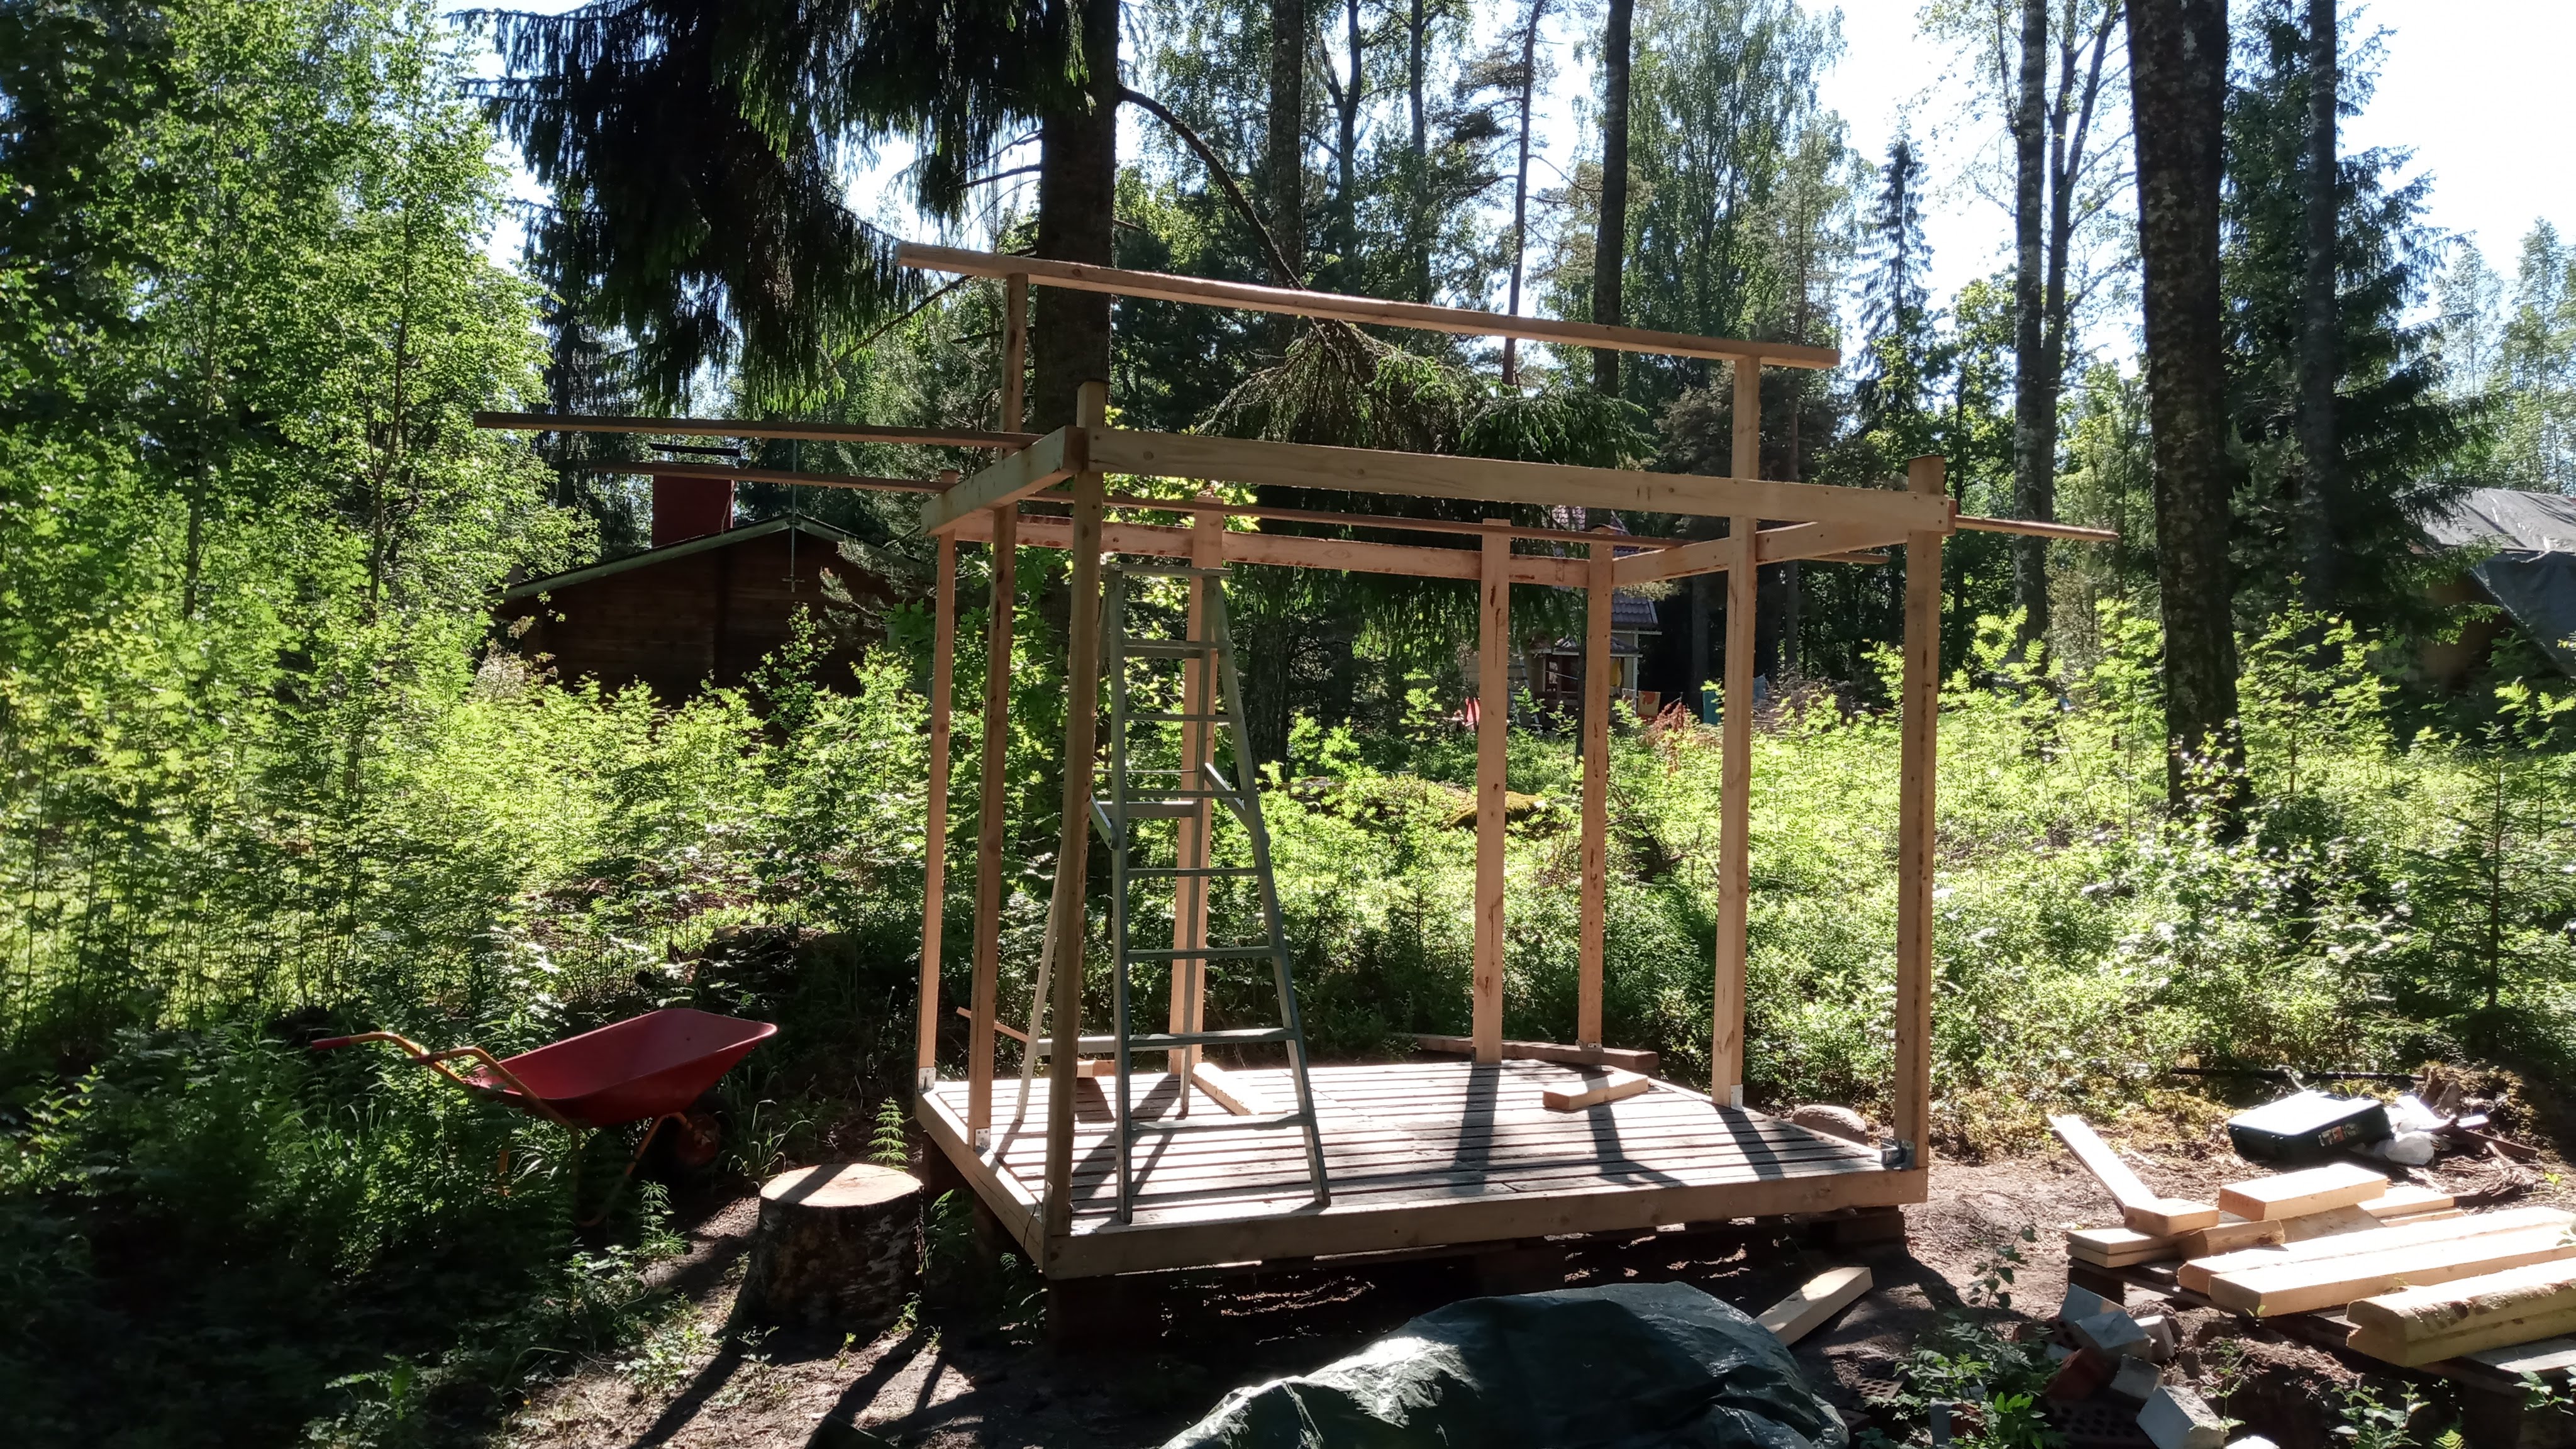 Installed the second tall vertical plank
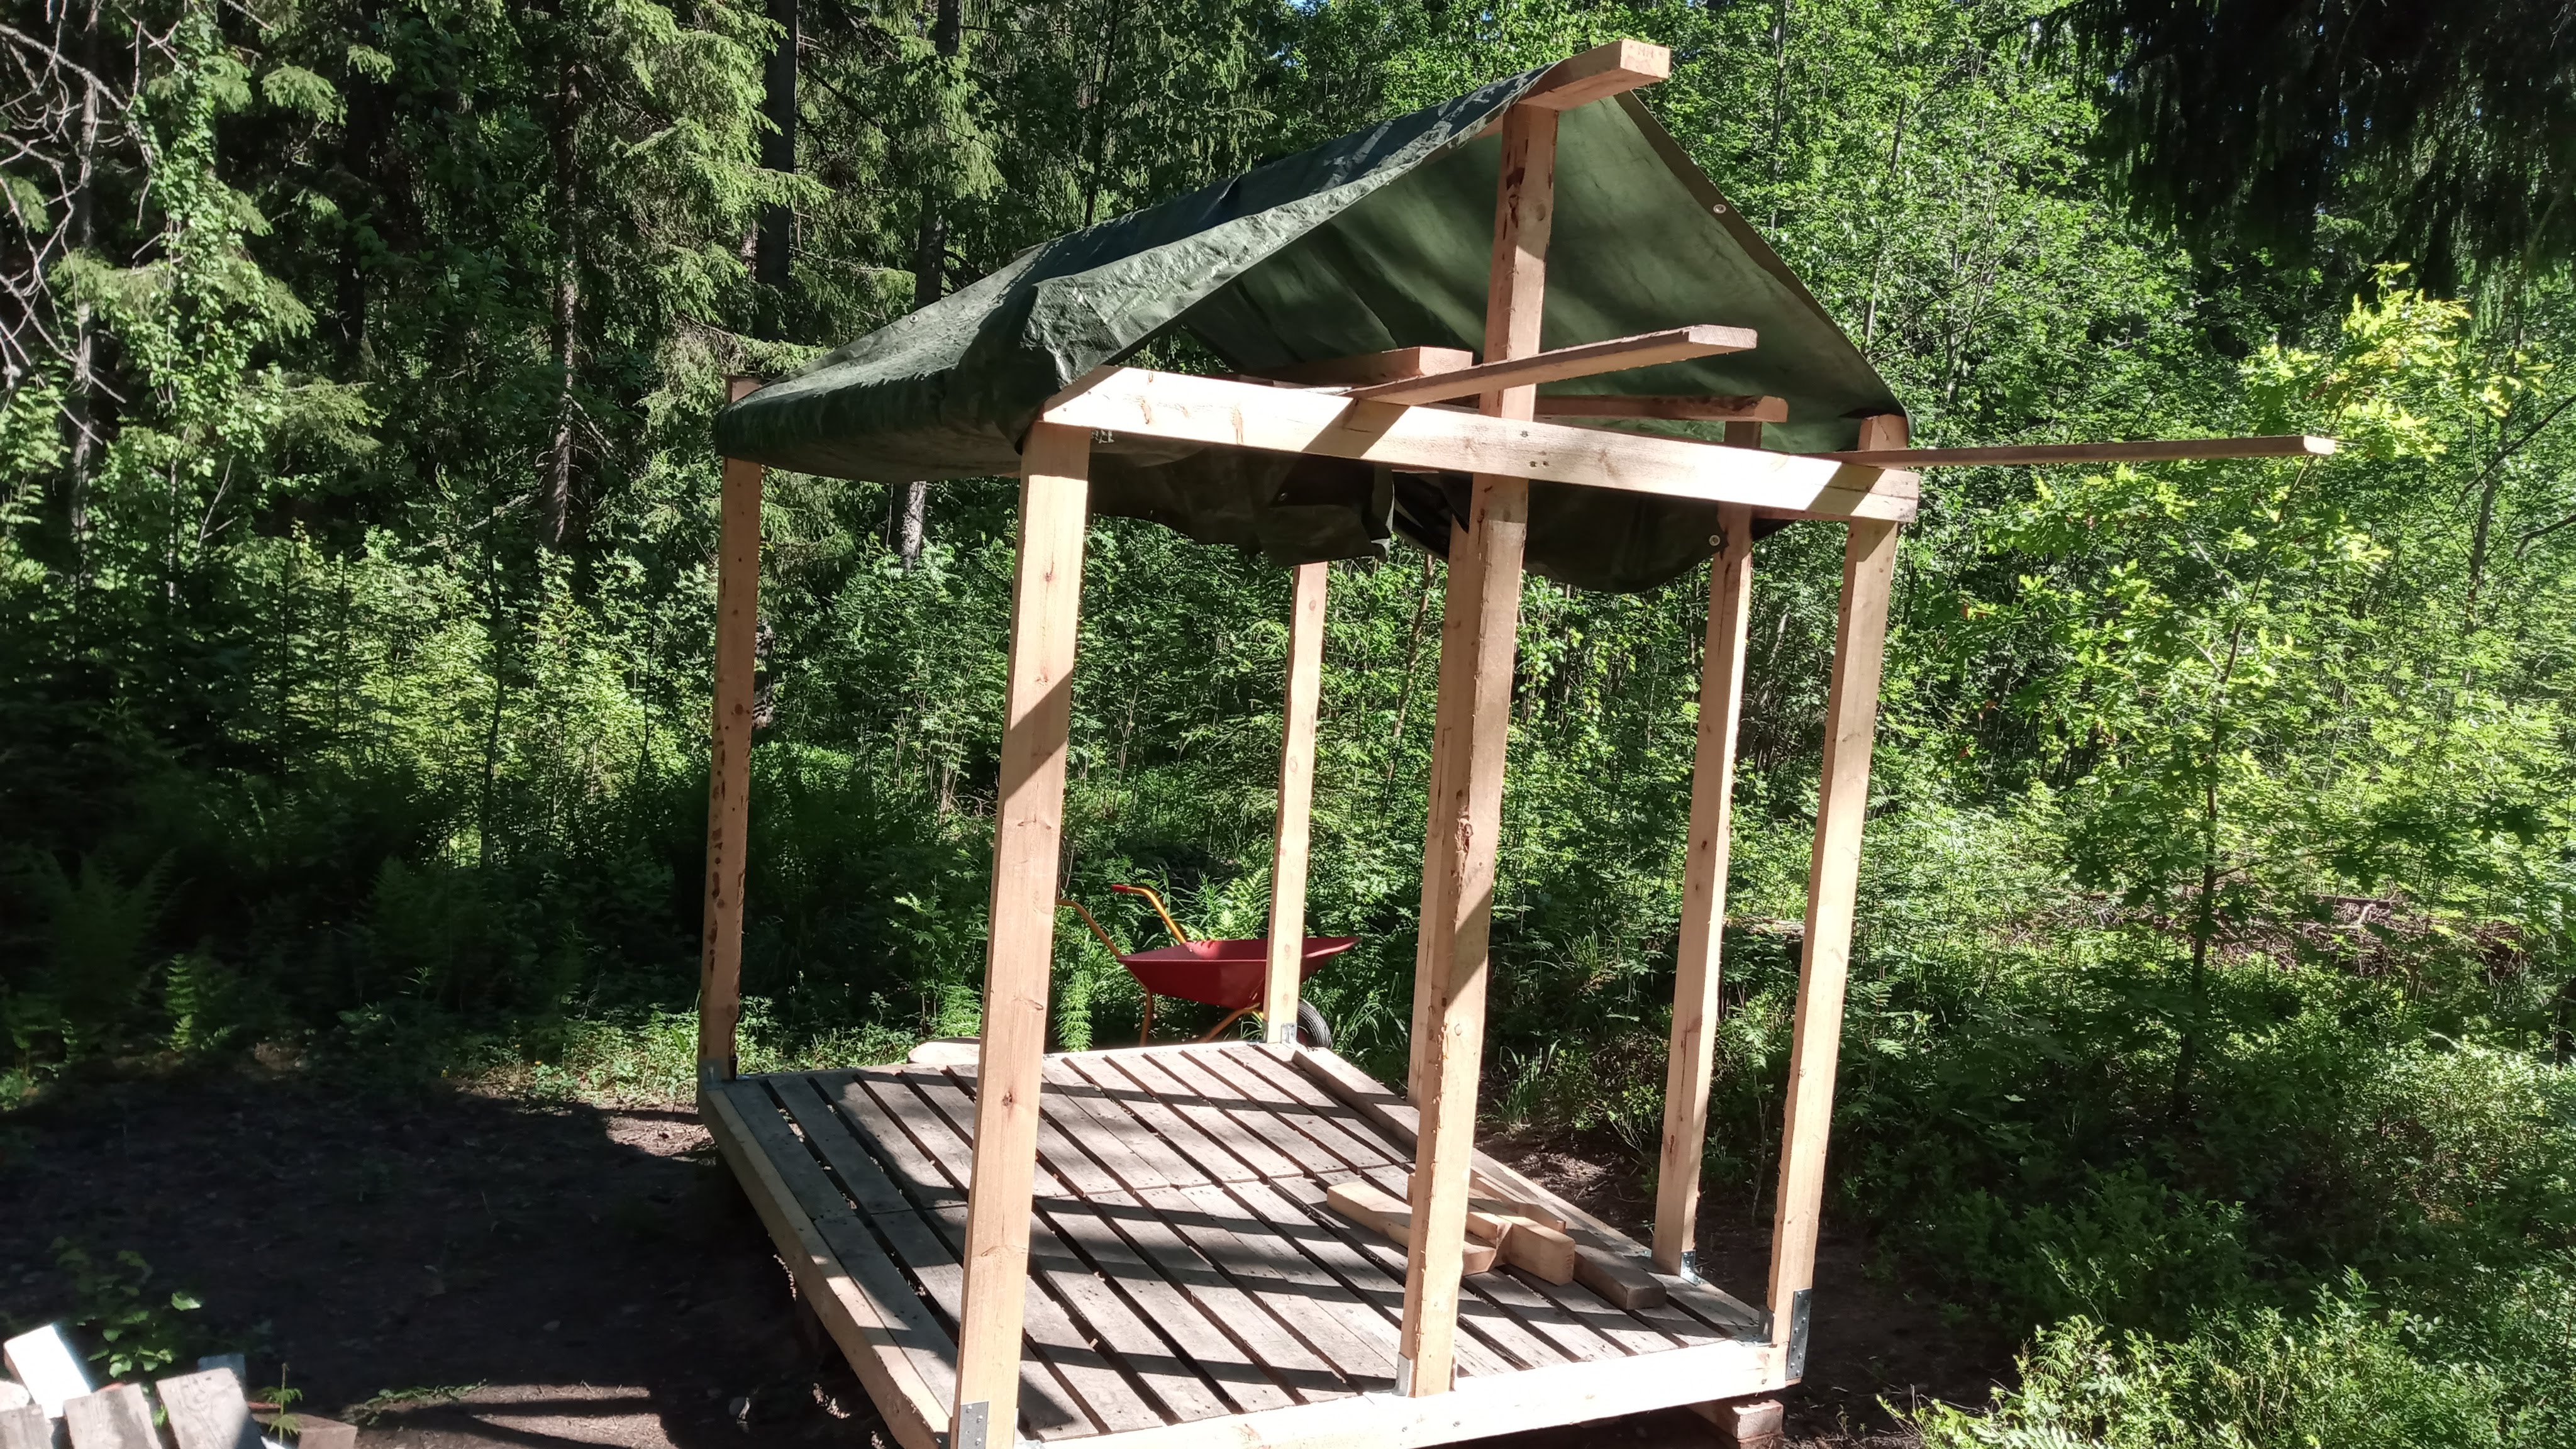 it's starting to form out already!
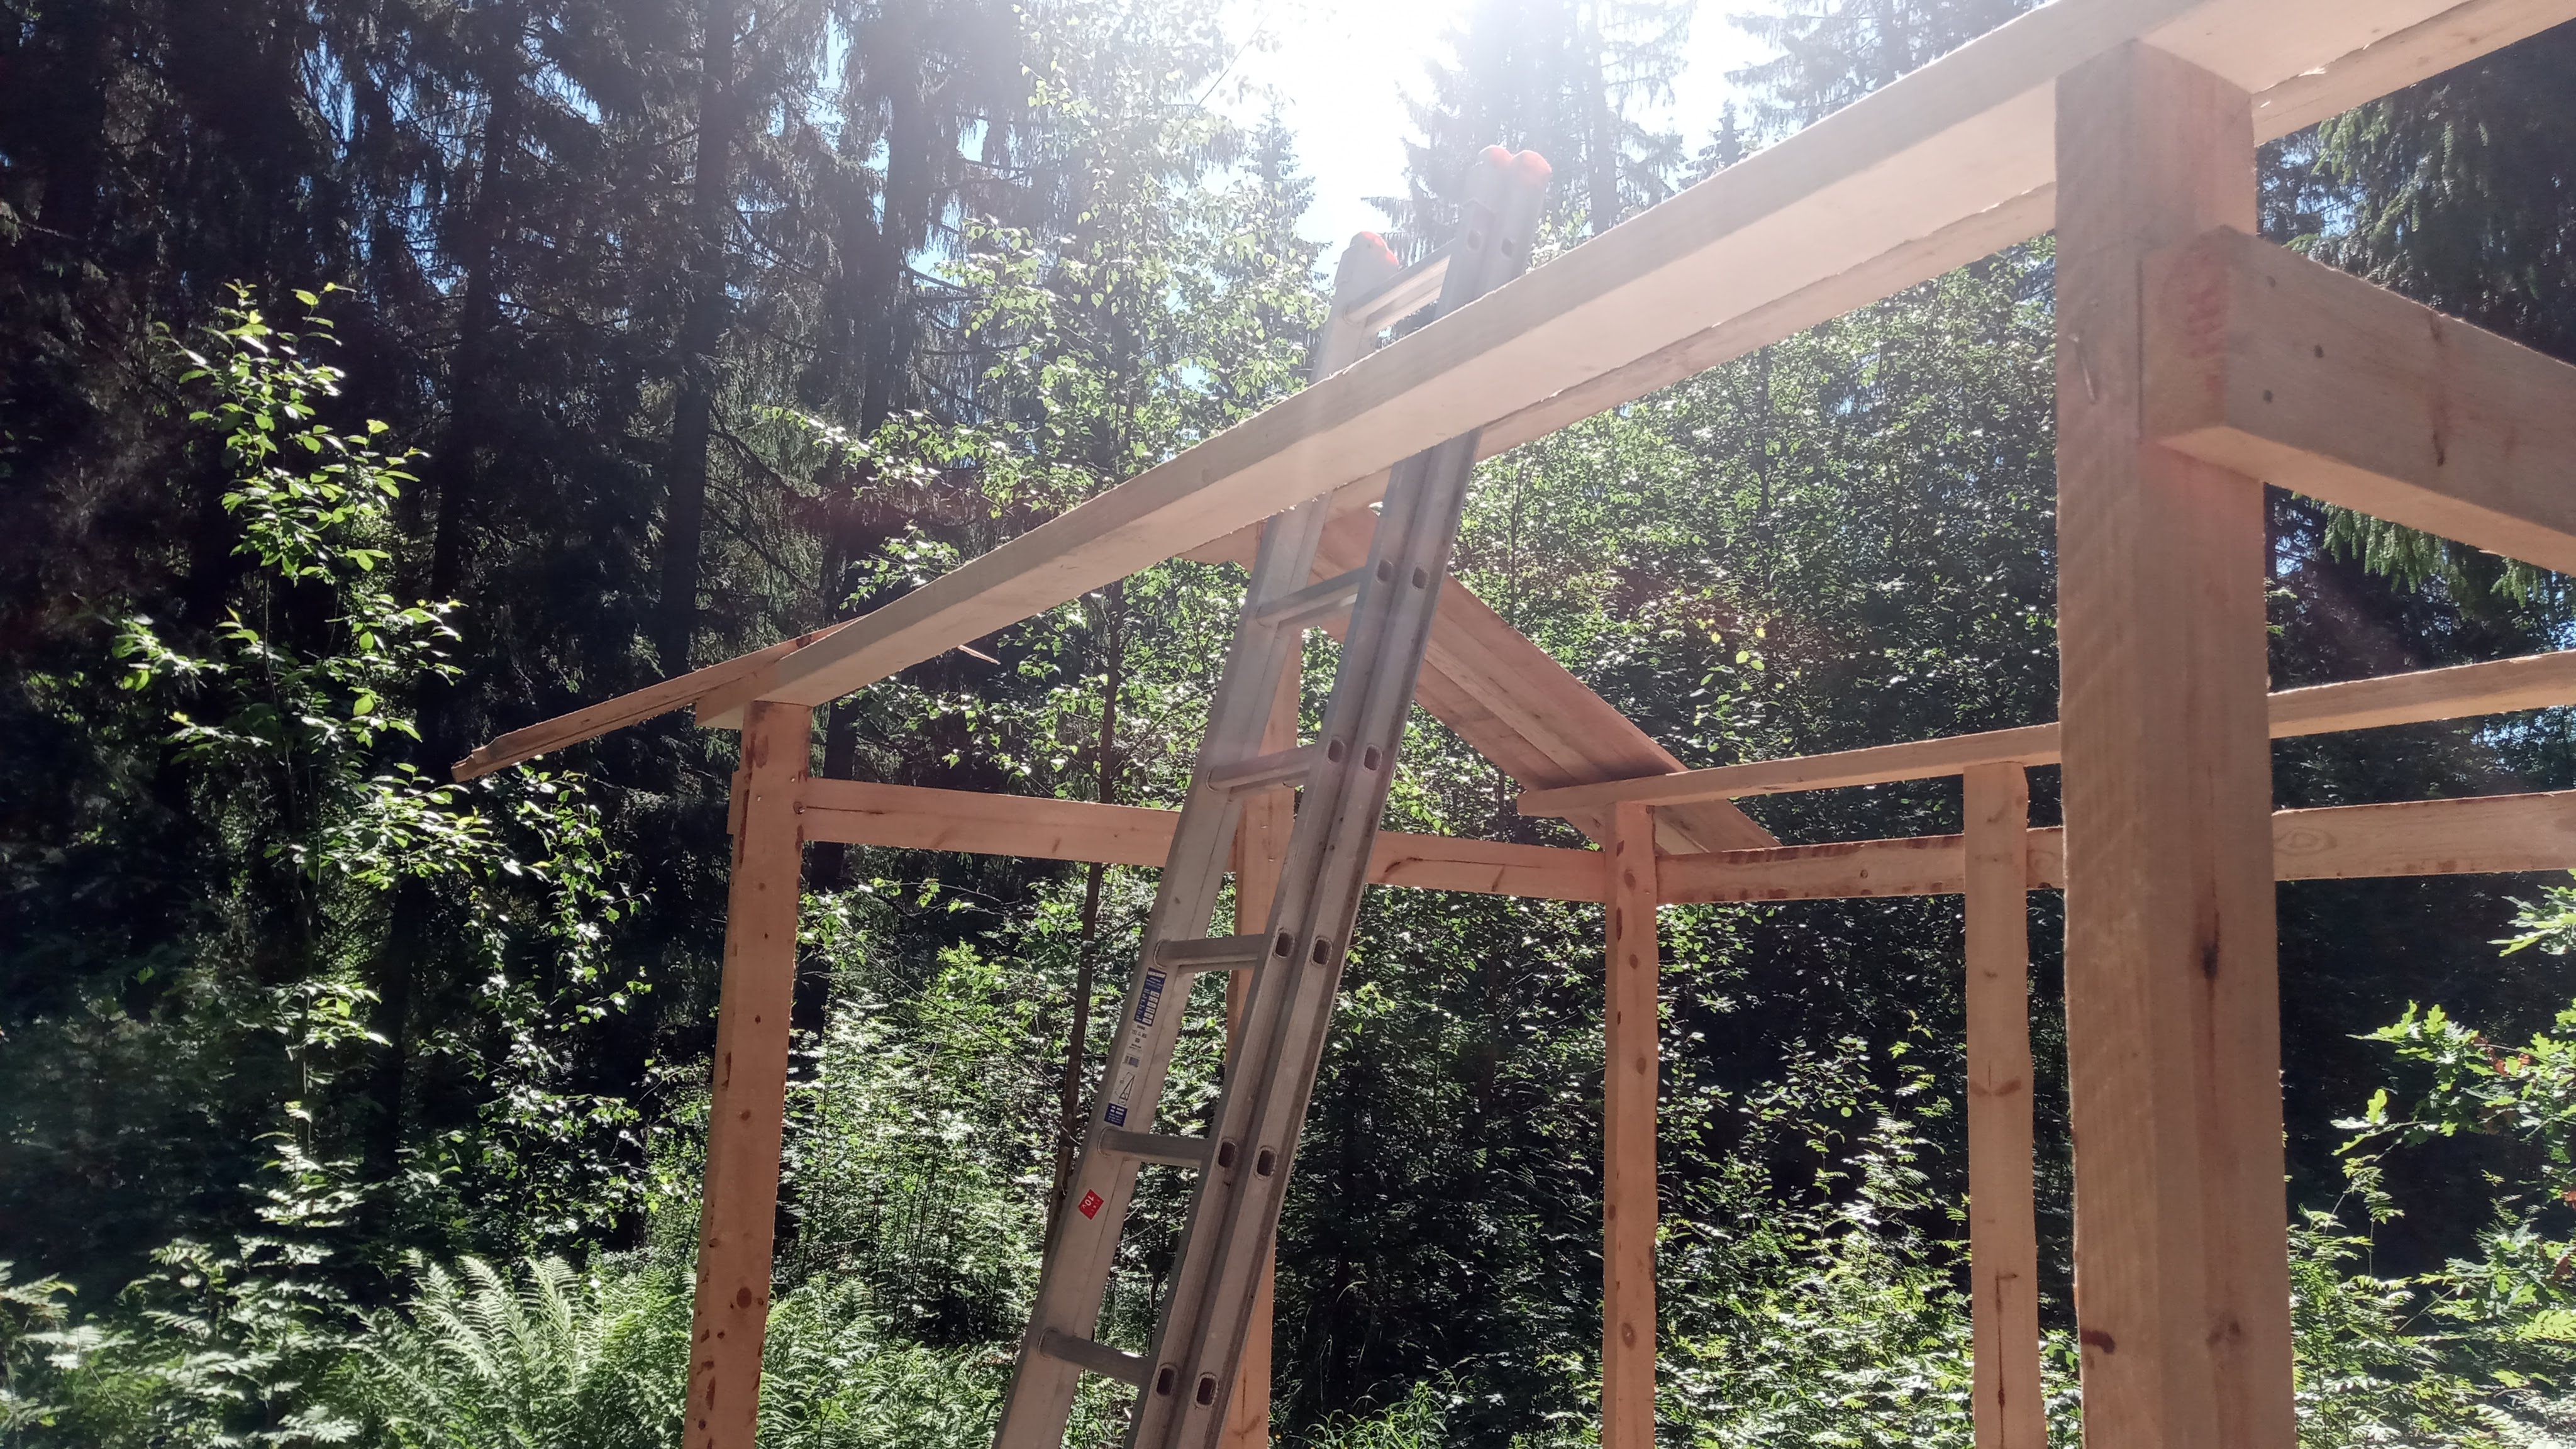 Started attaching roof planks
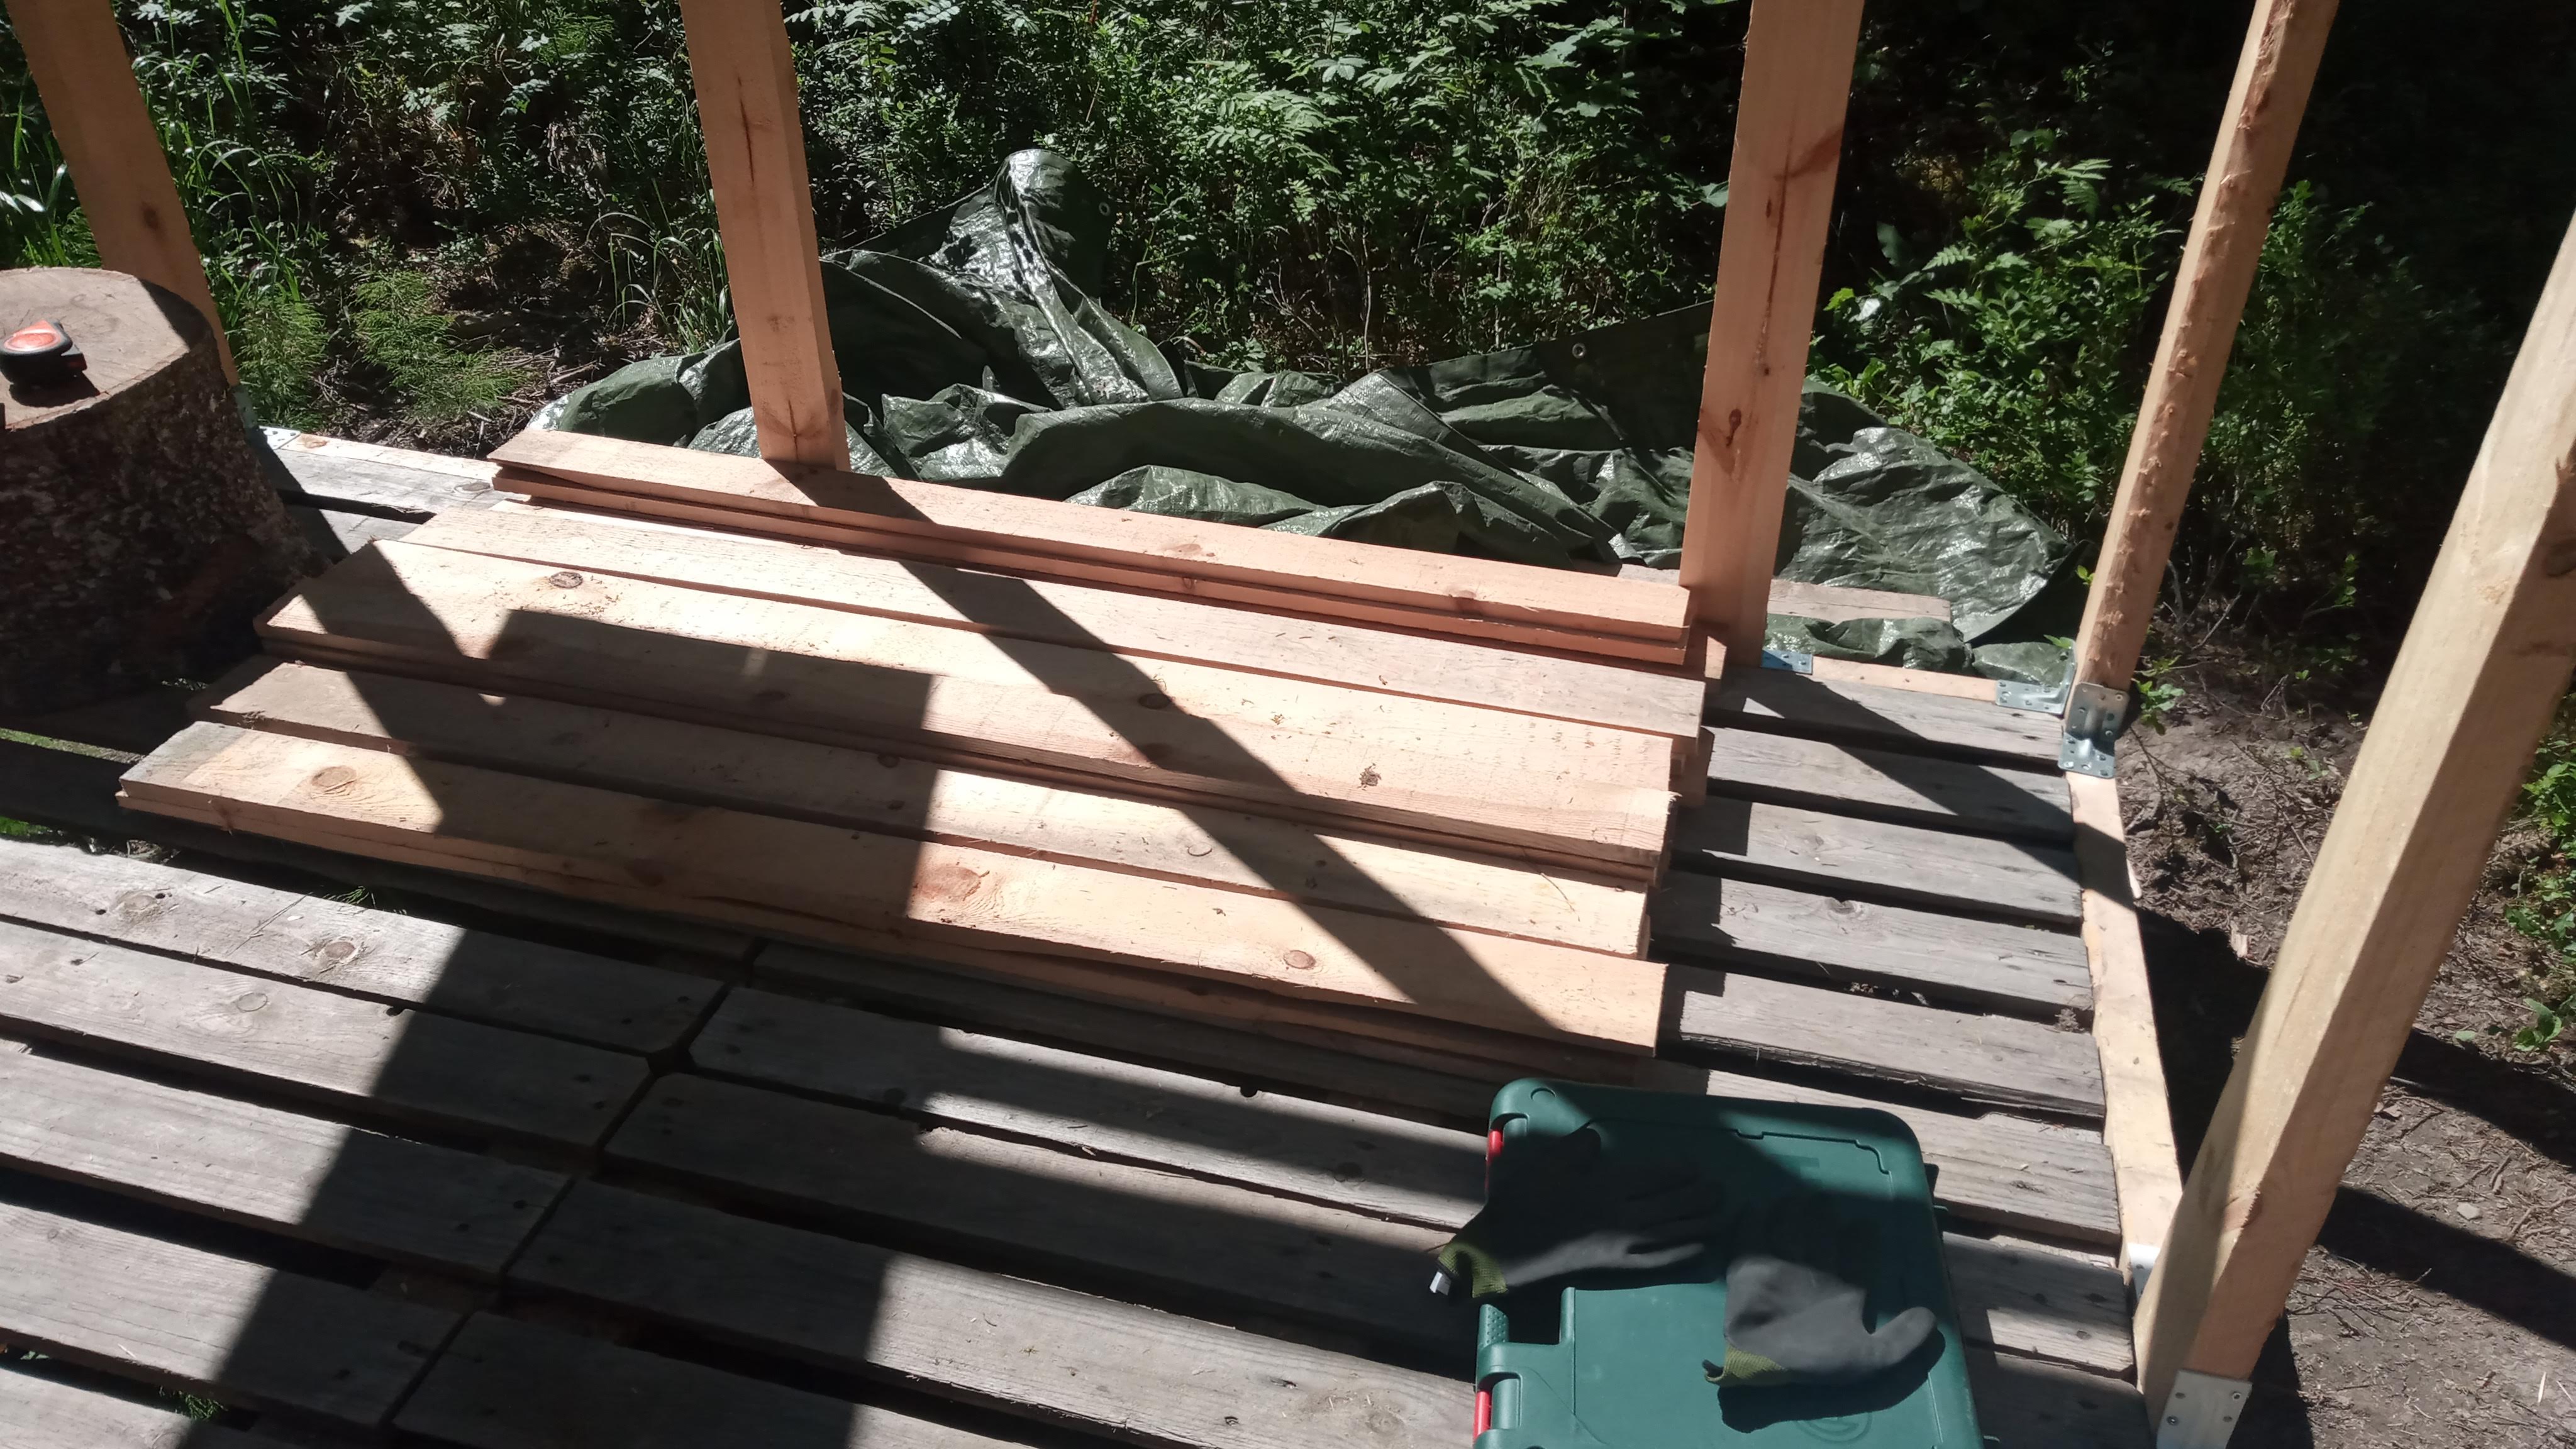 Sawn roof planks, ~150cm
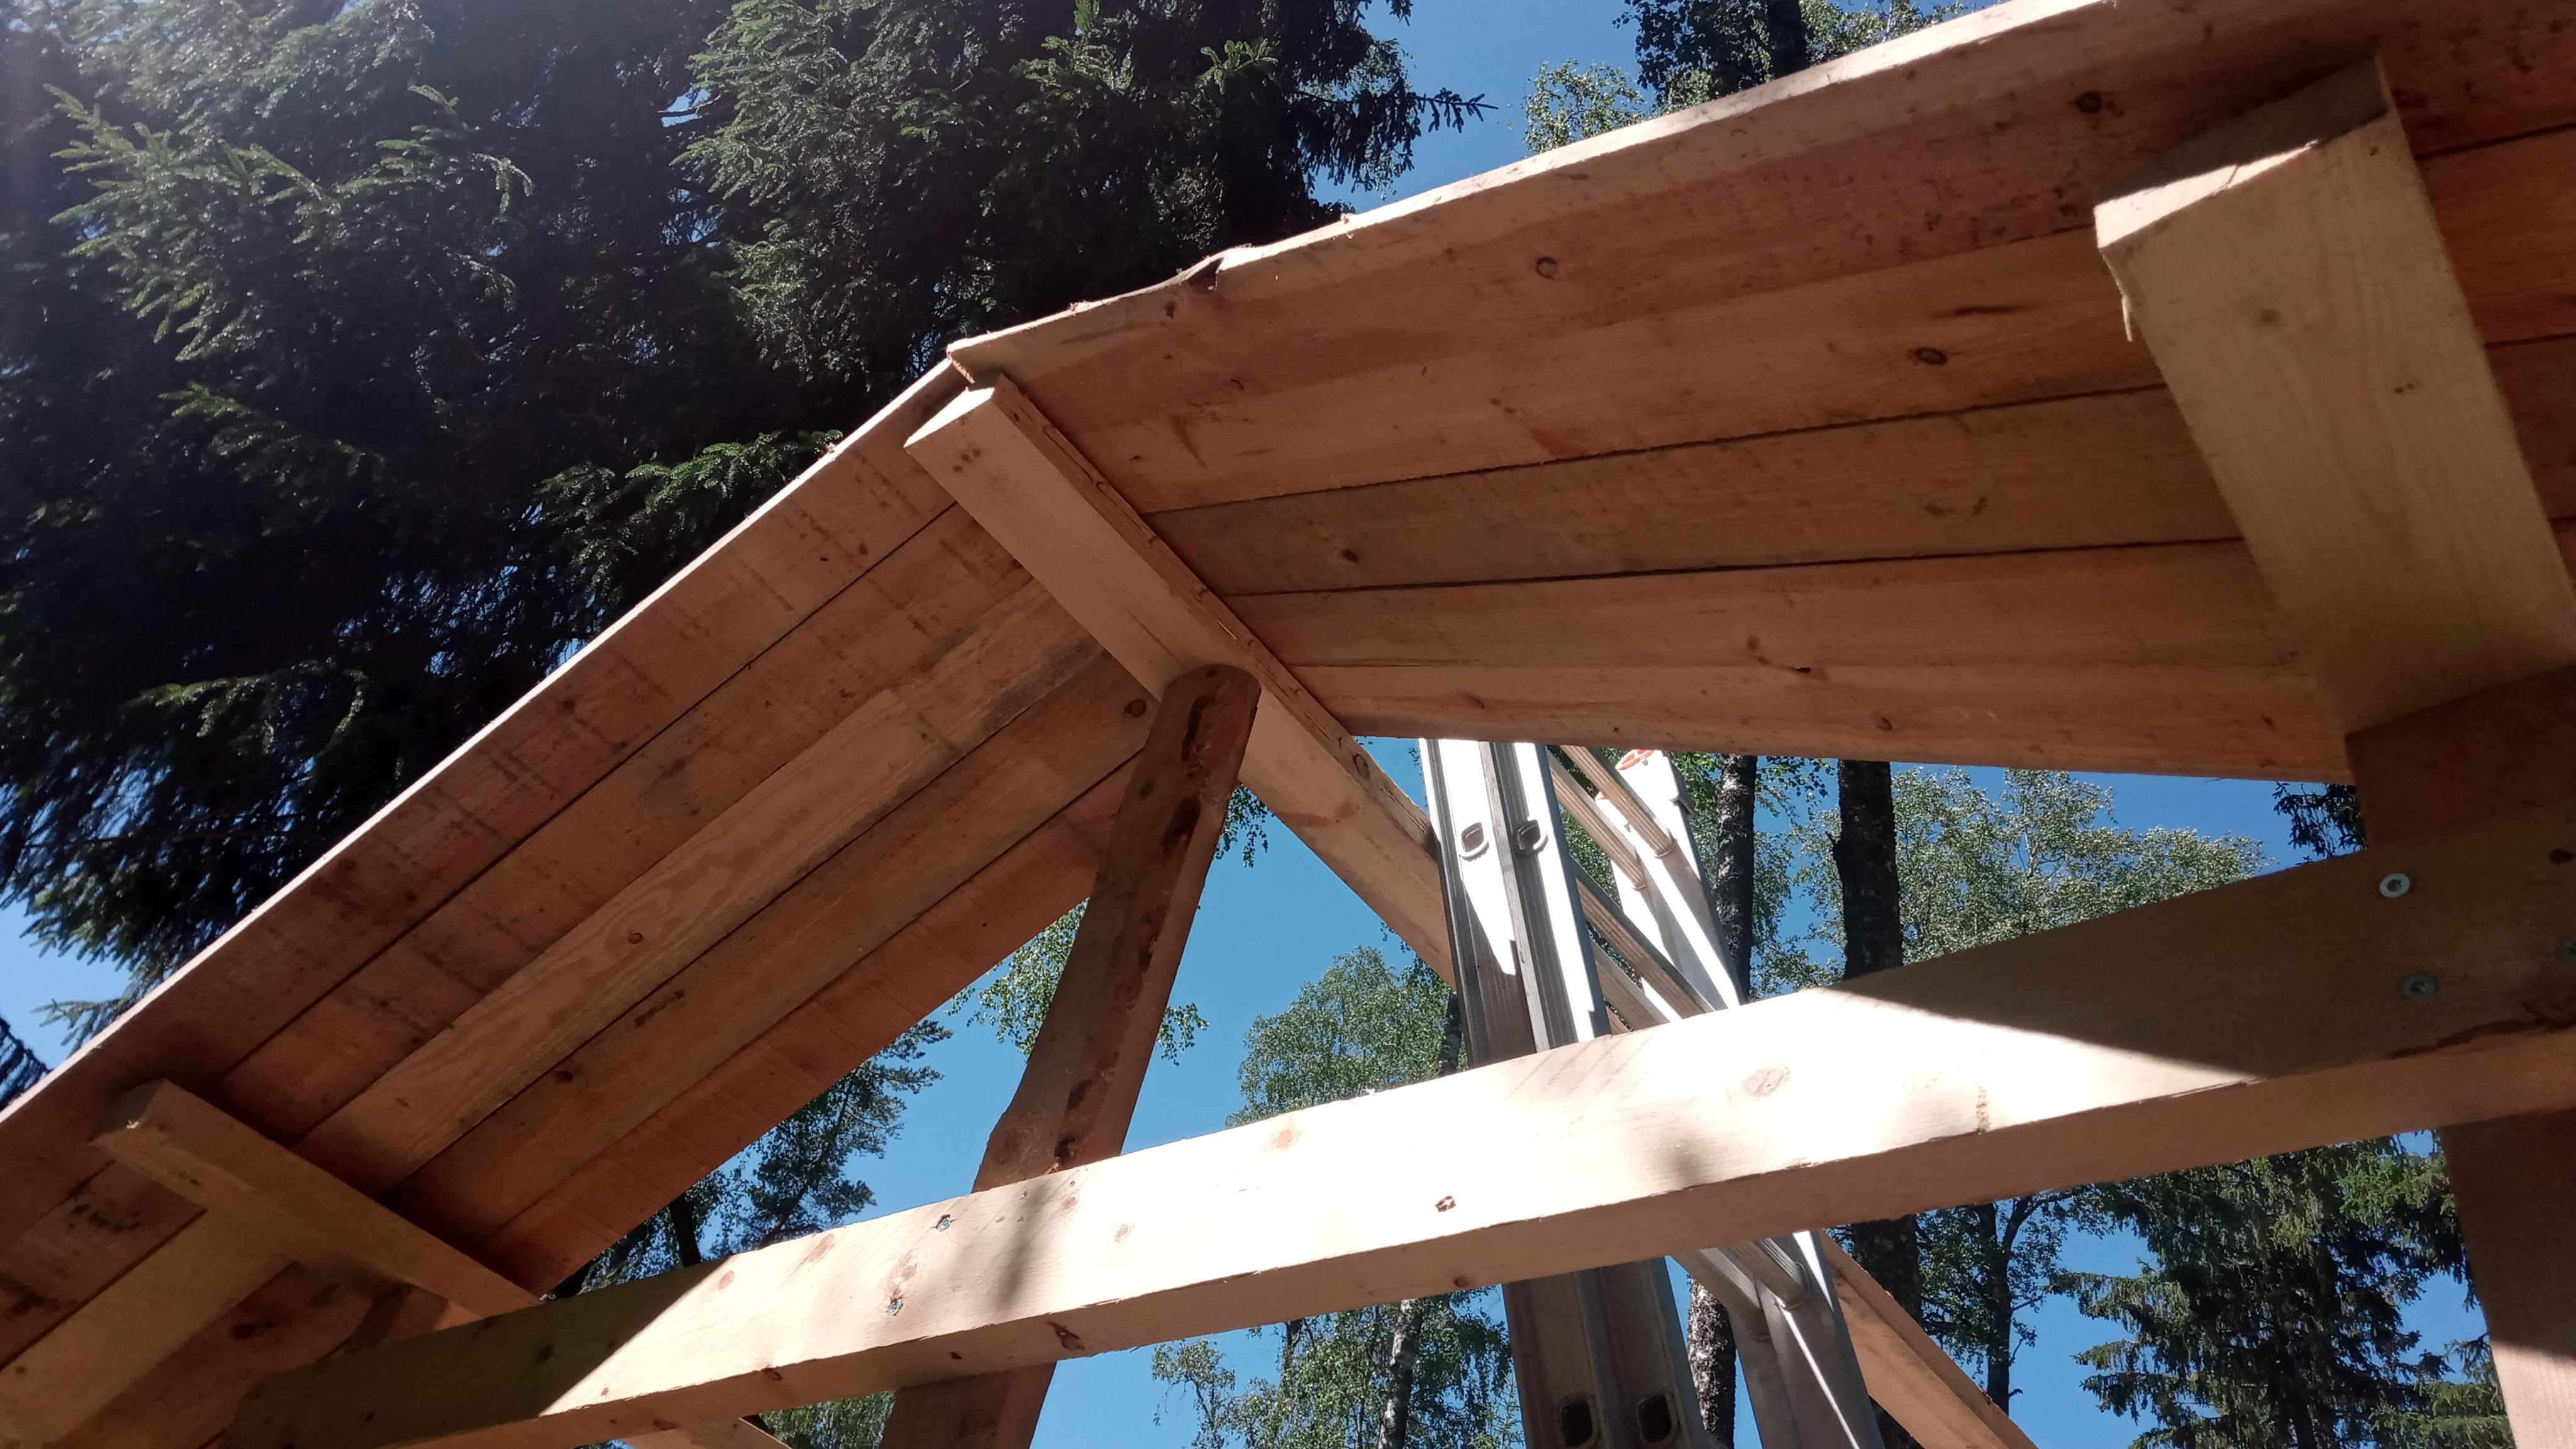 First portion of the roof from below
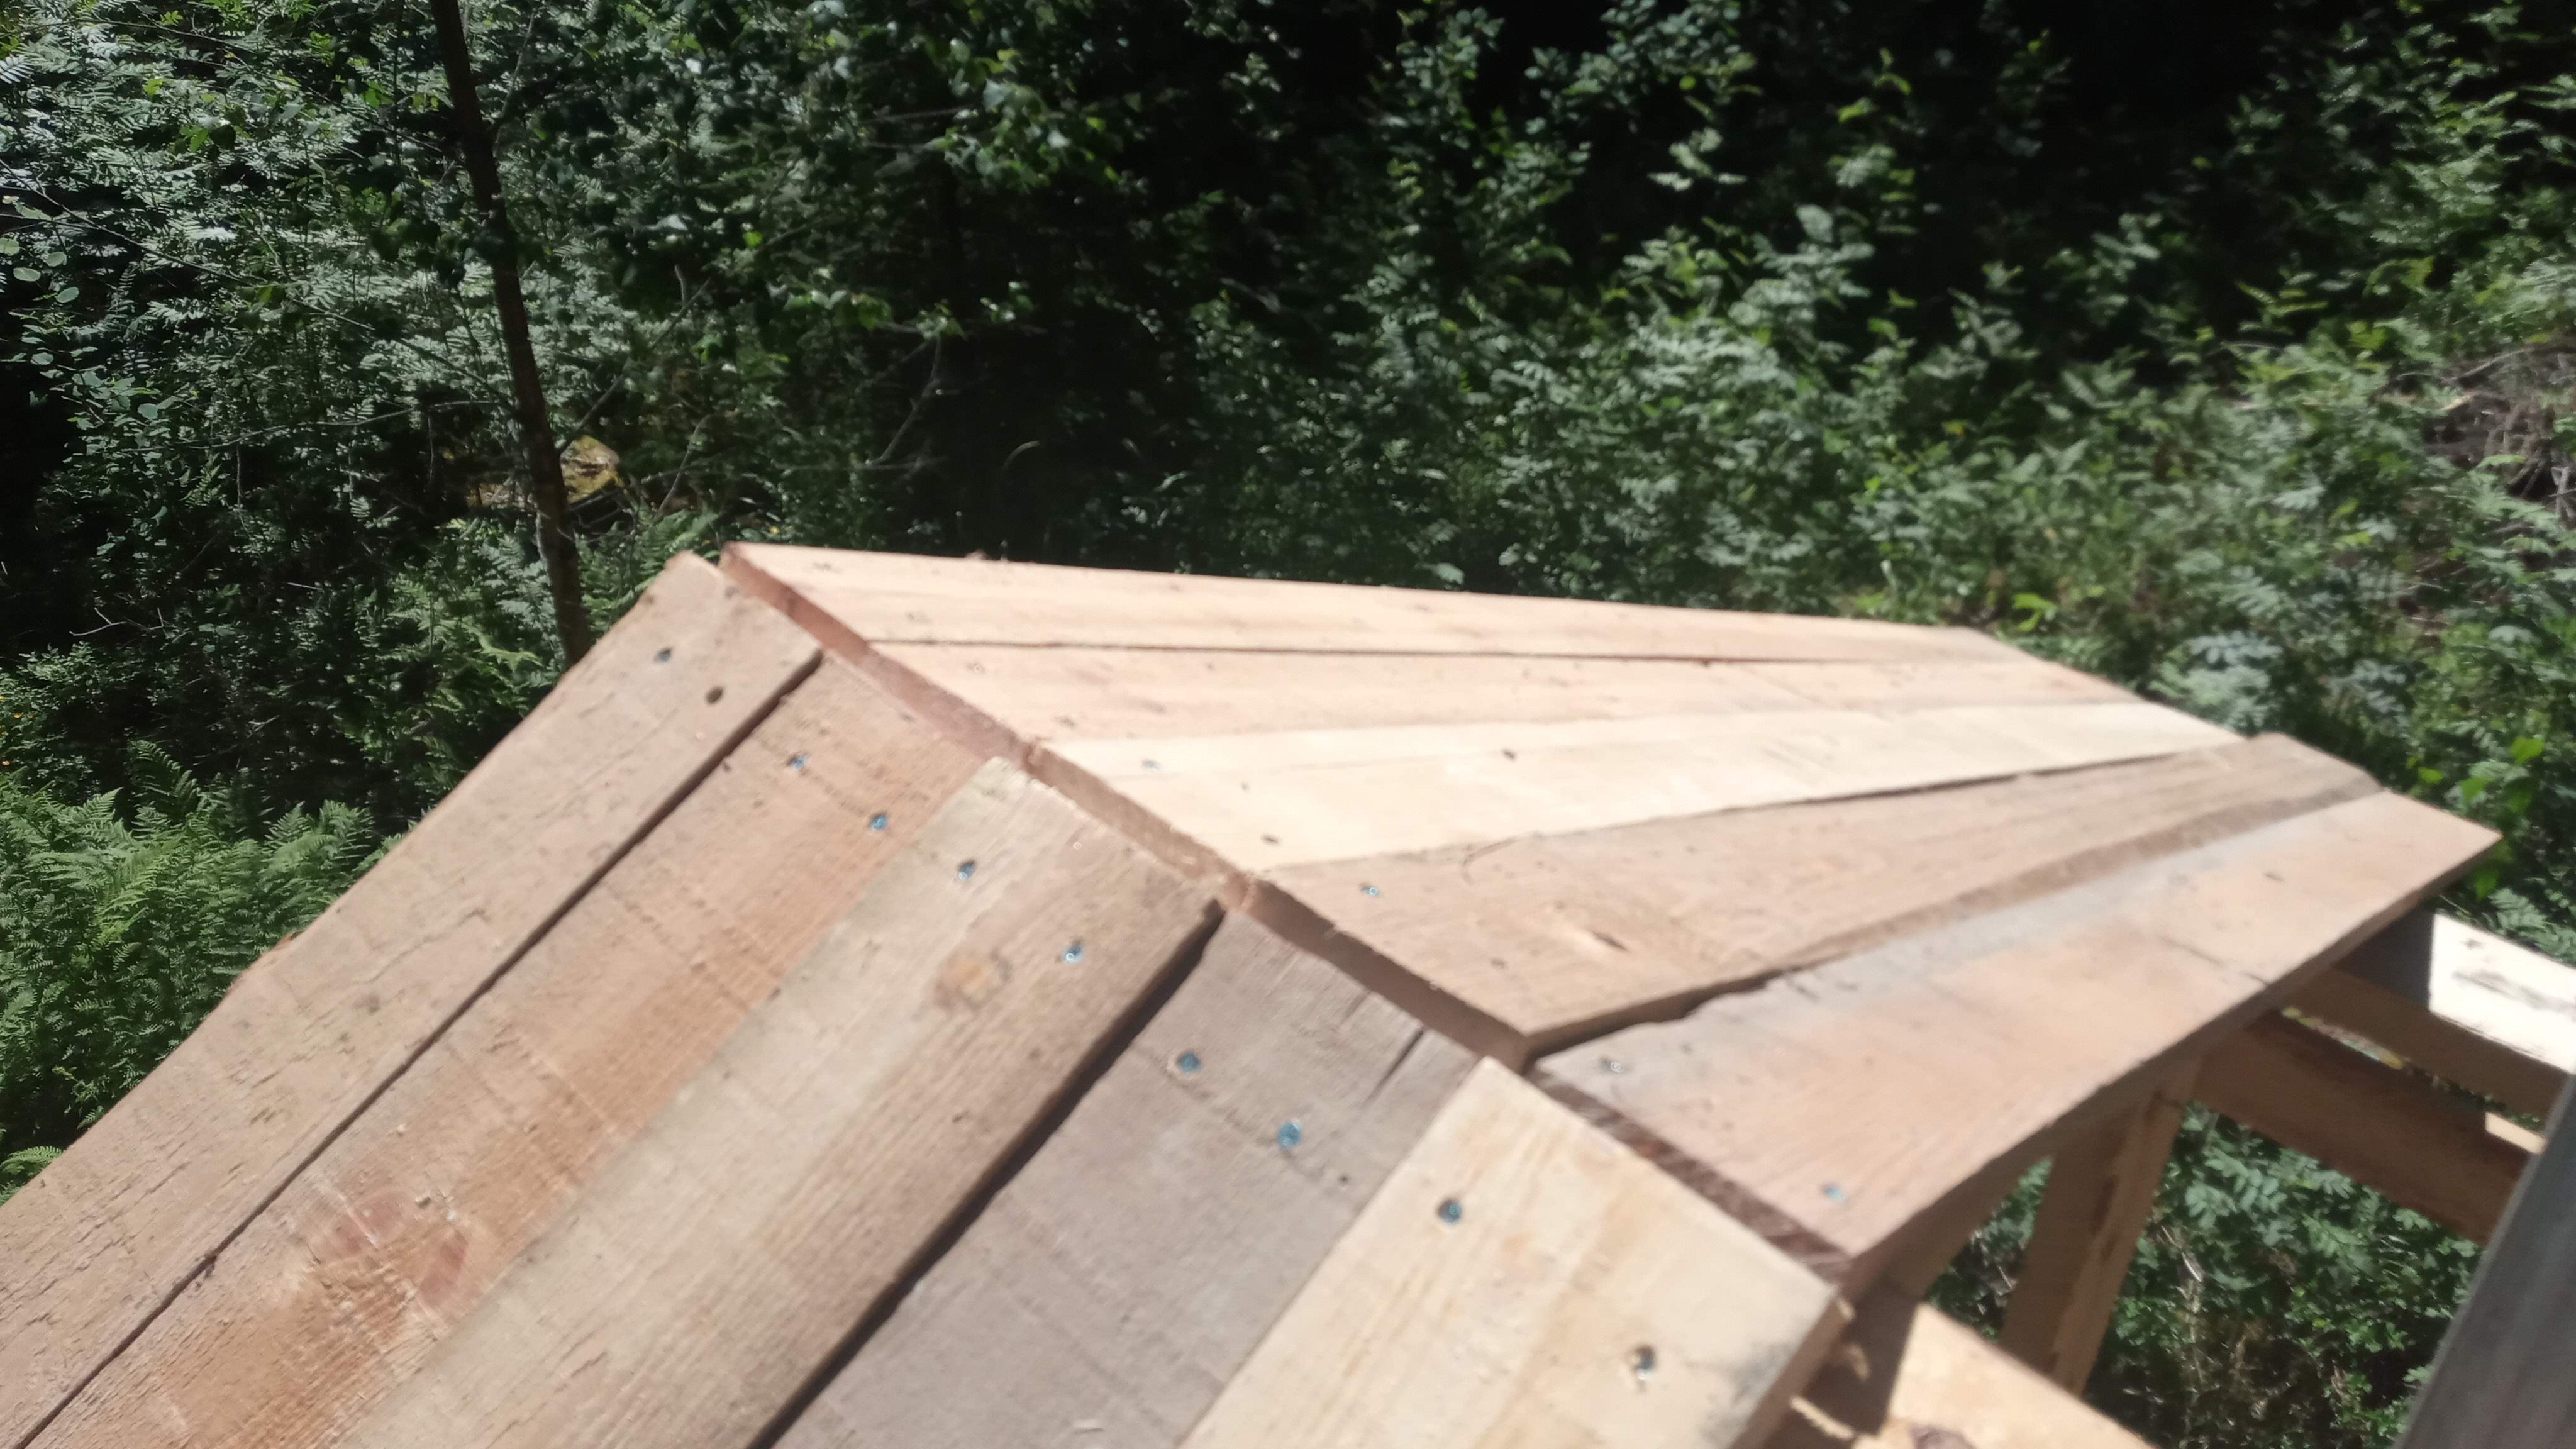 Same view from top
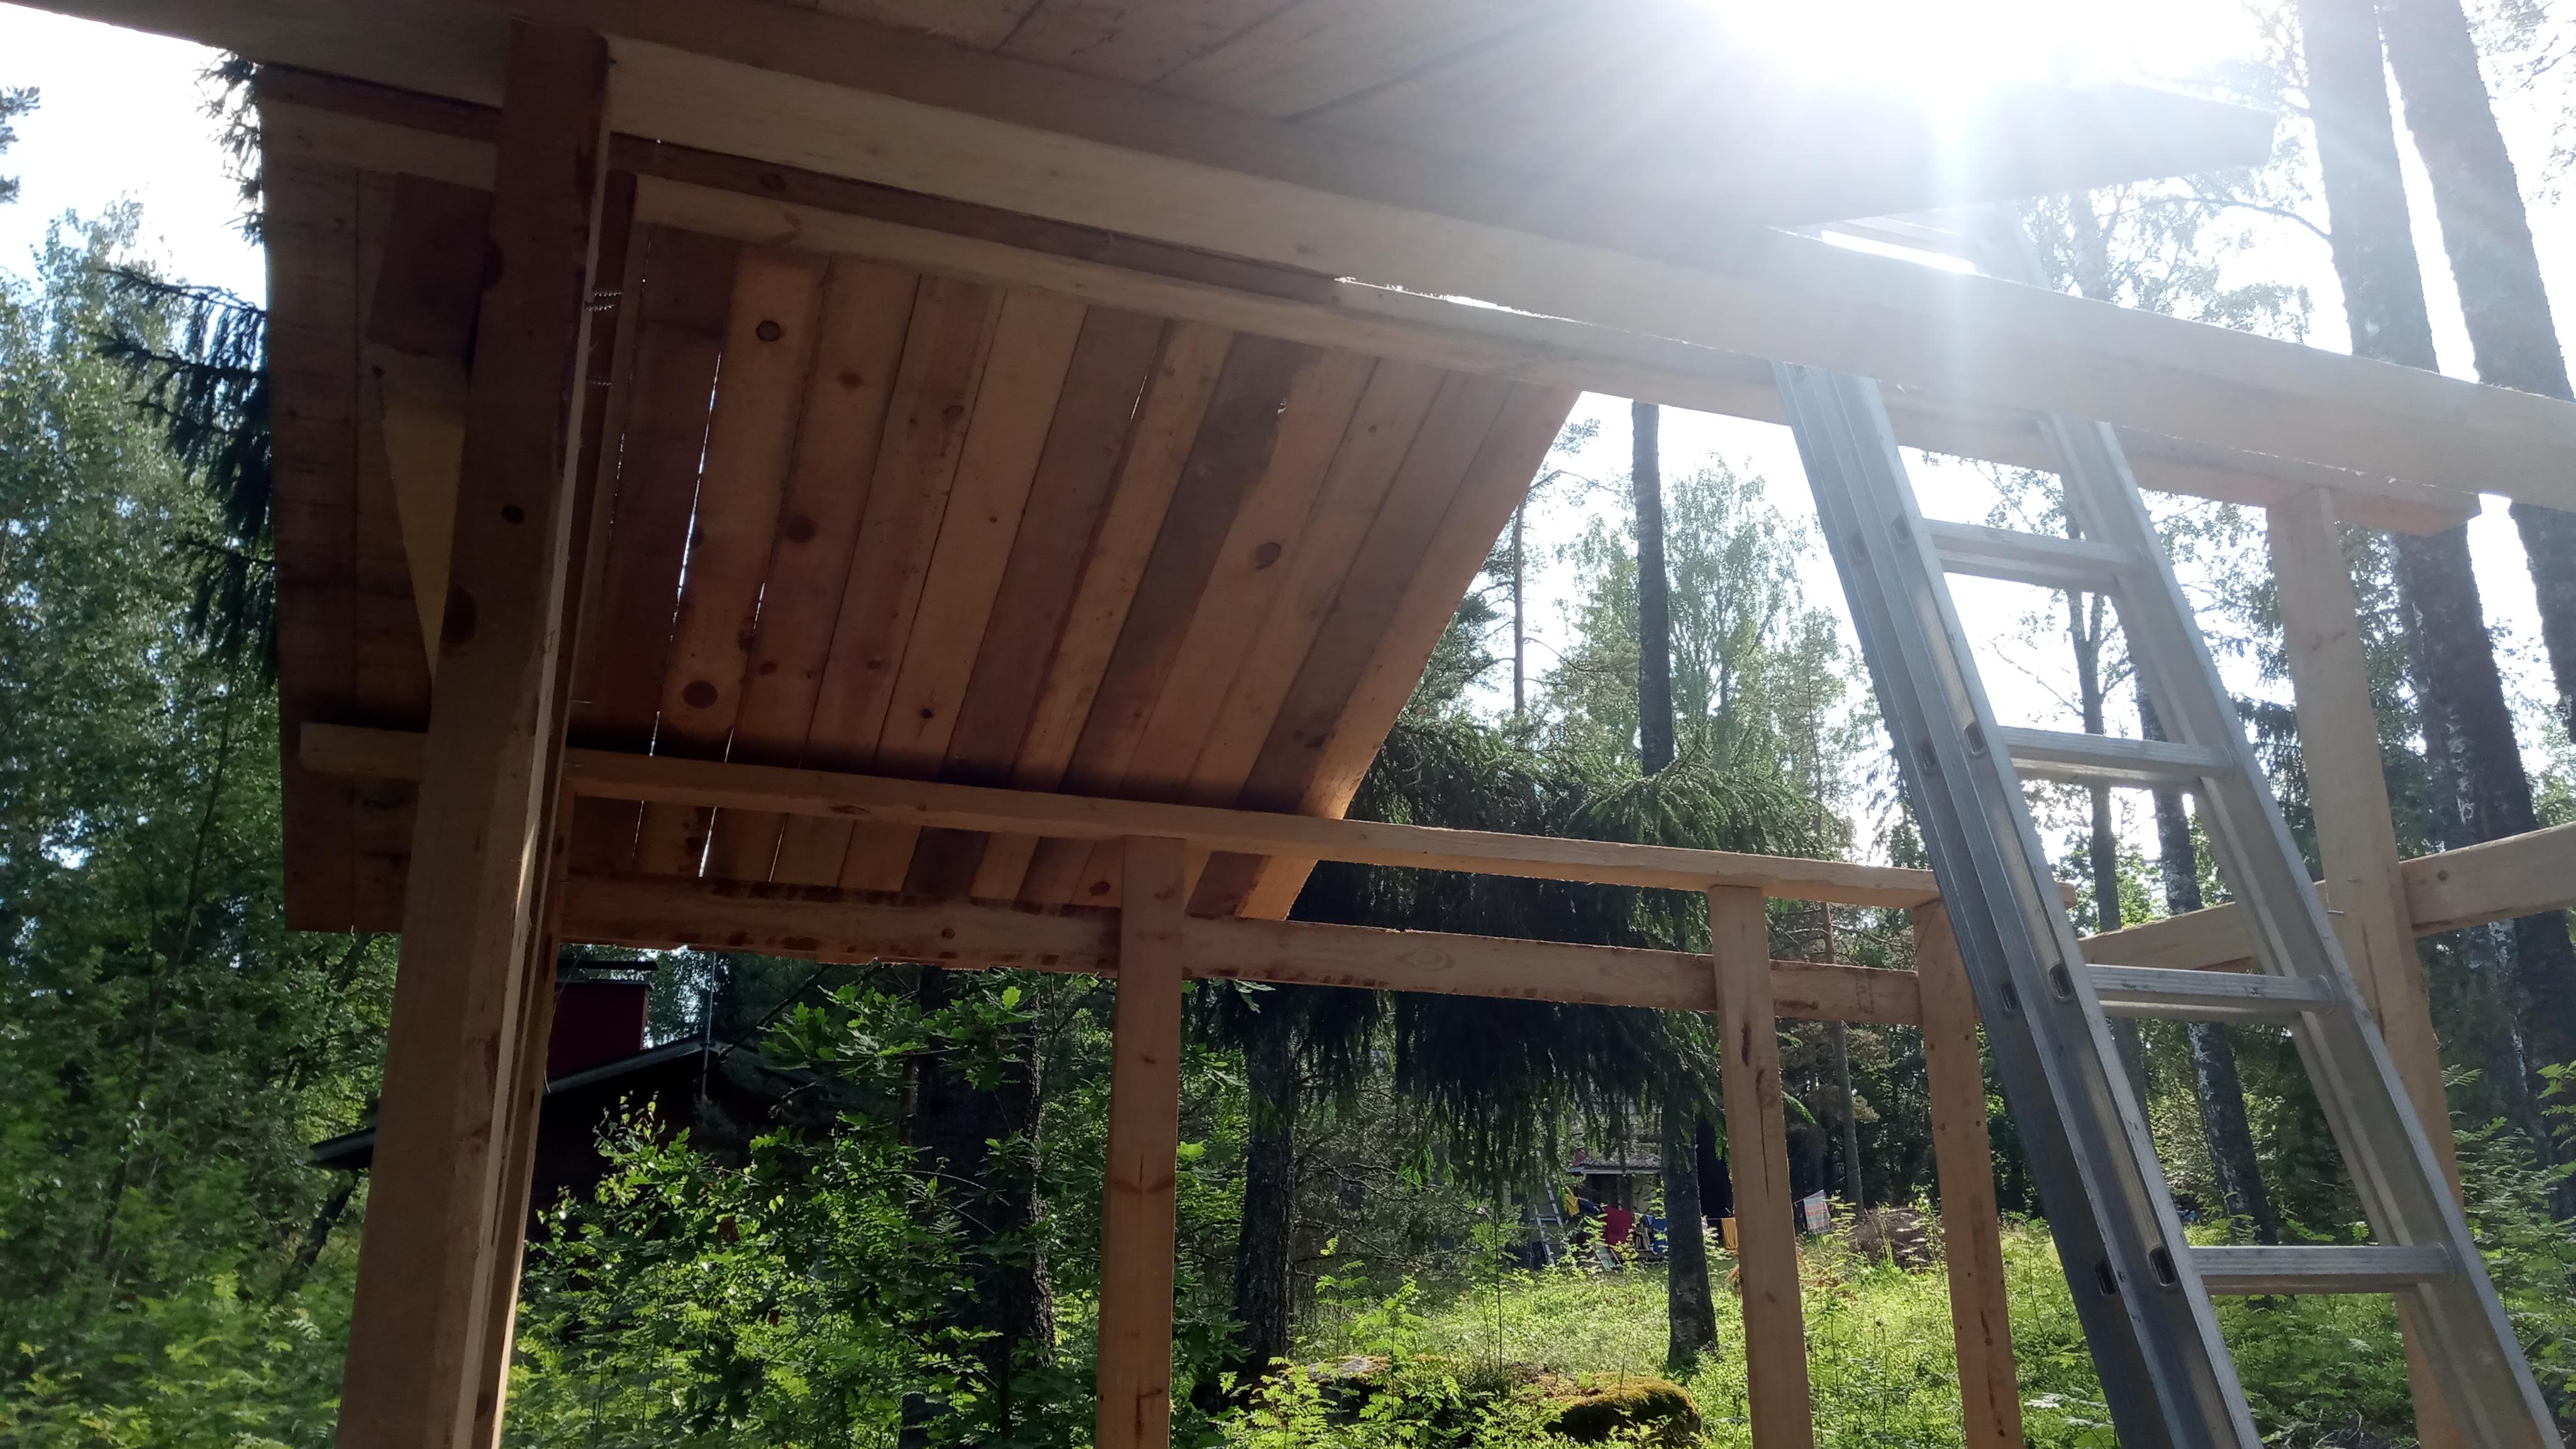 Some more progress on the roof and you can also notice the two more vertical planks which the main window will be between of
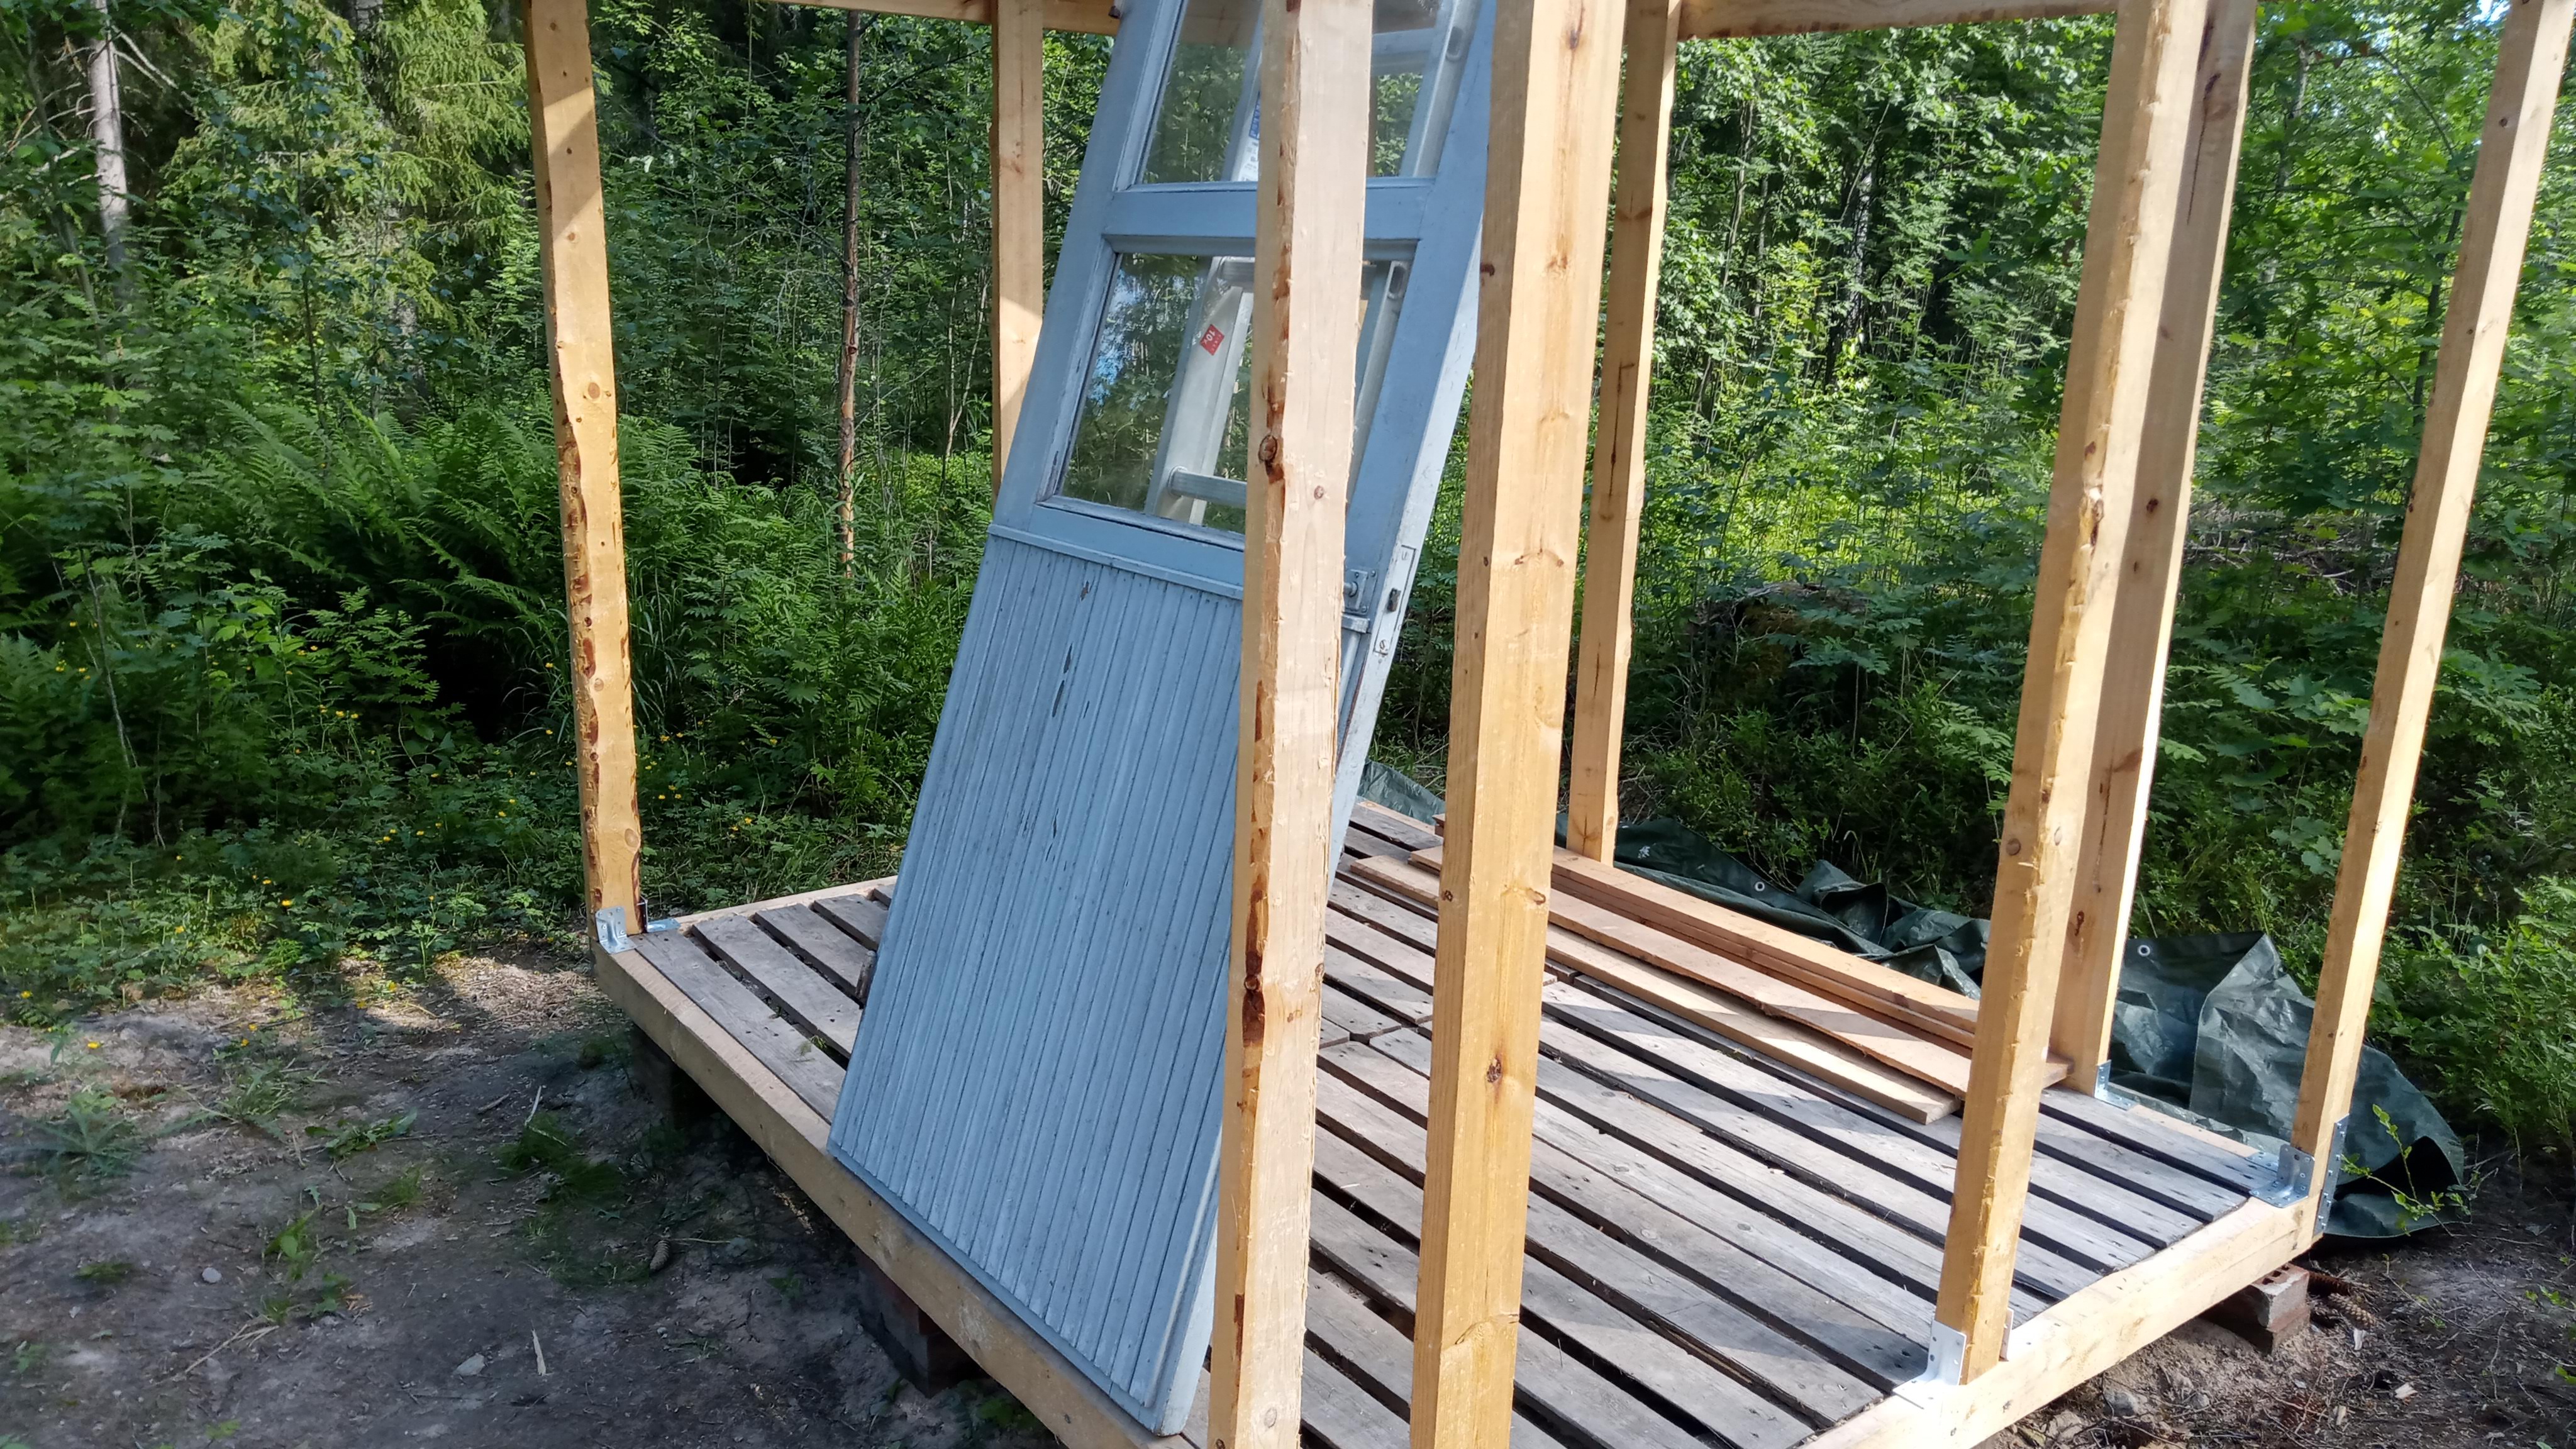 Started figuring out where to put the door I found on Facebook markeplace for 20€
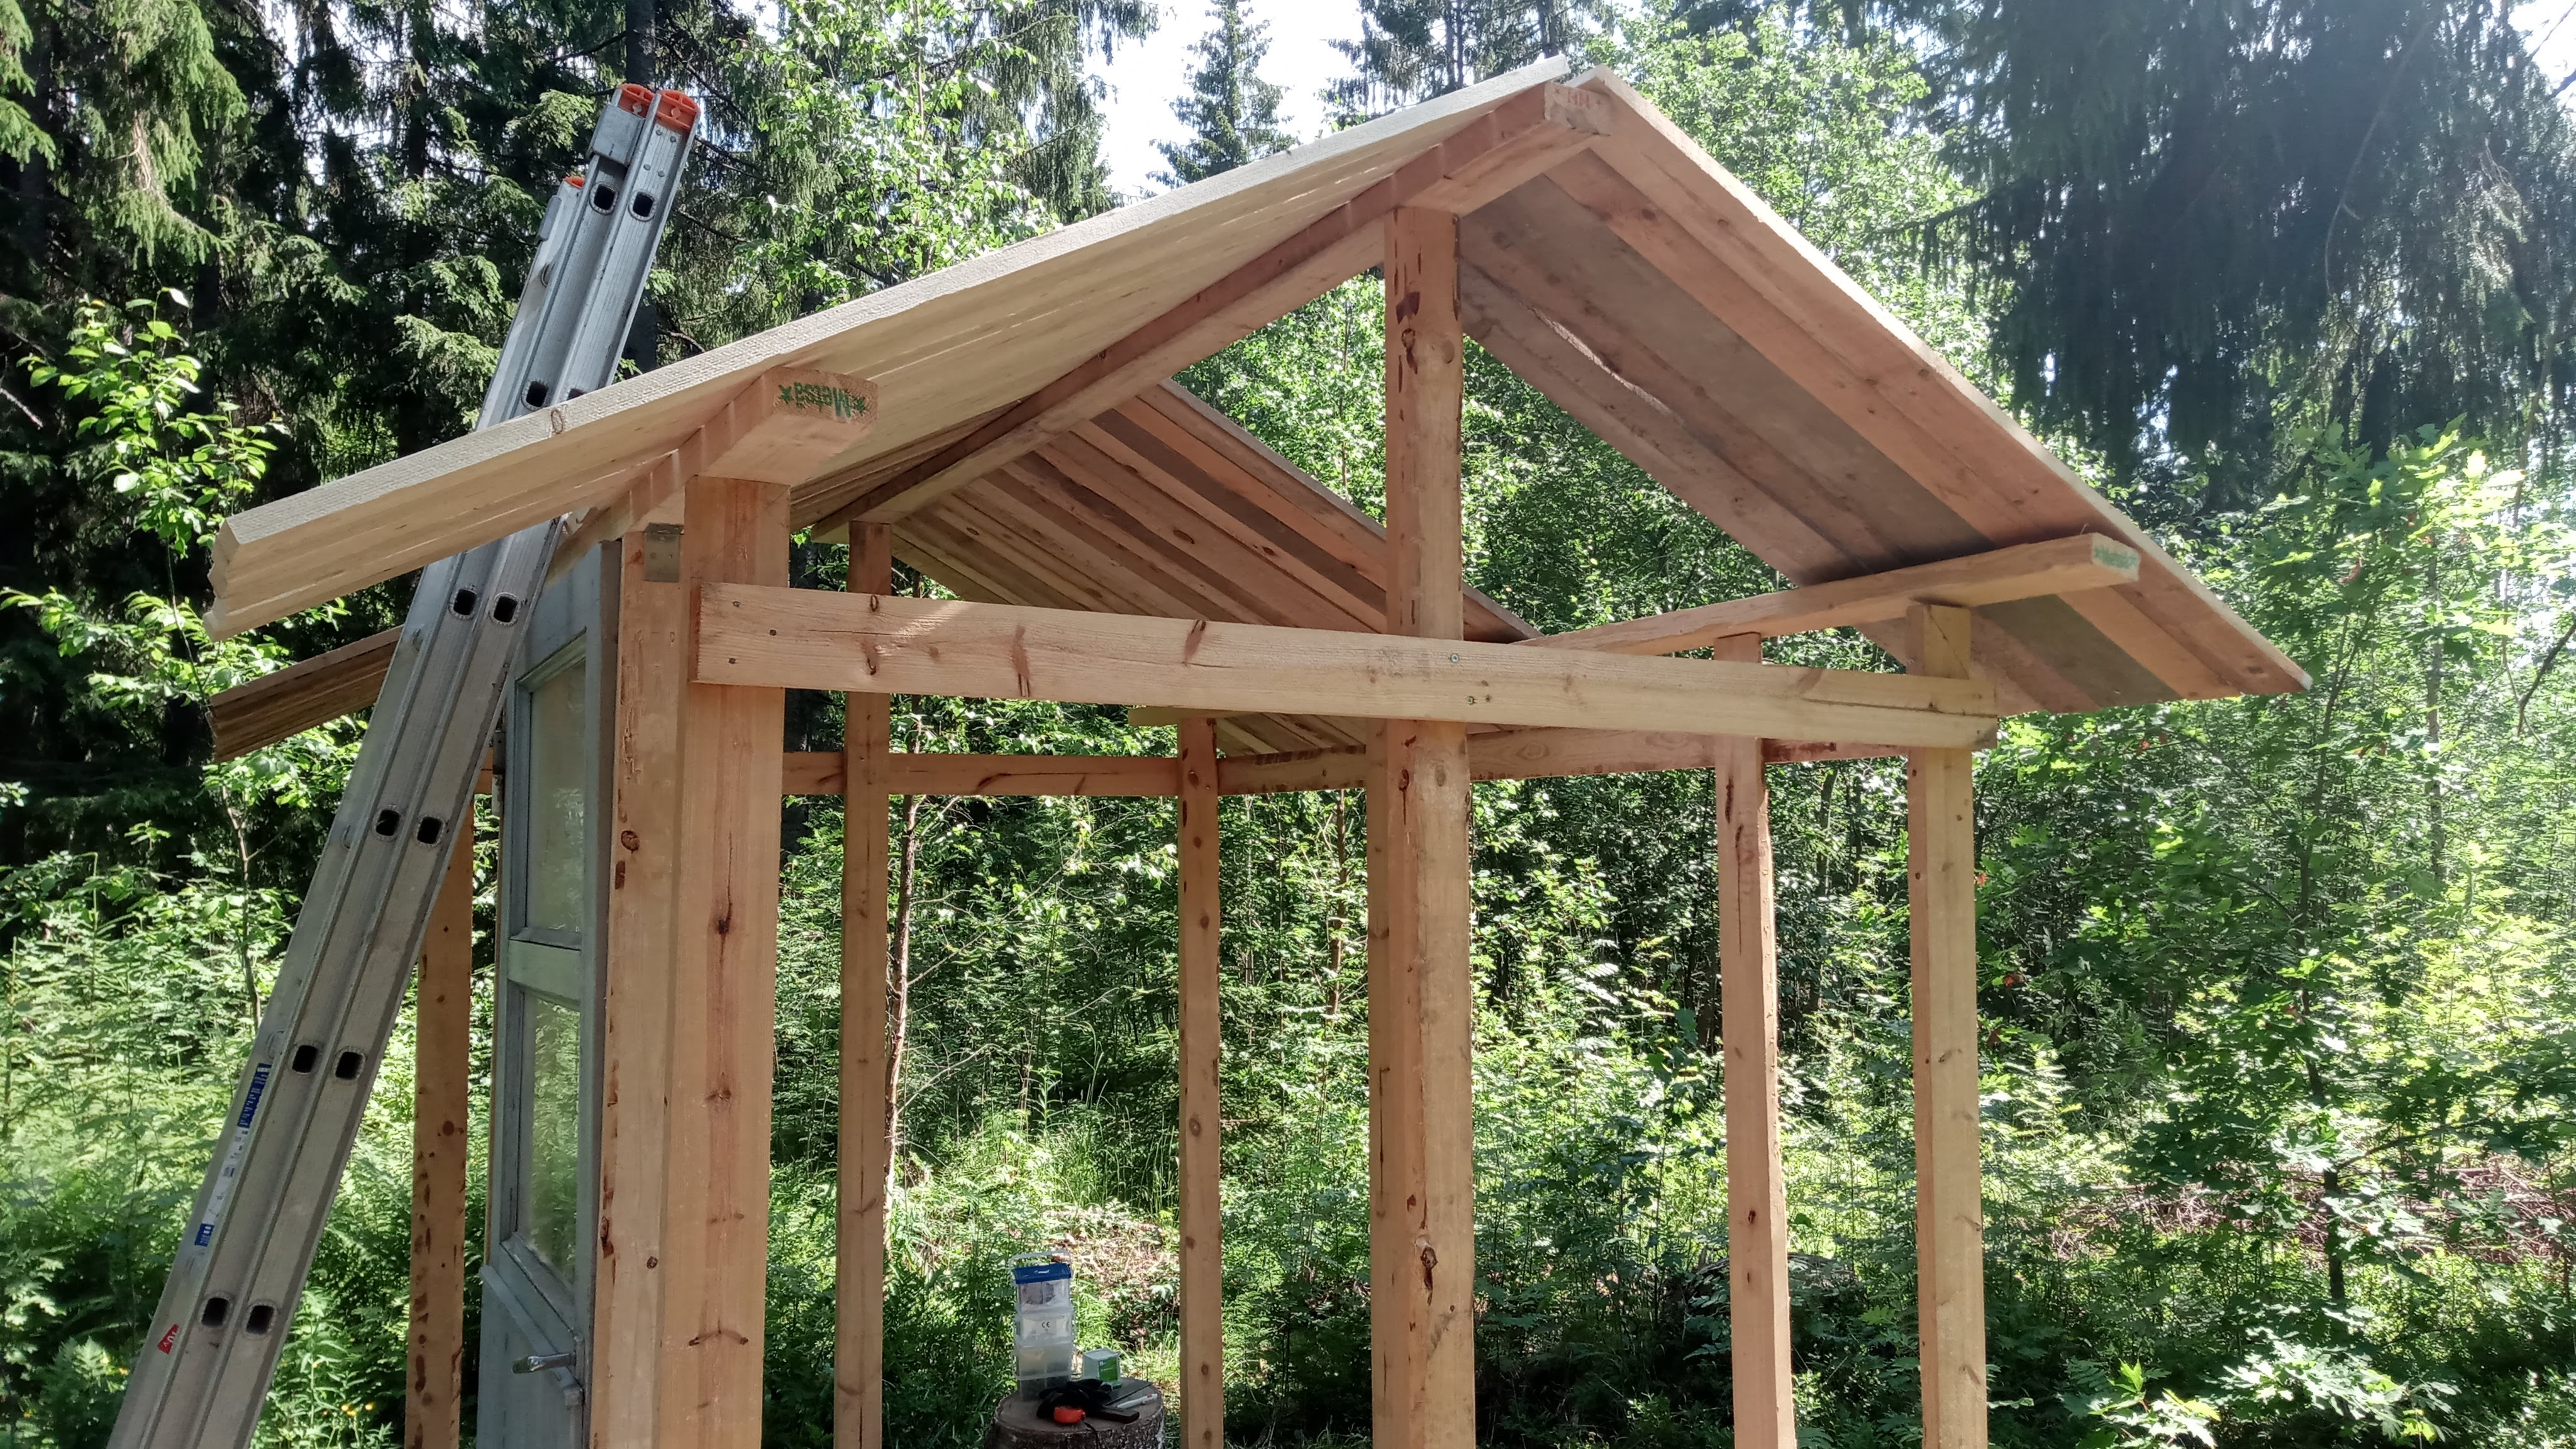 Most of the roof planks have been installed
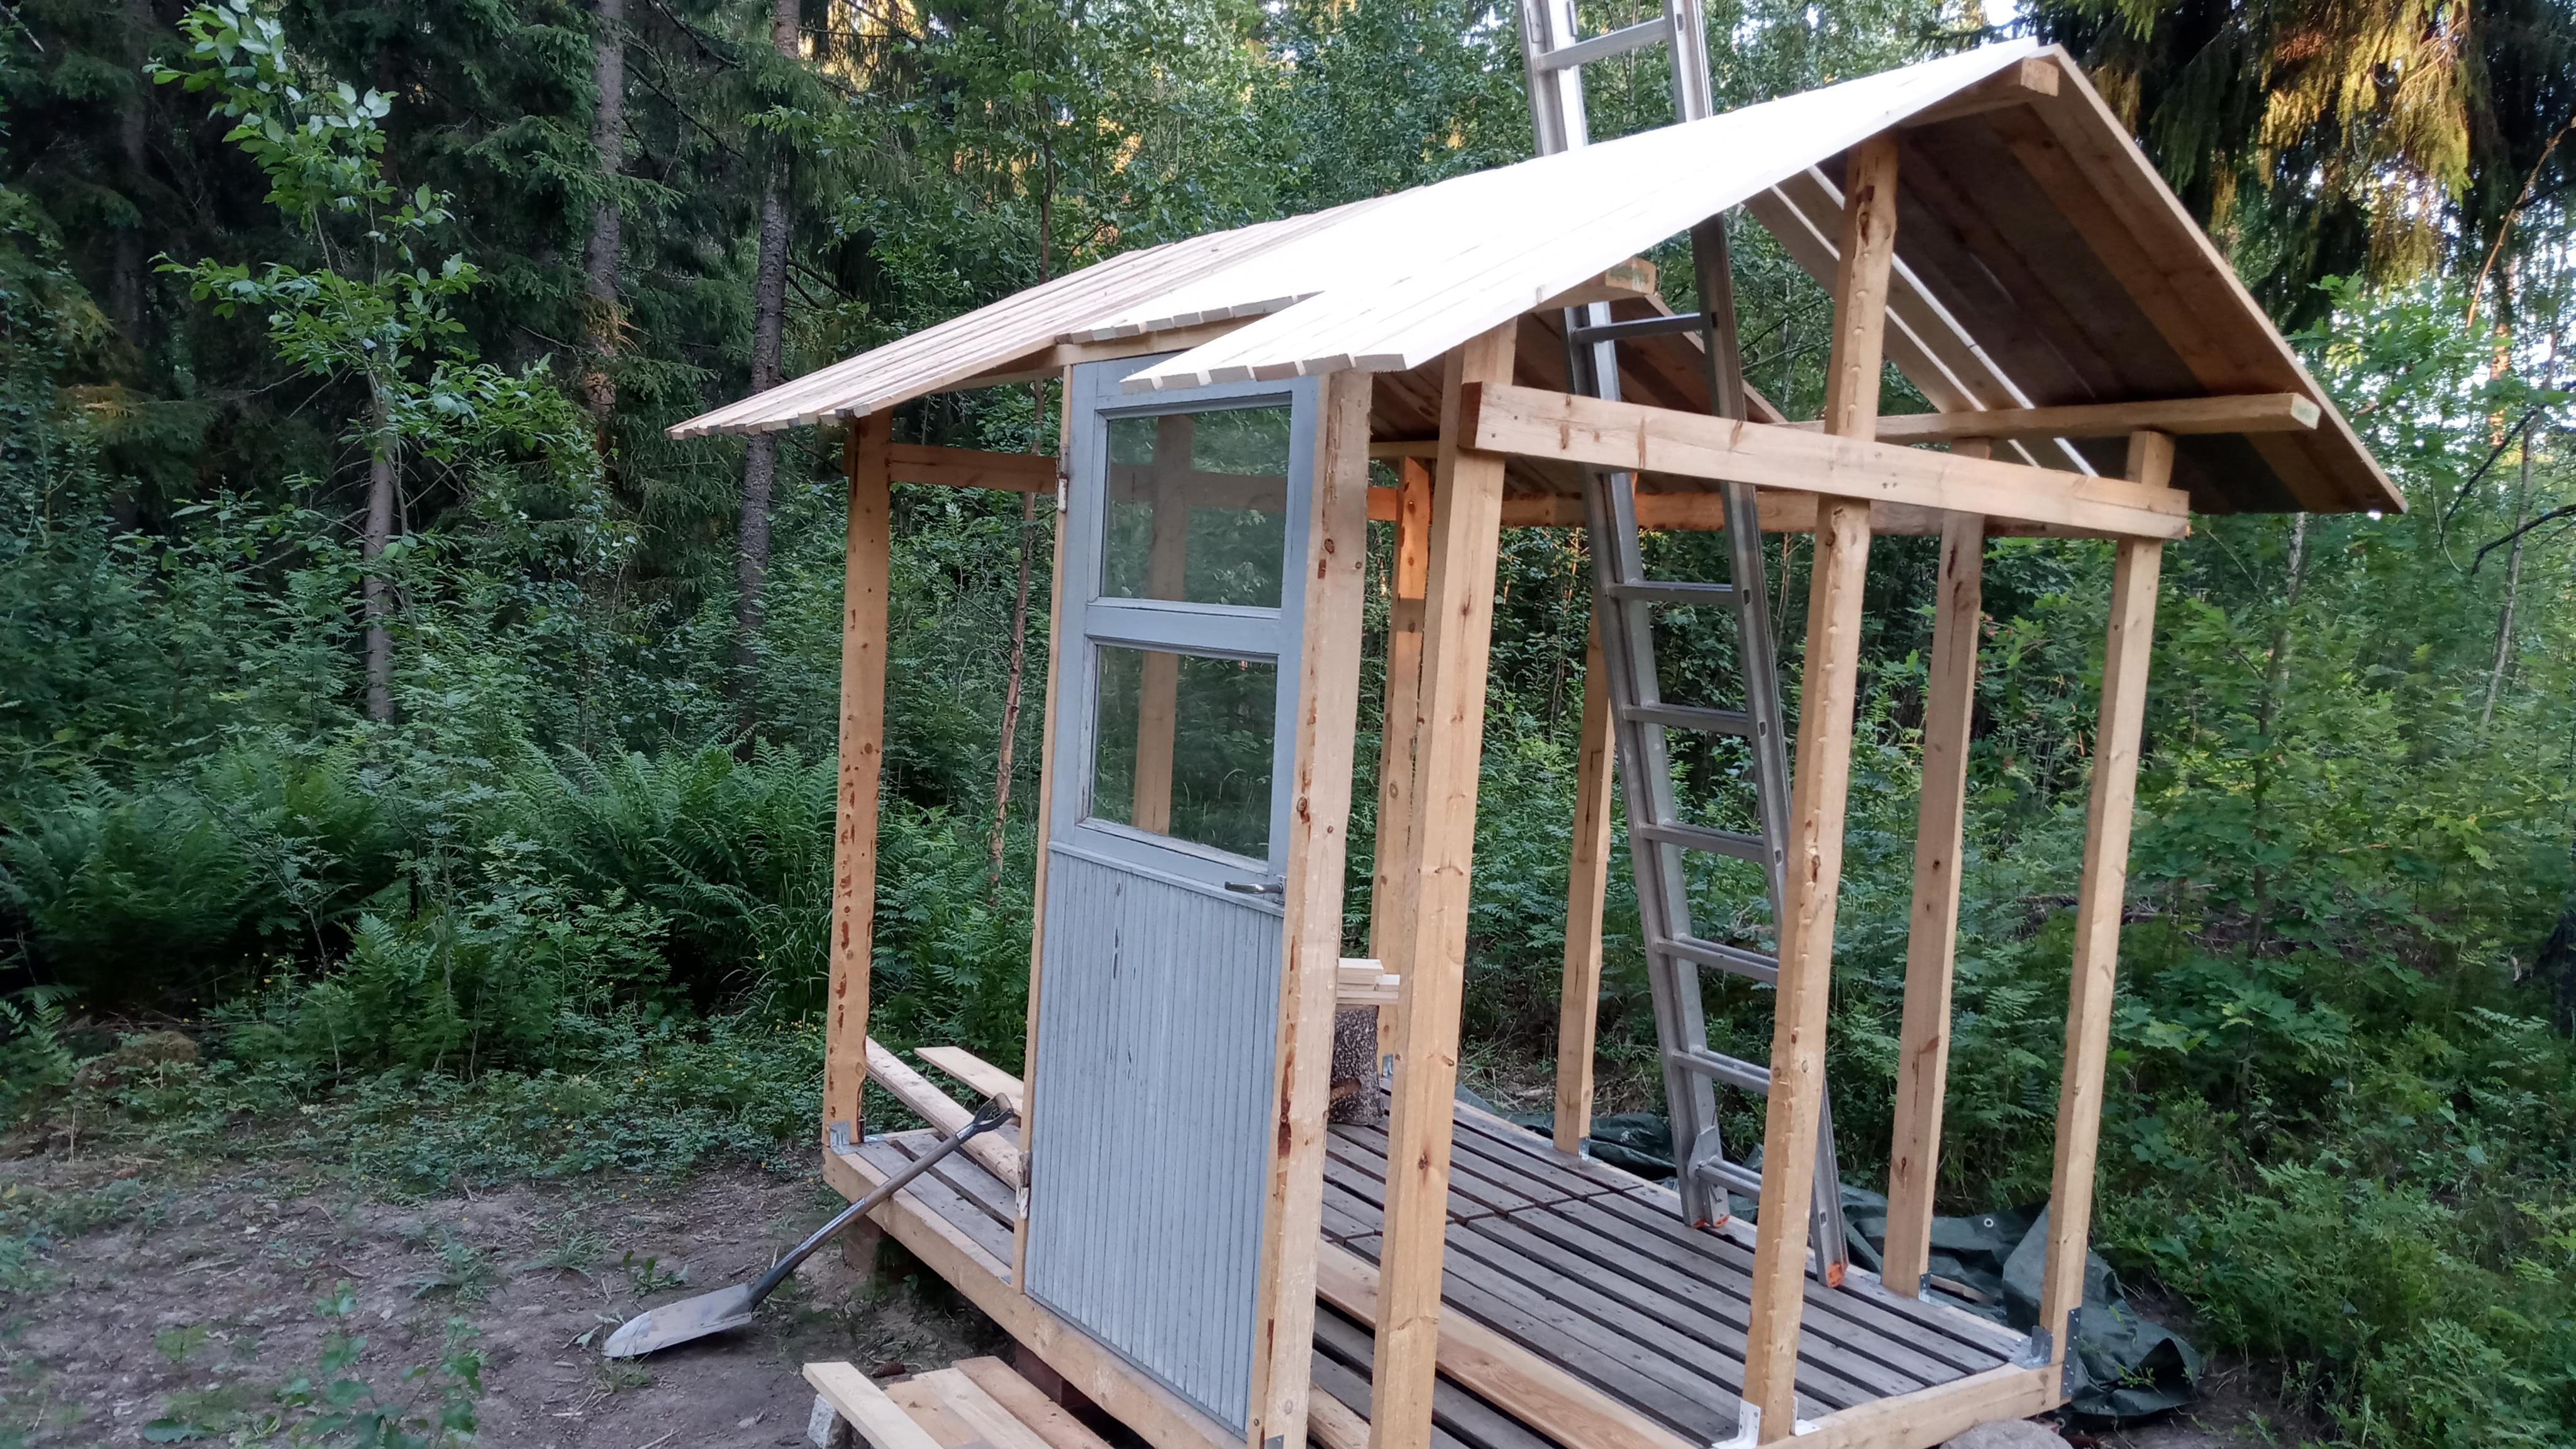 Door has been attached to another 200cm plank
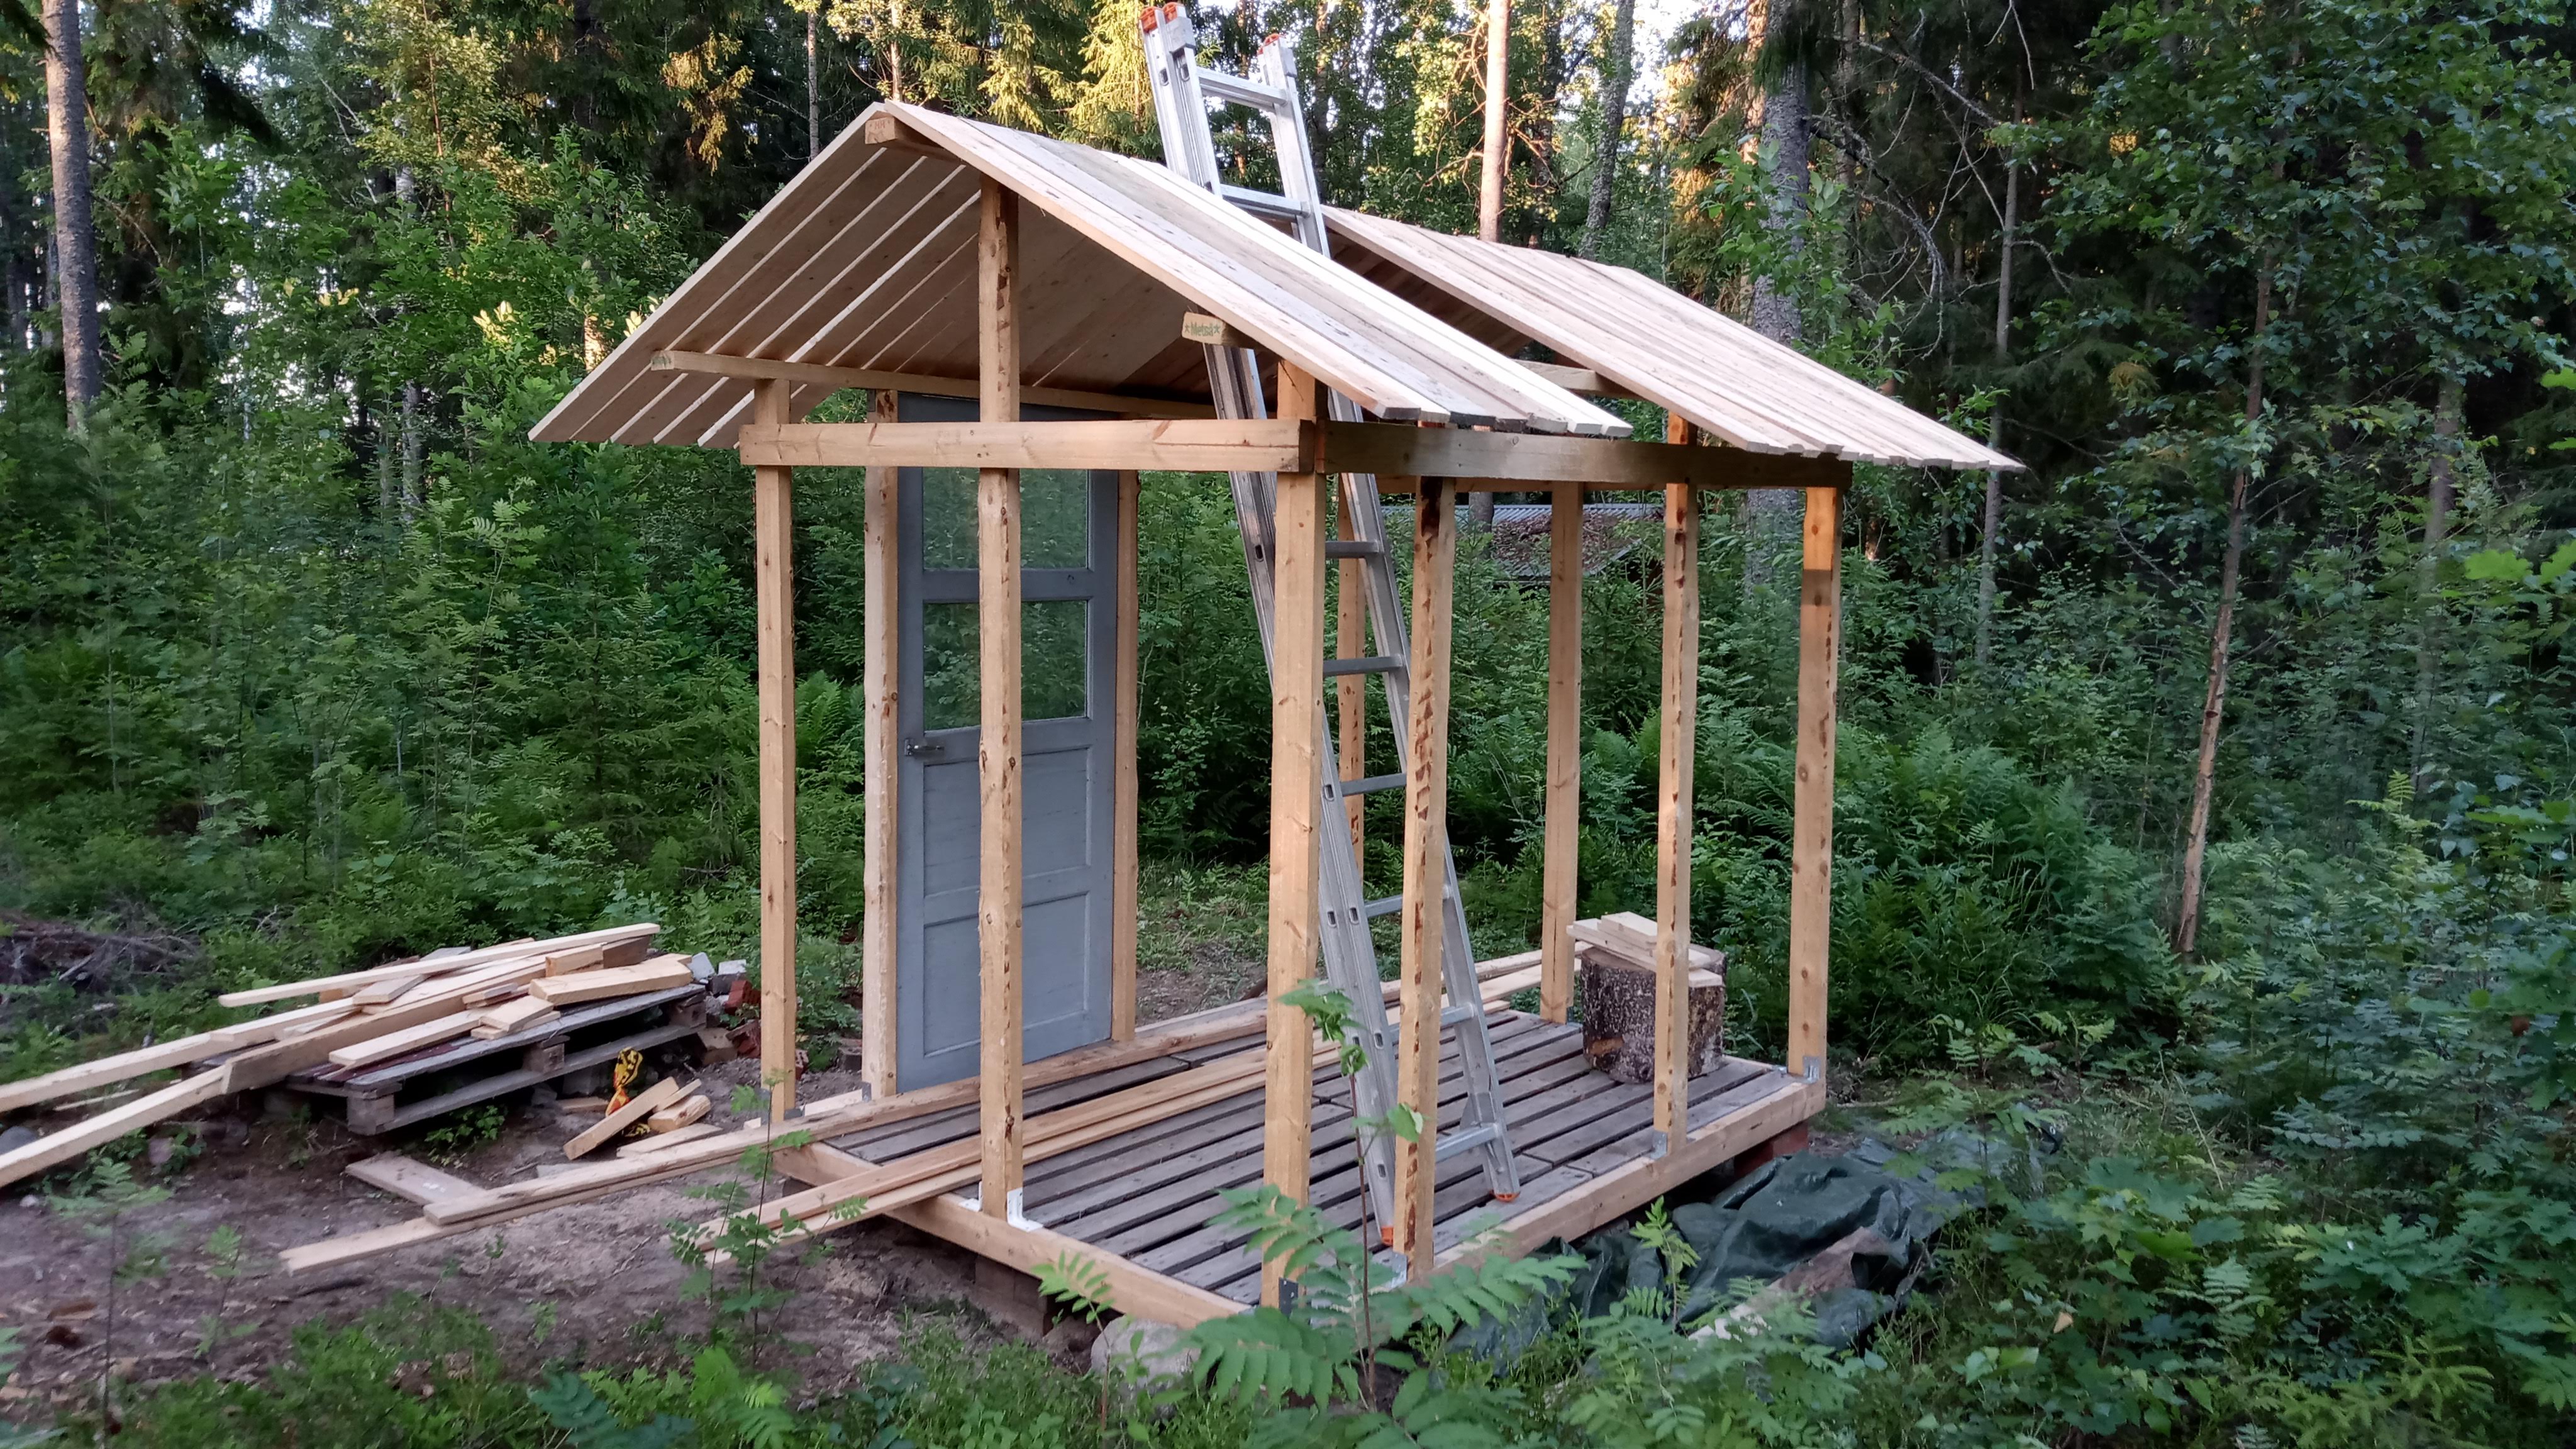 Roof nearing completion
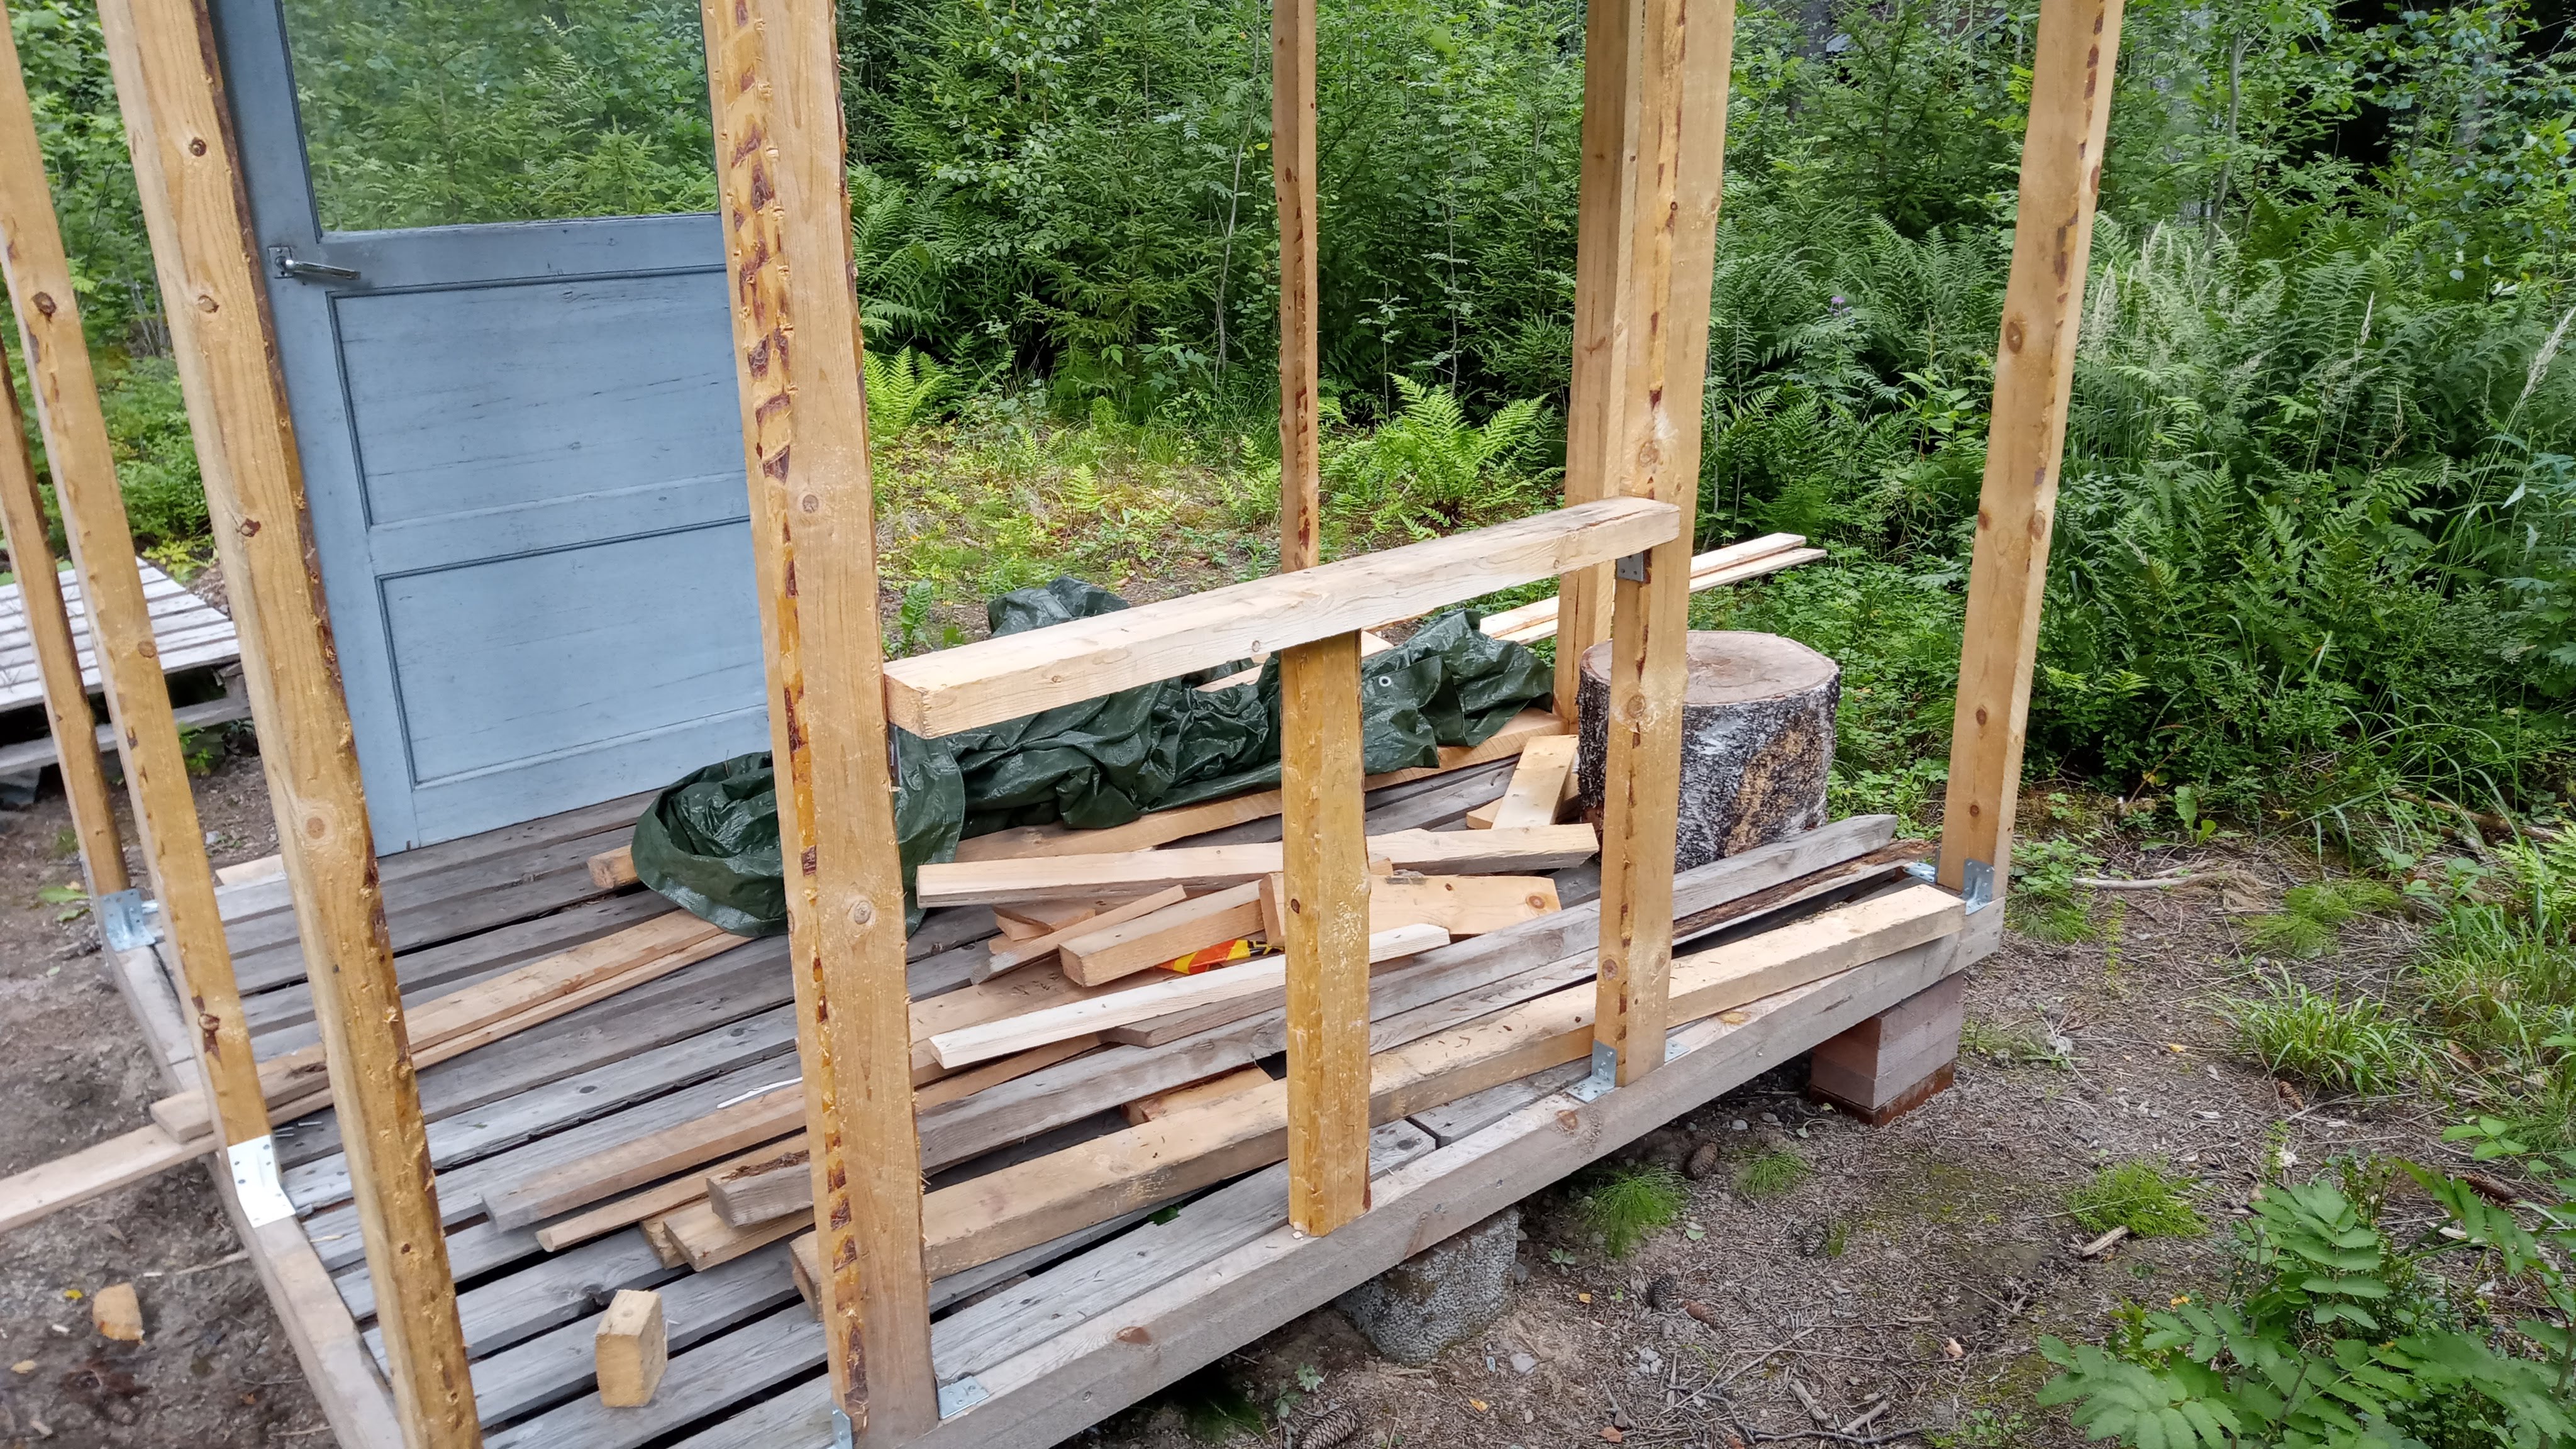 Installed a place for the main window frame to rest on
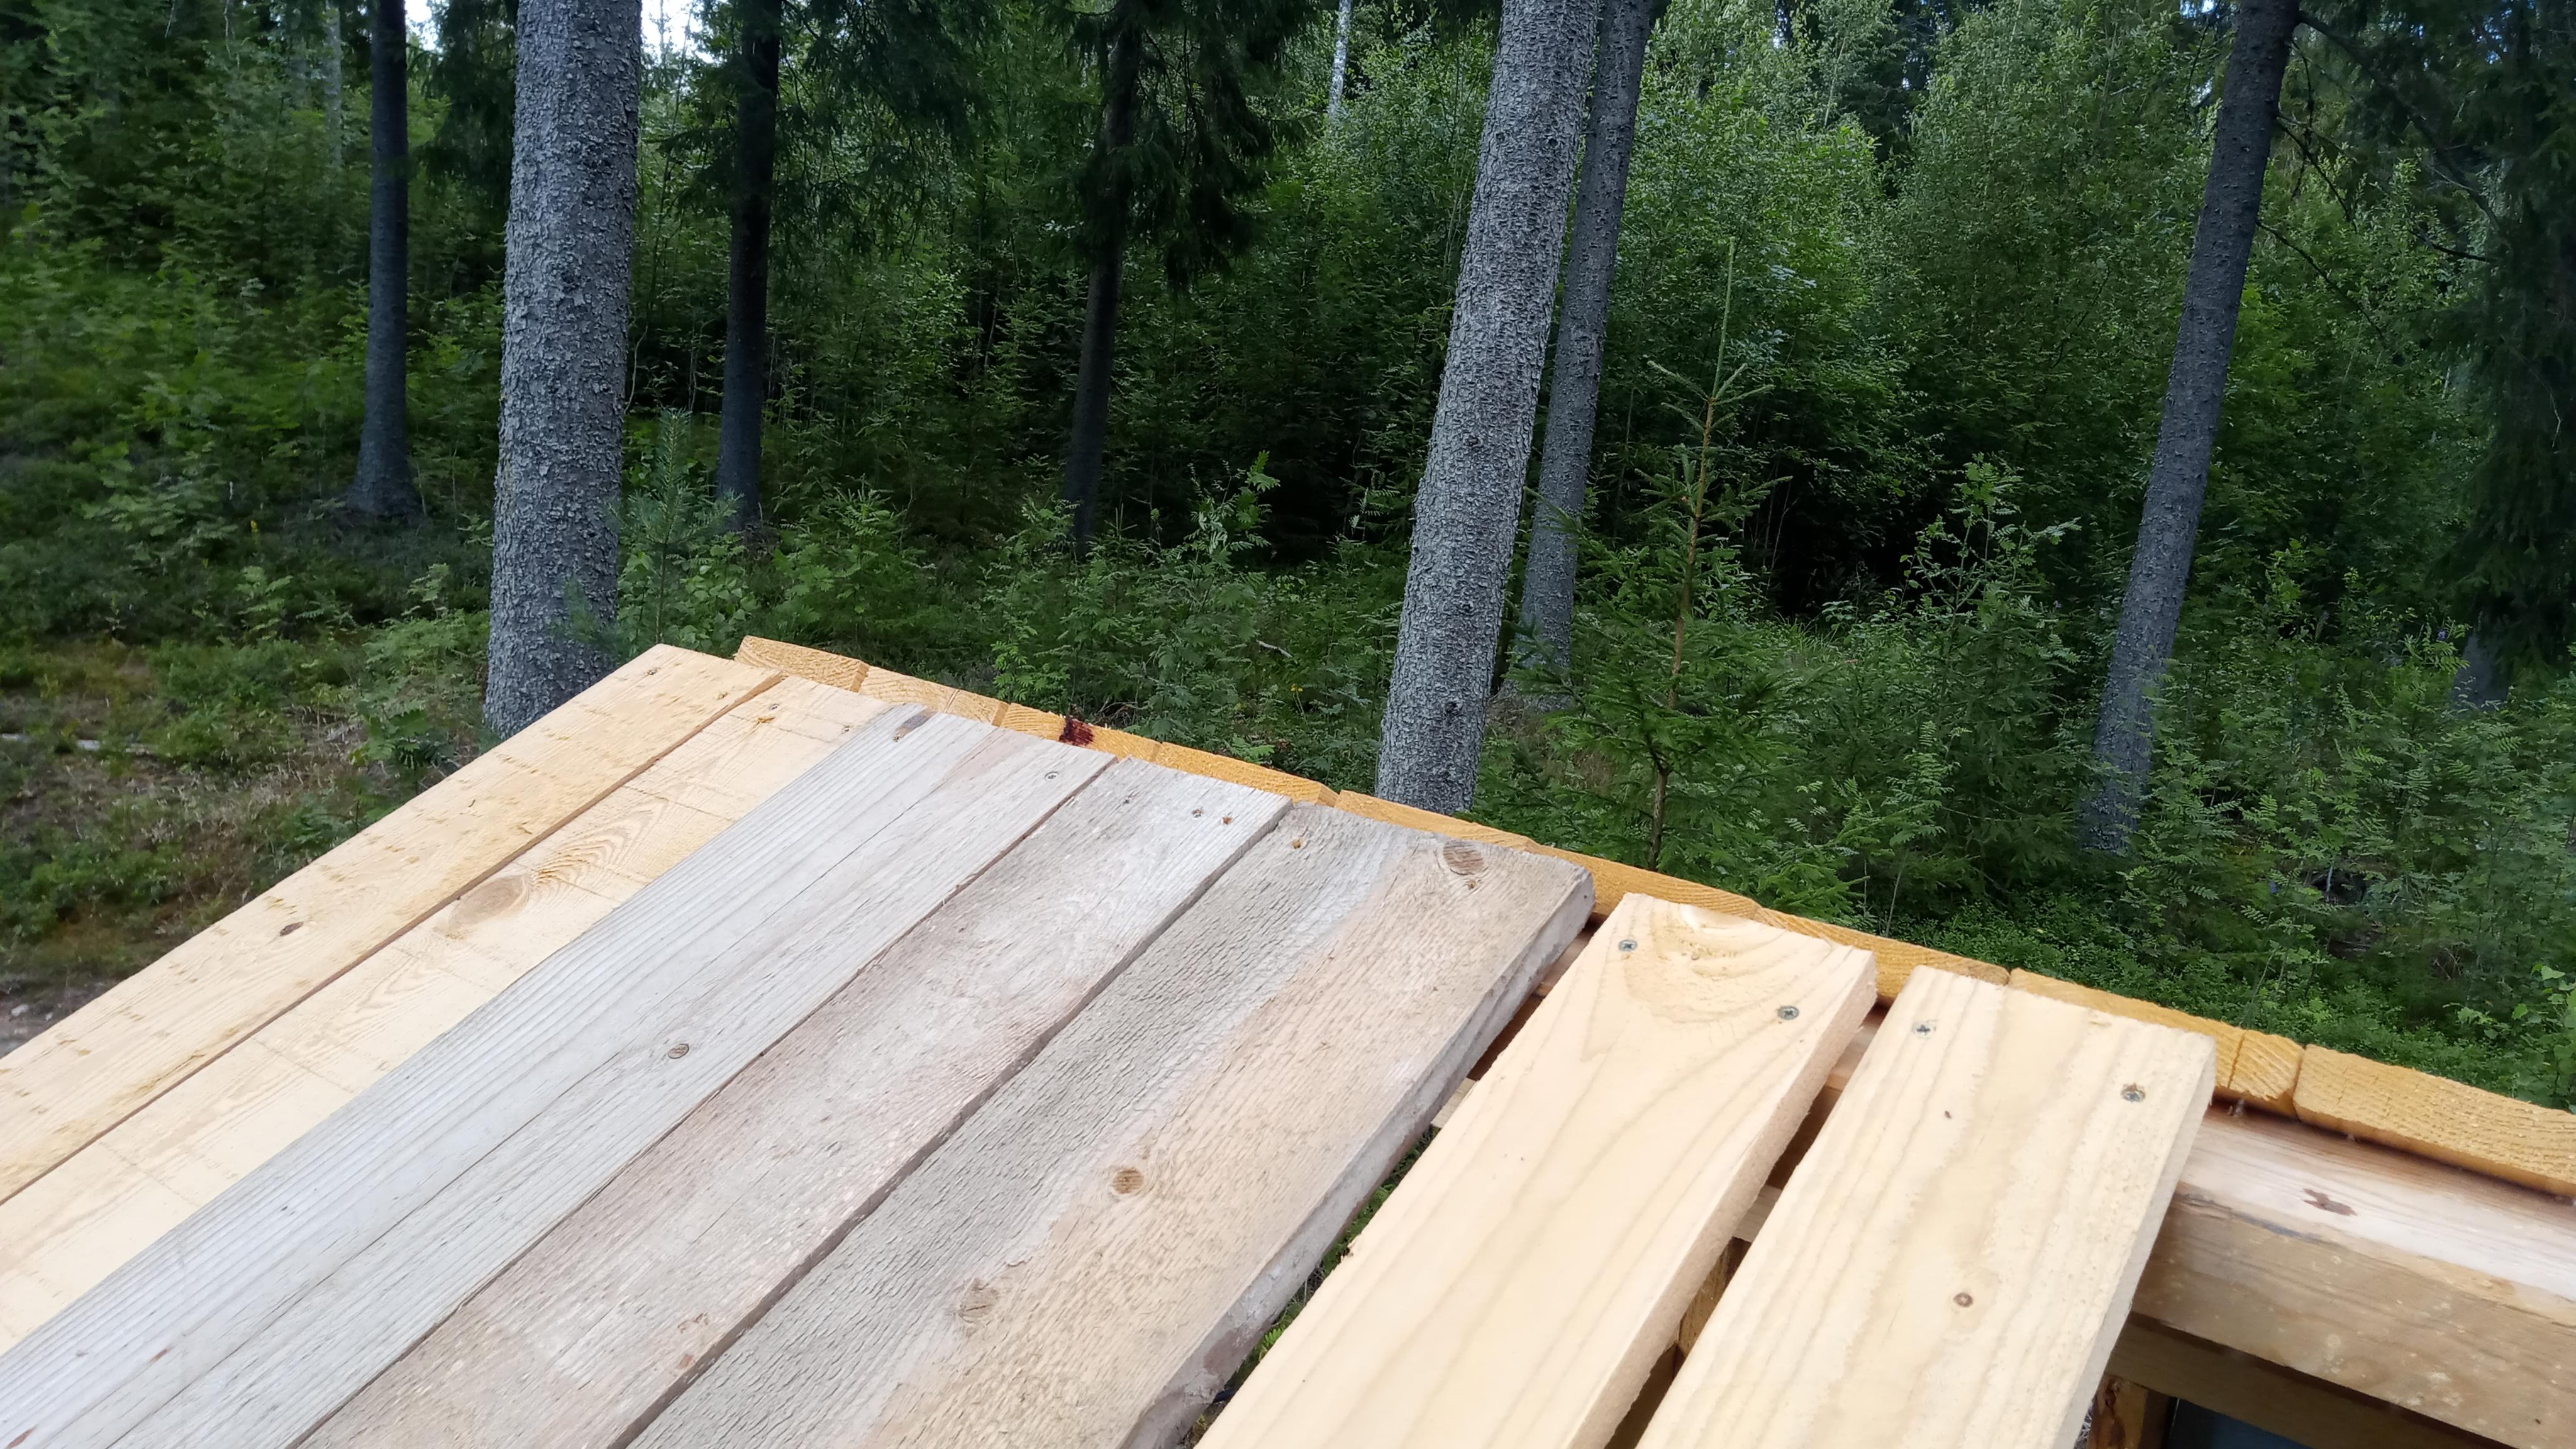 I had to make the roof planks have small gaps because I hadn't measured everything perfectly but it's not a big deal in a project like this
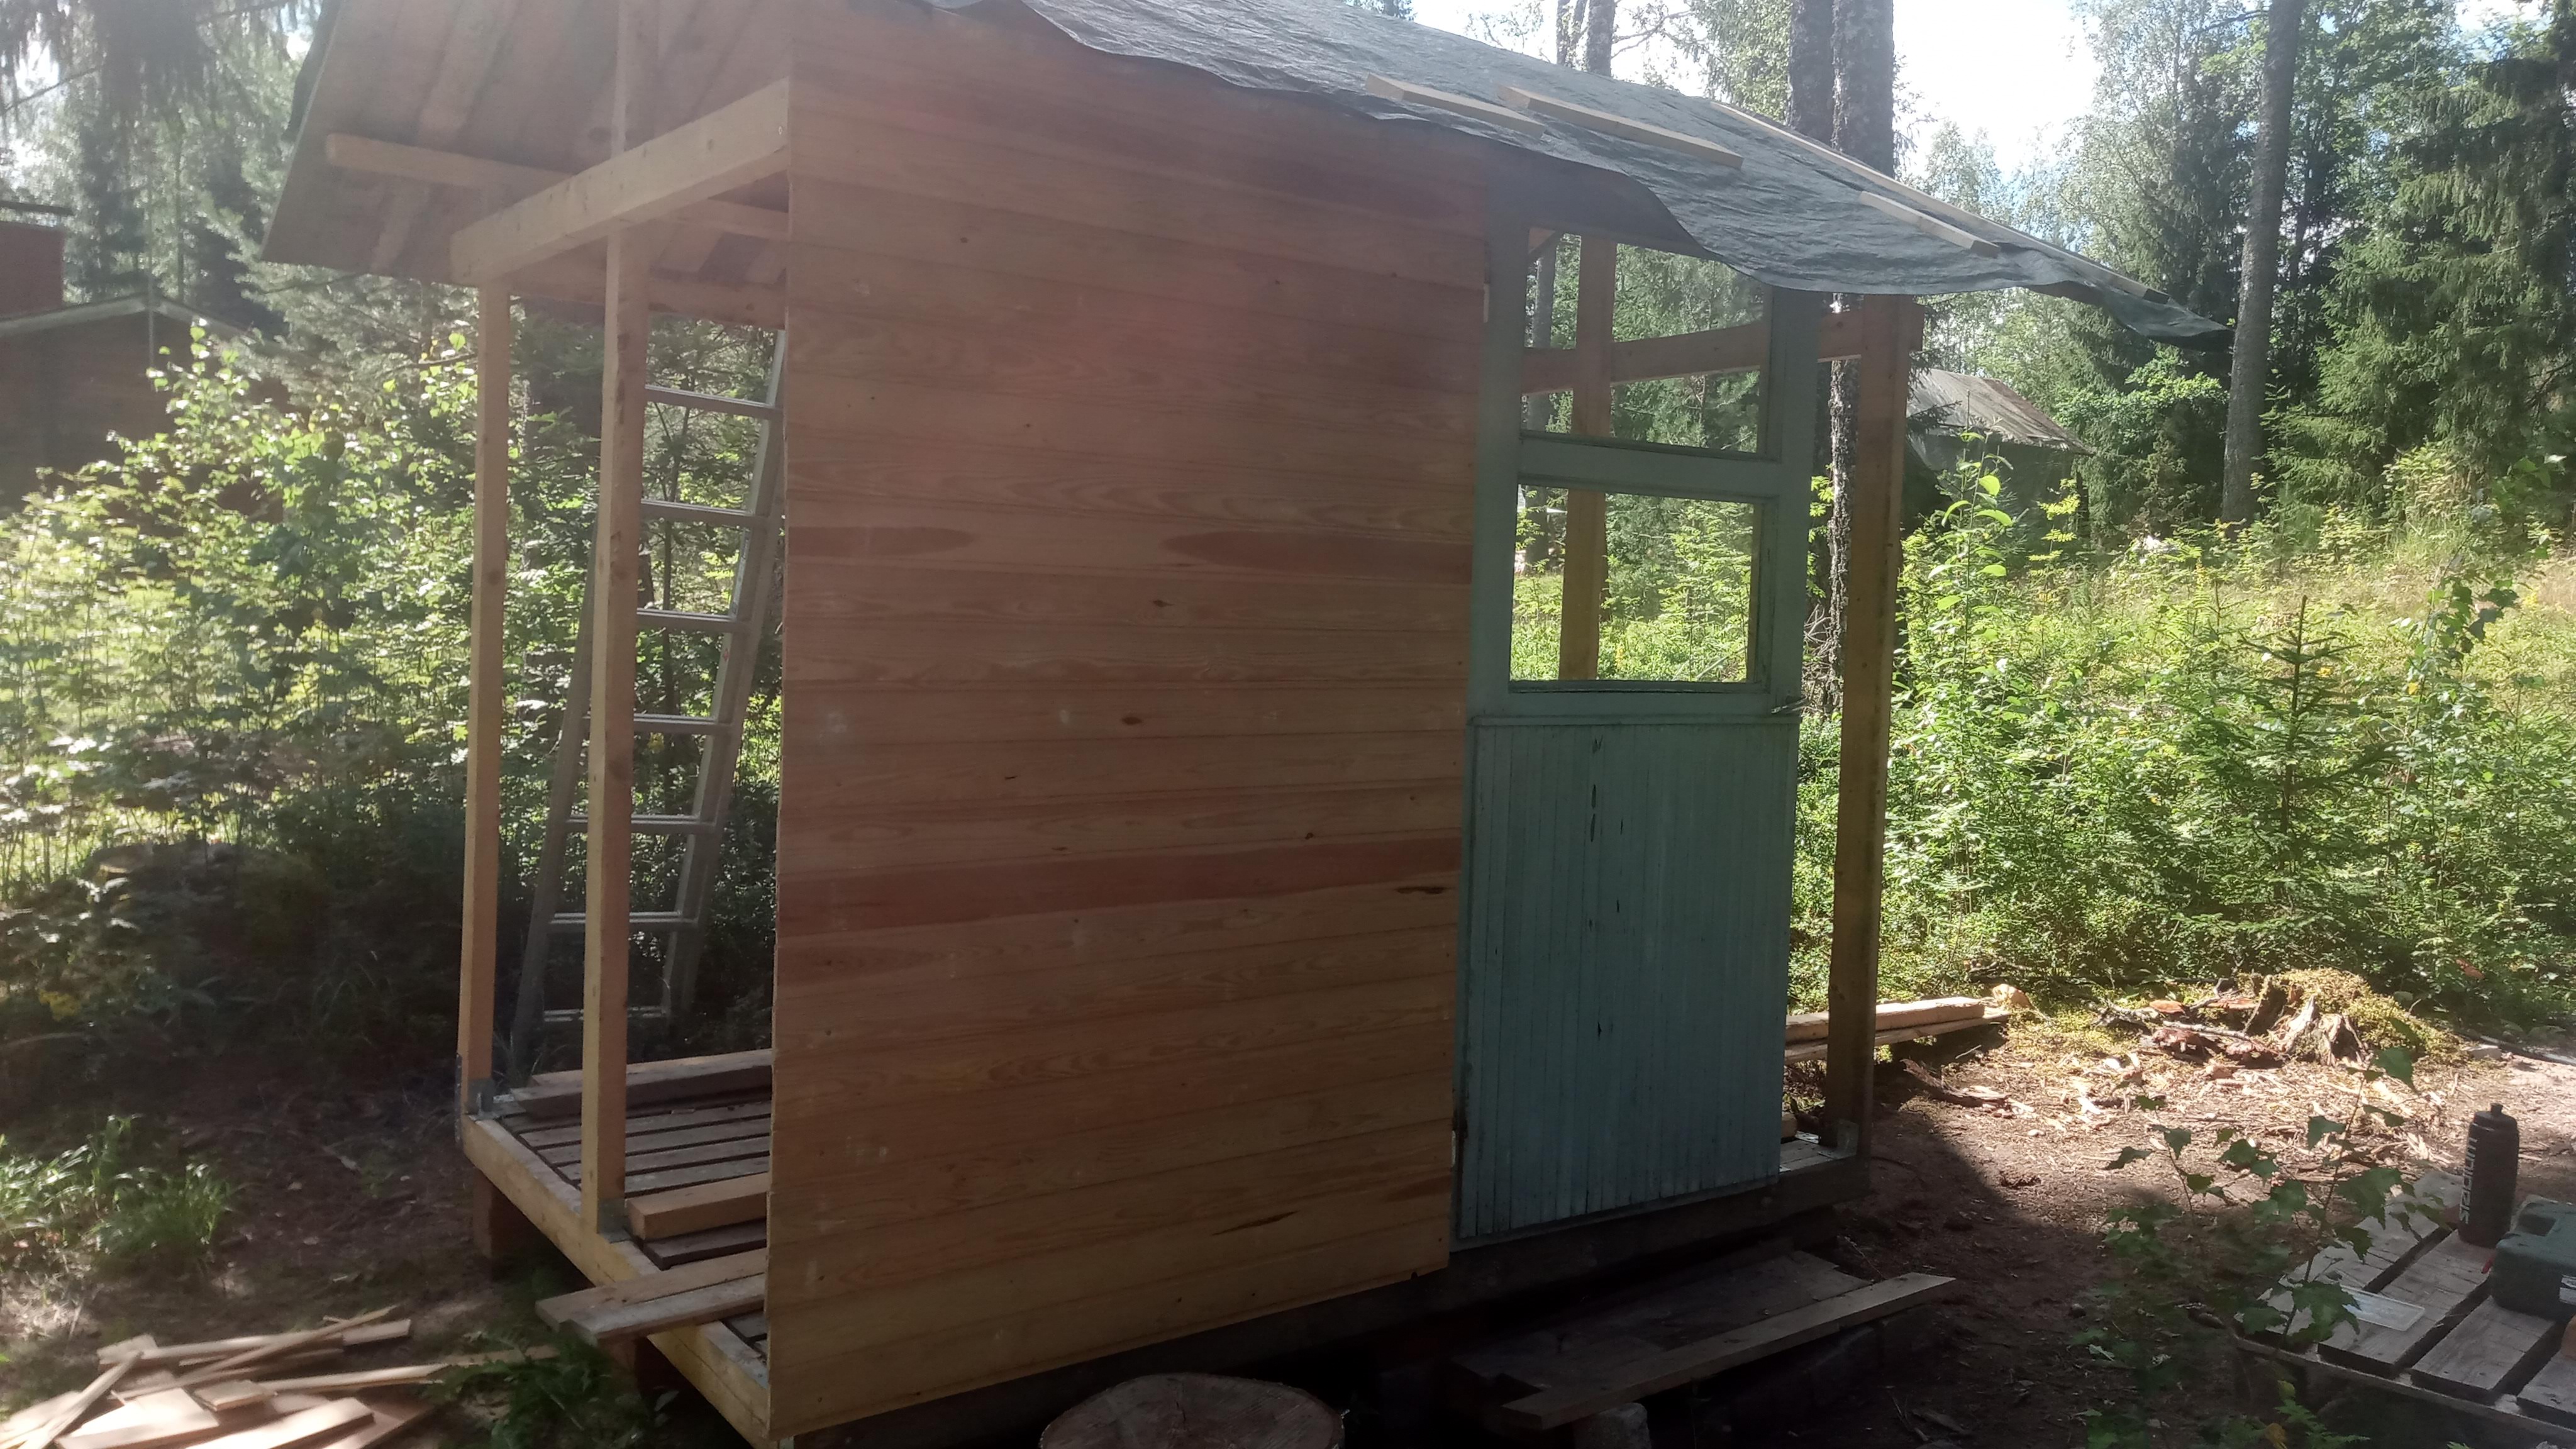 Attached the first wall portion!!
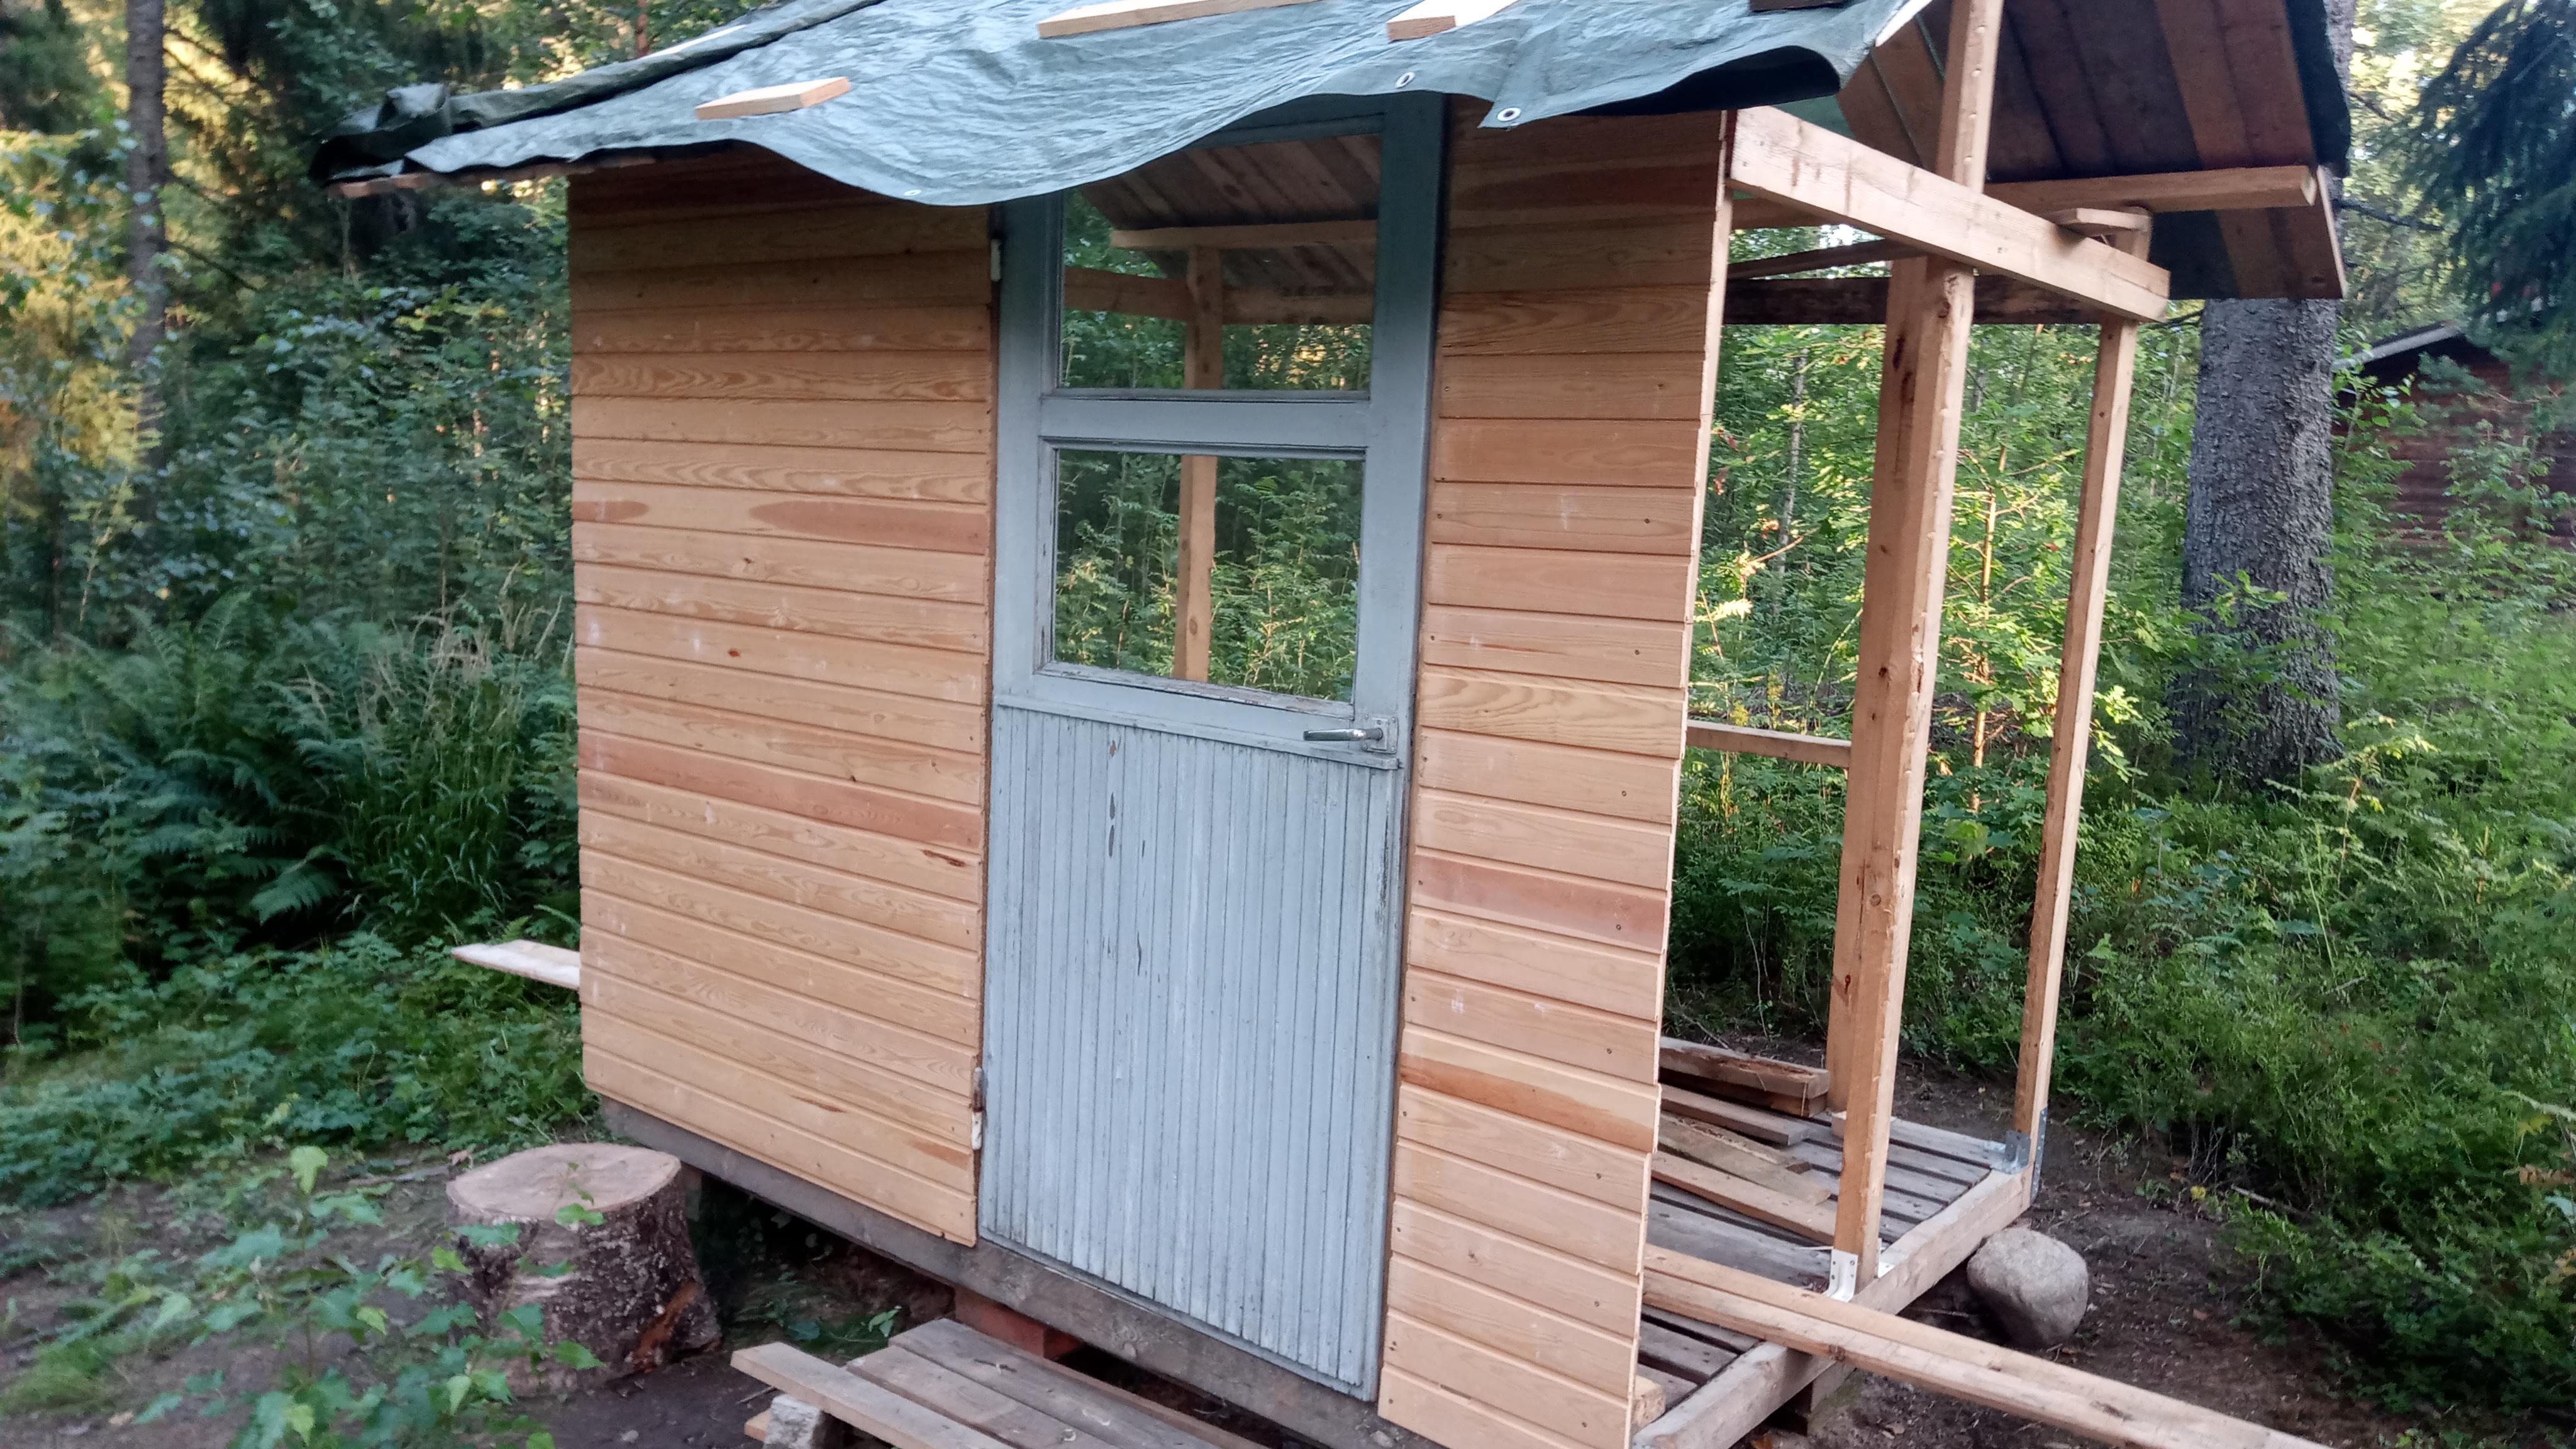 Now one side has wall and door!
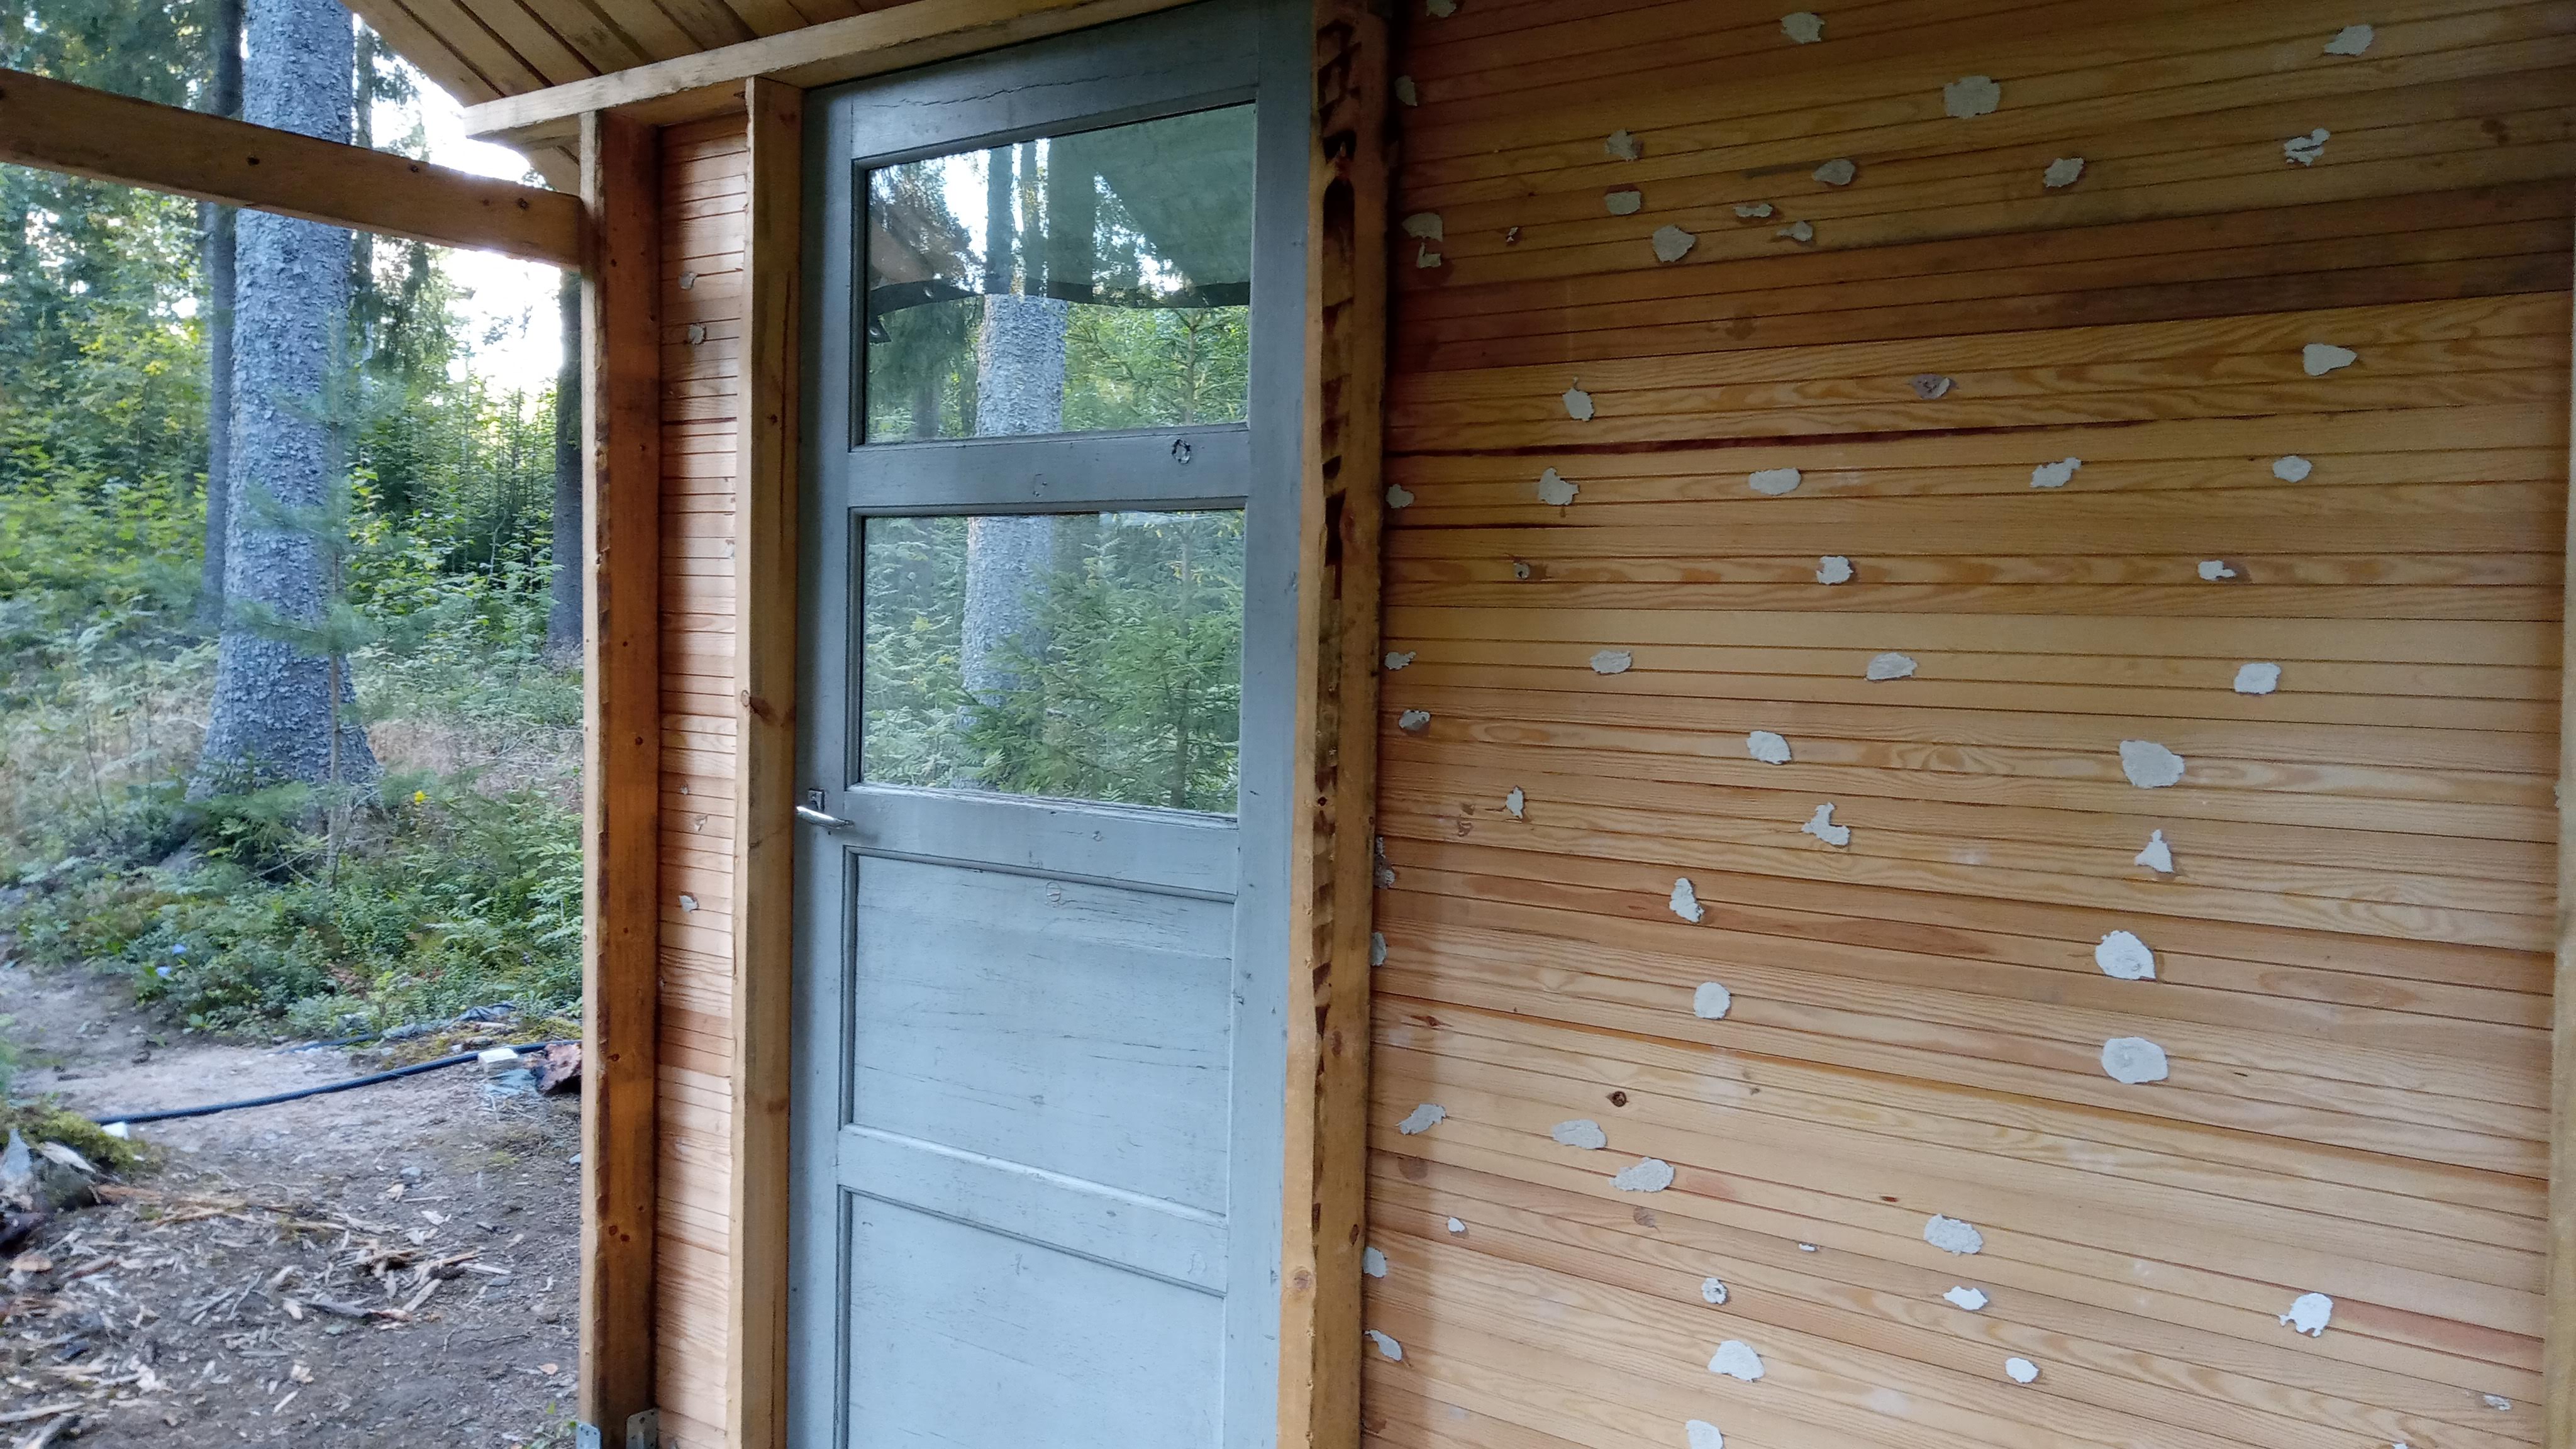 The wall planks are from a children's playroom and they've been in an attic for like 30 years waiting to be used
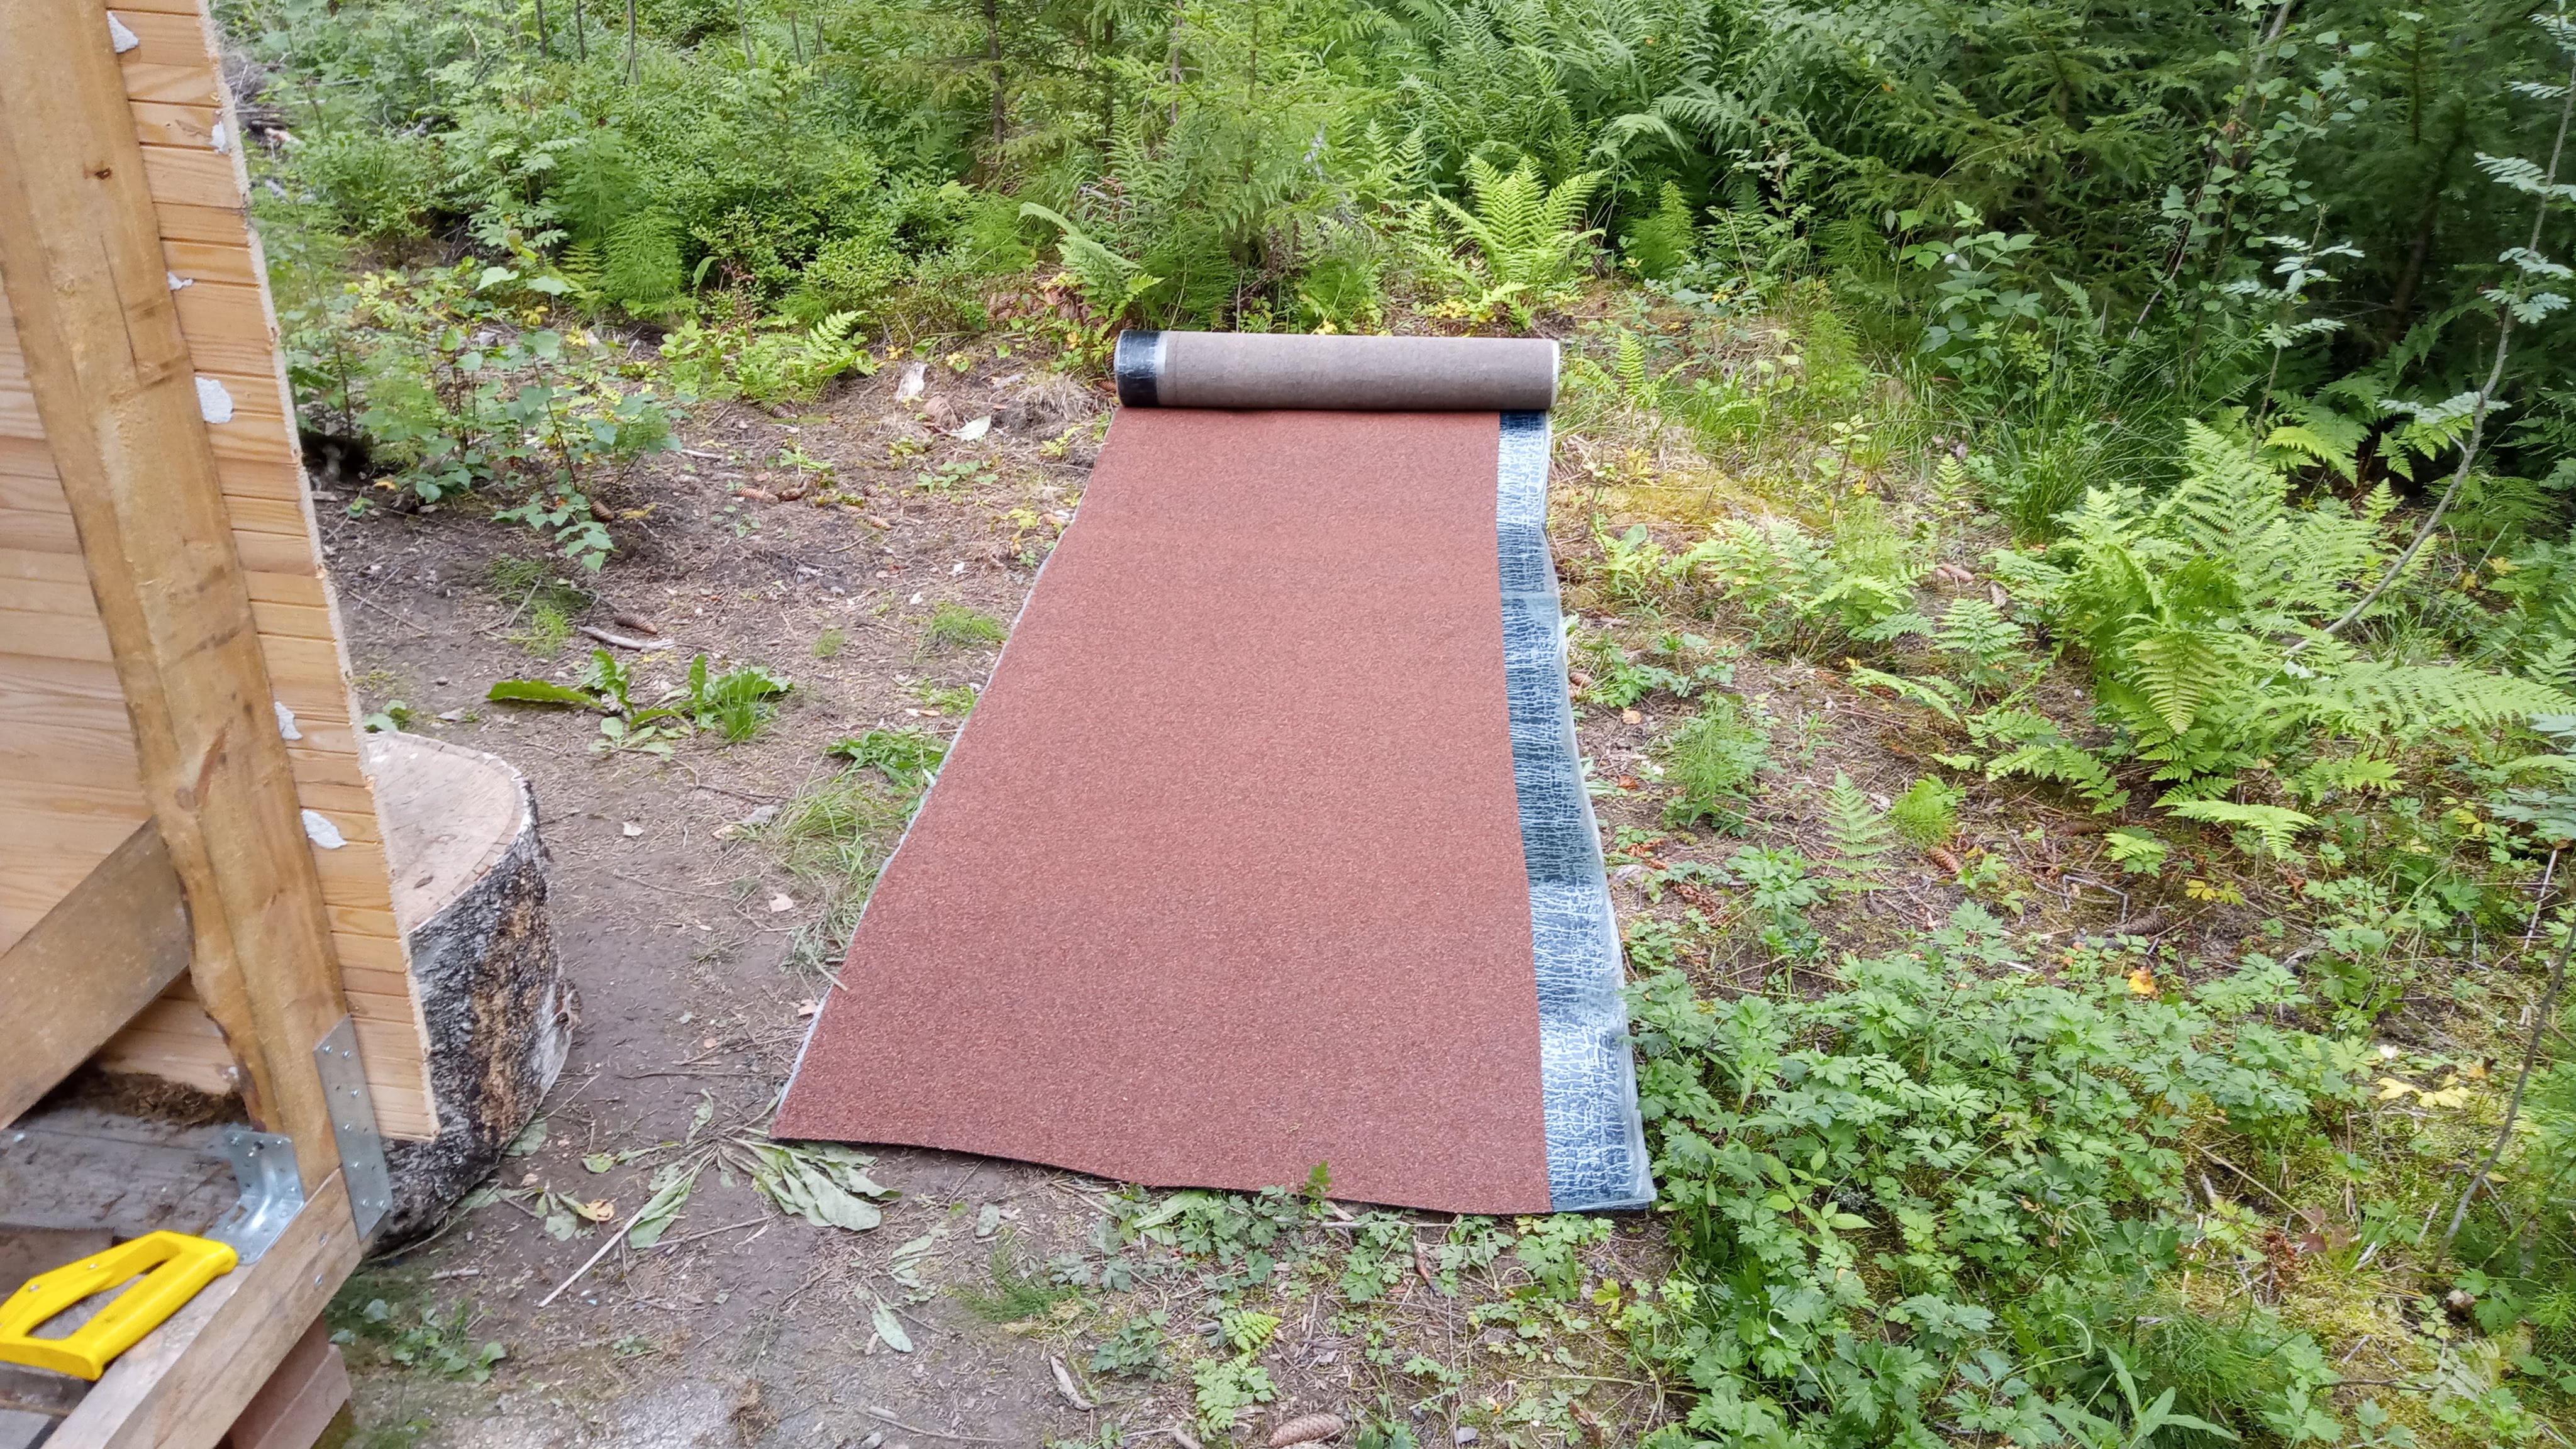 Started to install the bitumen roof material (07/2020)
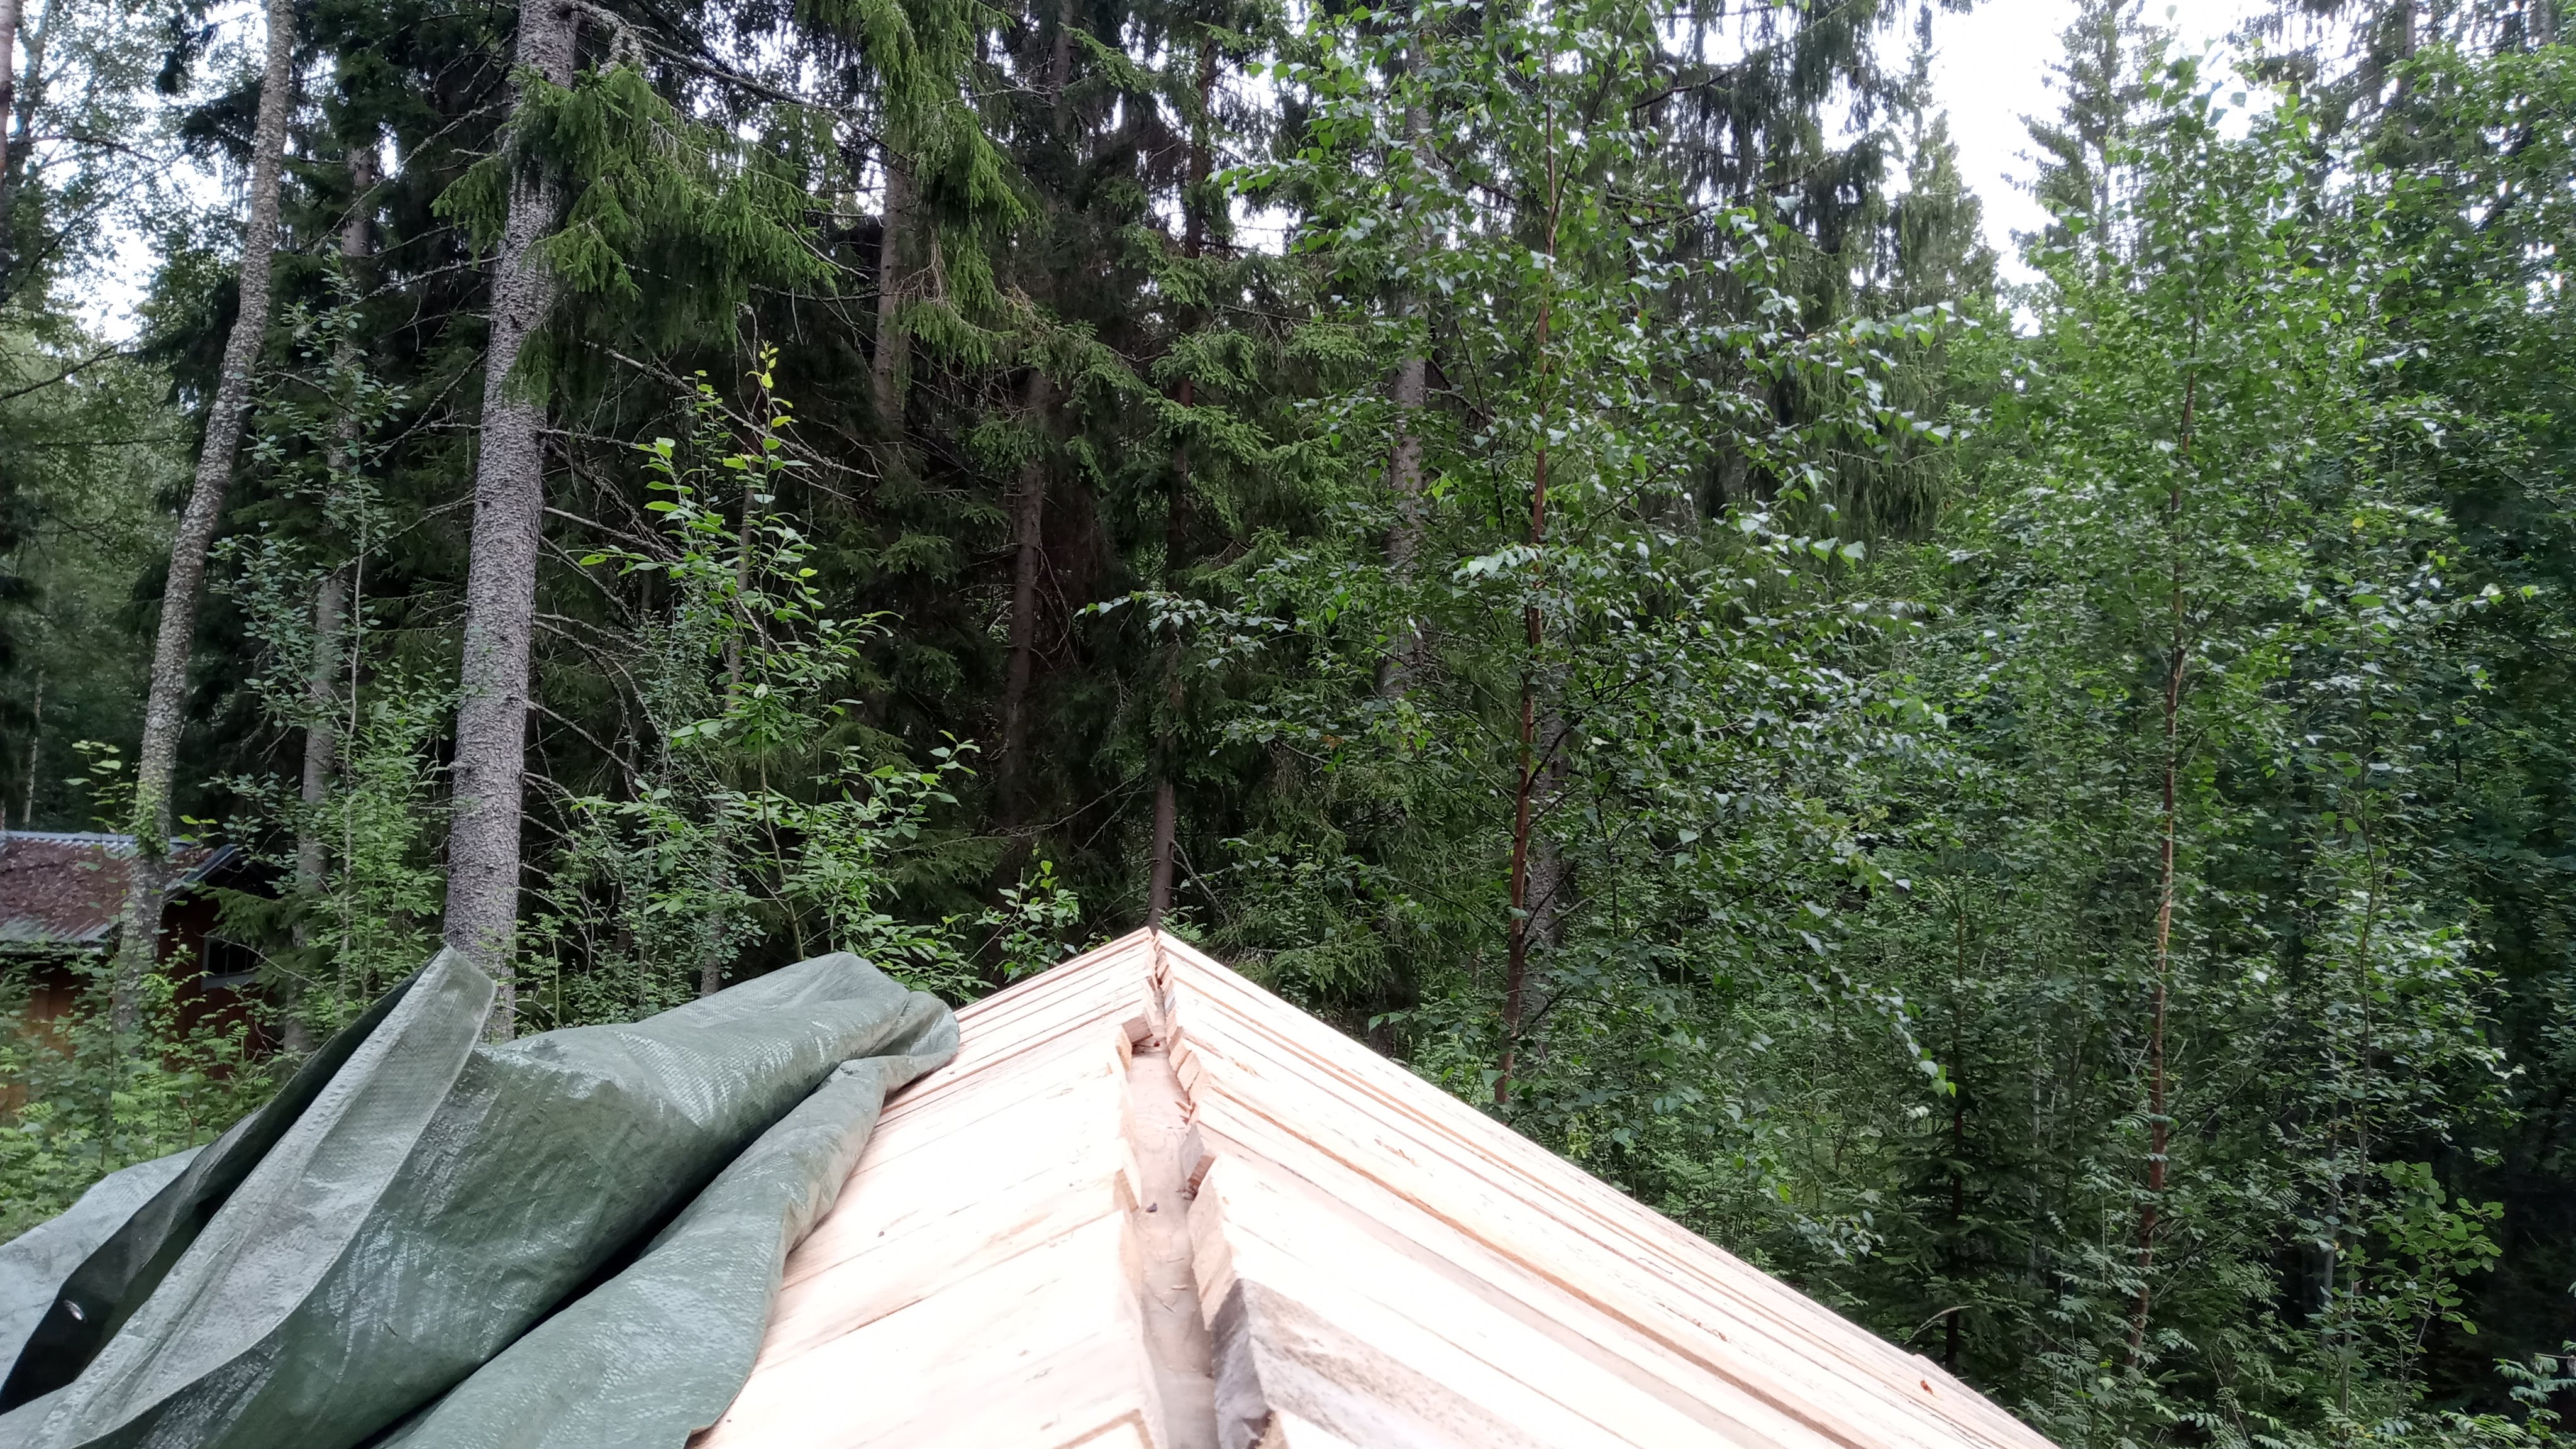 Removing the cover on the roof
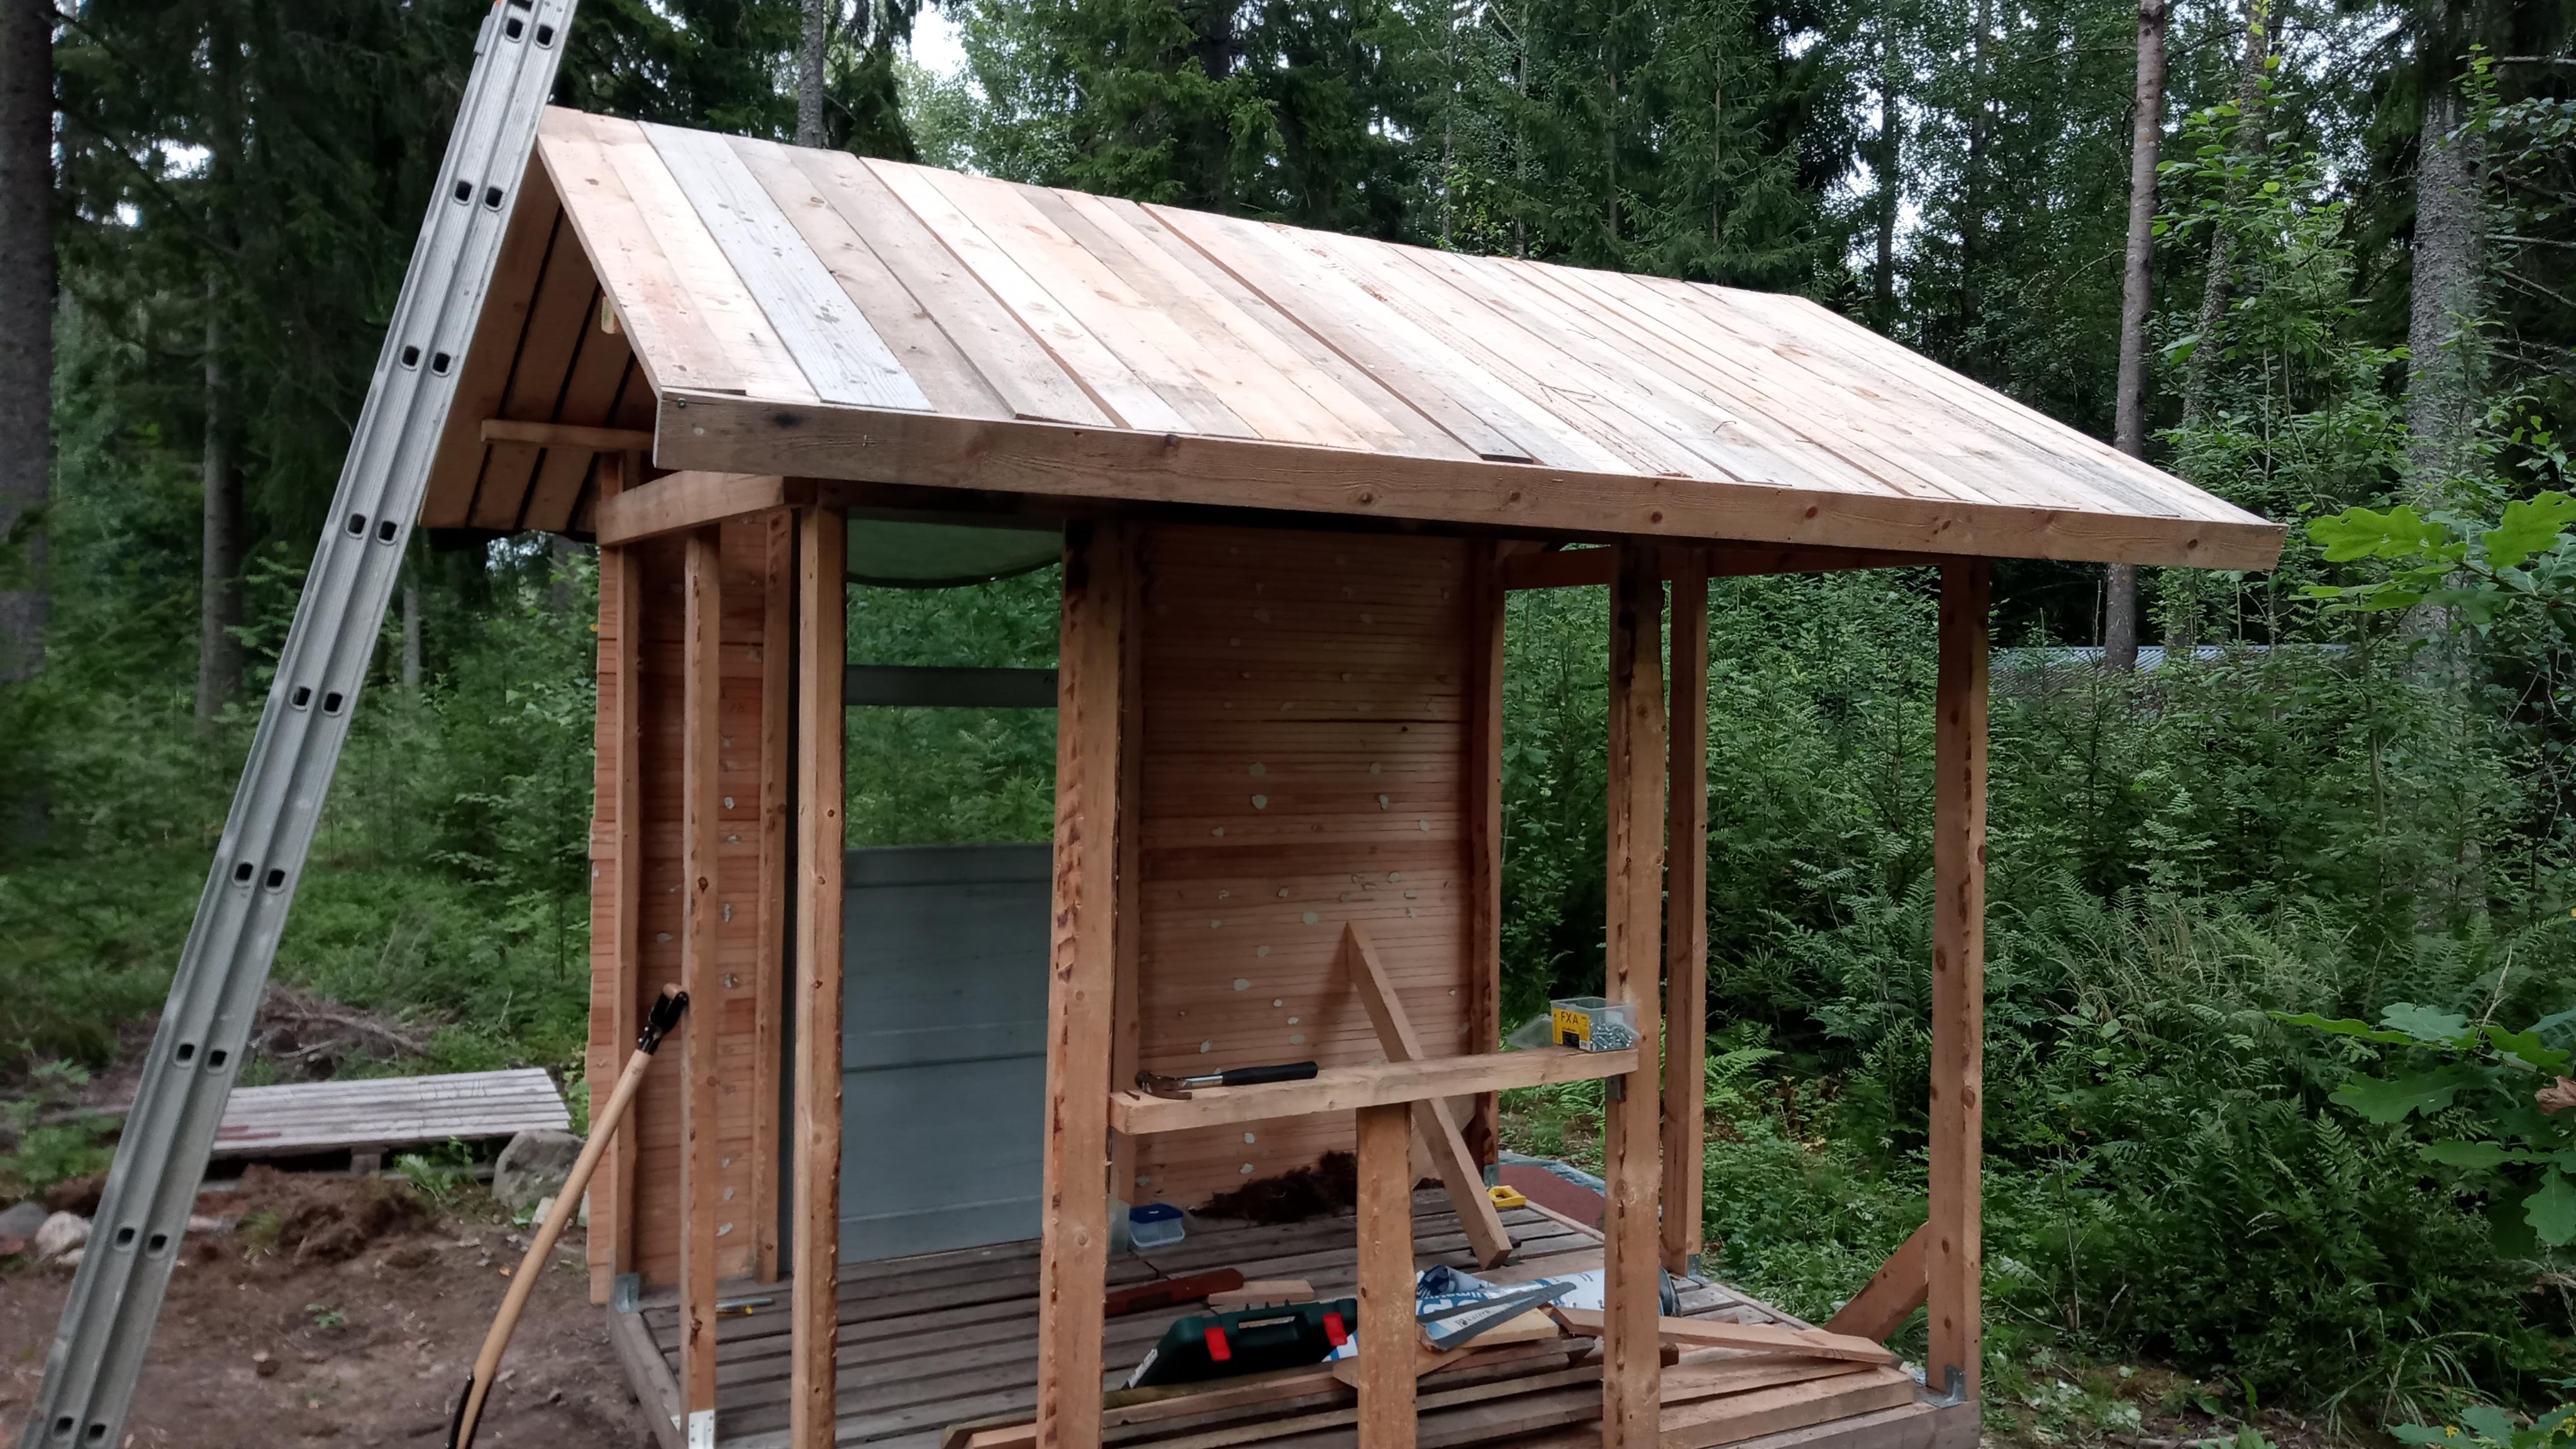 Installed horizontal planks on the ends of the roof planks
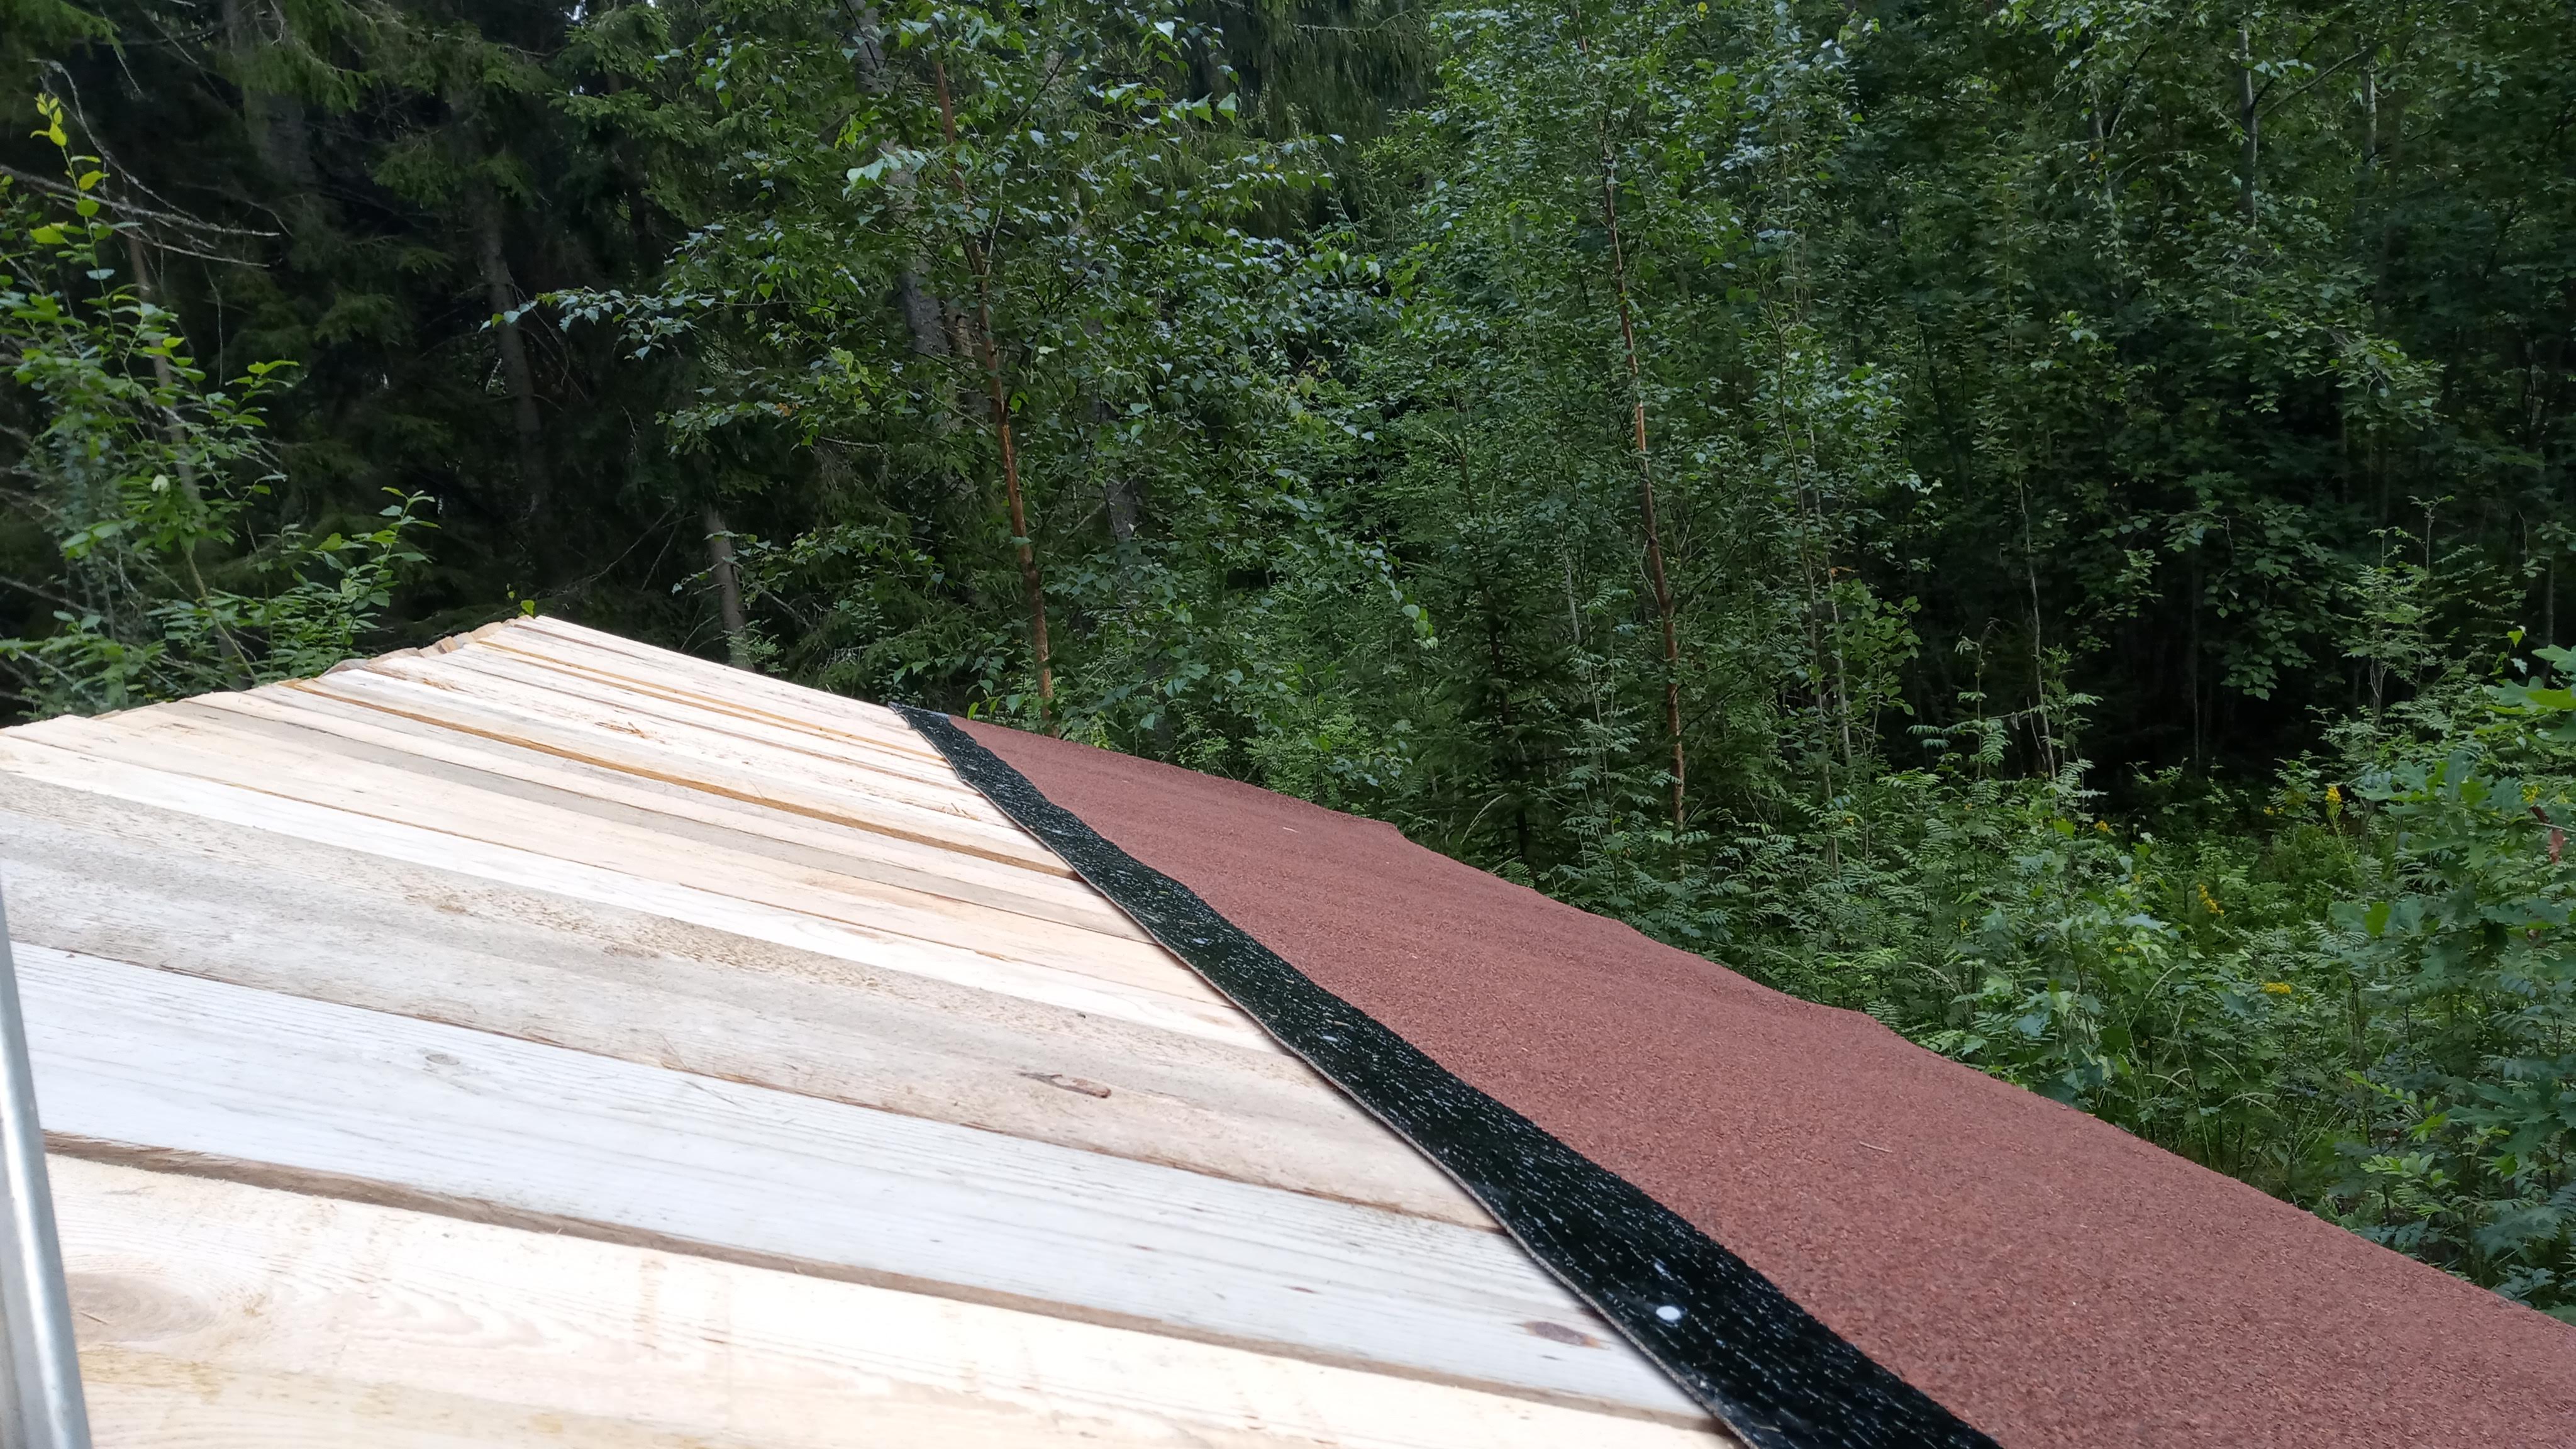 First patch of roof material installed
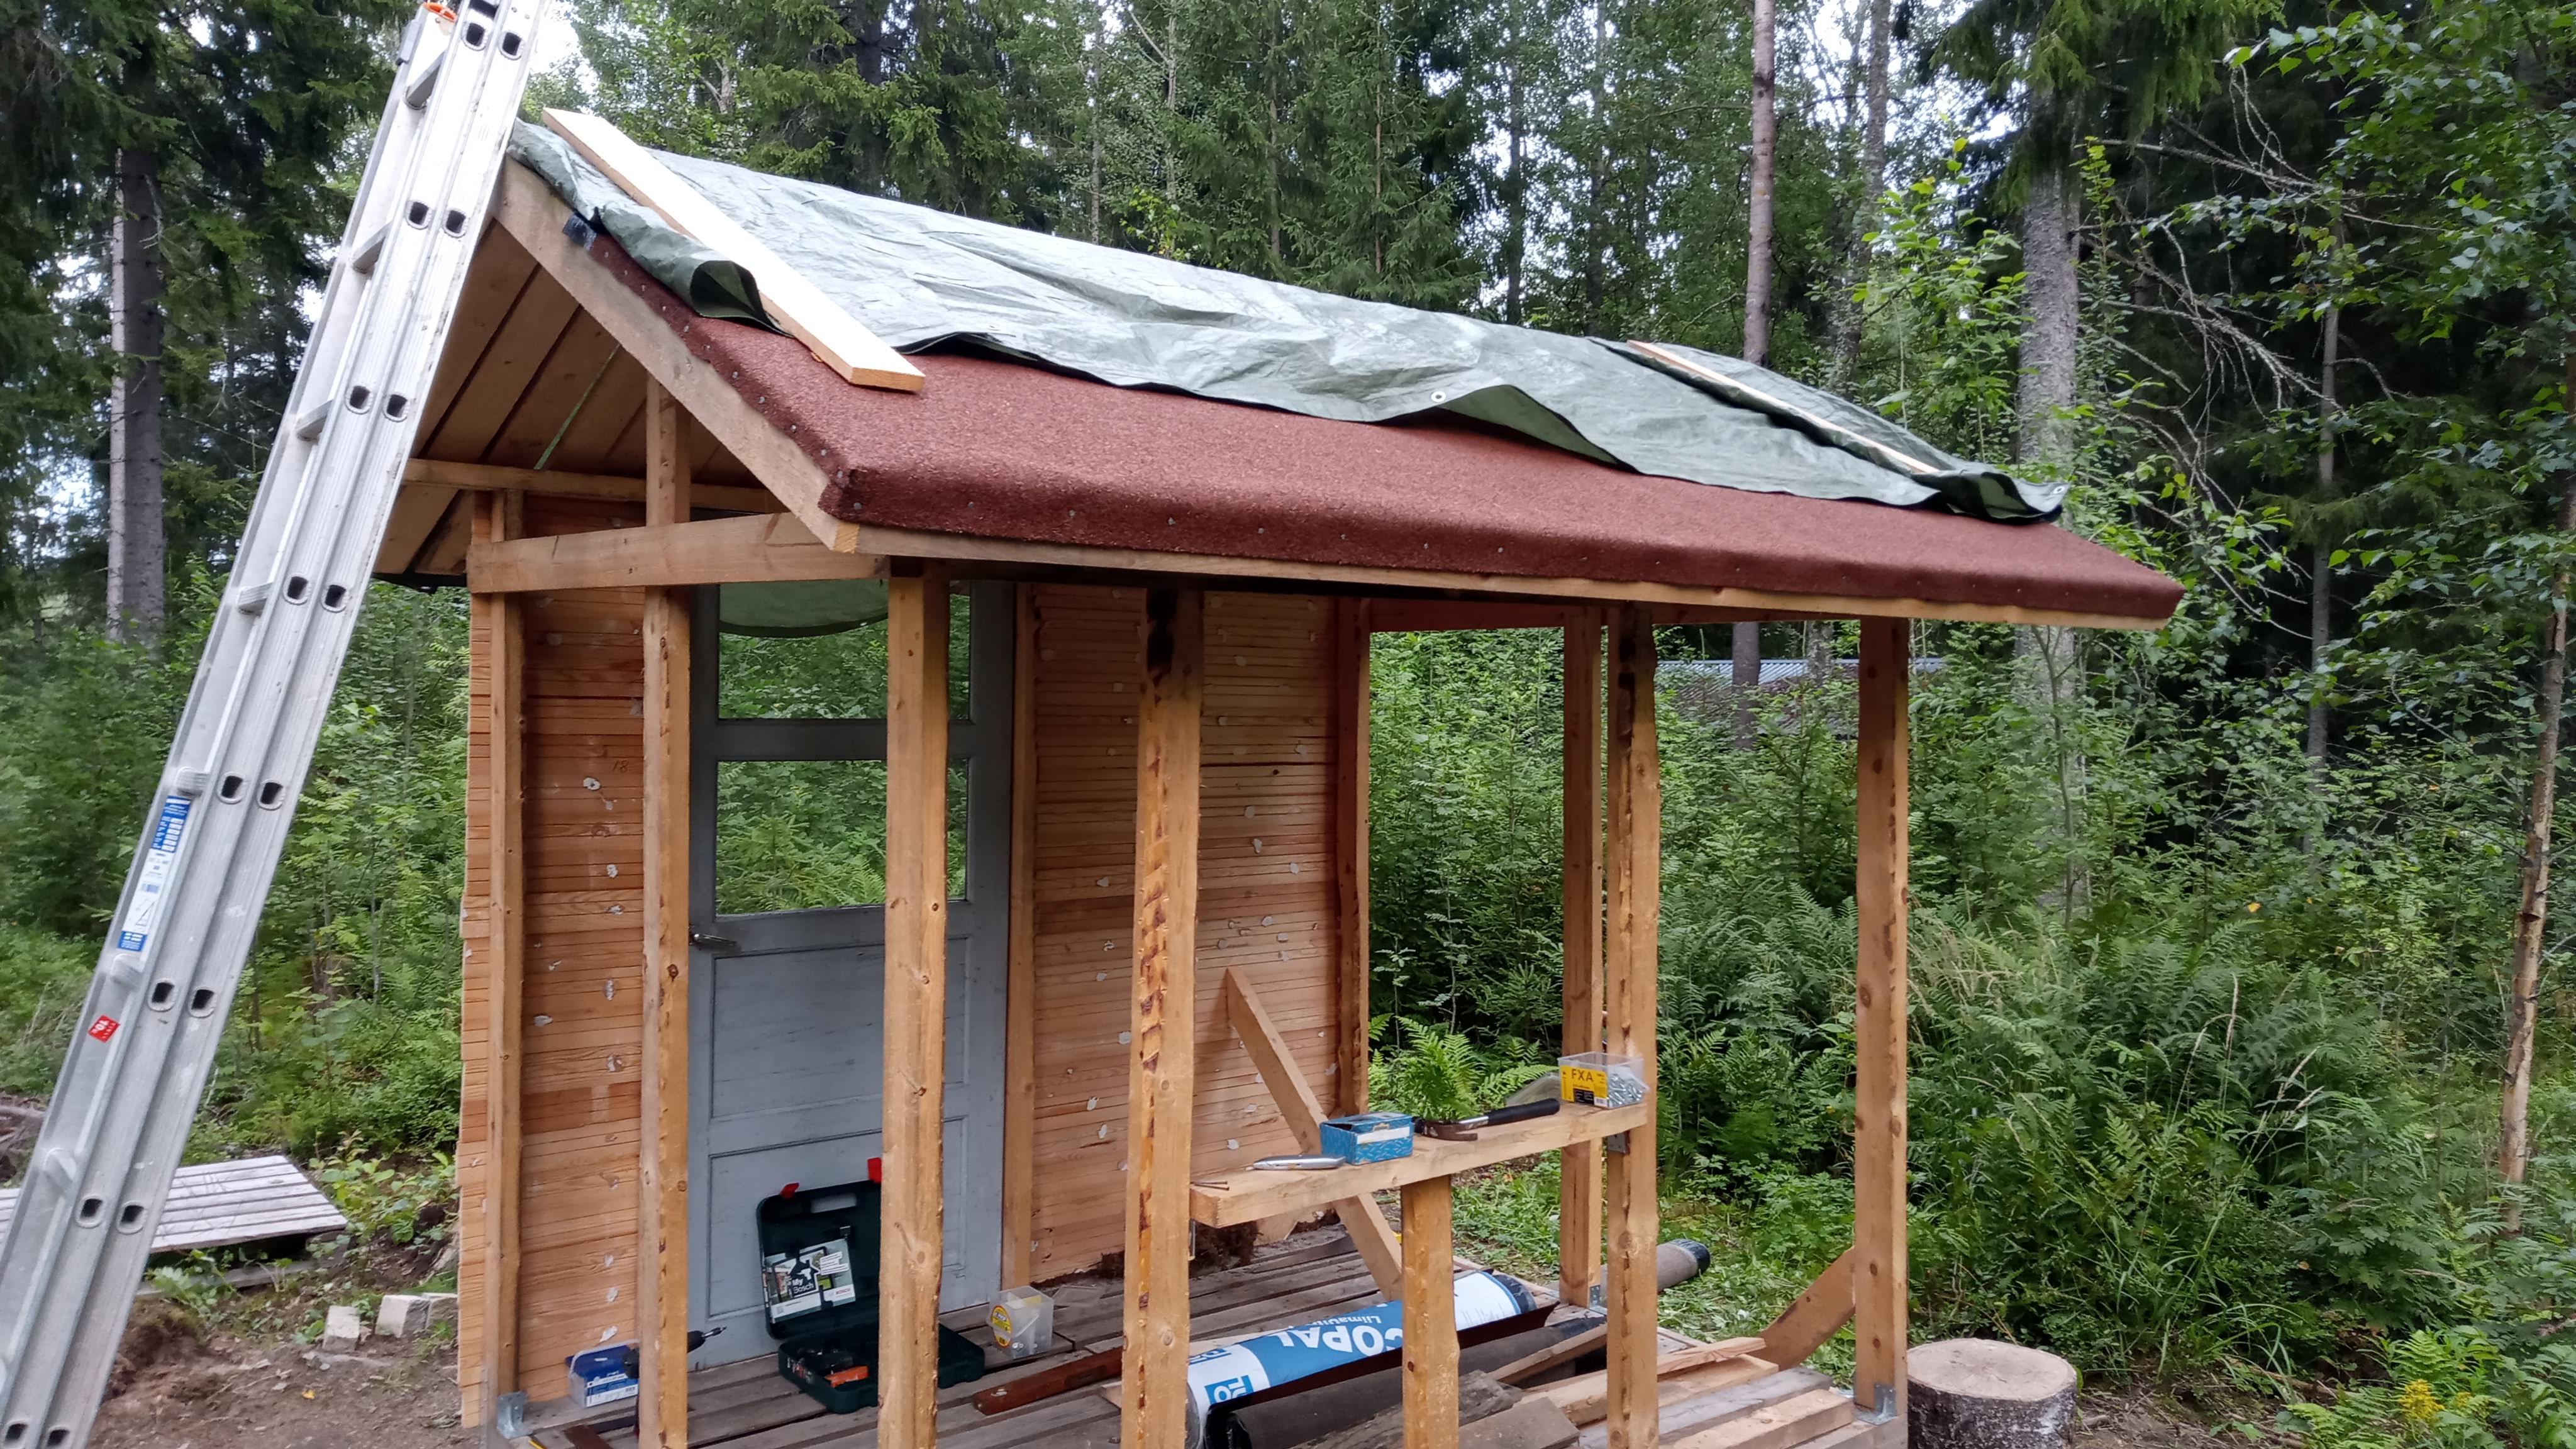 Had to quit for the day because it was gonna rain
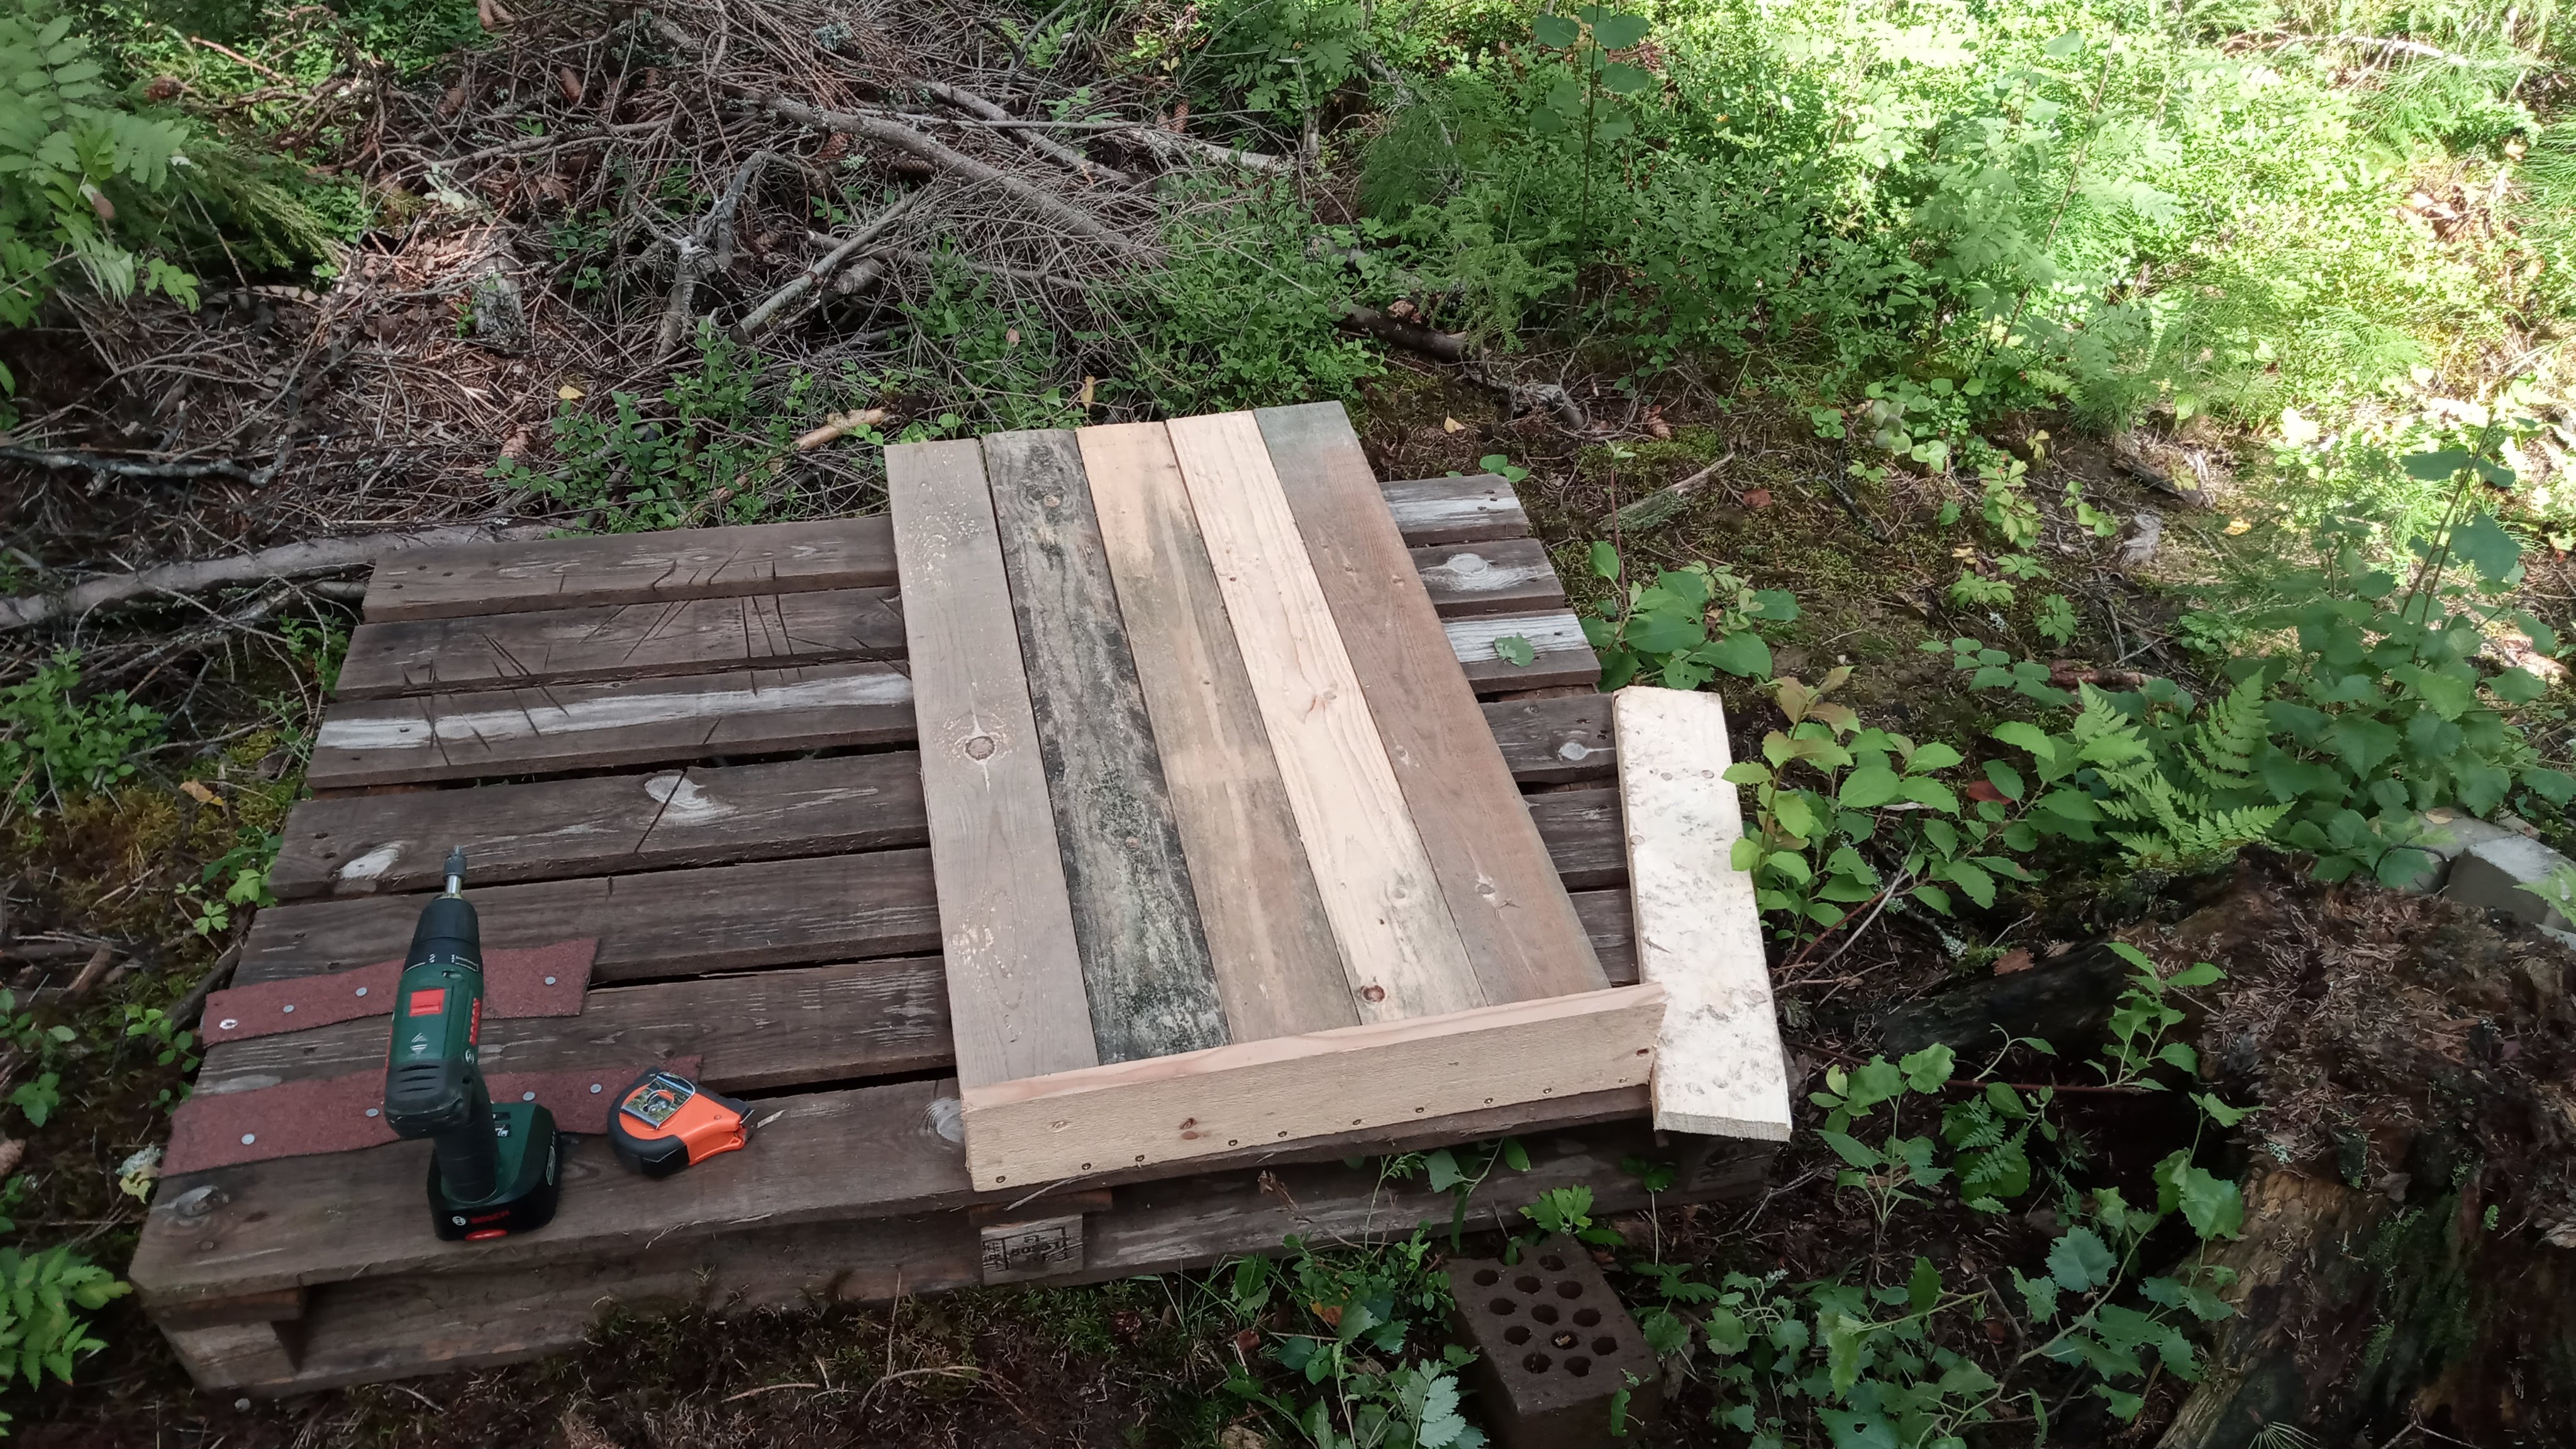 Started building a little overhang over the door
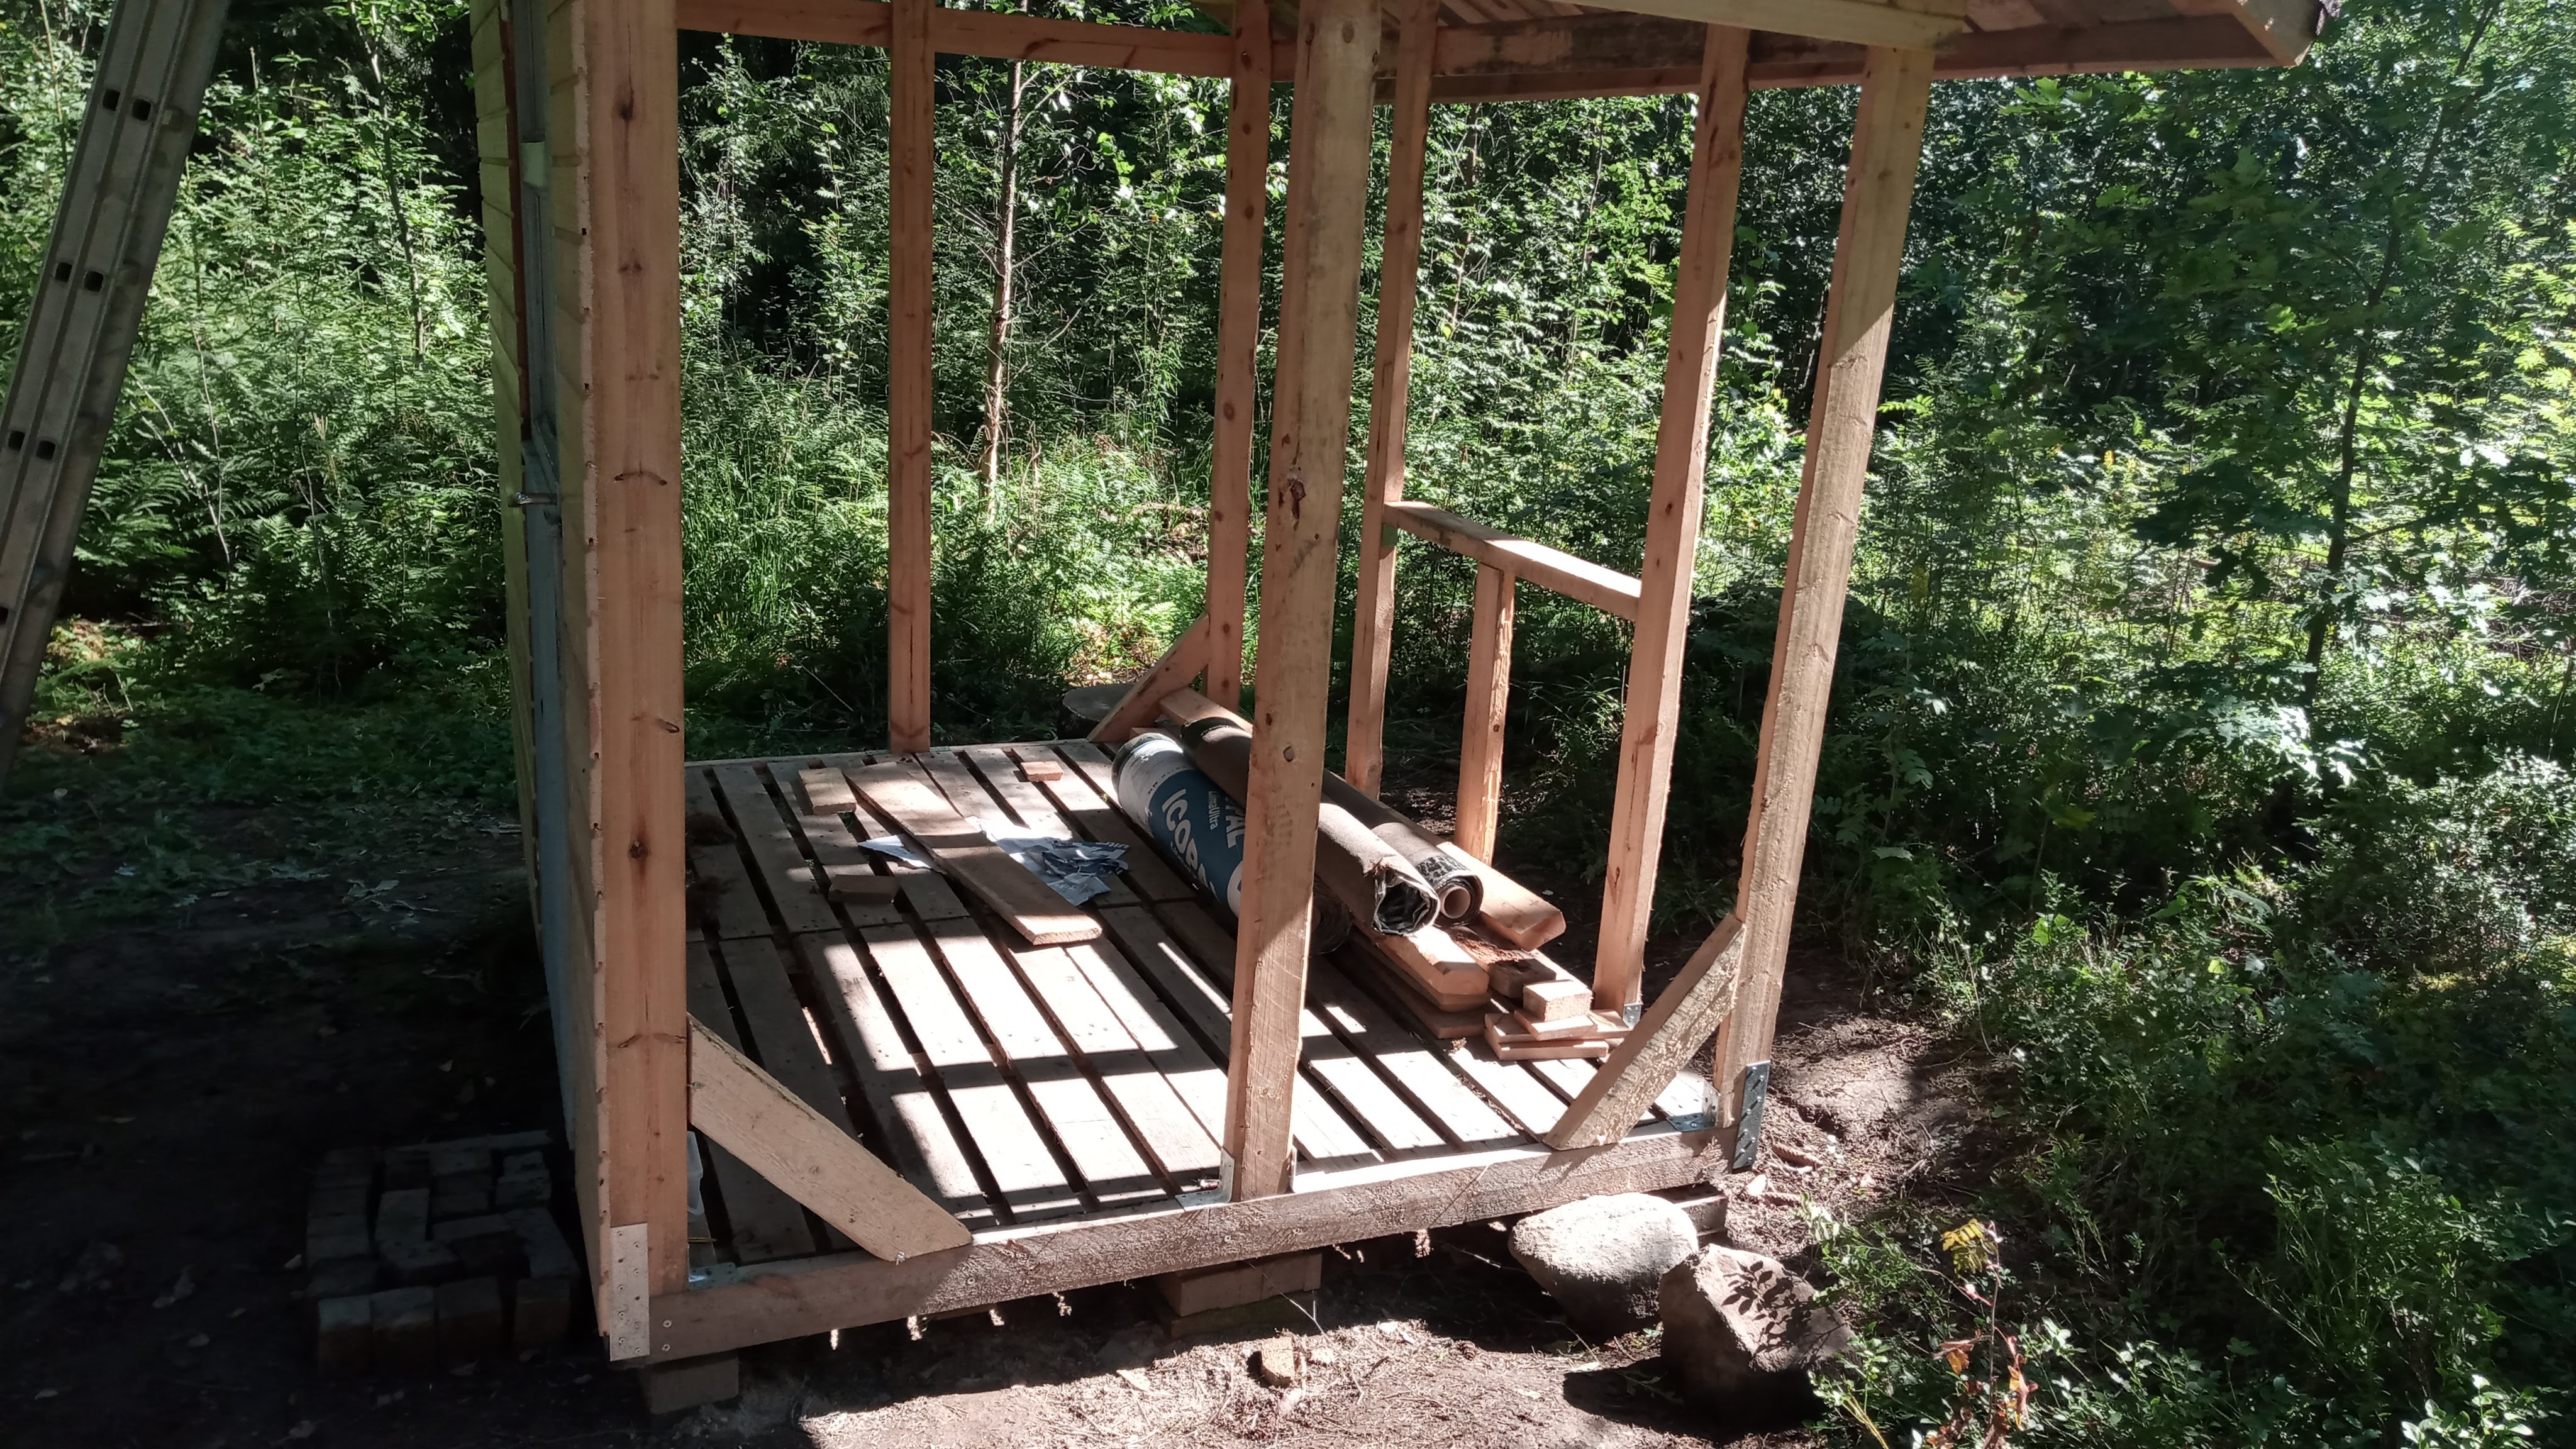 Installed some little supports to the bottom of the vertical 2x4s
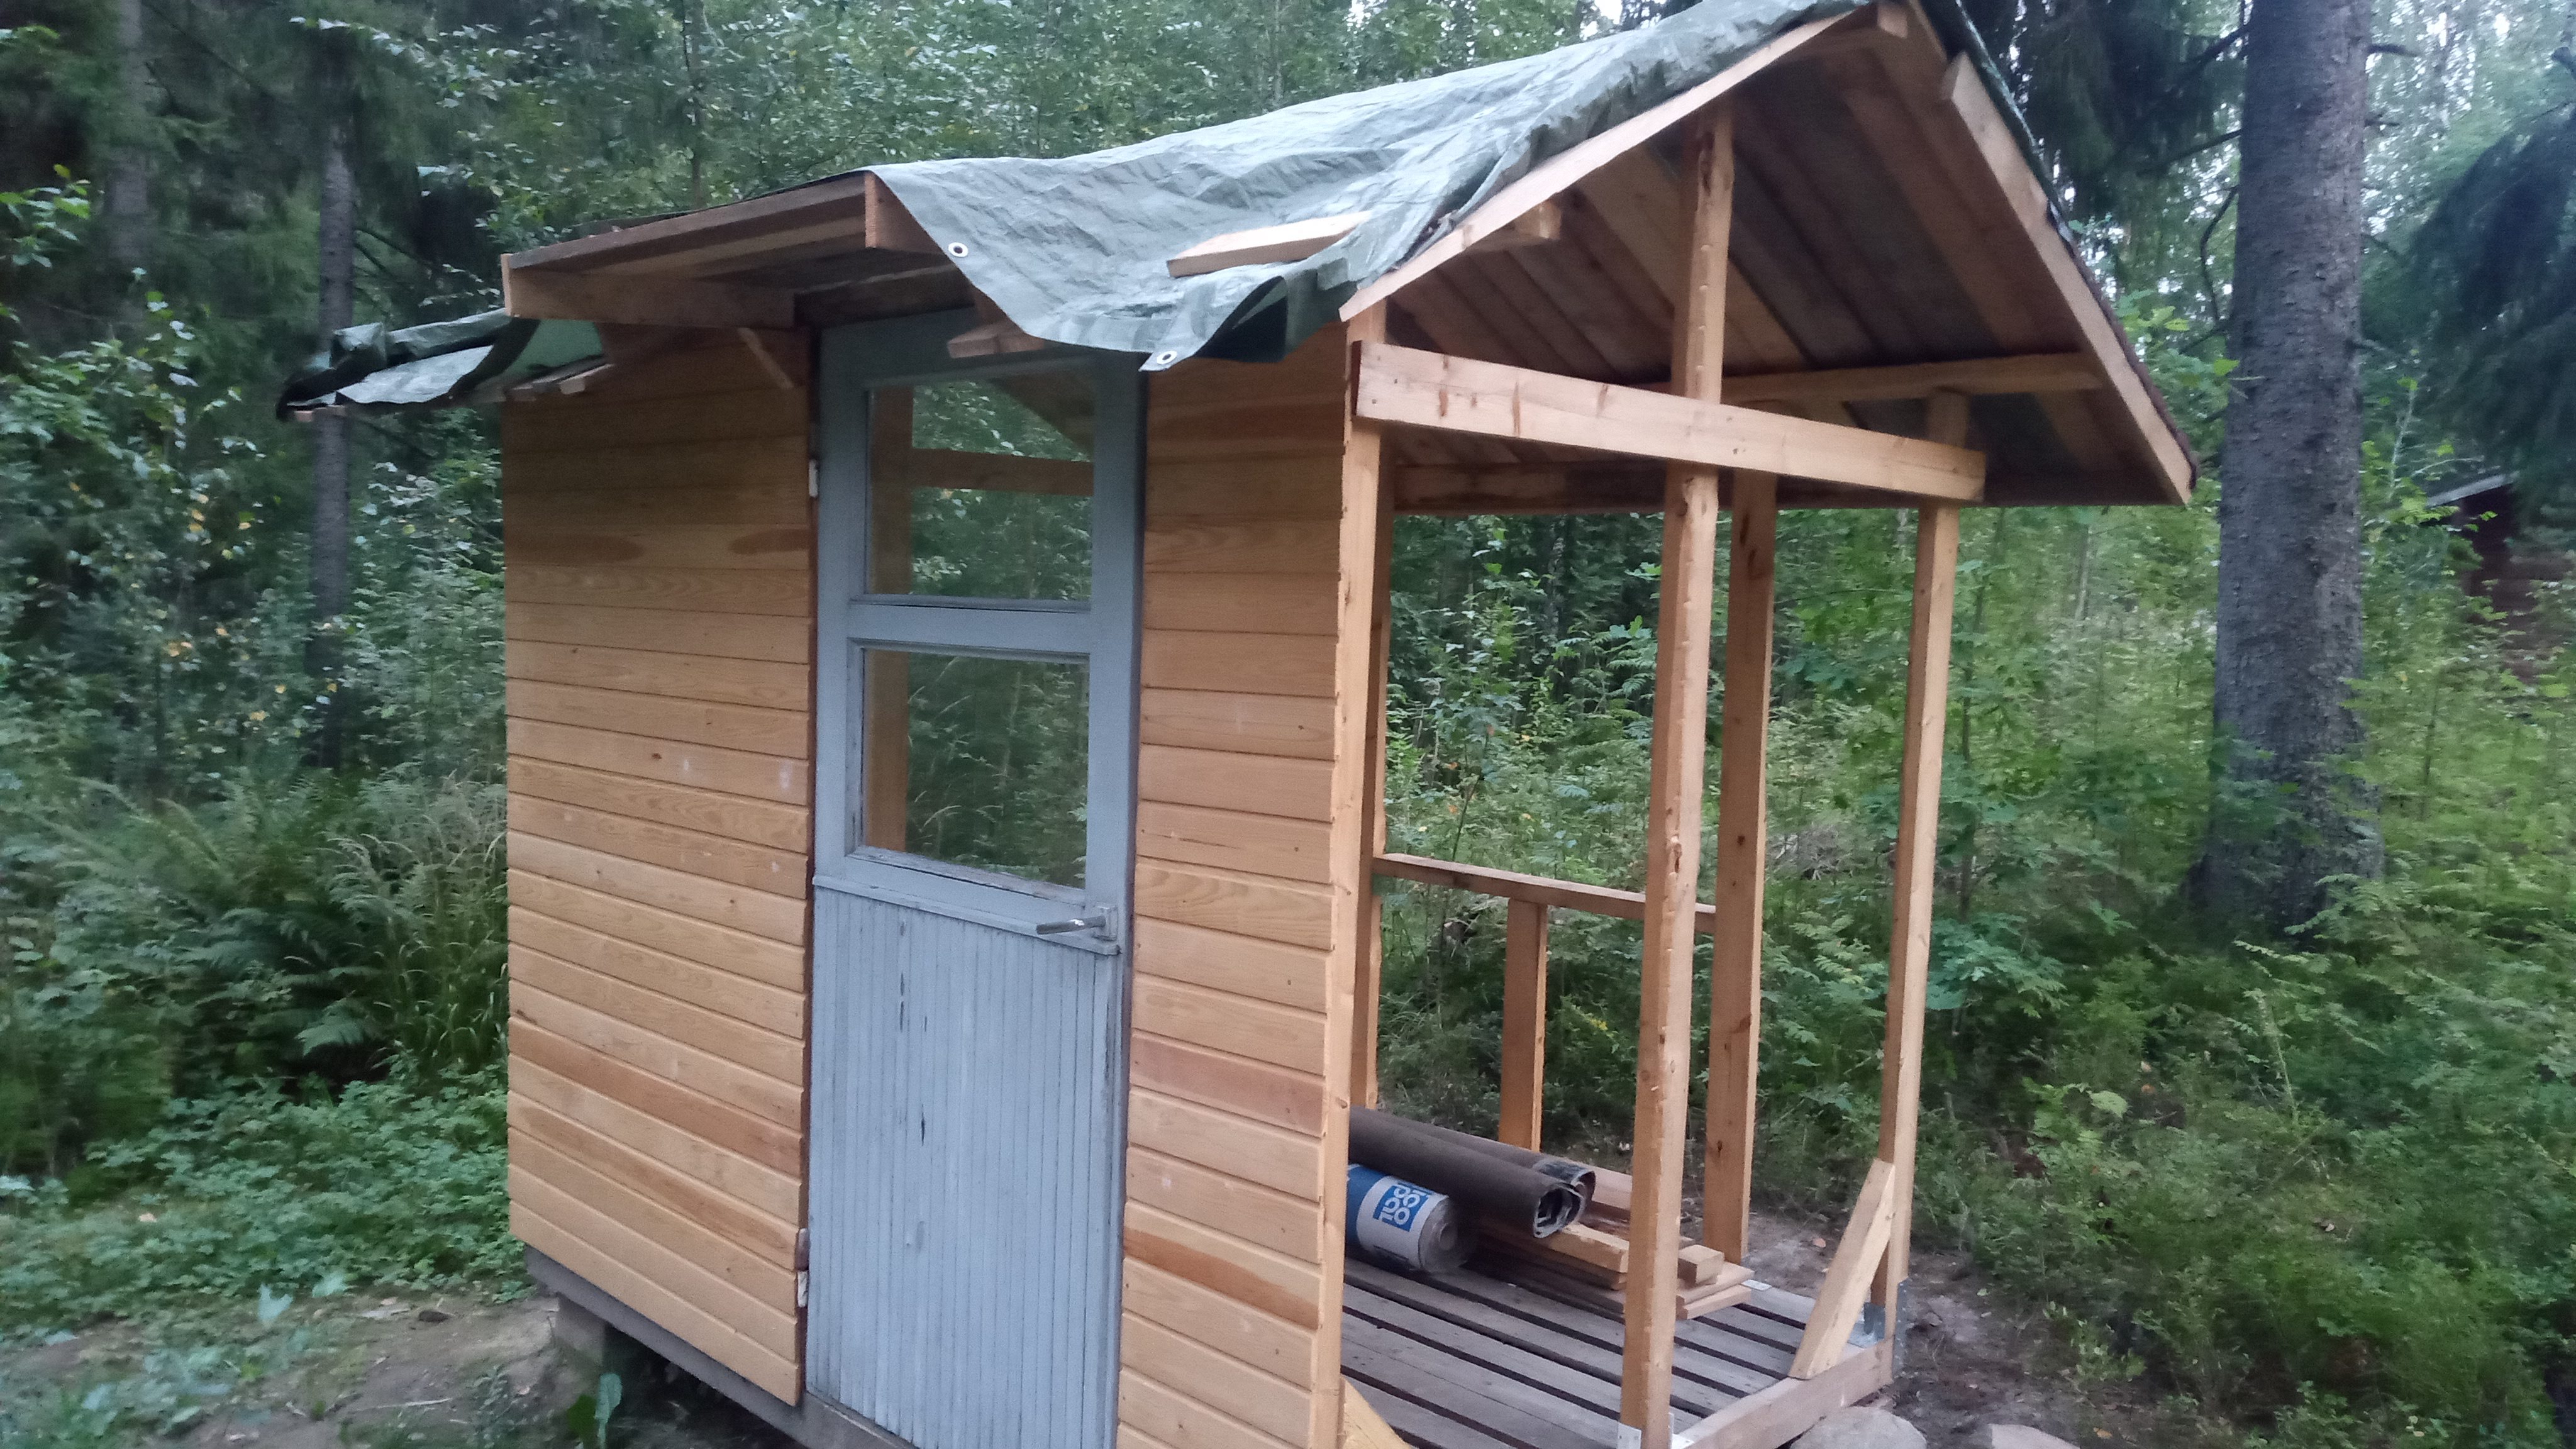 Overhang is now in place
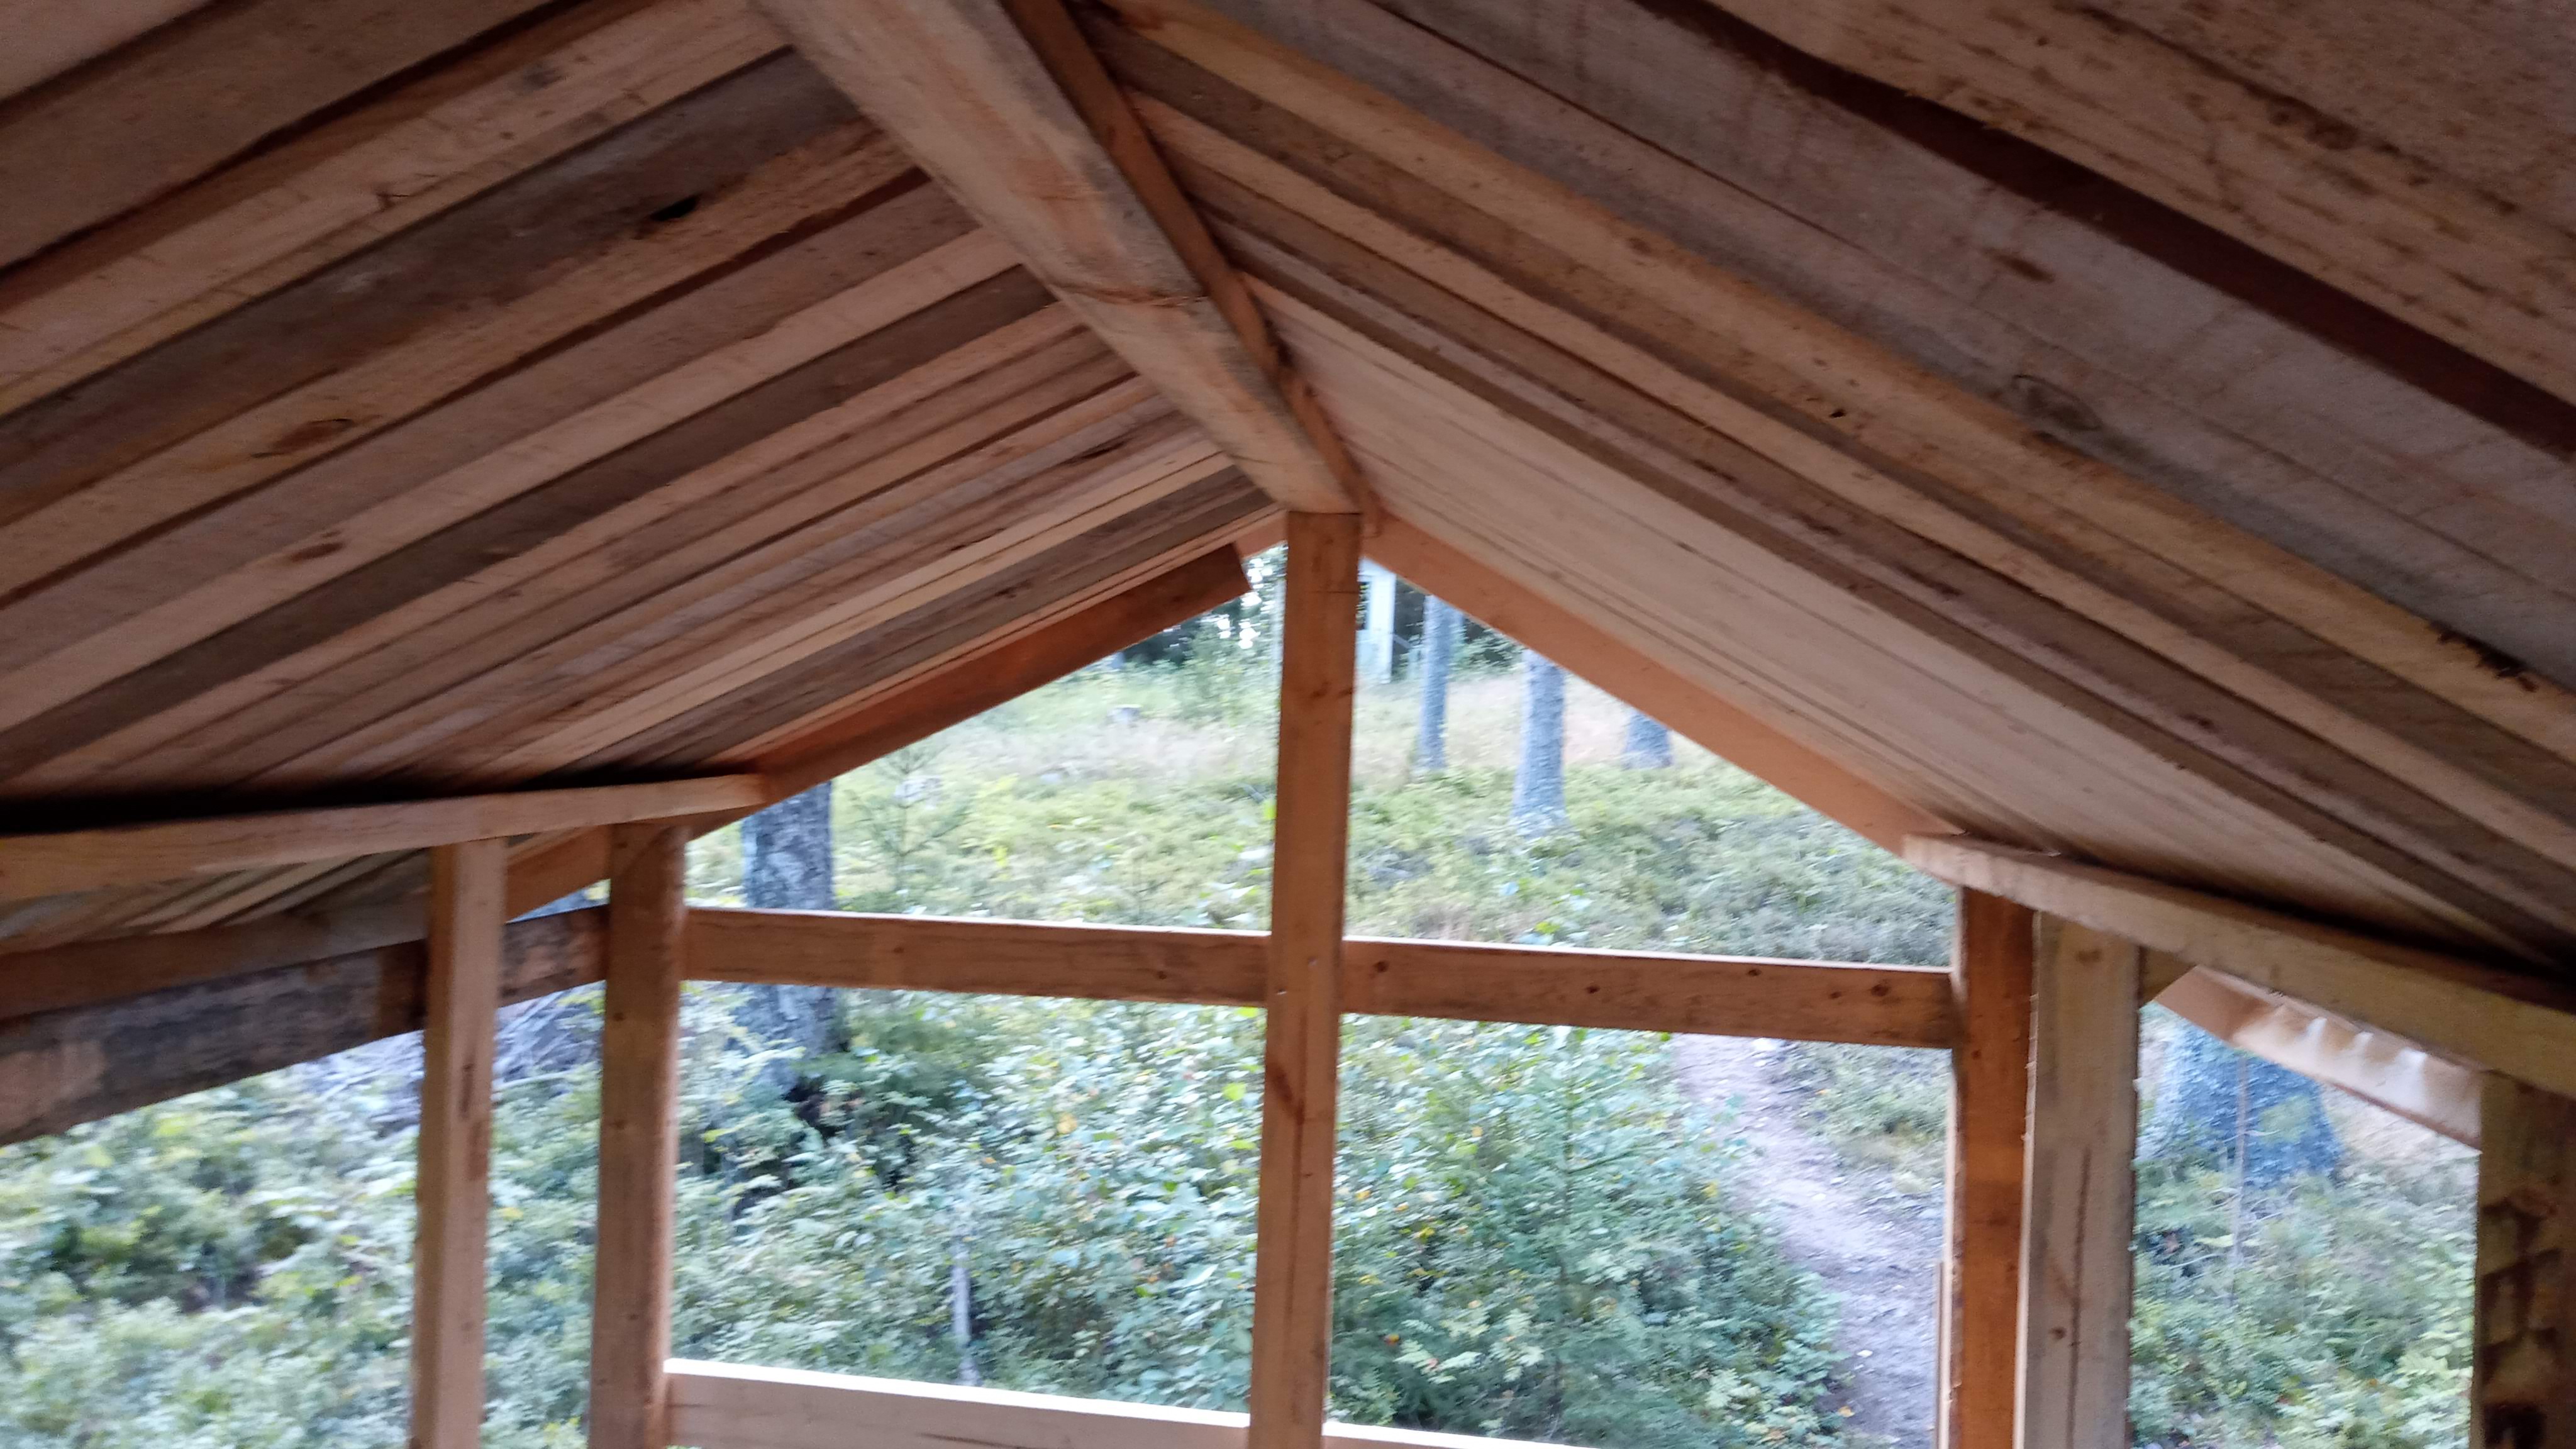 Roof from below
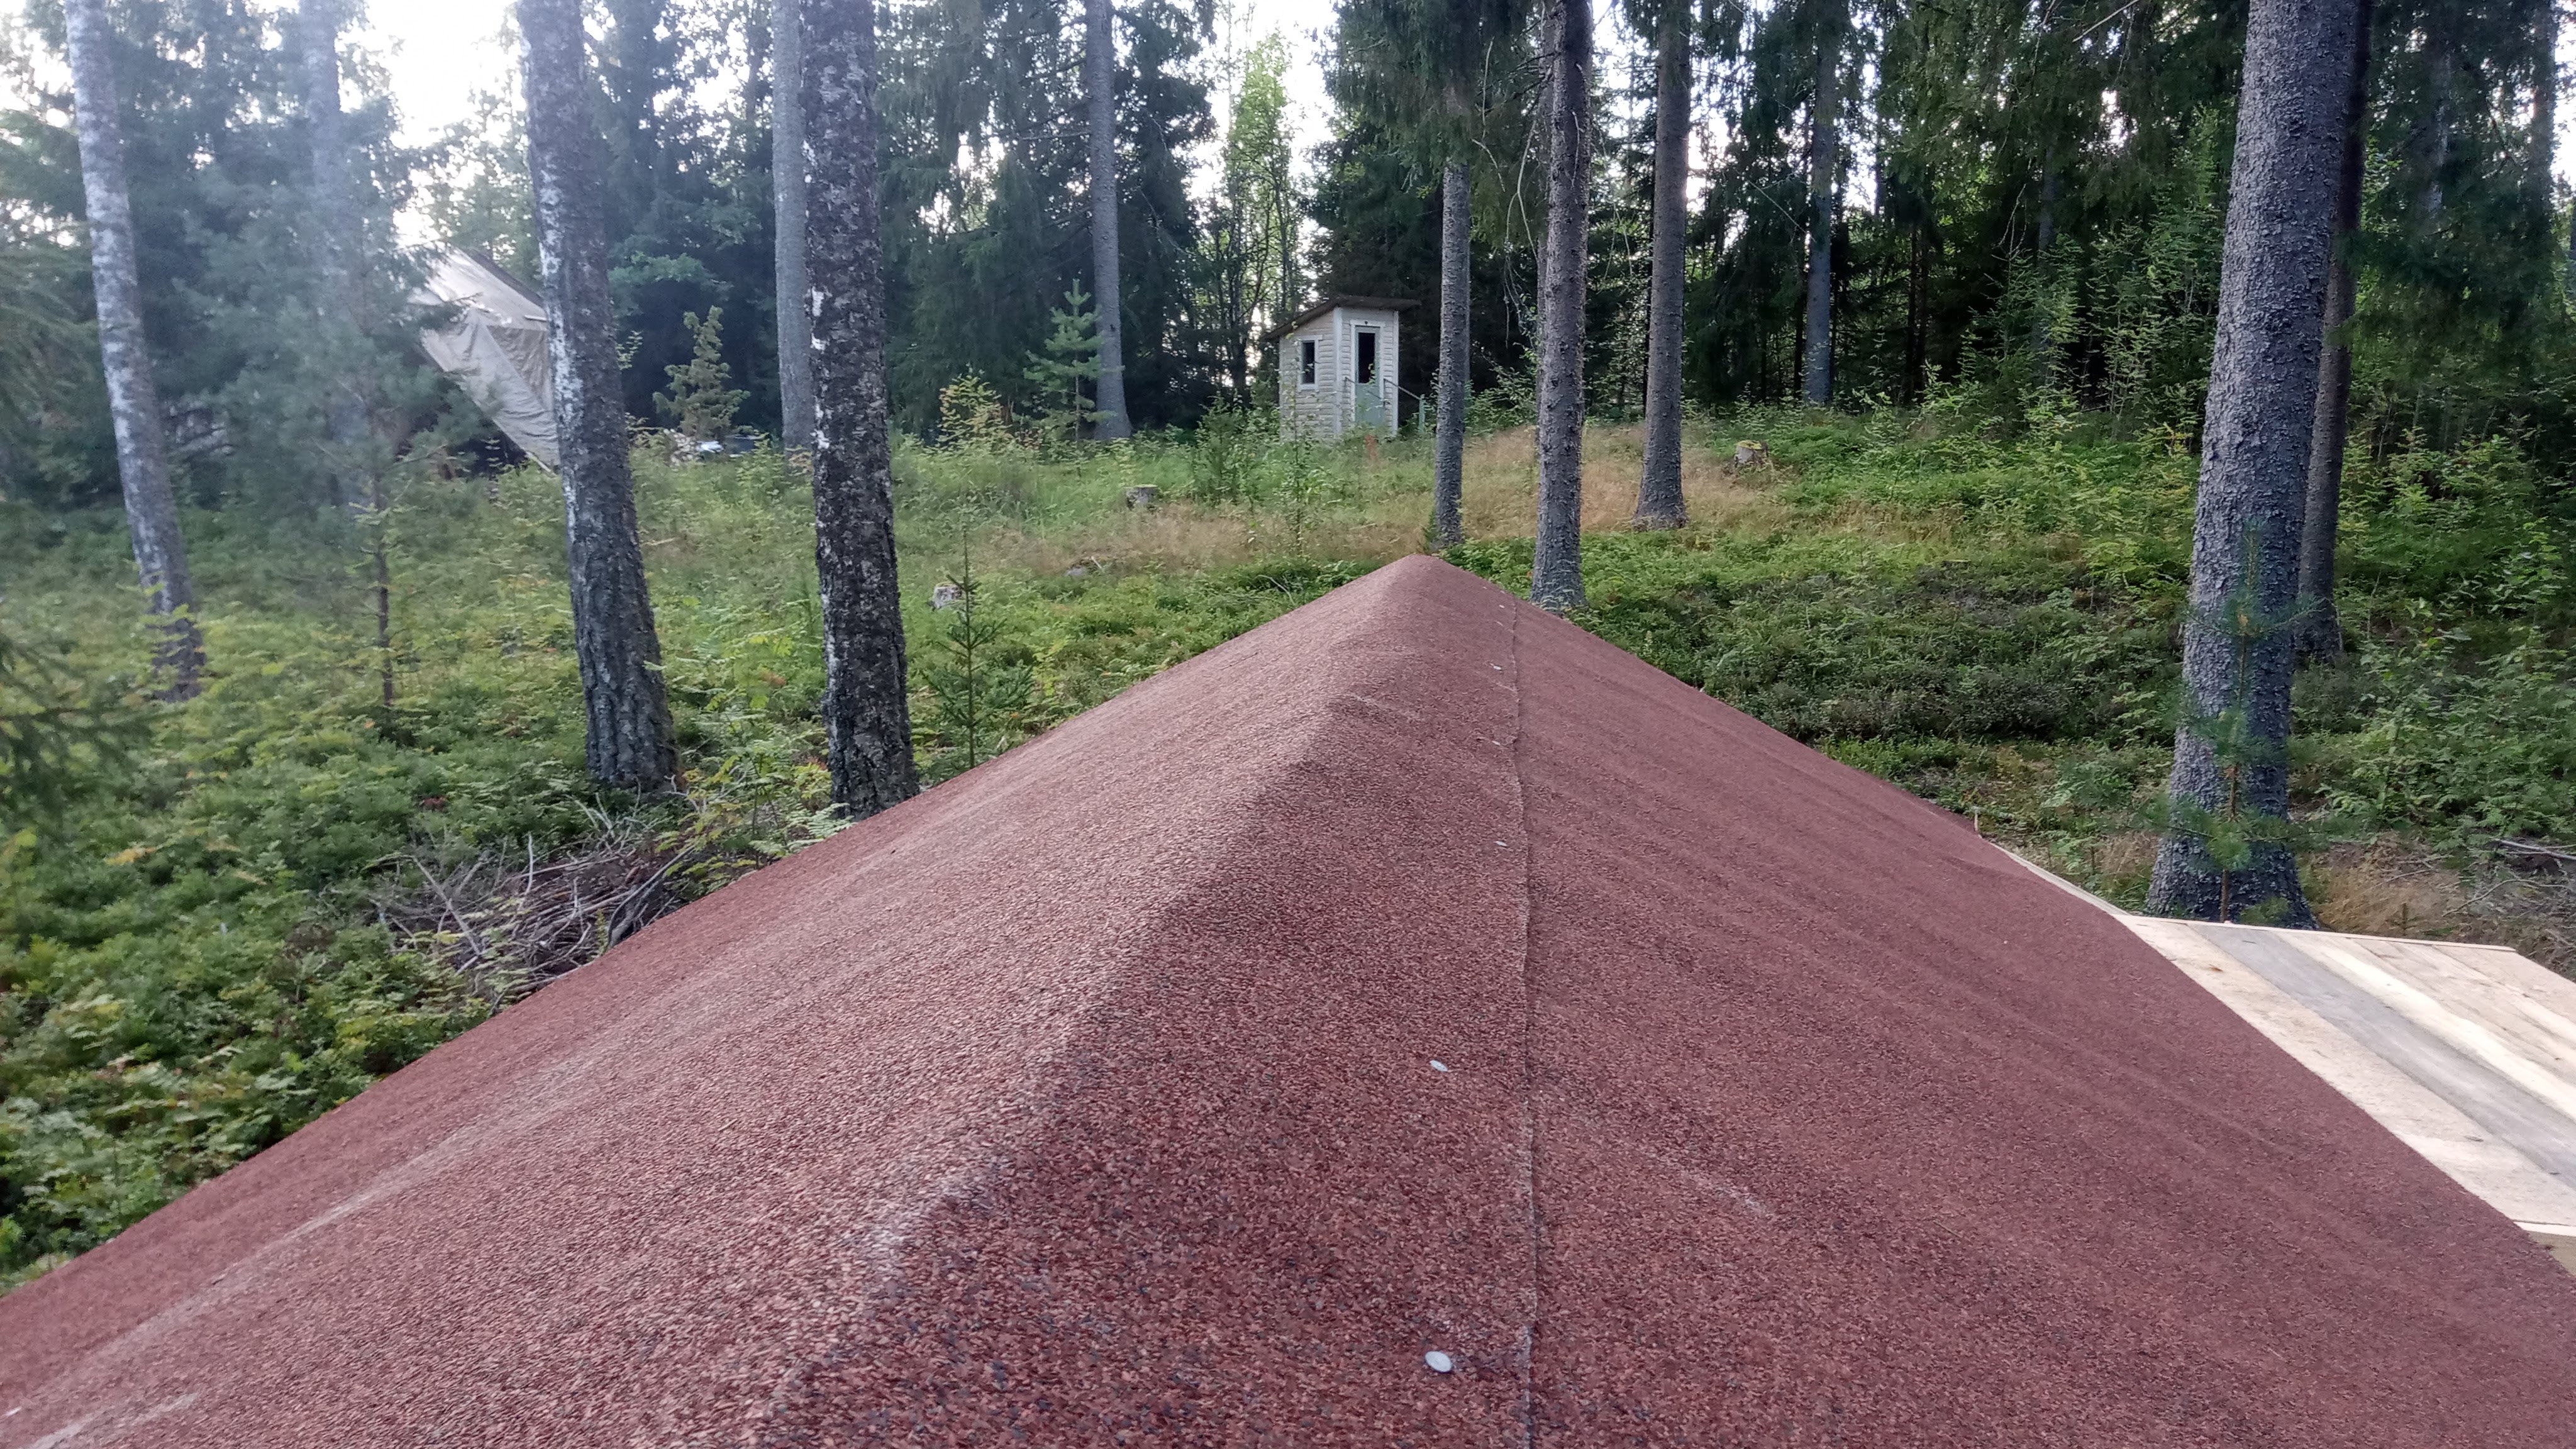 Roof is over 50% done
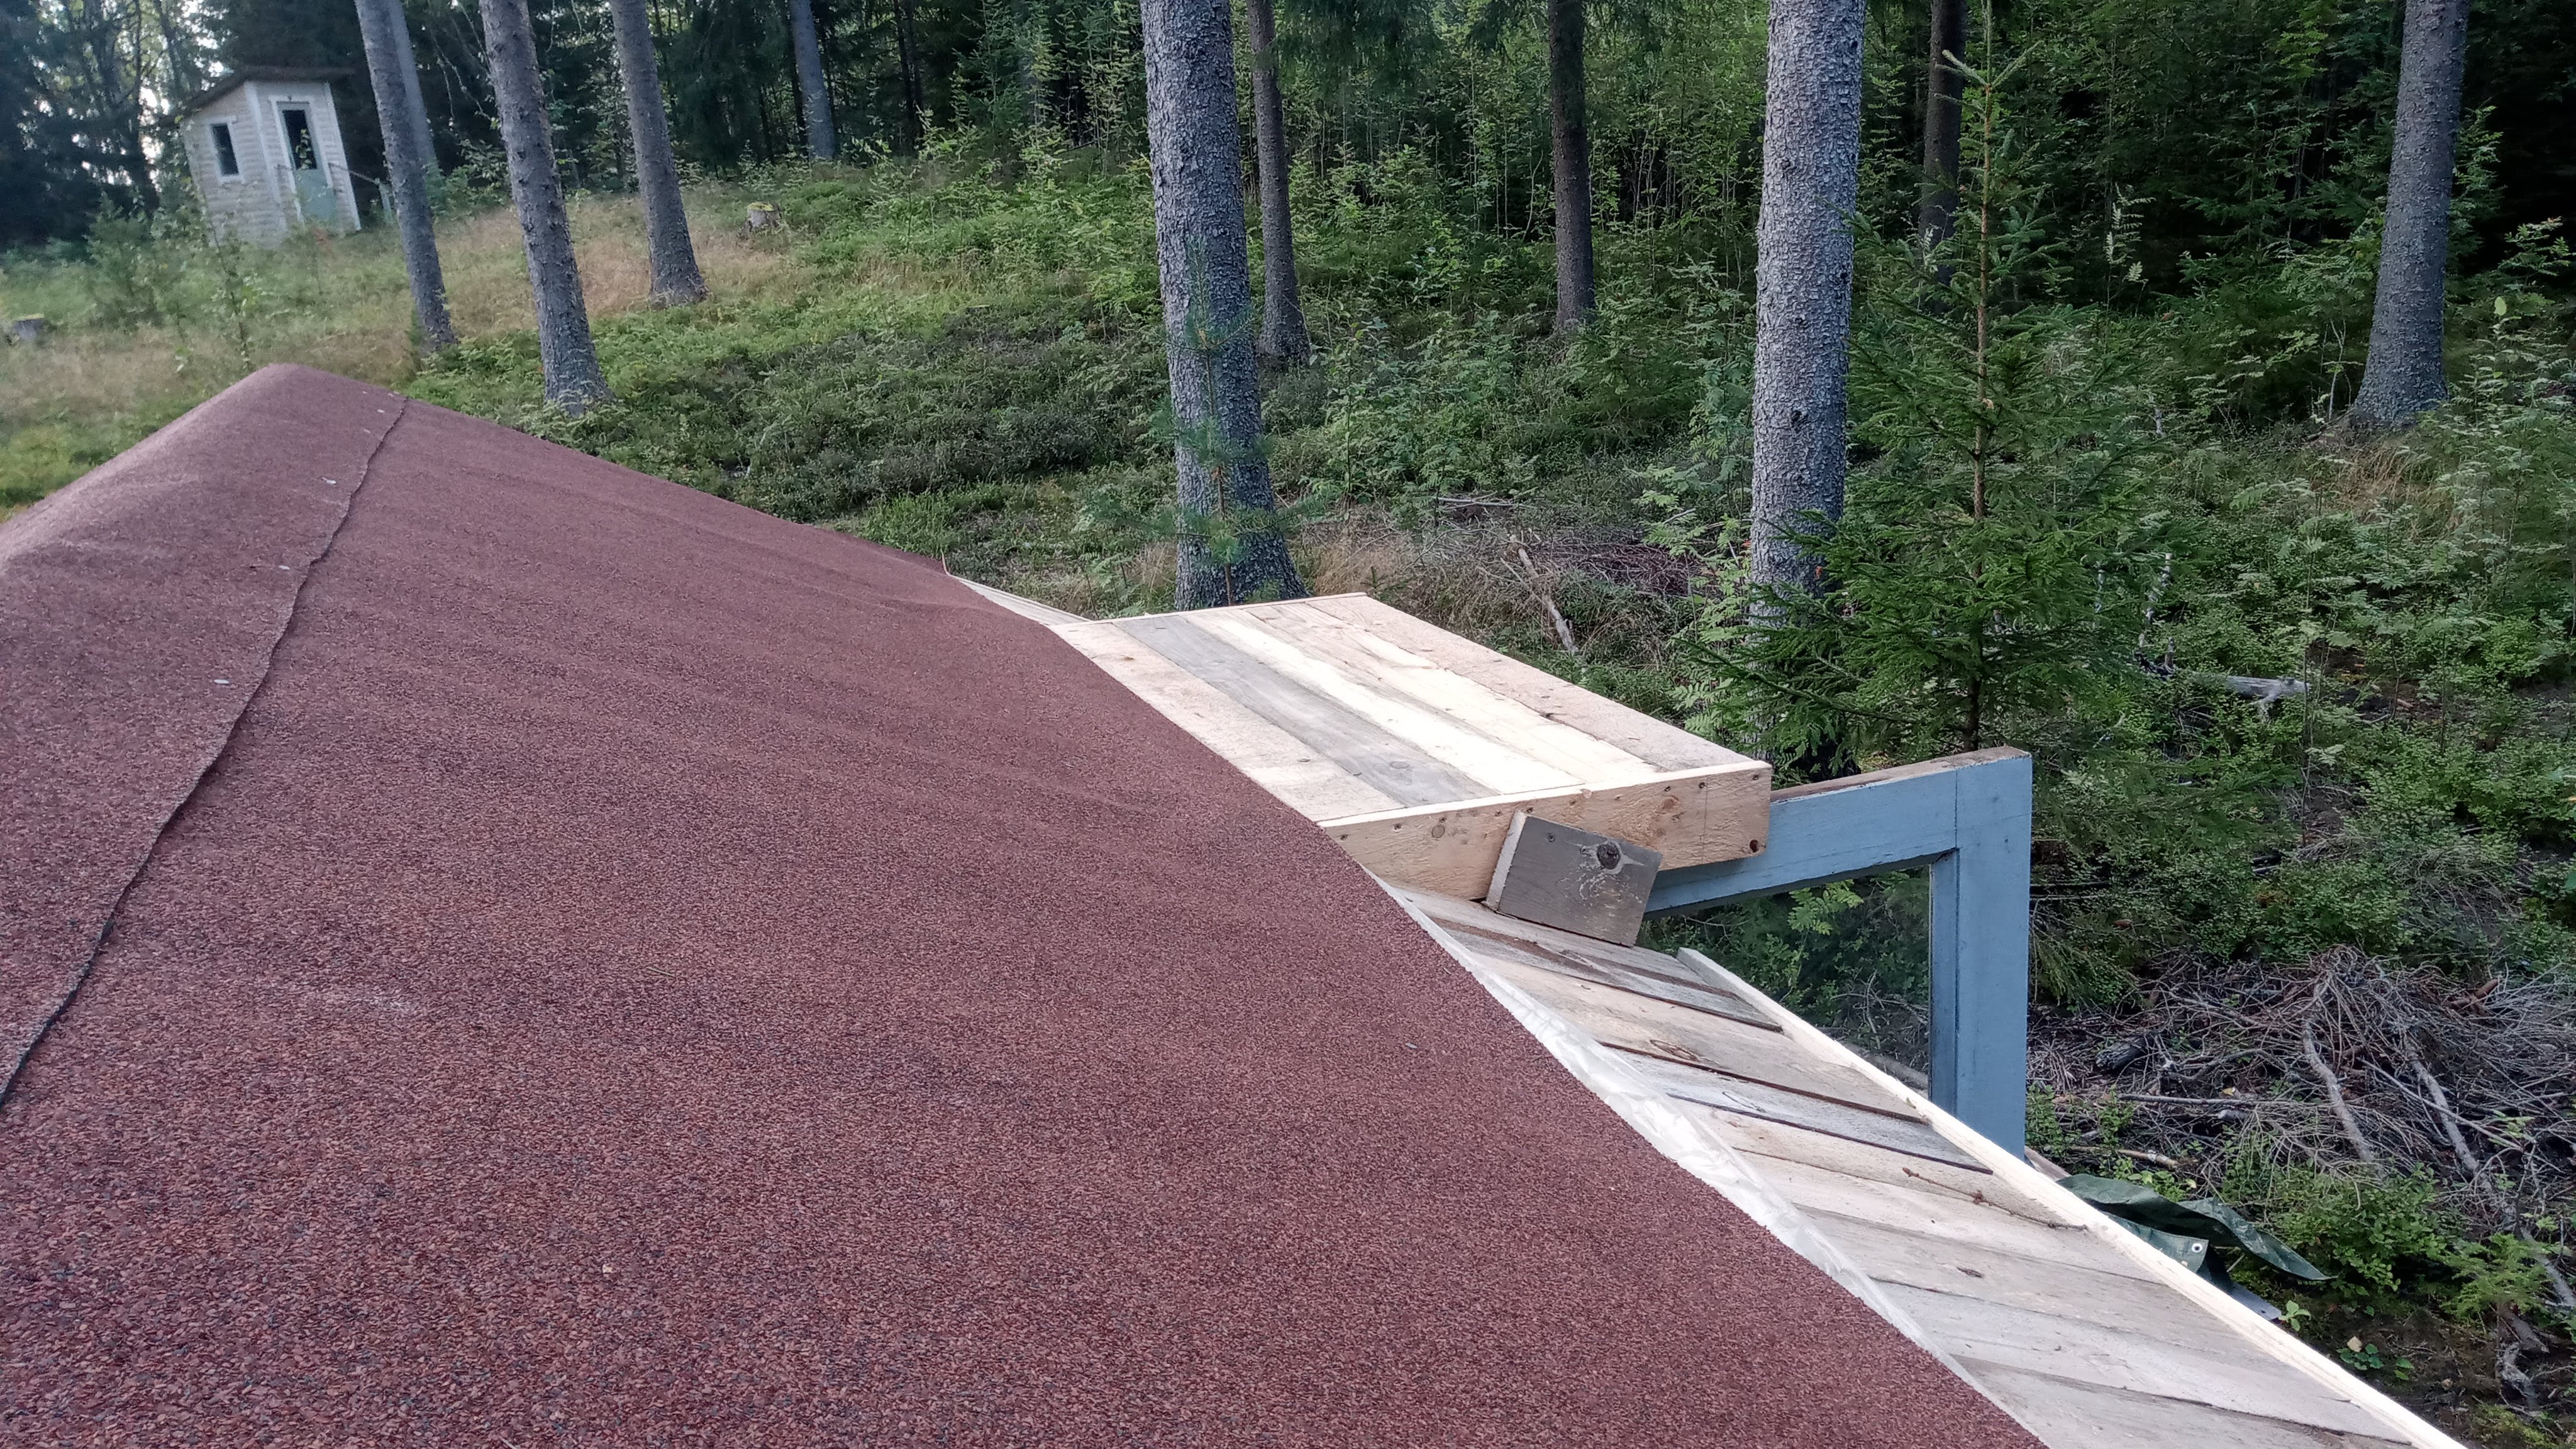 Roof shot
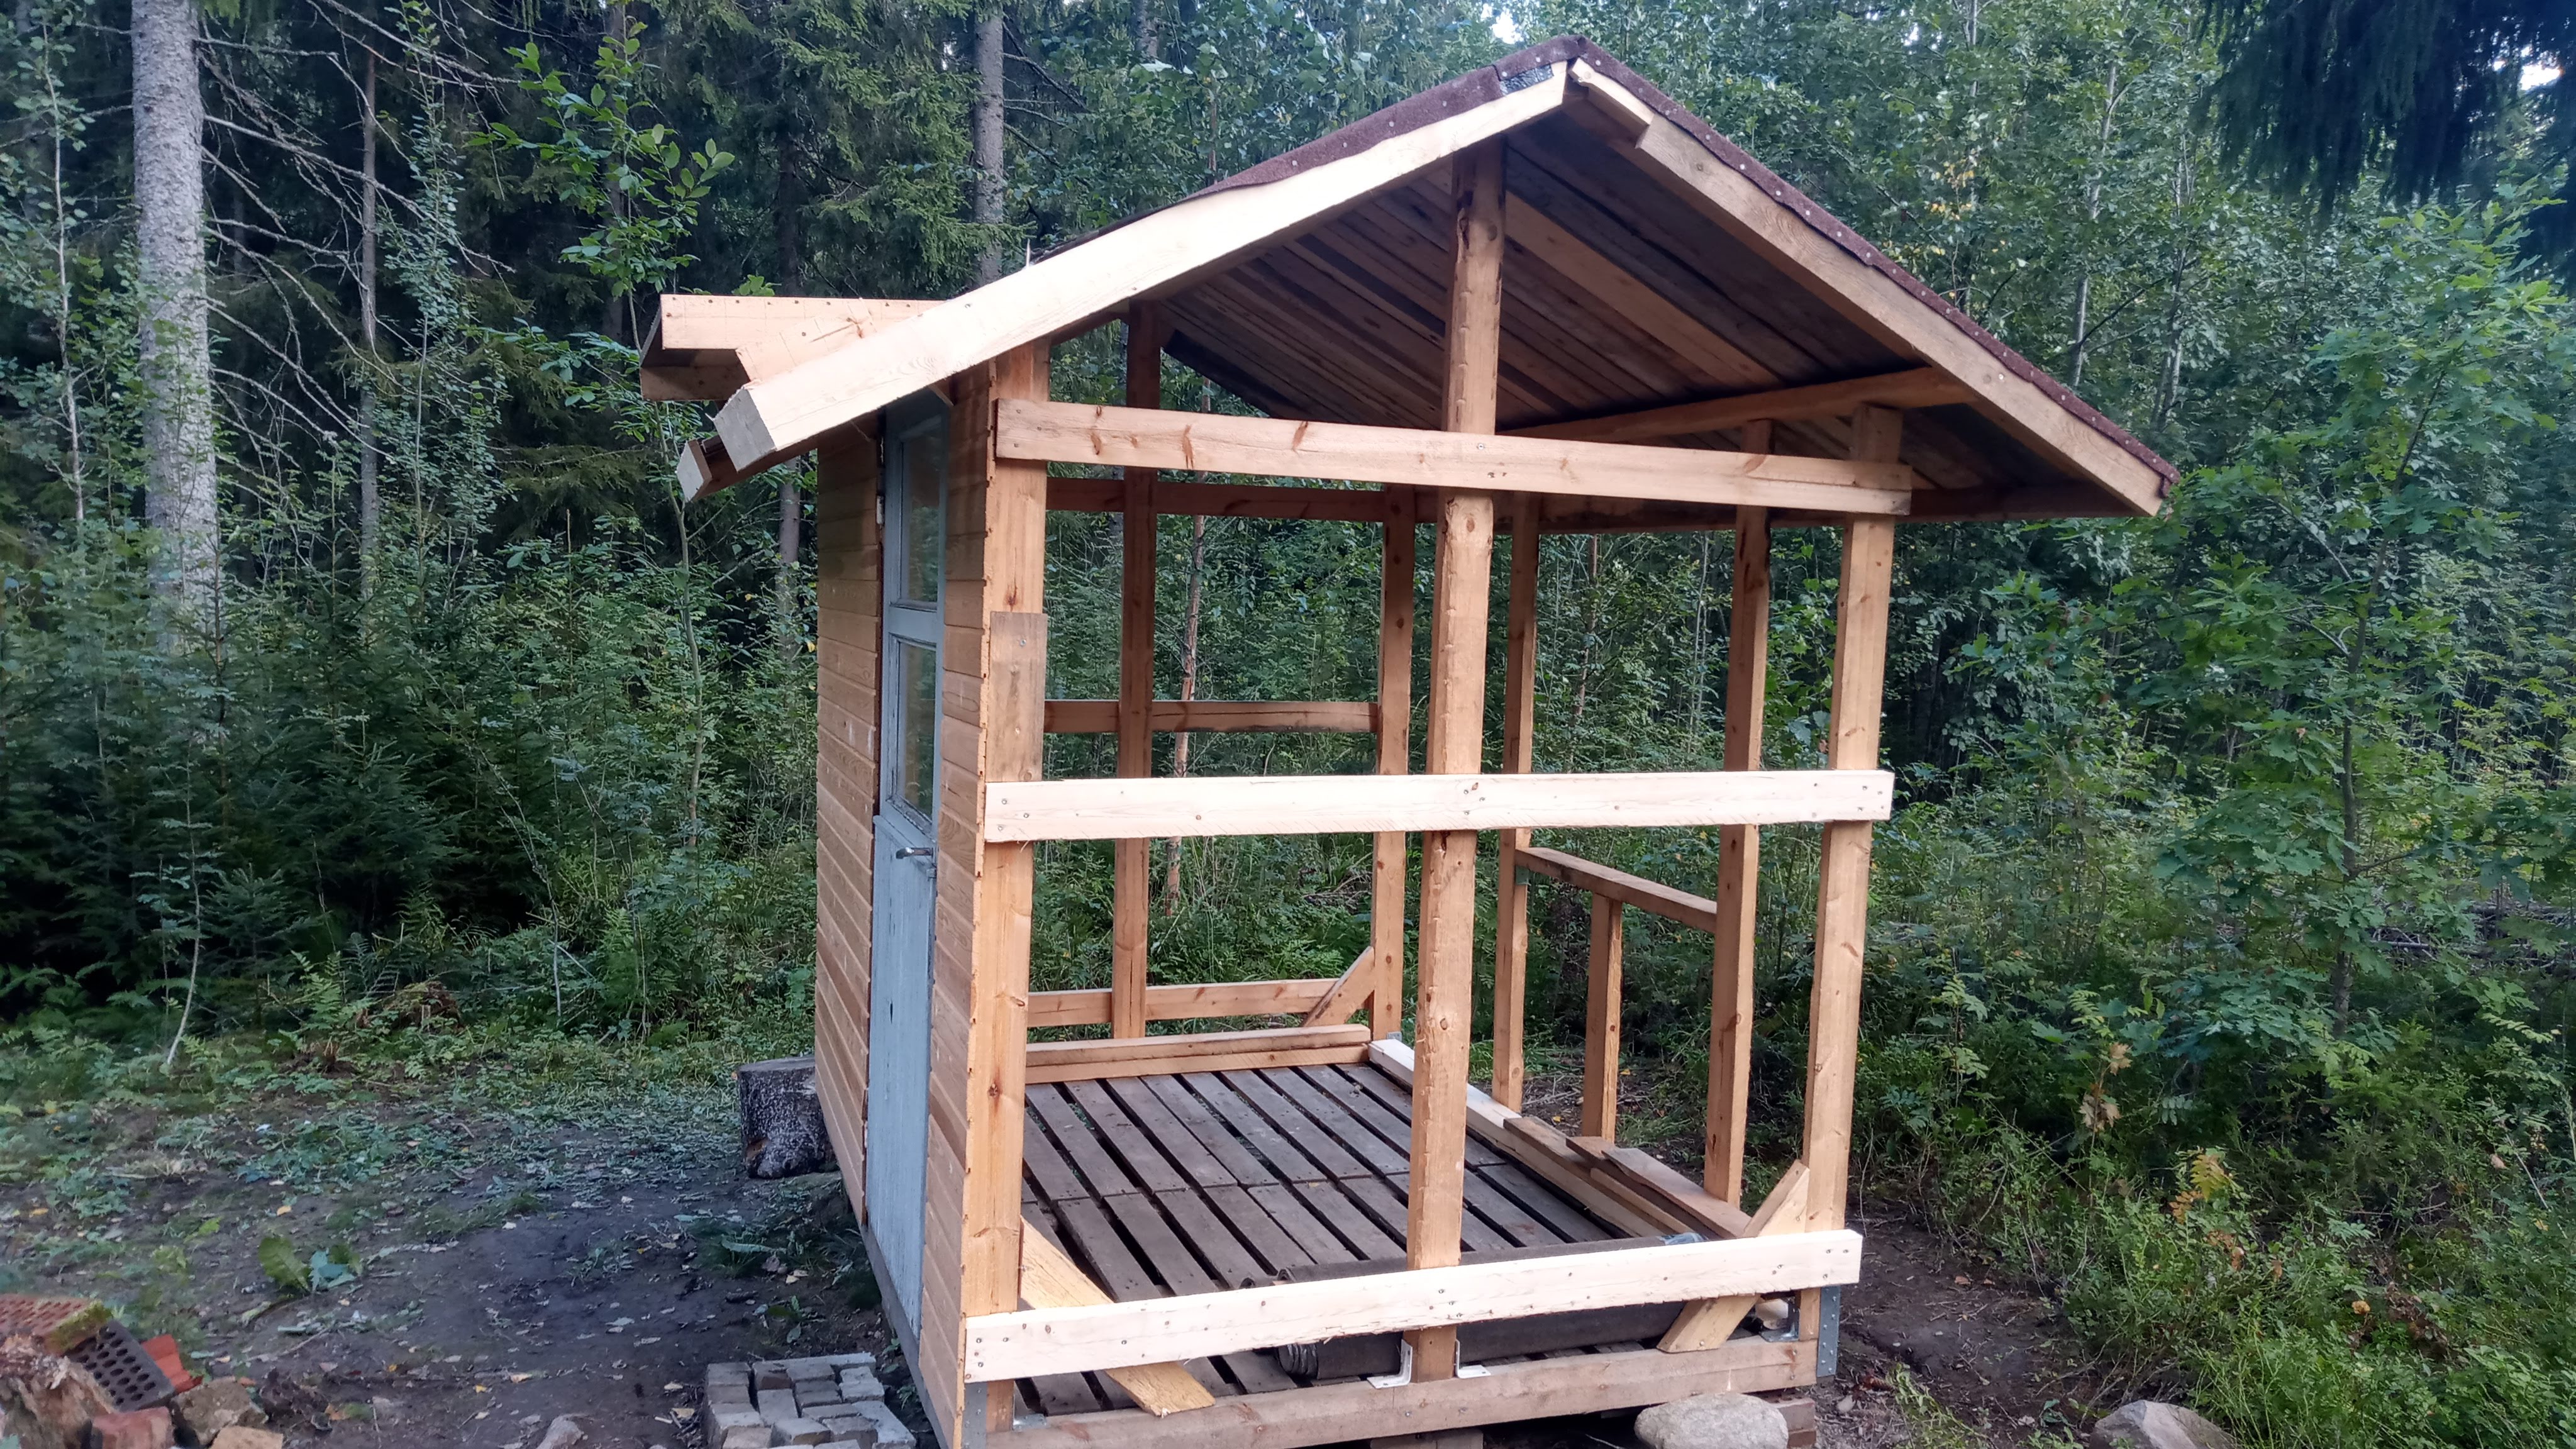 Installed two more horizontal 2x4s in both ends to make the structure firmer
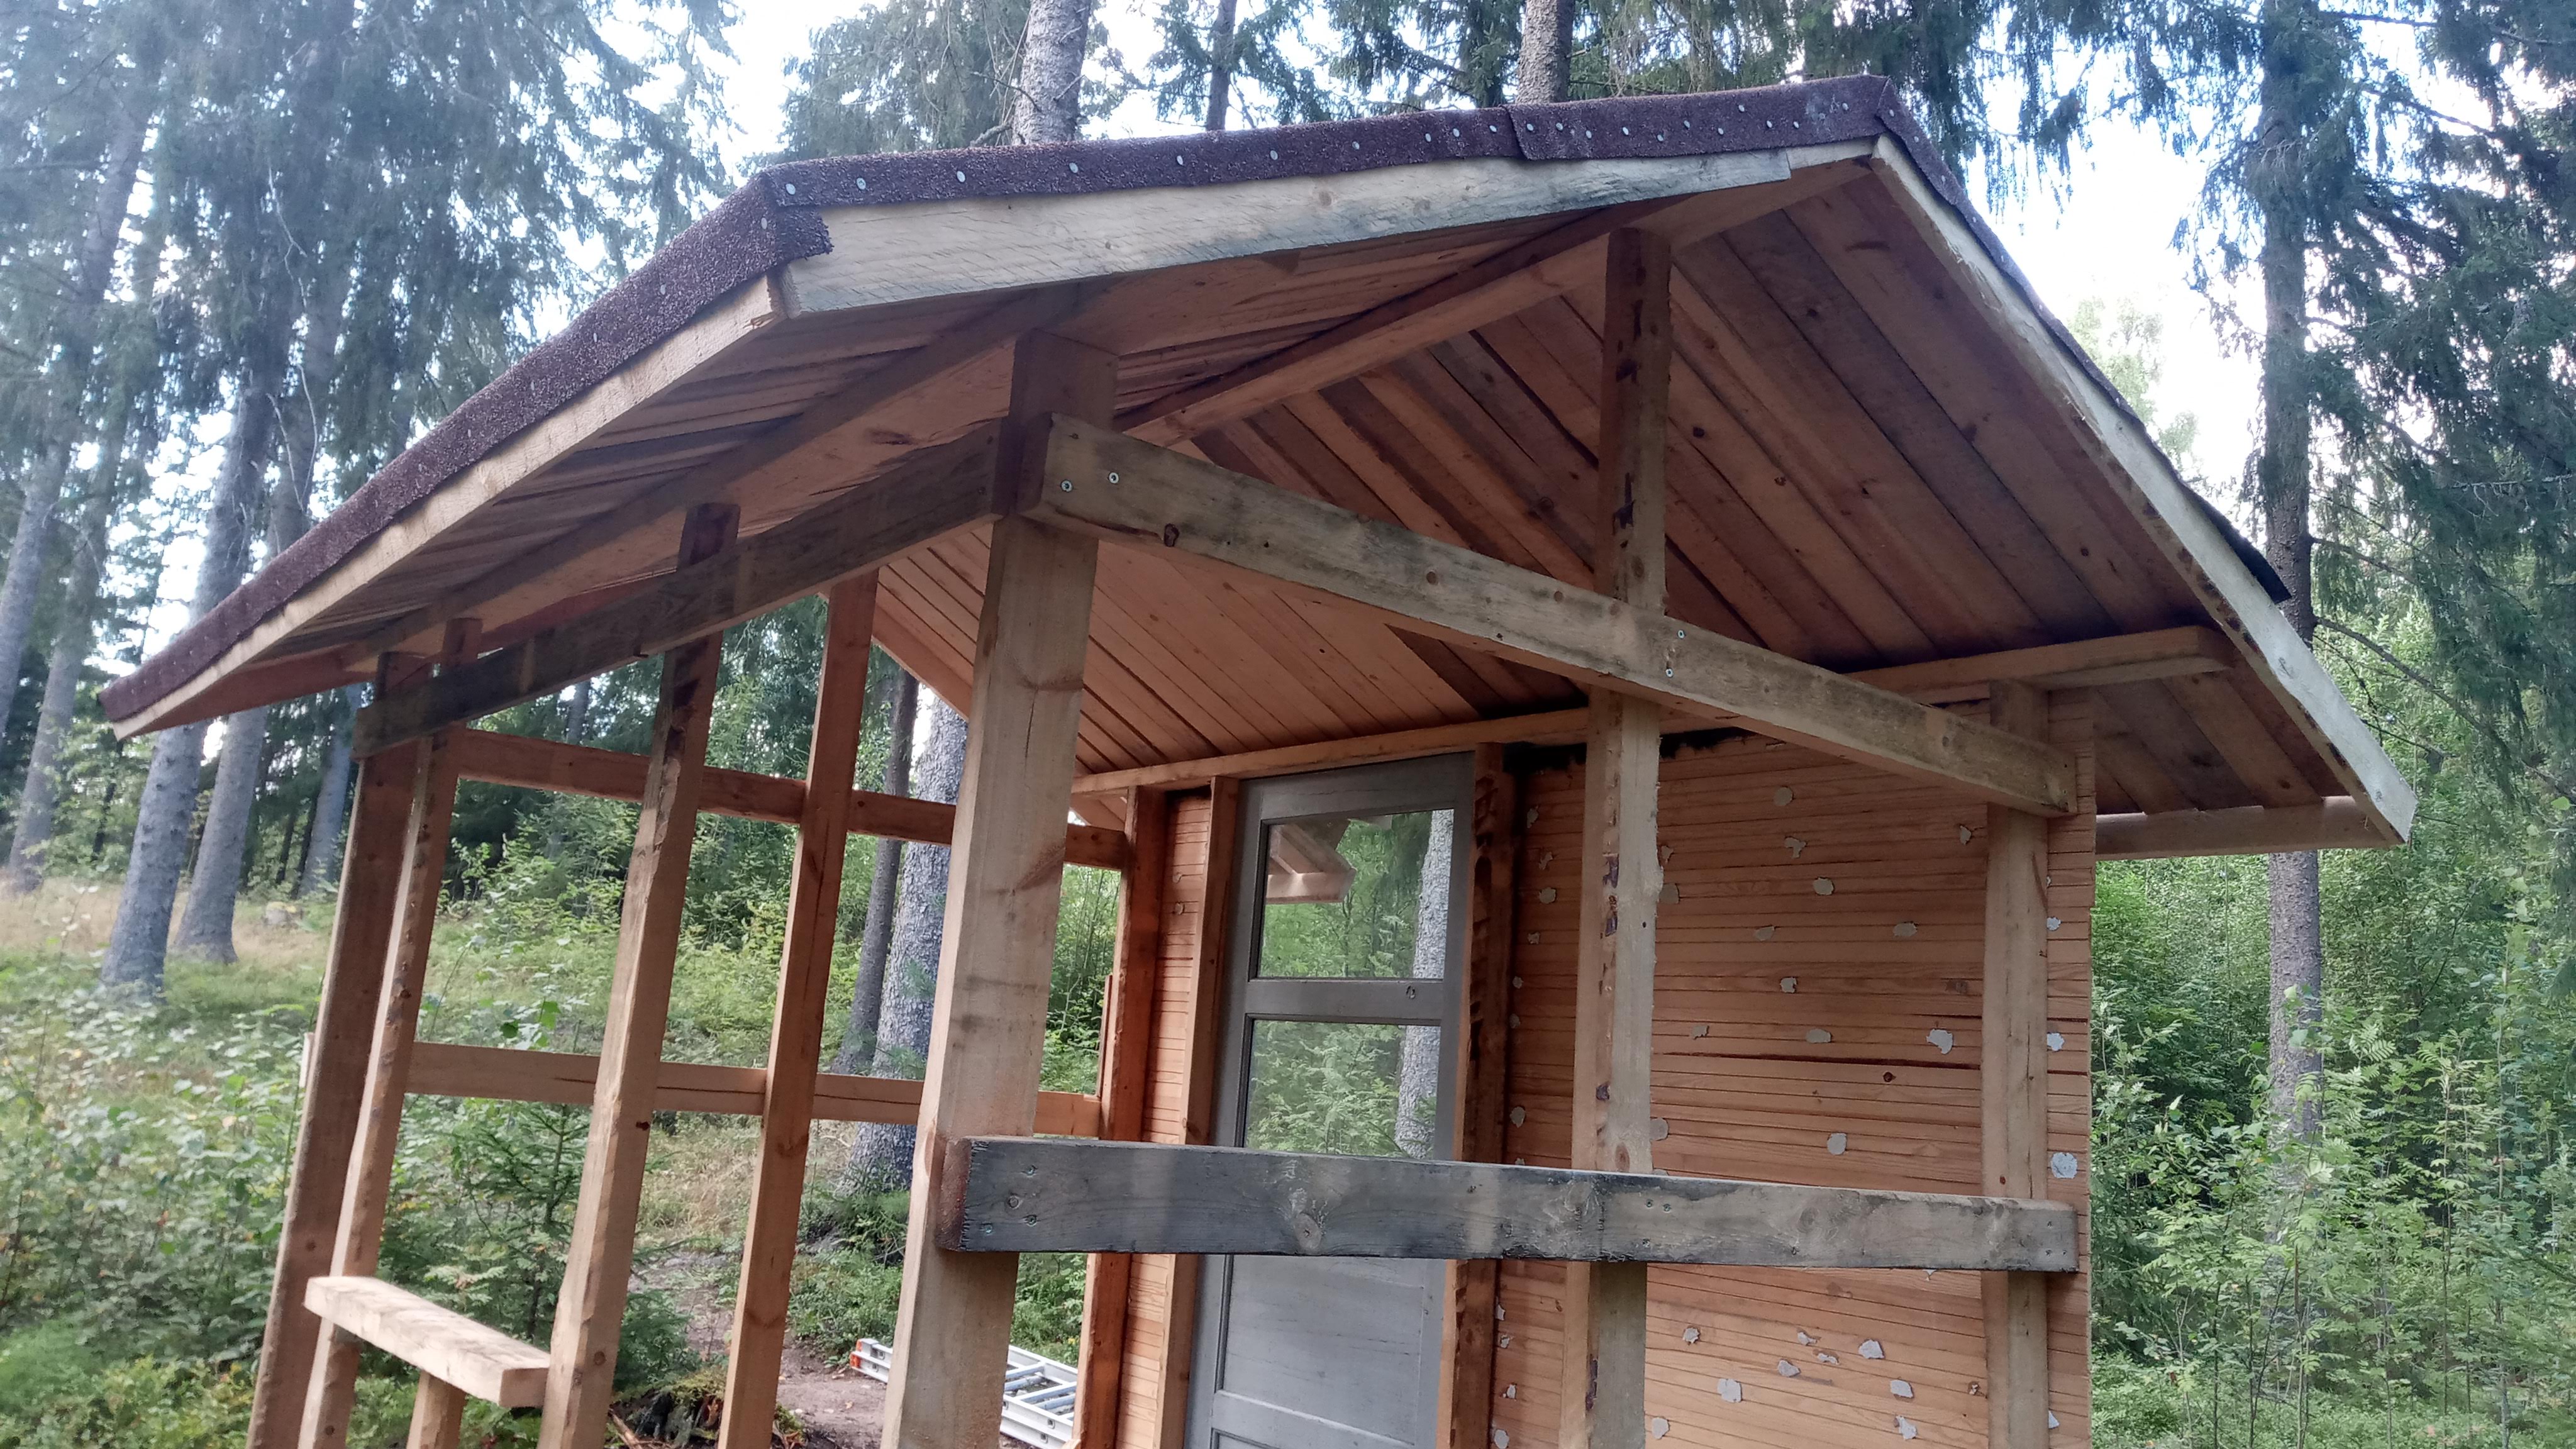 Installed planks in the slanted portions of the roof end
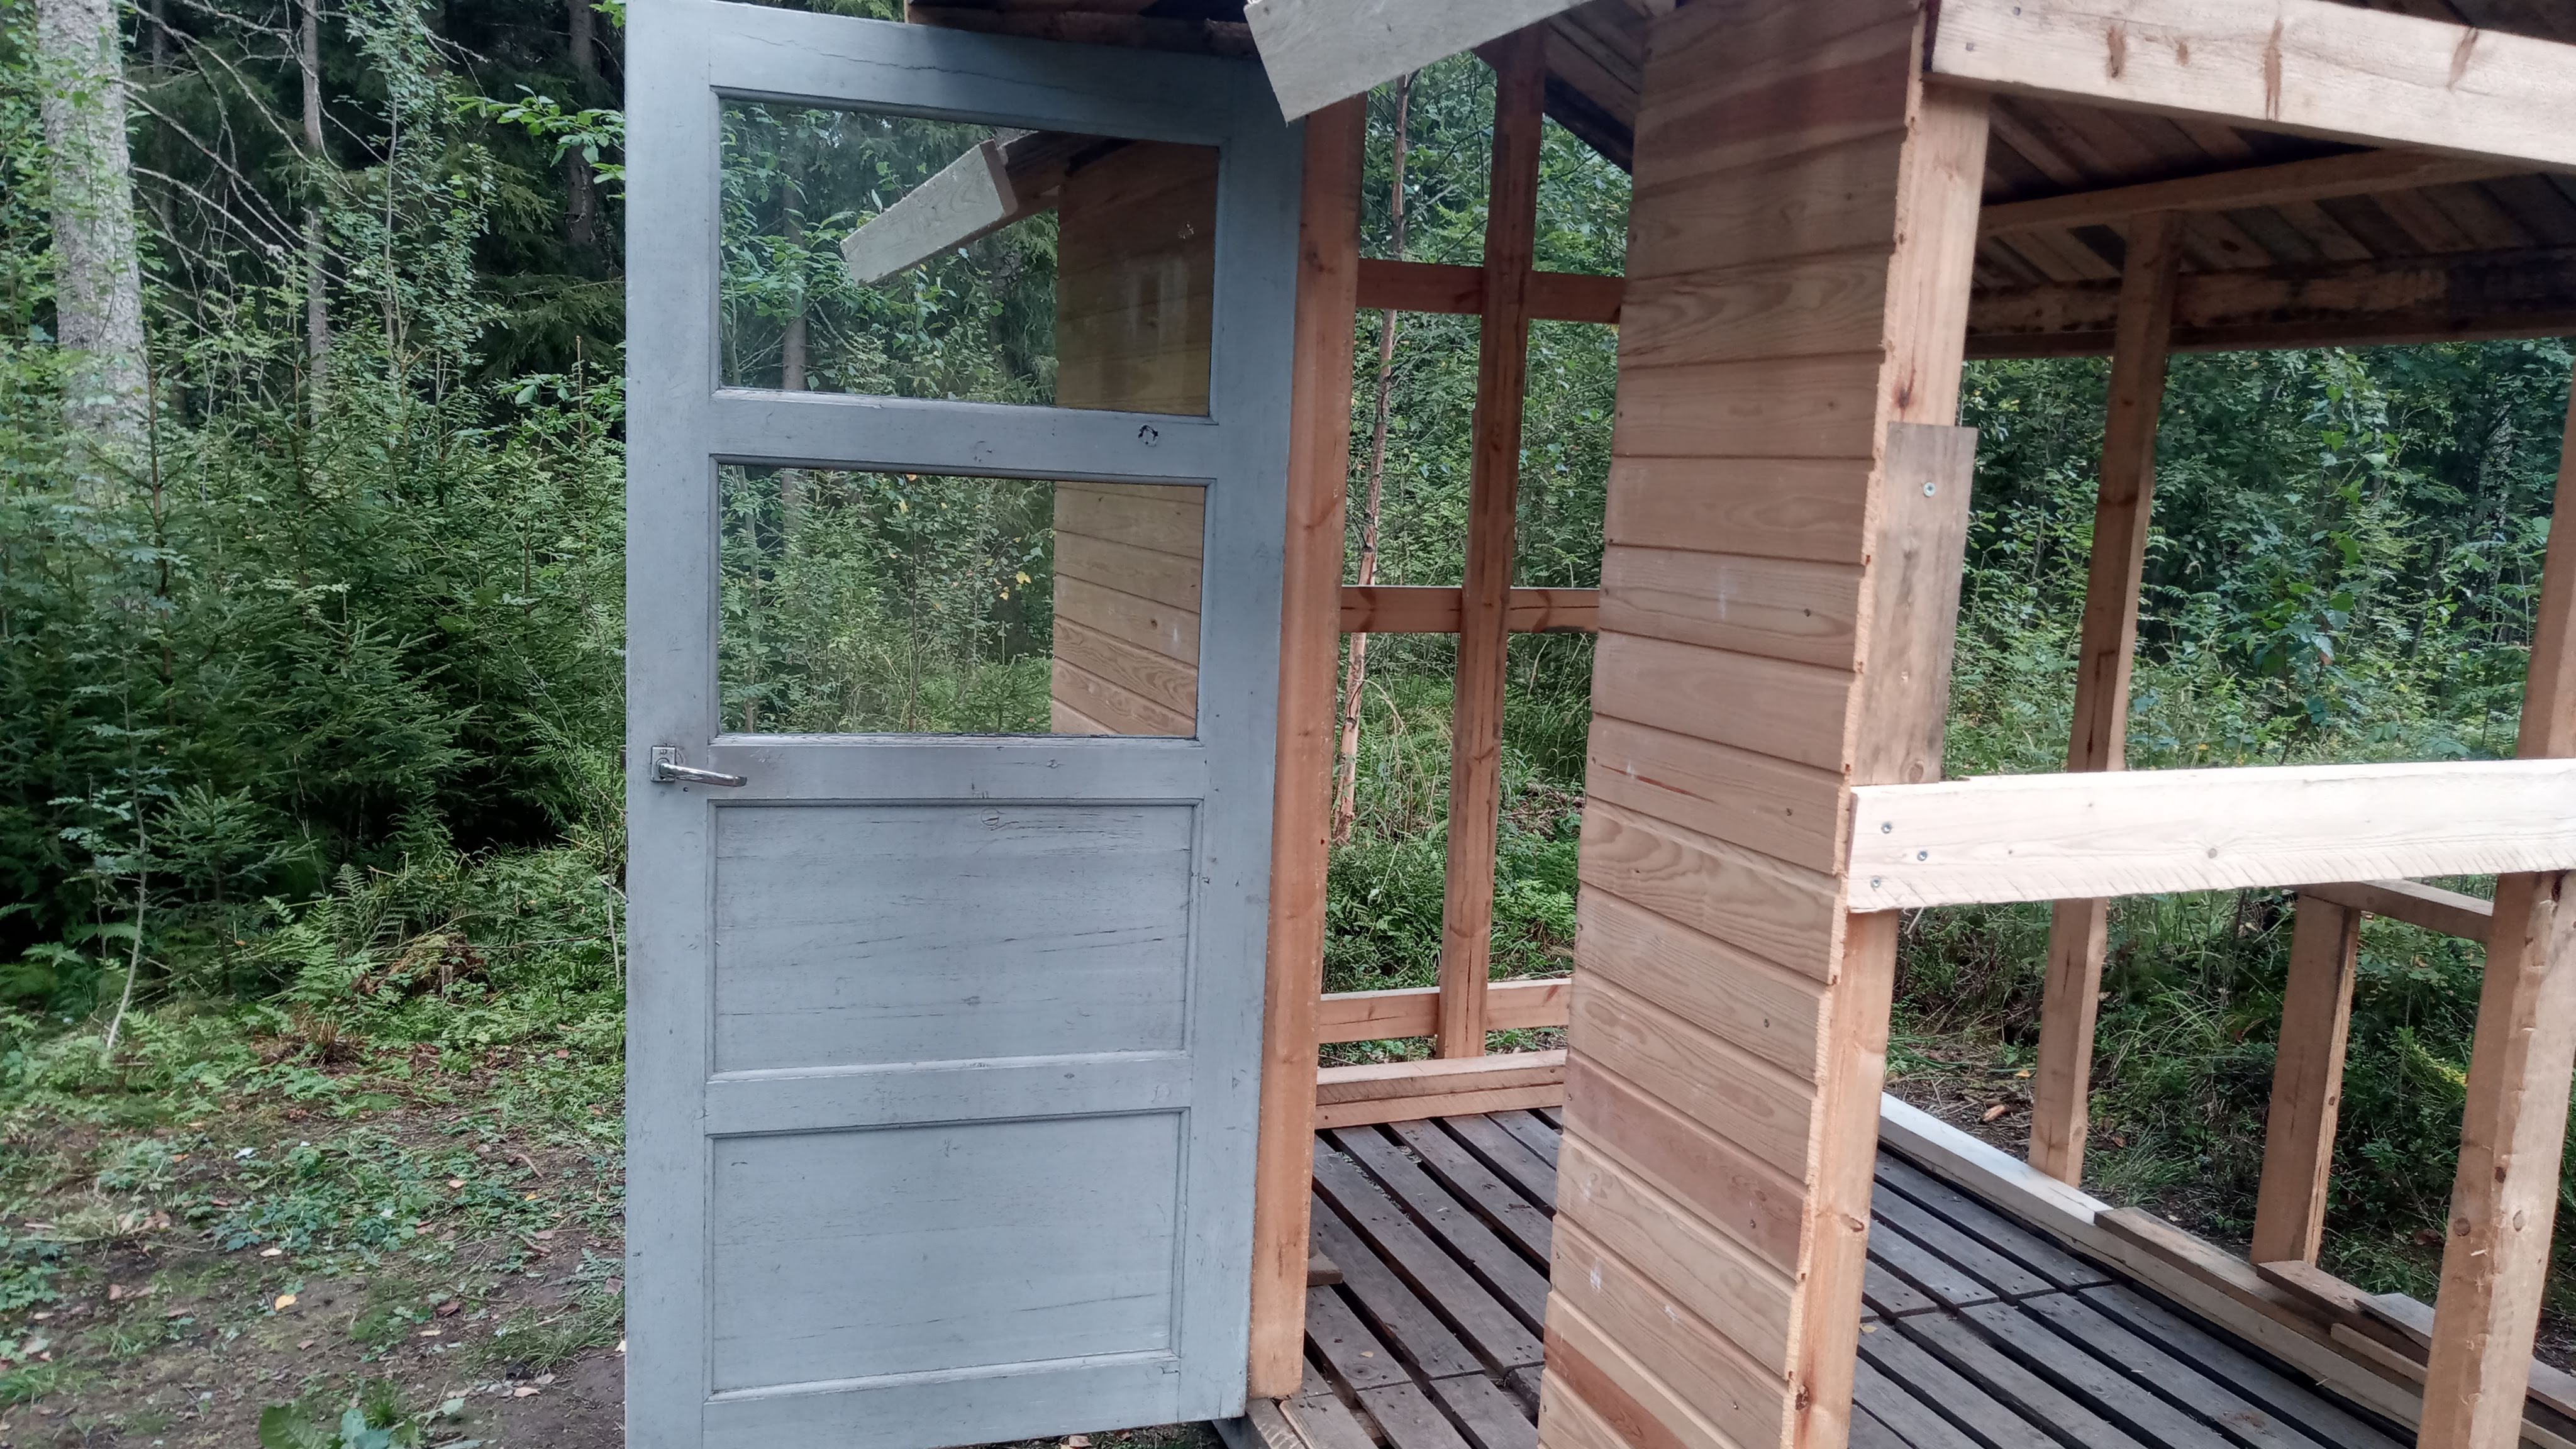 The door even opens! And that's a positive thing because you no longer can easily enter through the walls
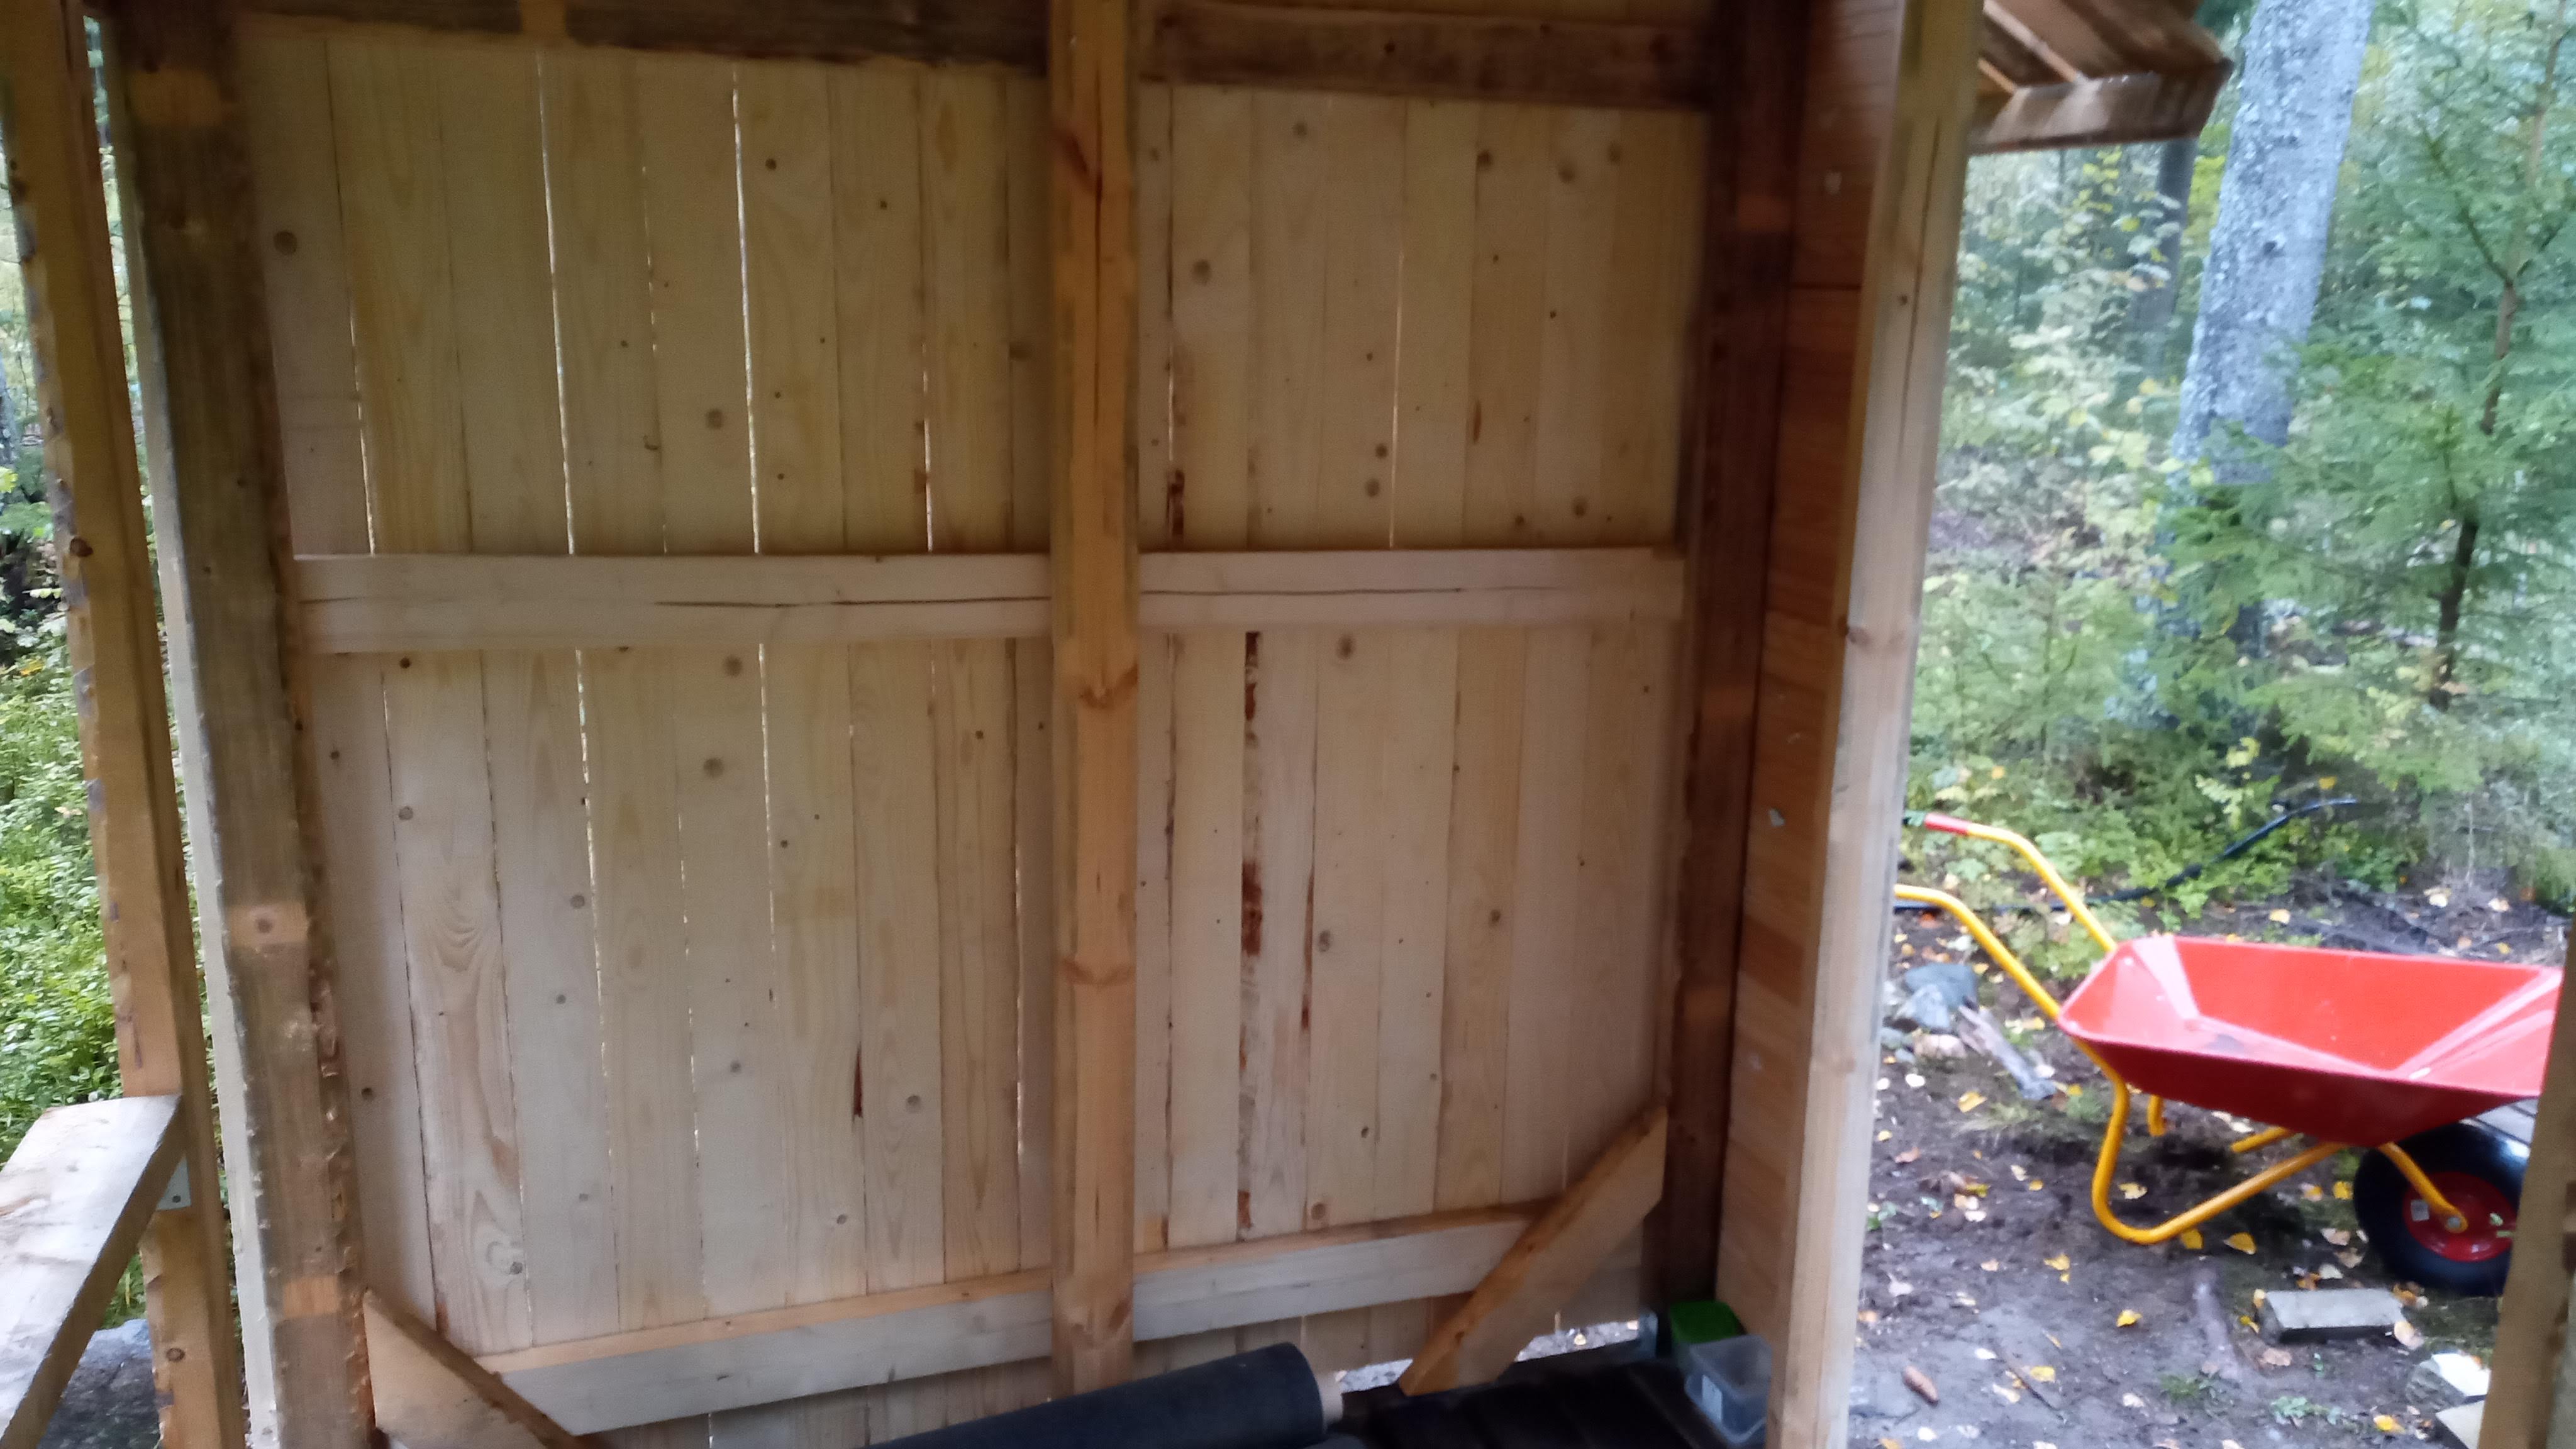 Second wall portion installed, it's 200cm long 22x100 planks
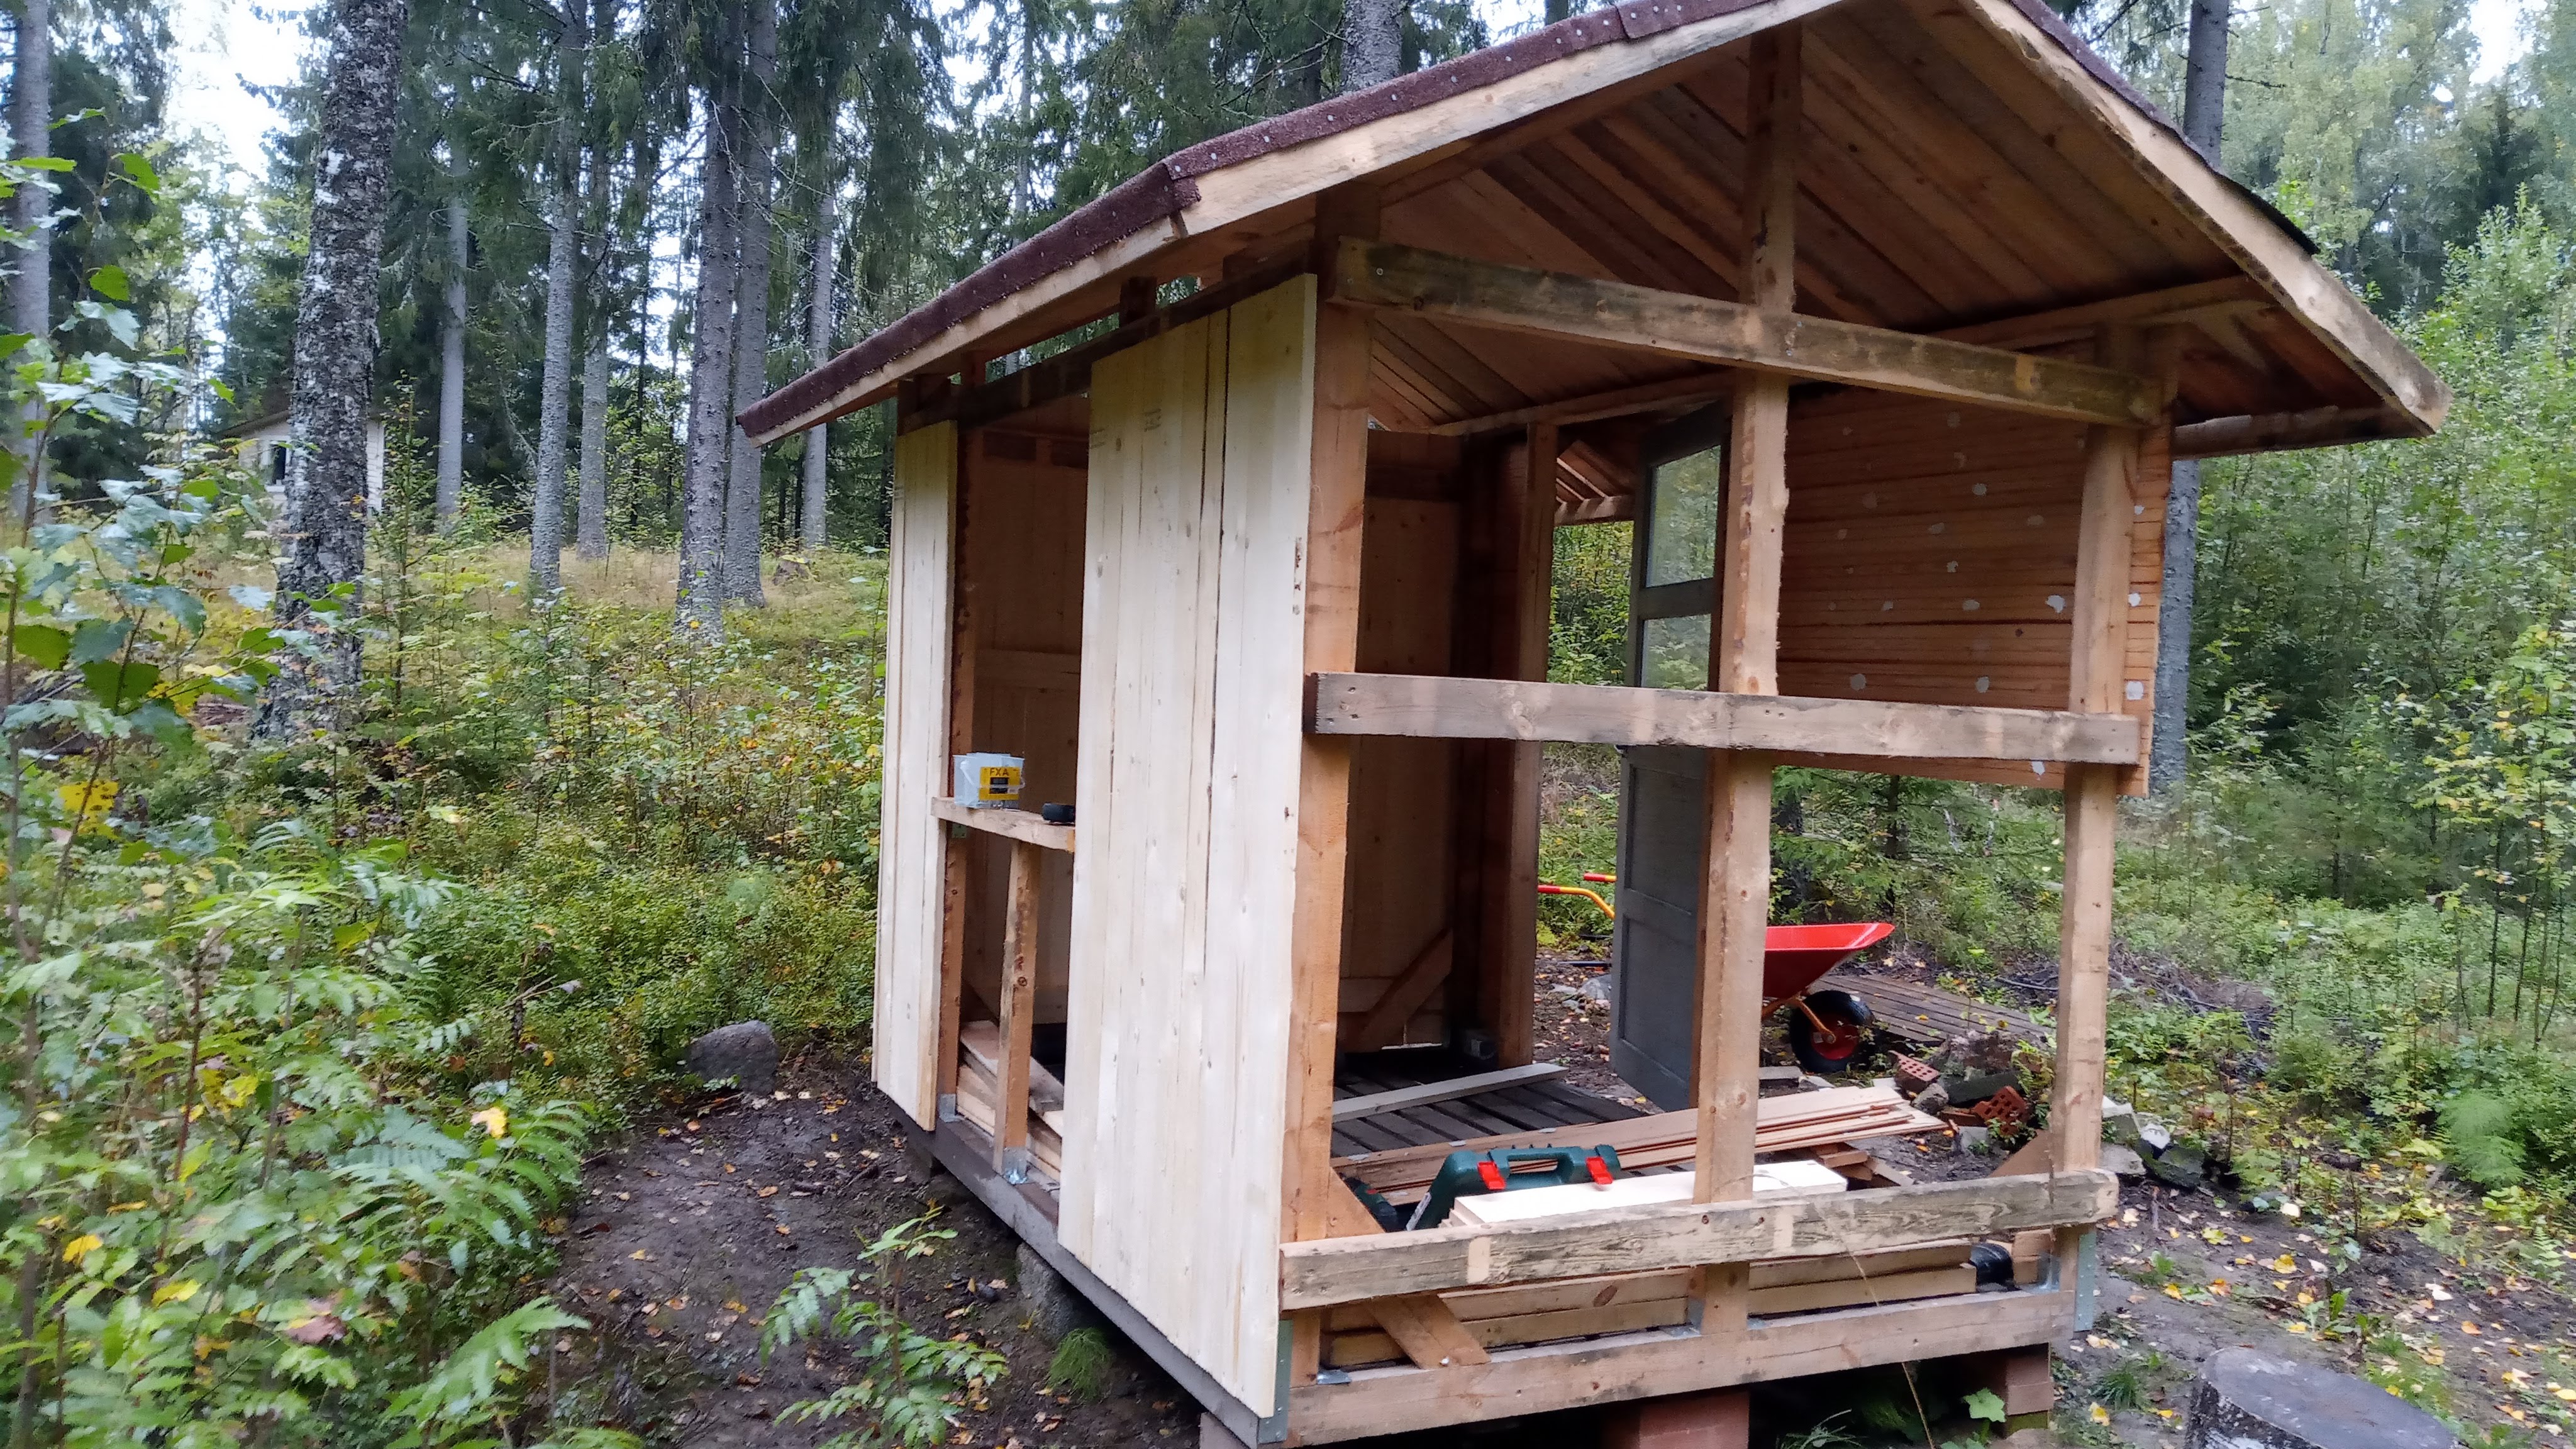 Third wall installation started, but you can also notice that half of my first wall has fallen off because apparently some of the screws I used were too weak
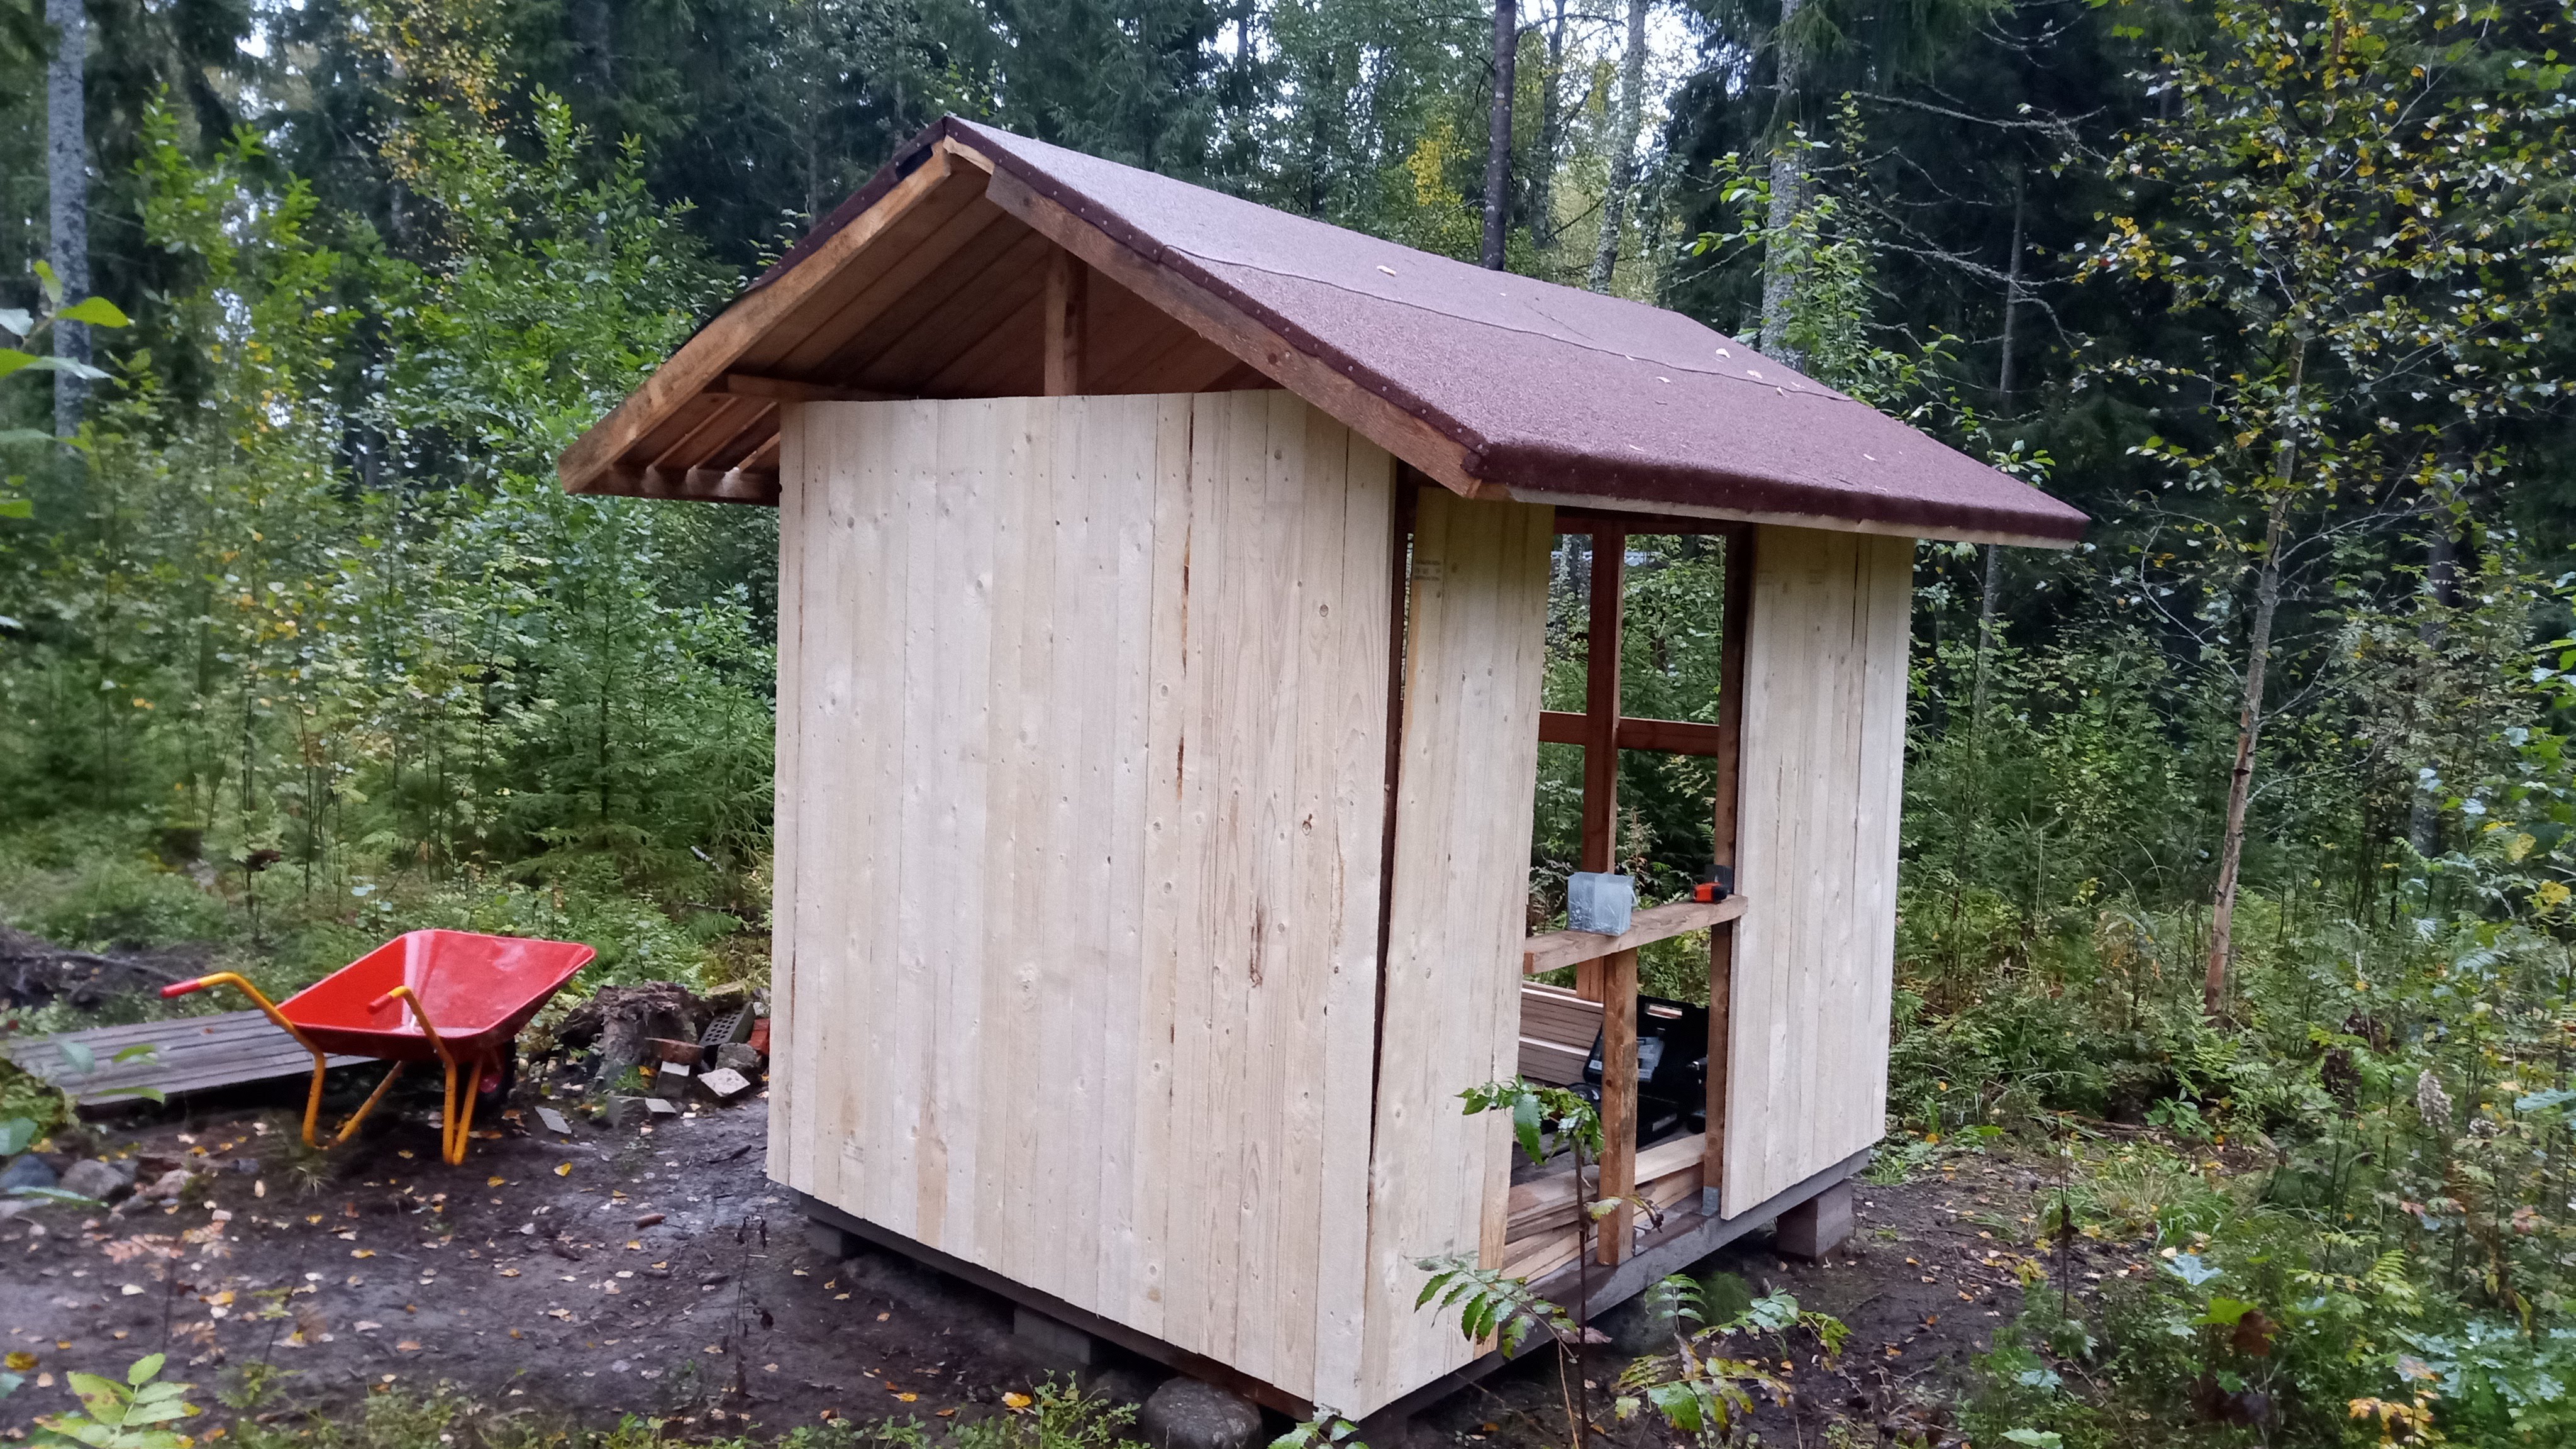 The third wall is slightly slanted as you might notice, this is due to me not planning it well enough. But I made a fix to it later on due to other reasons
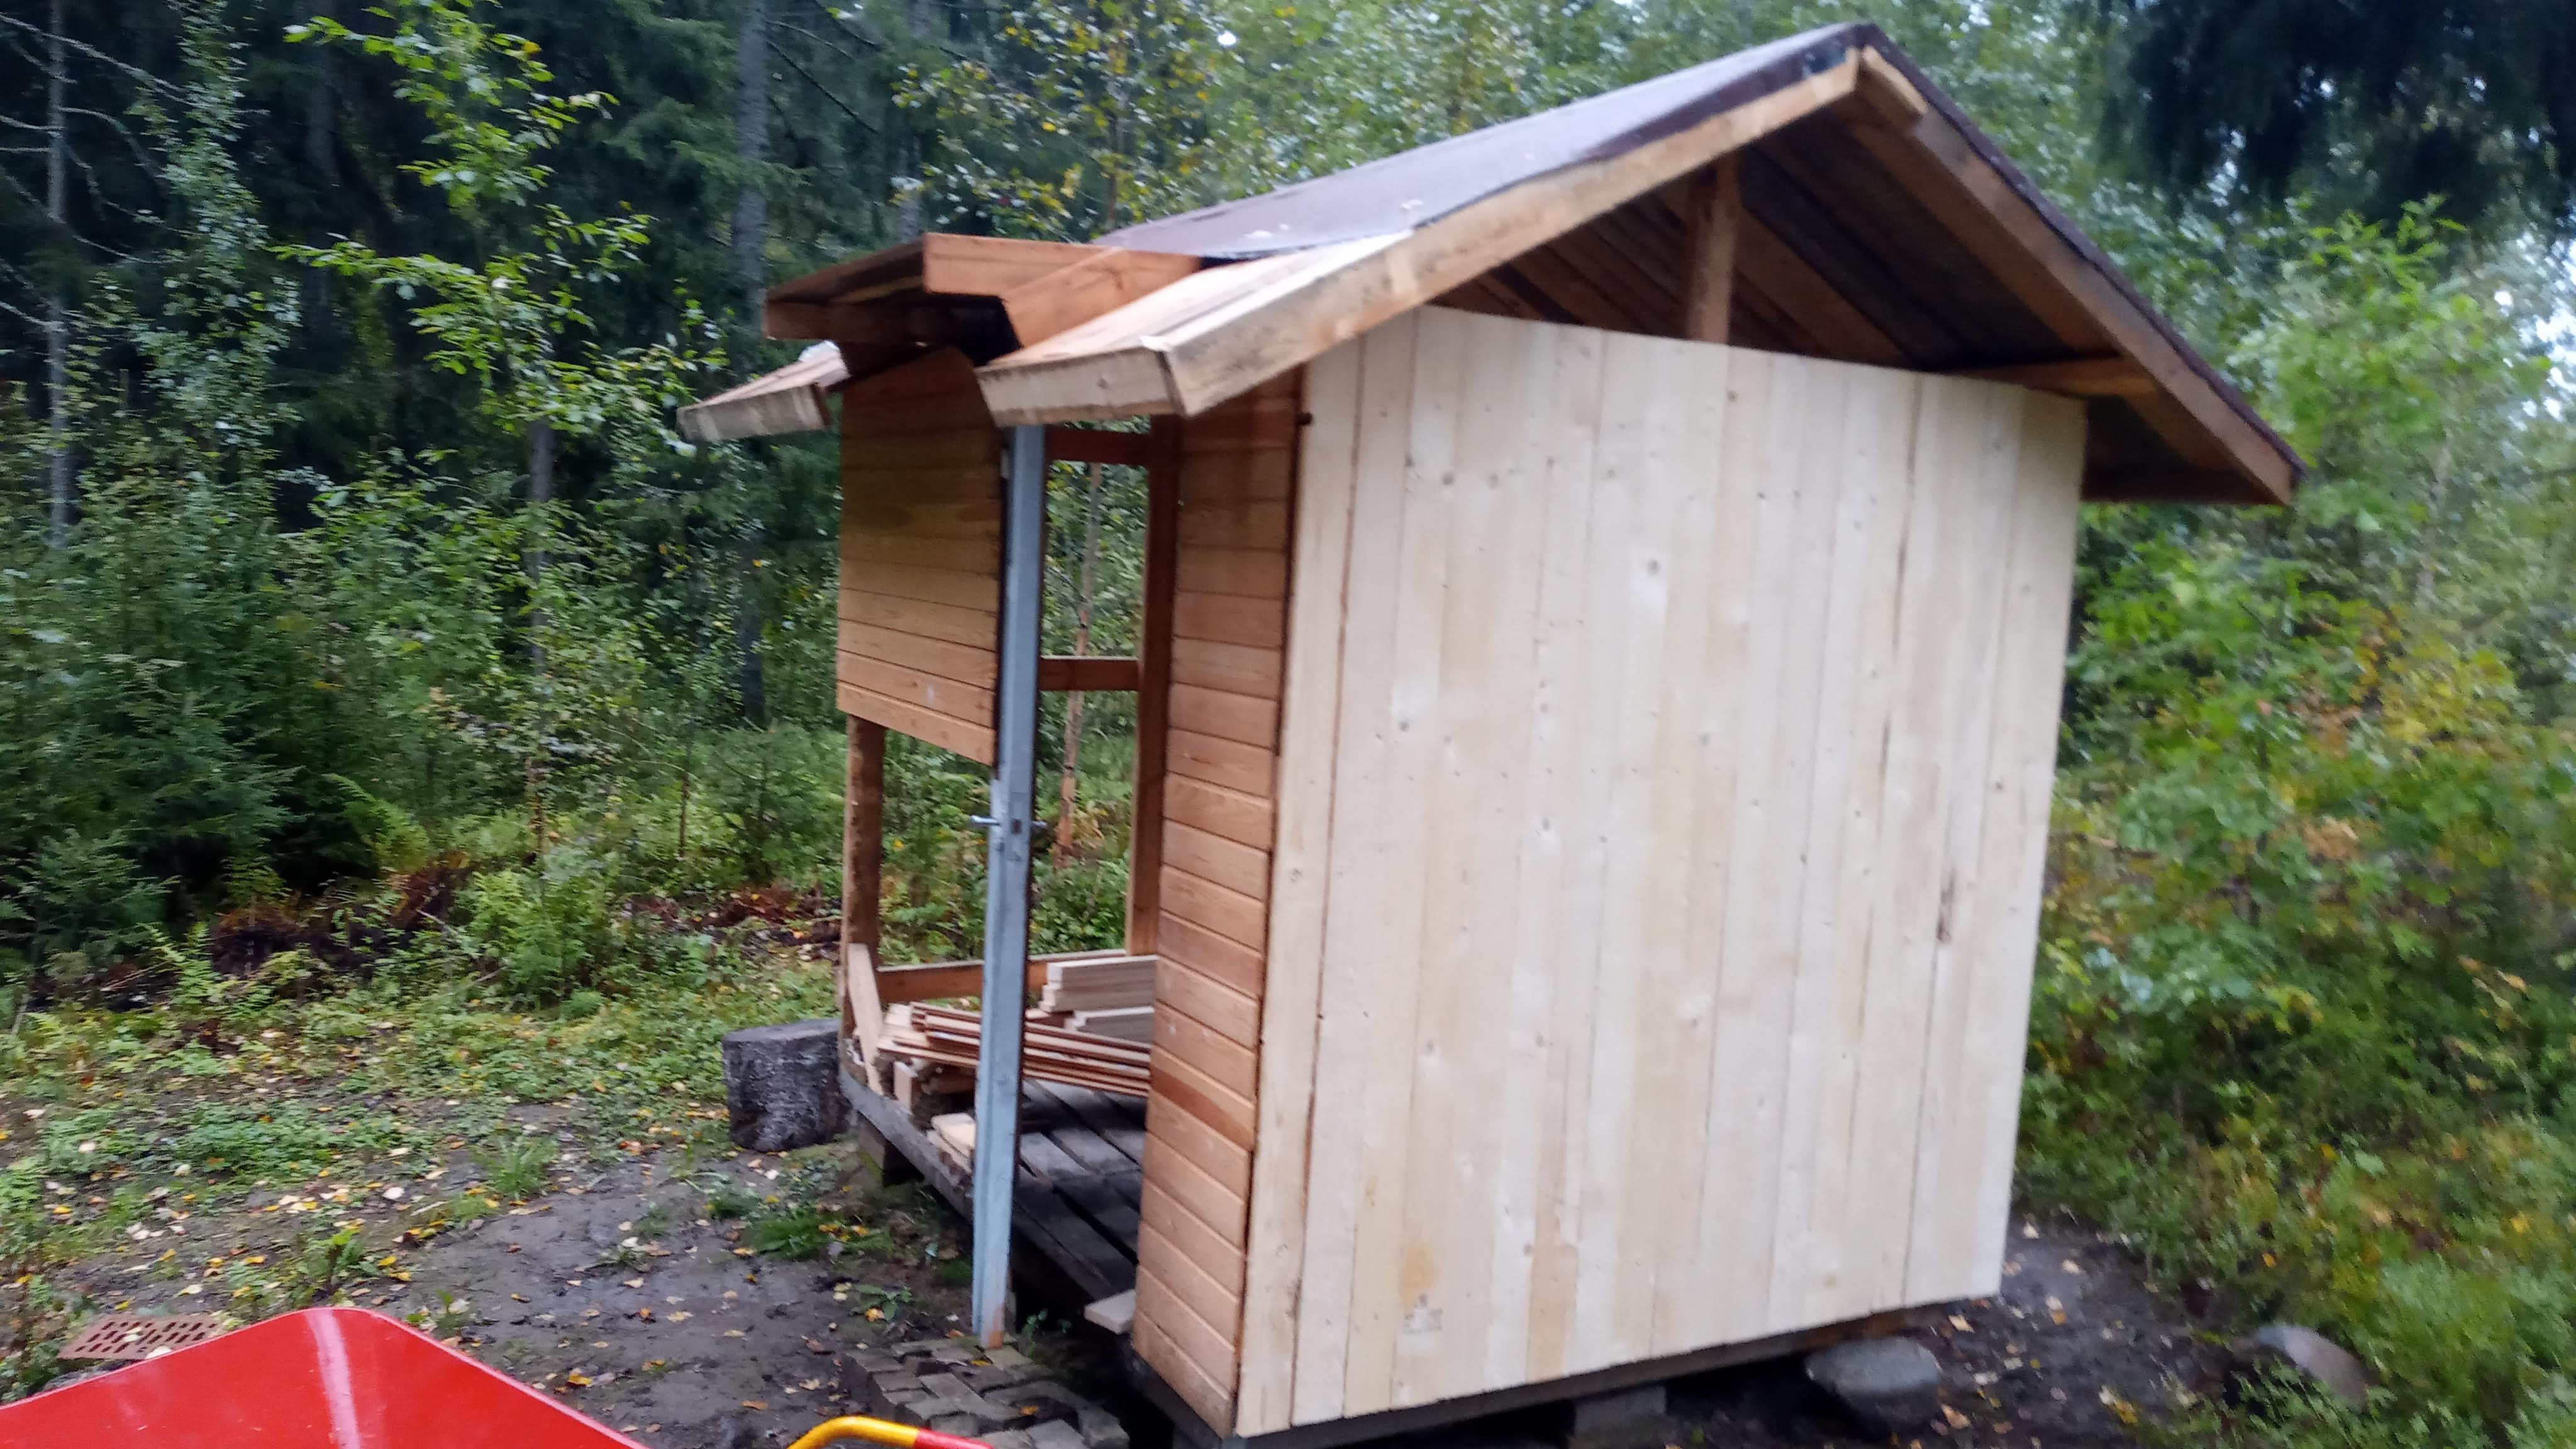 This is when I'm just about to fix the broken wall
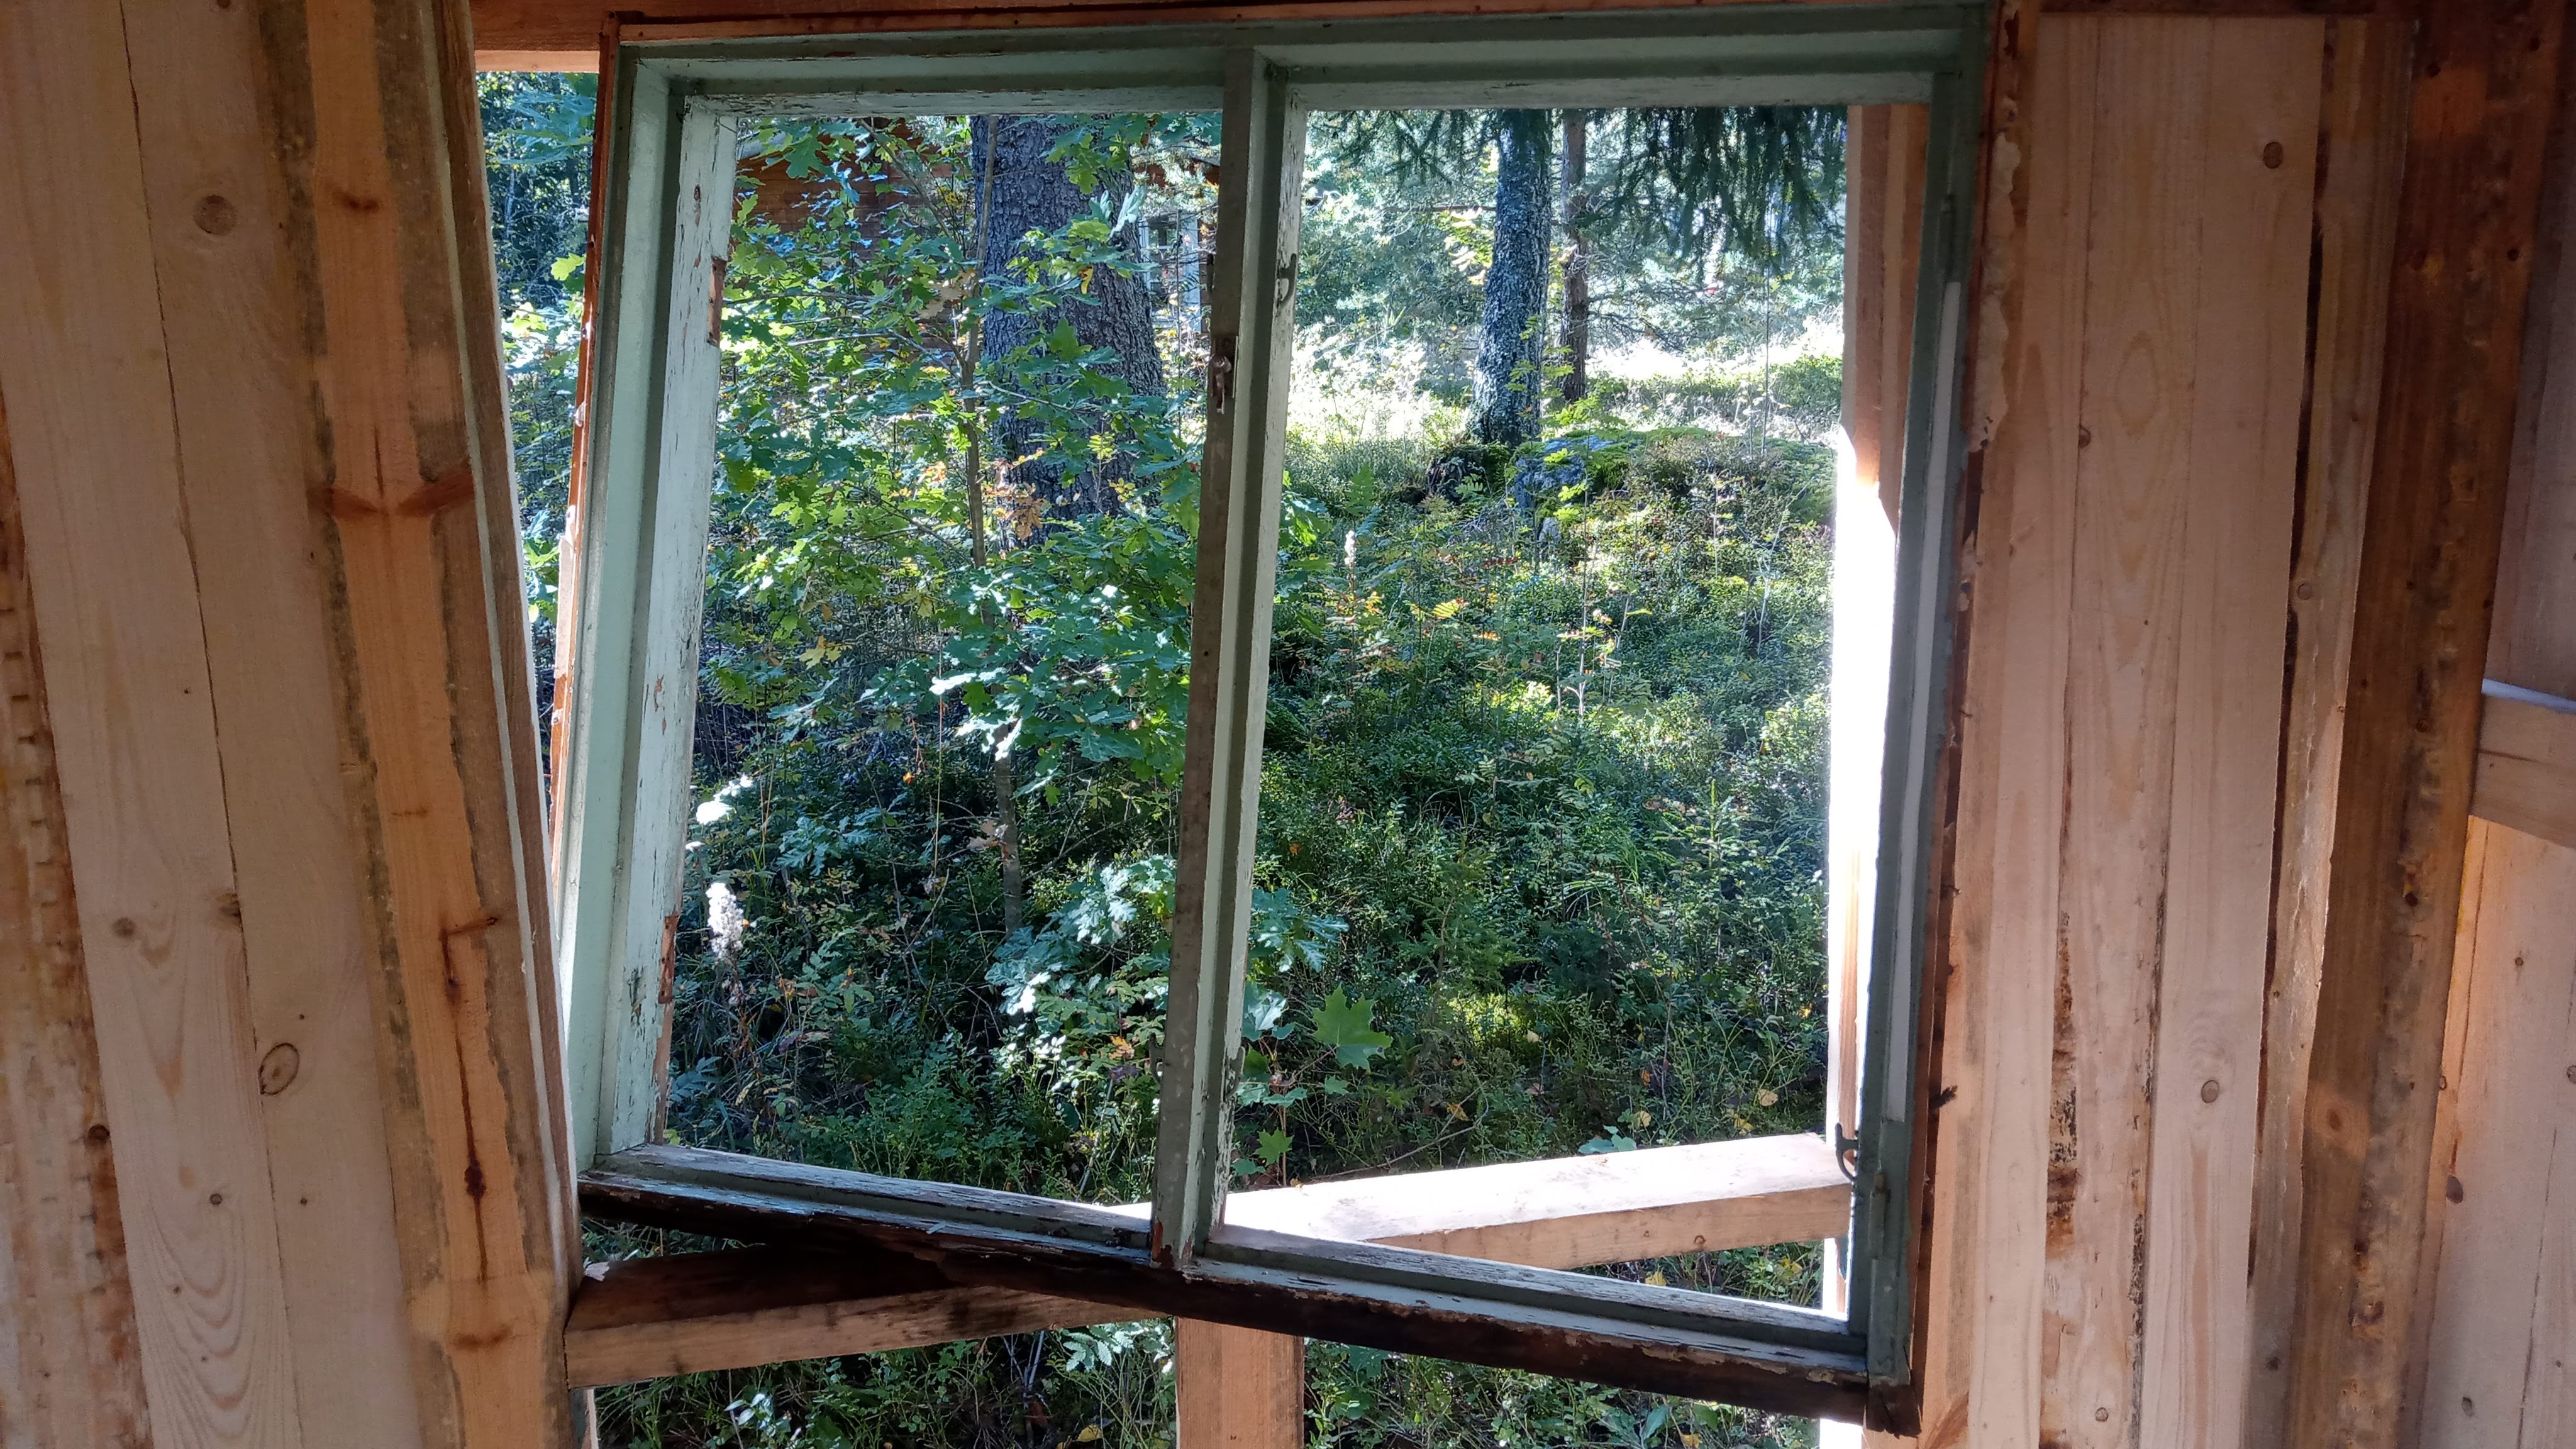 Trying to fit the window in its hole but it appeared that I had made the hole too small somehow
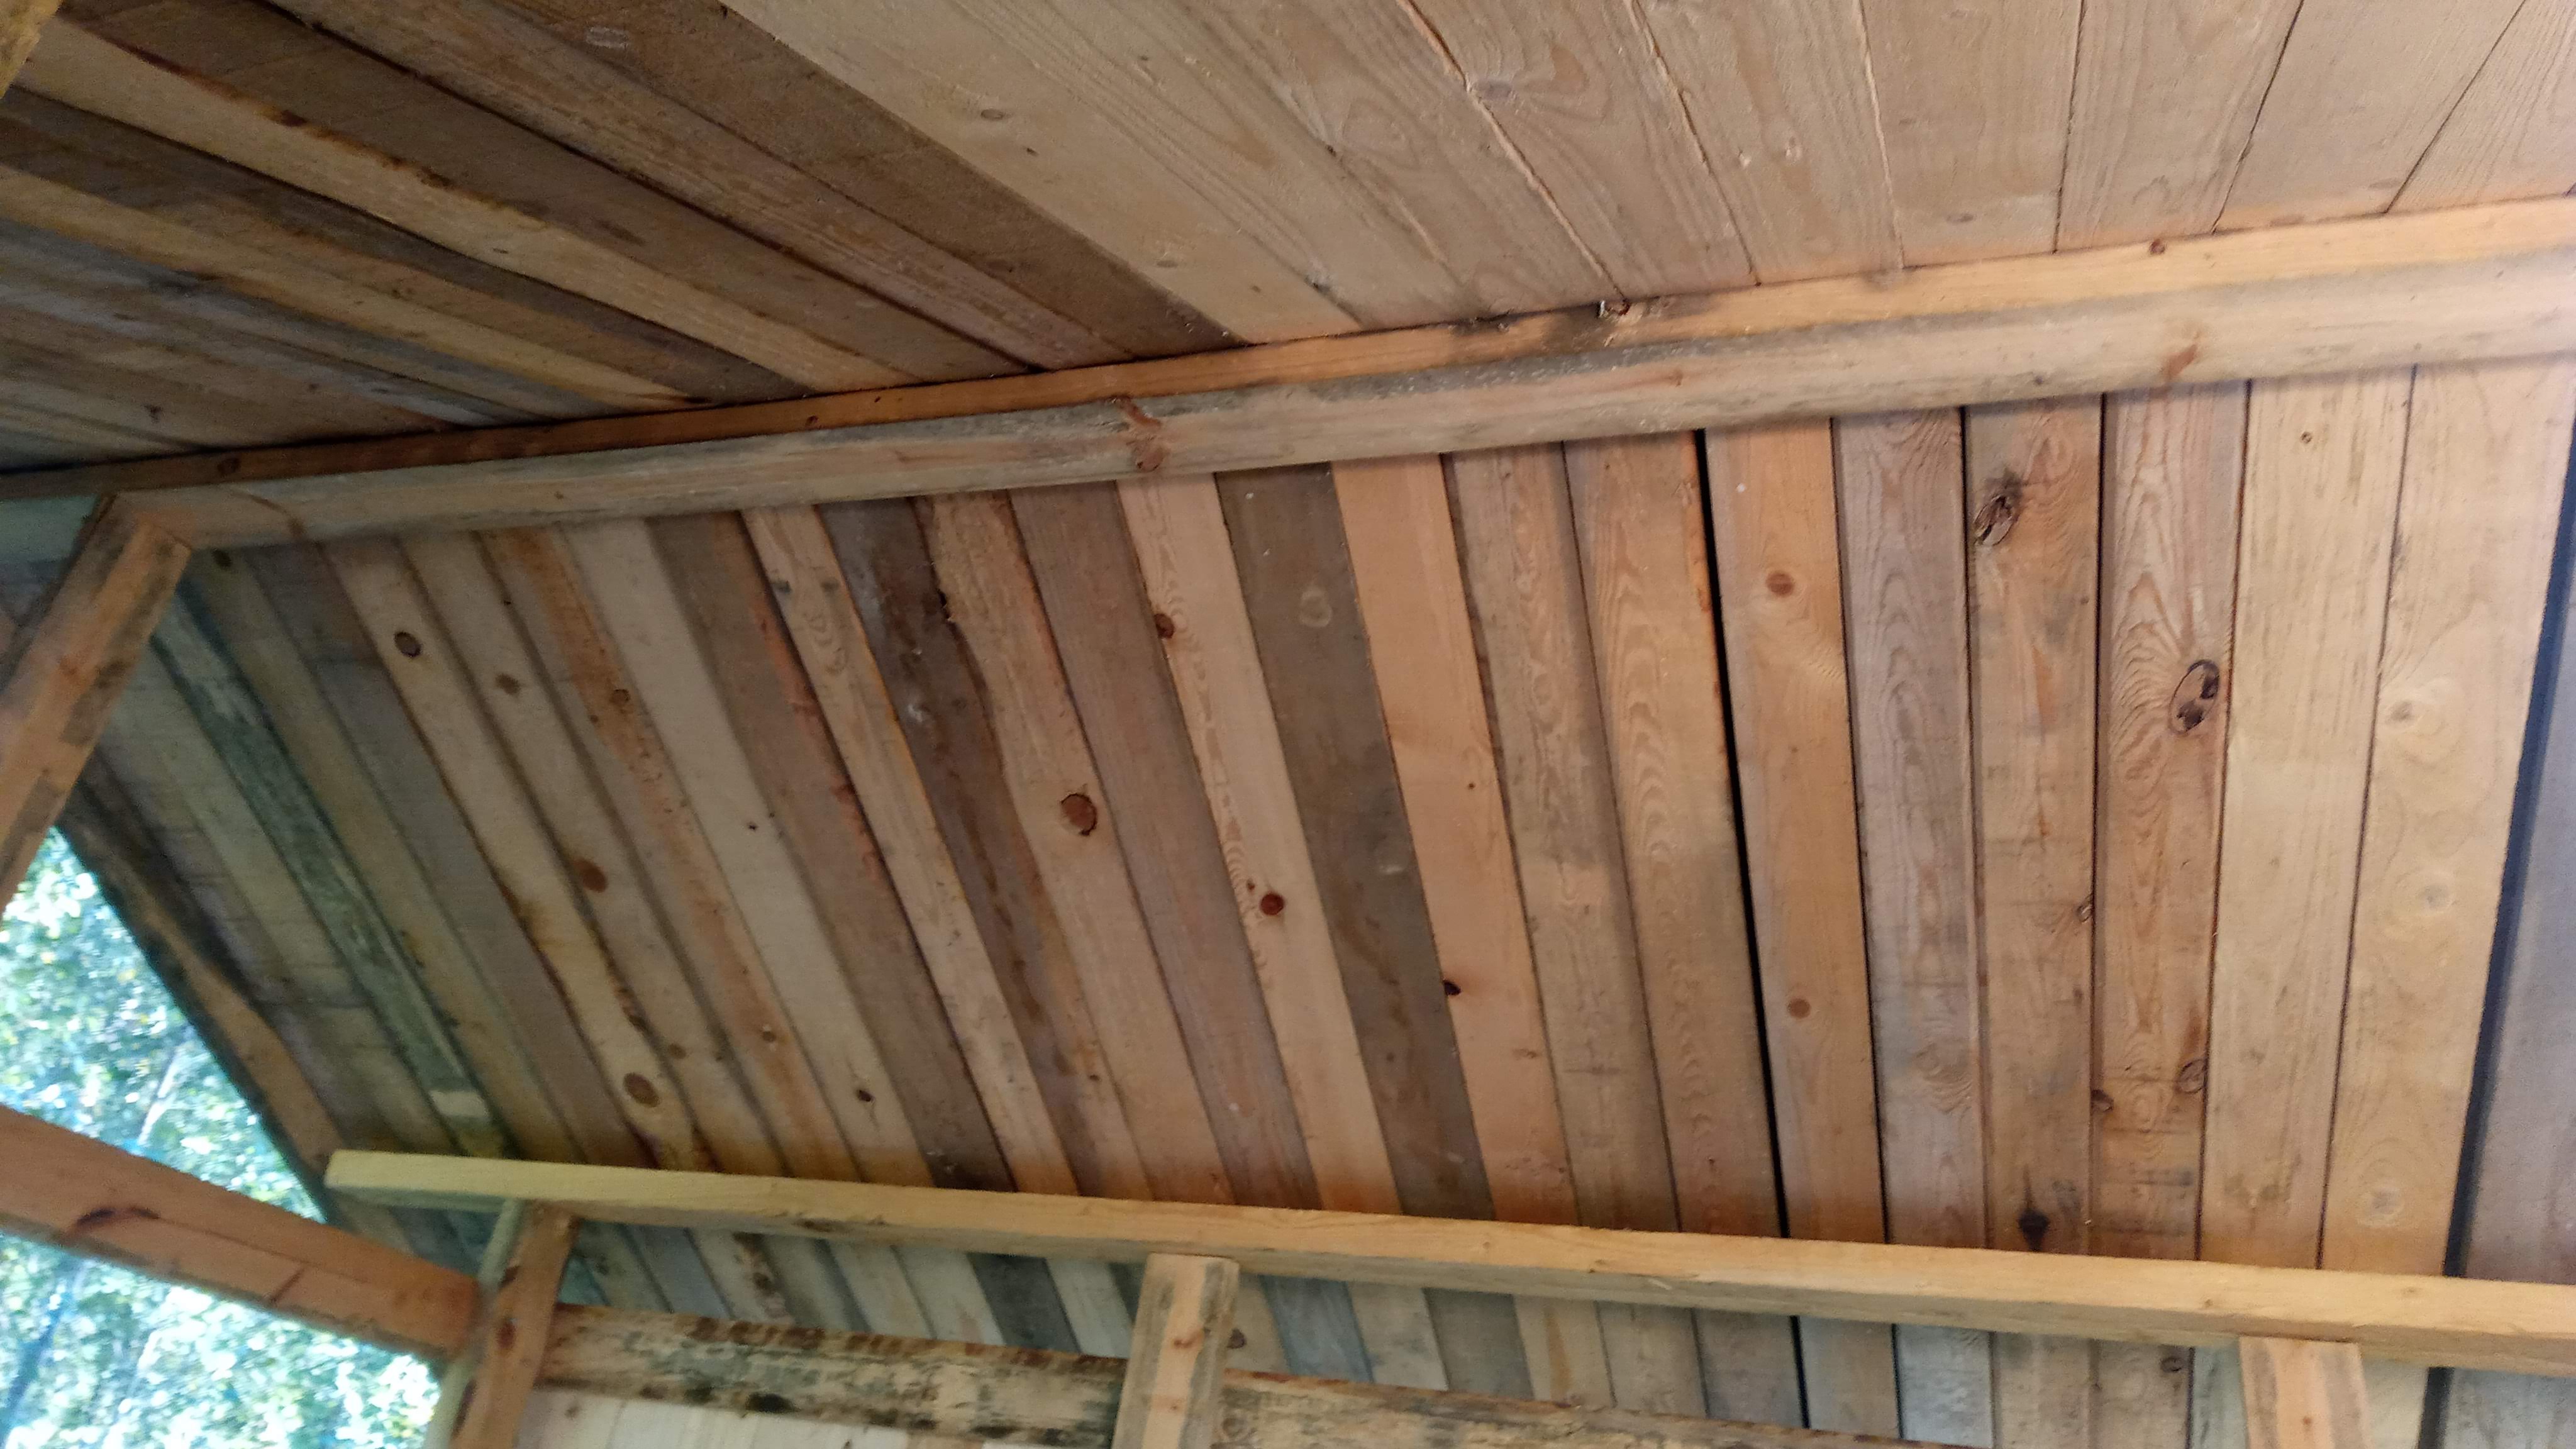 Here's a good overview of the roof from below
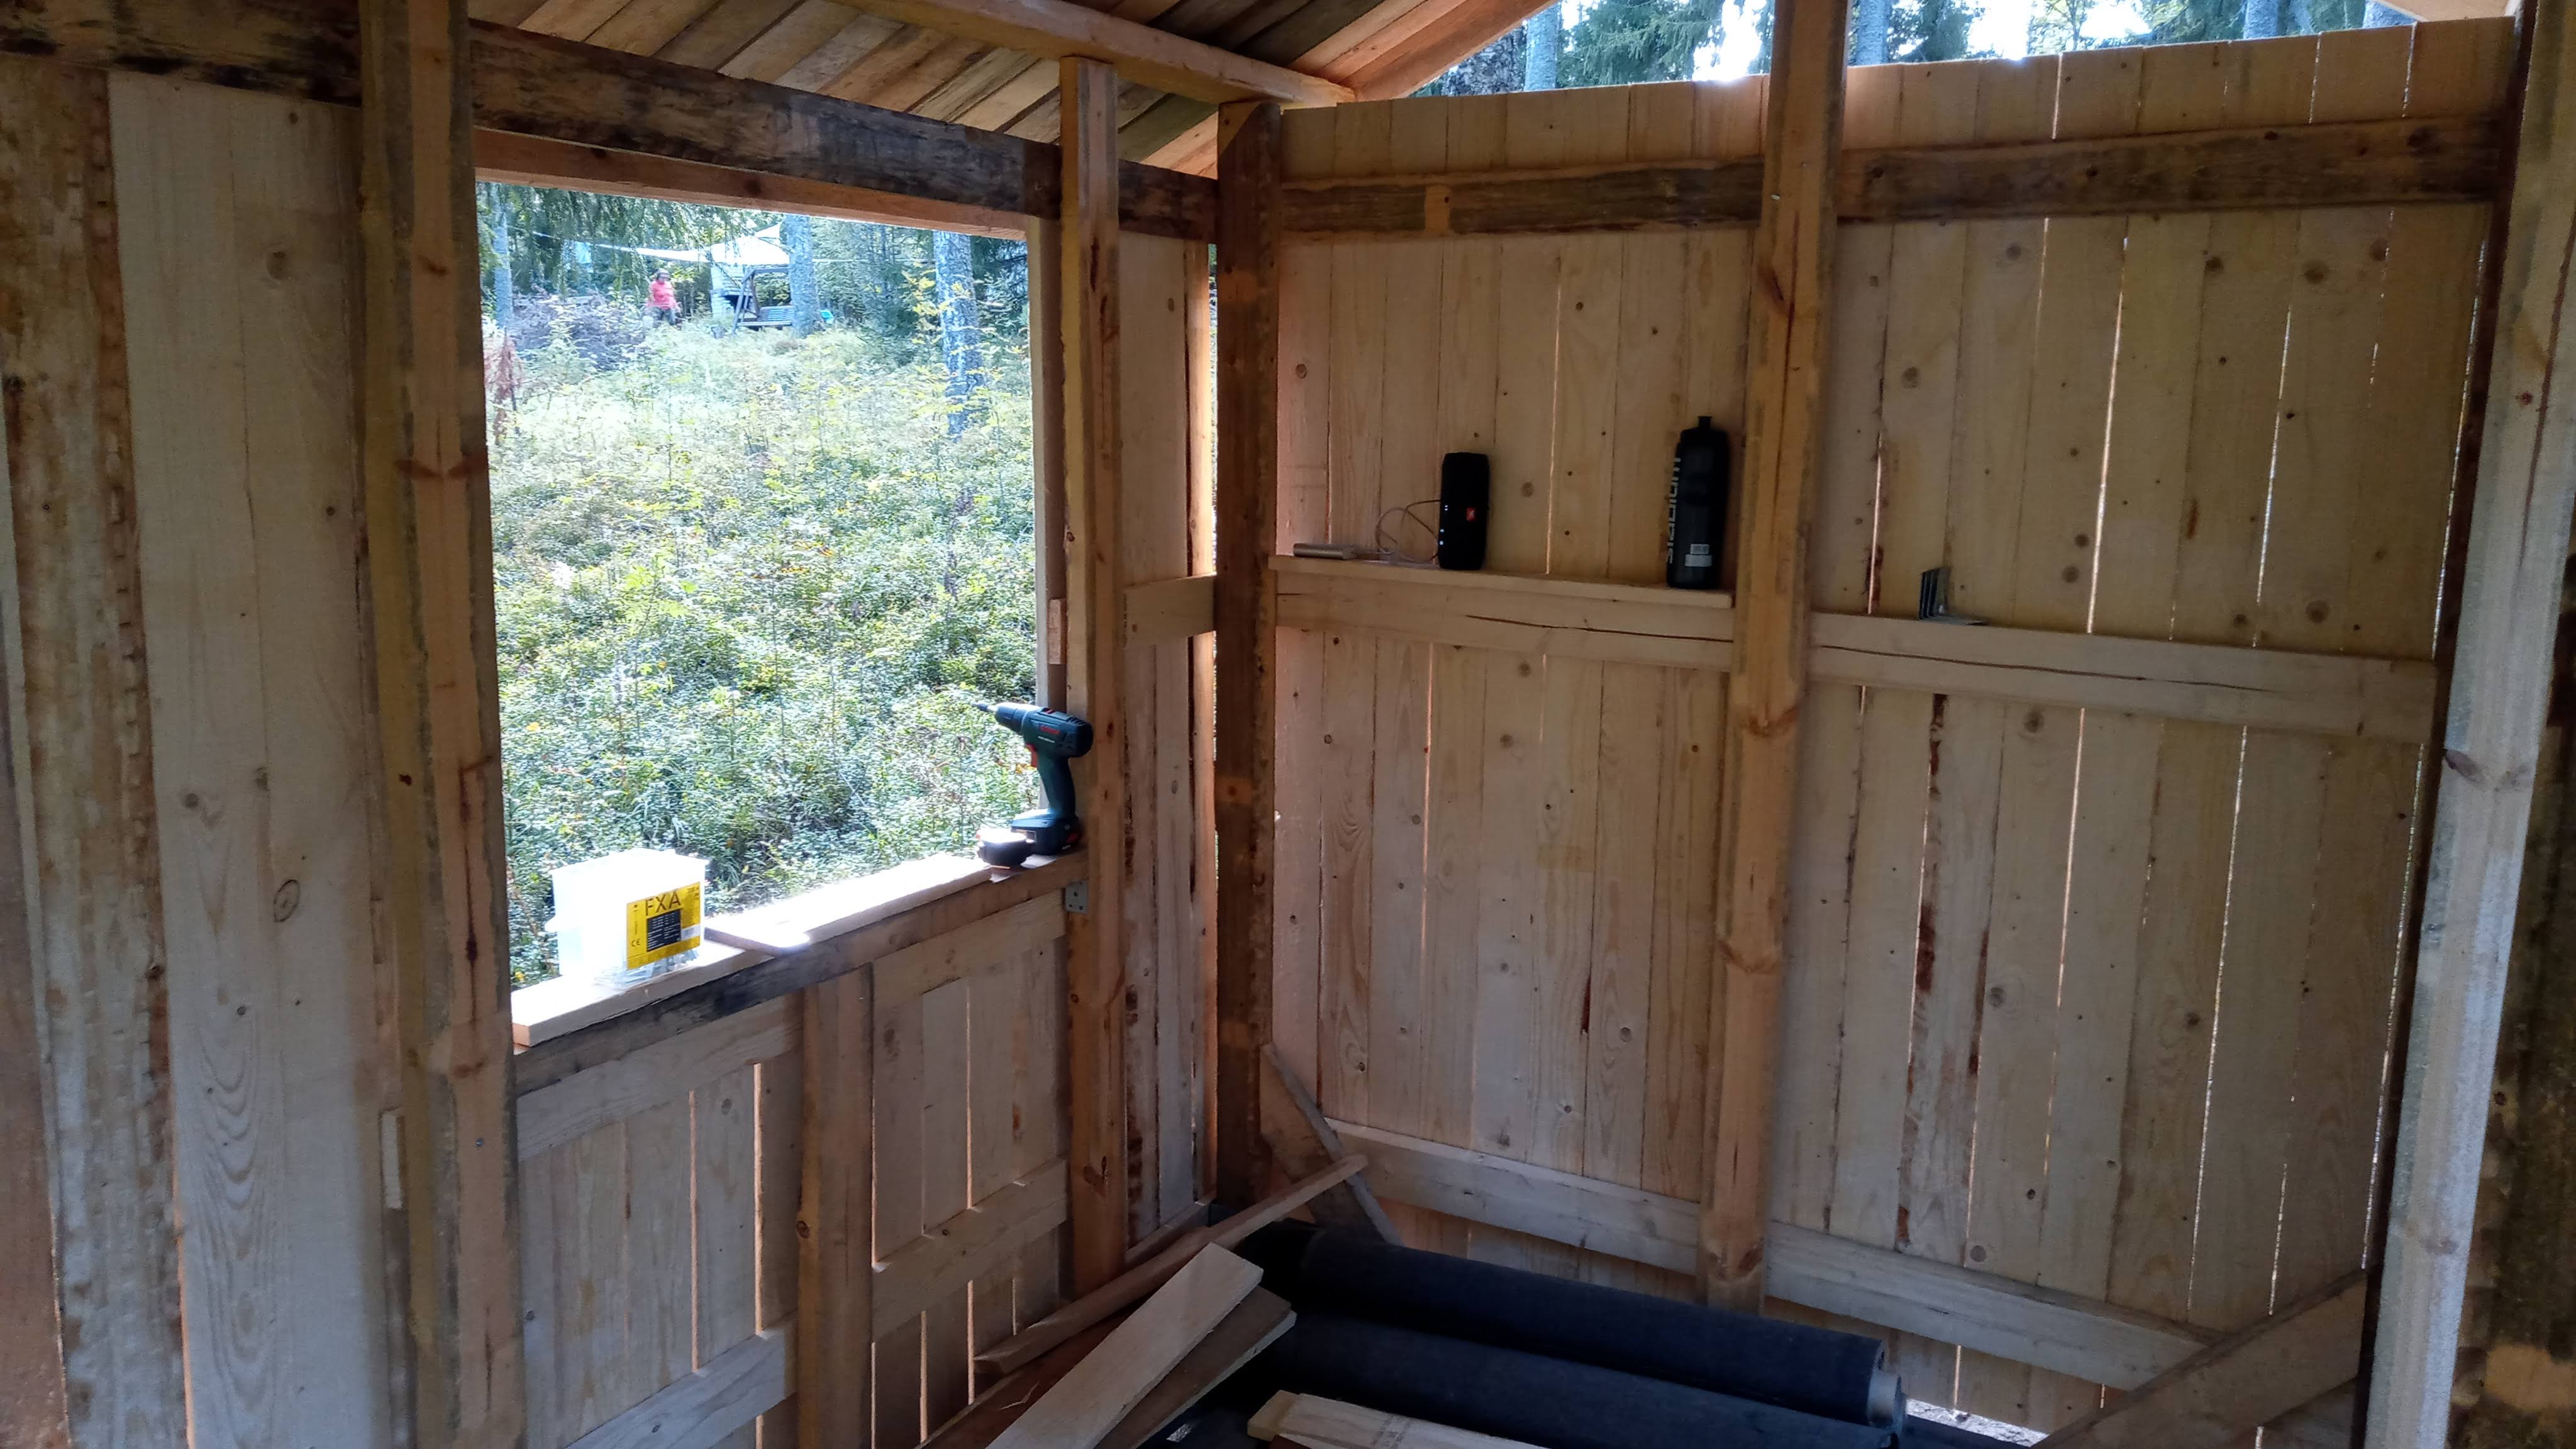 Interior starting to form out
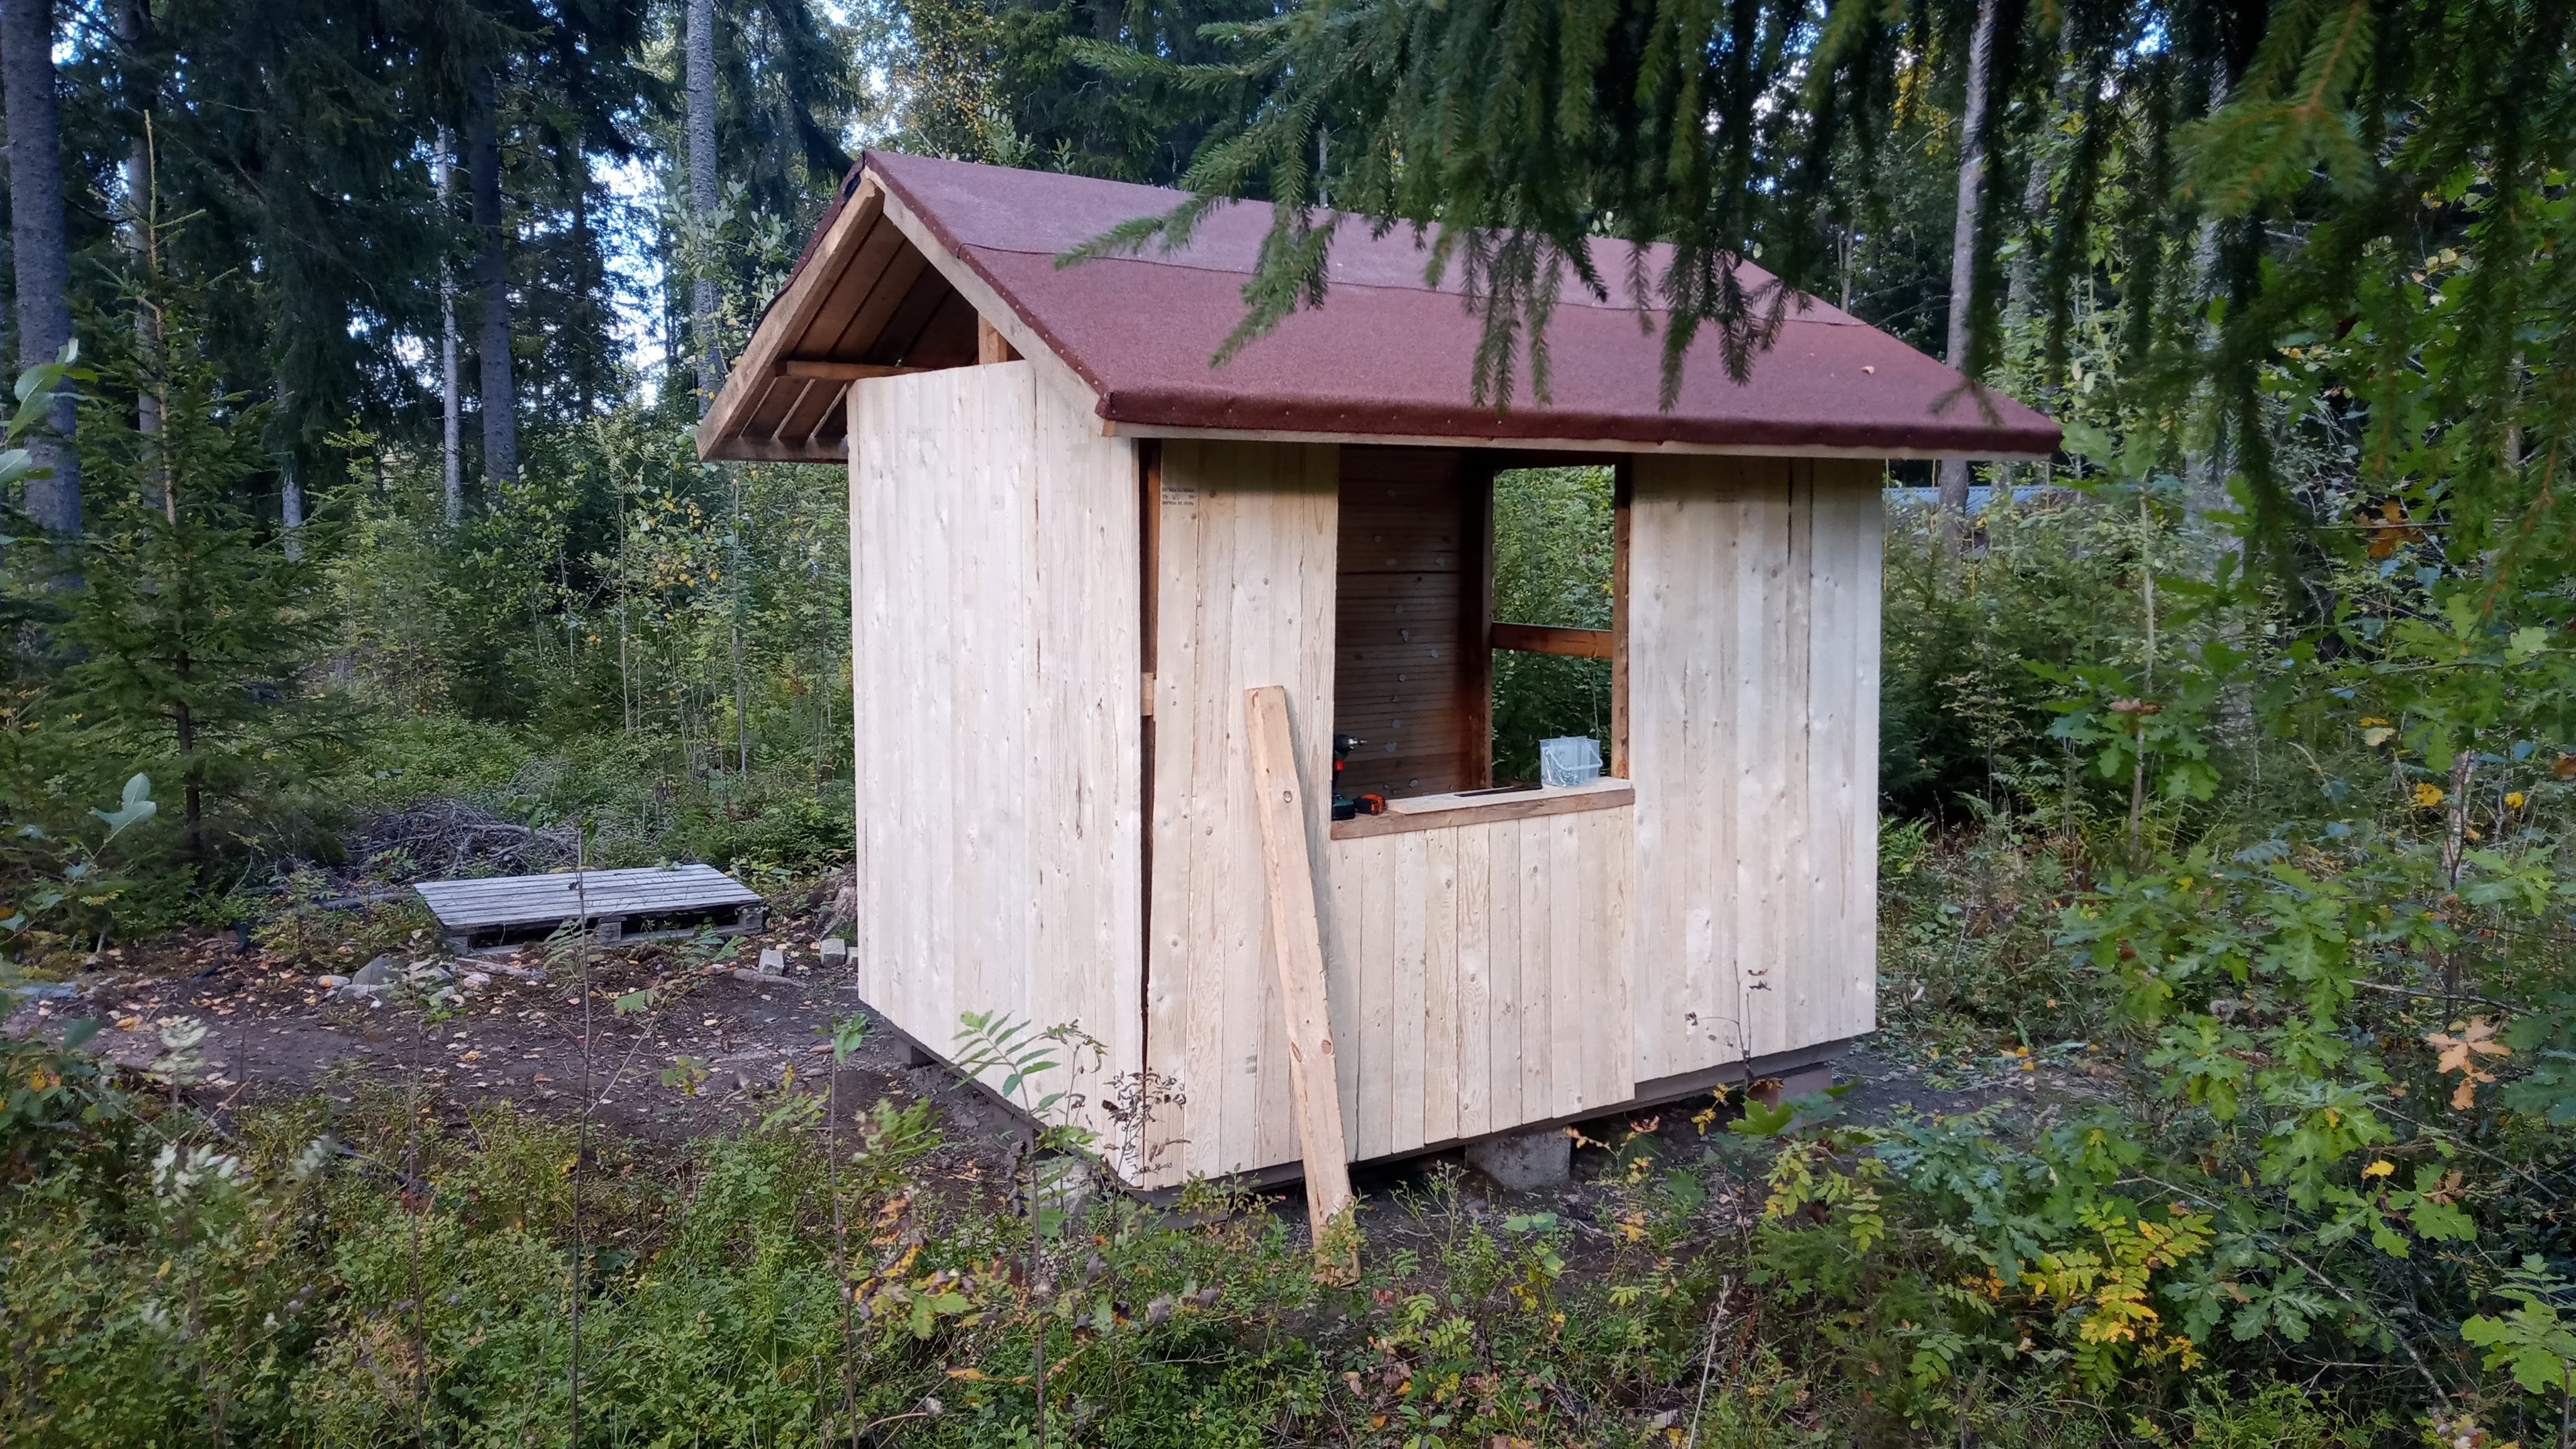 It's starting to look like something
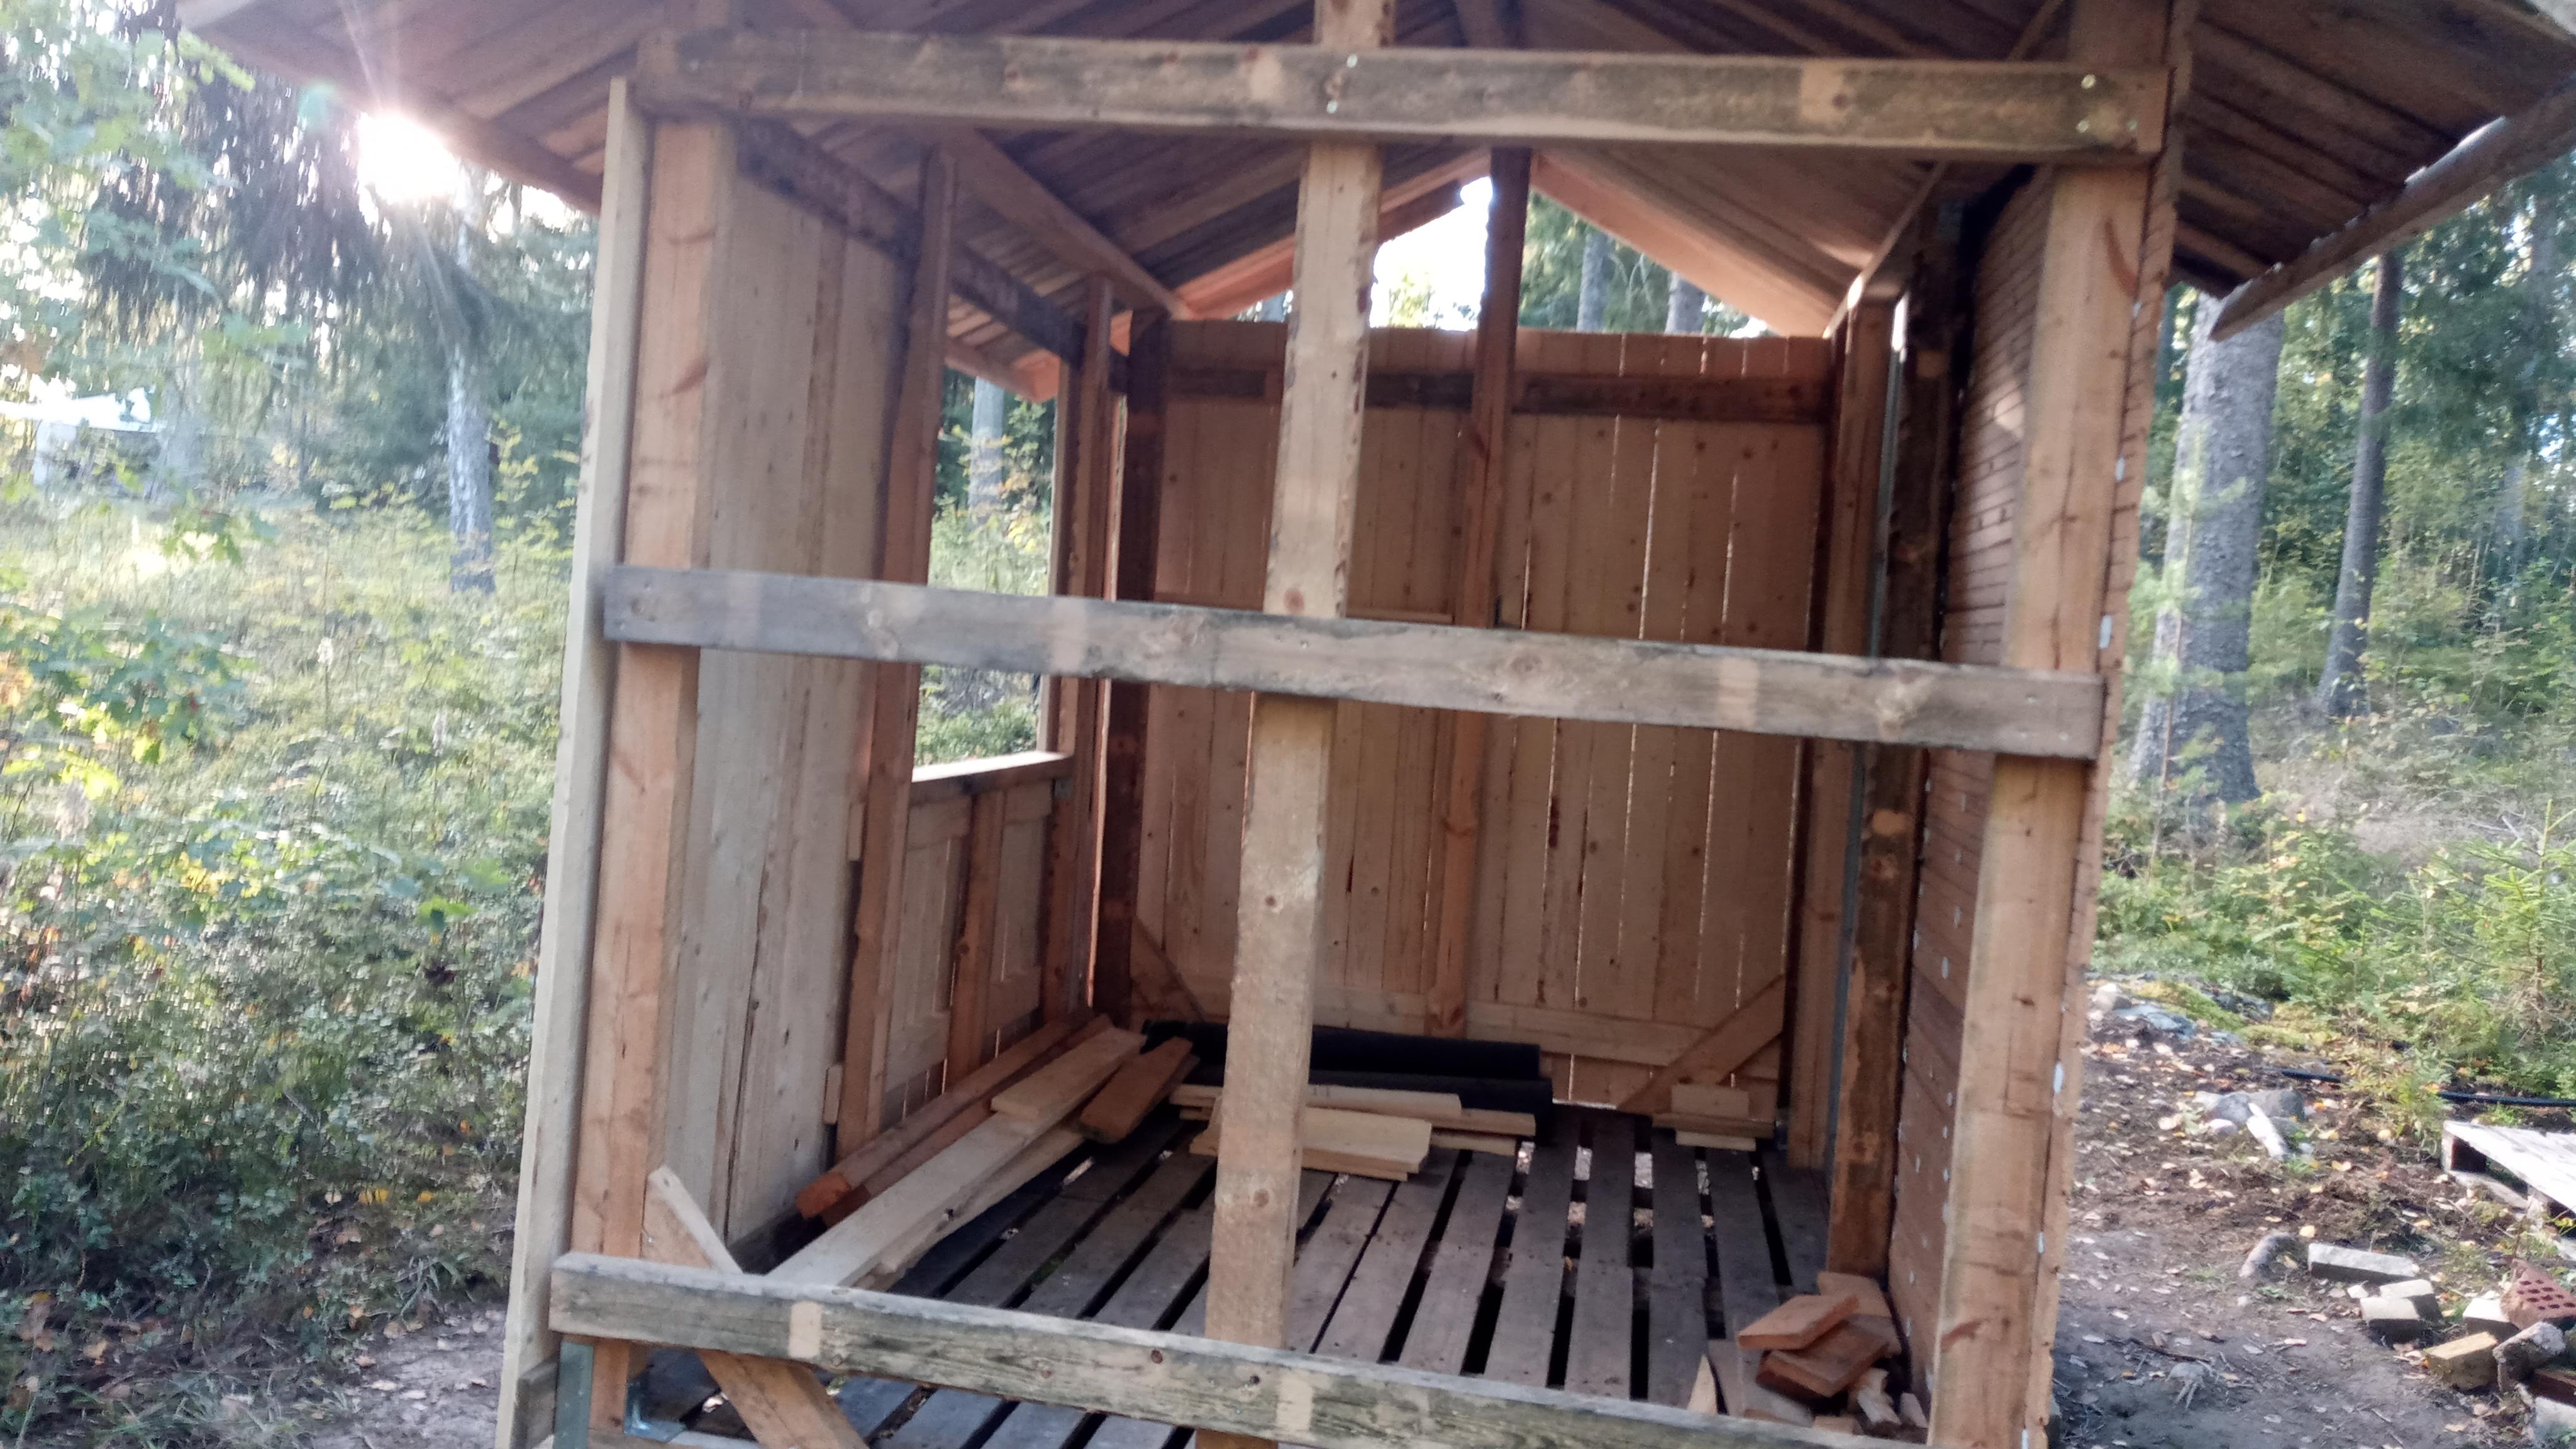 Still one wall missing, but at least the broken one is now fixed again
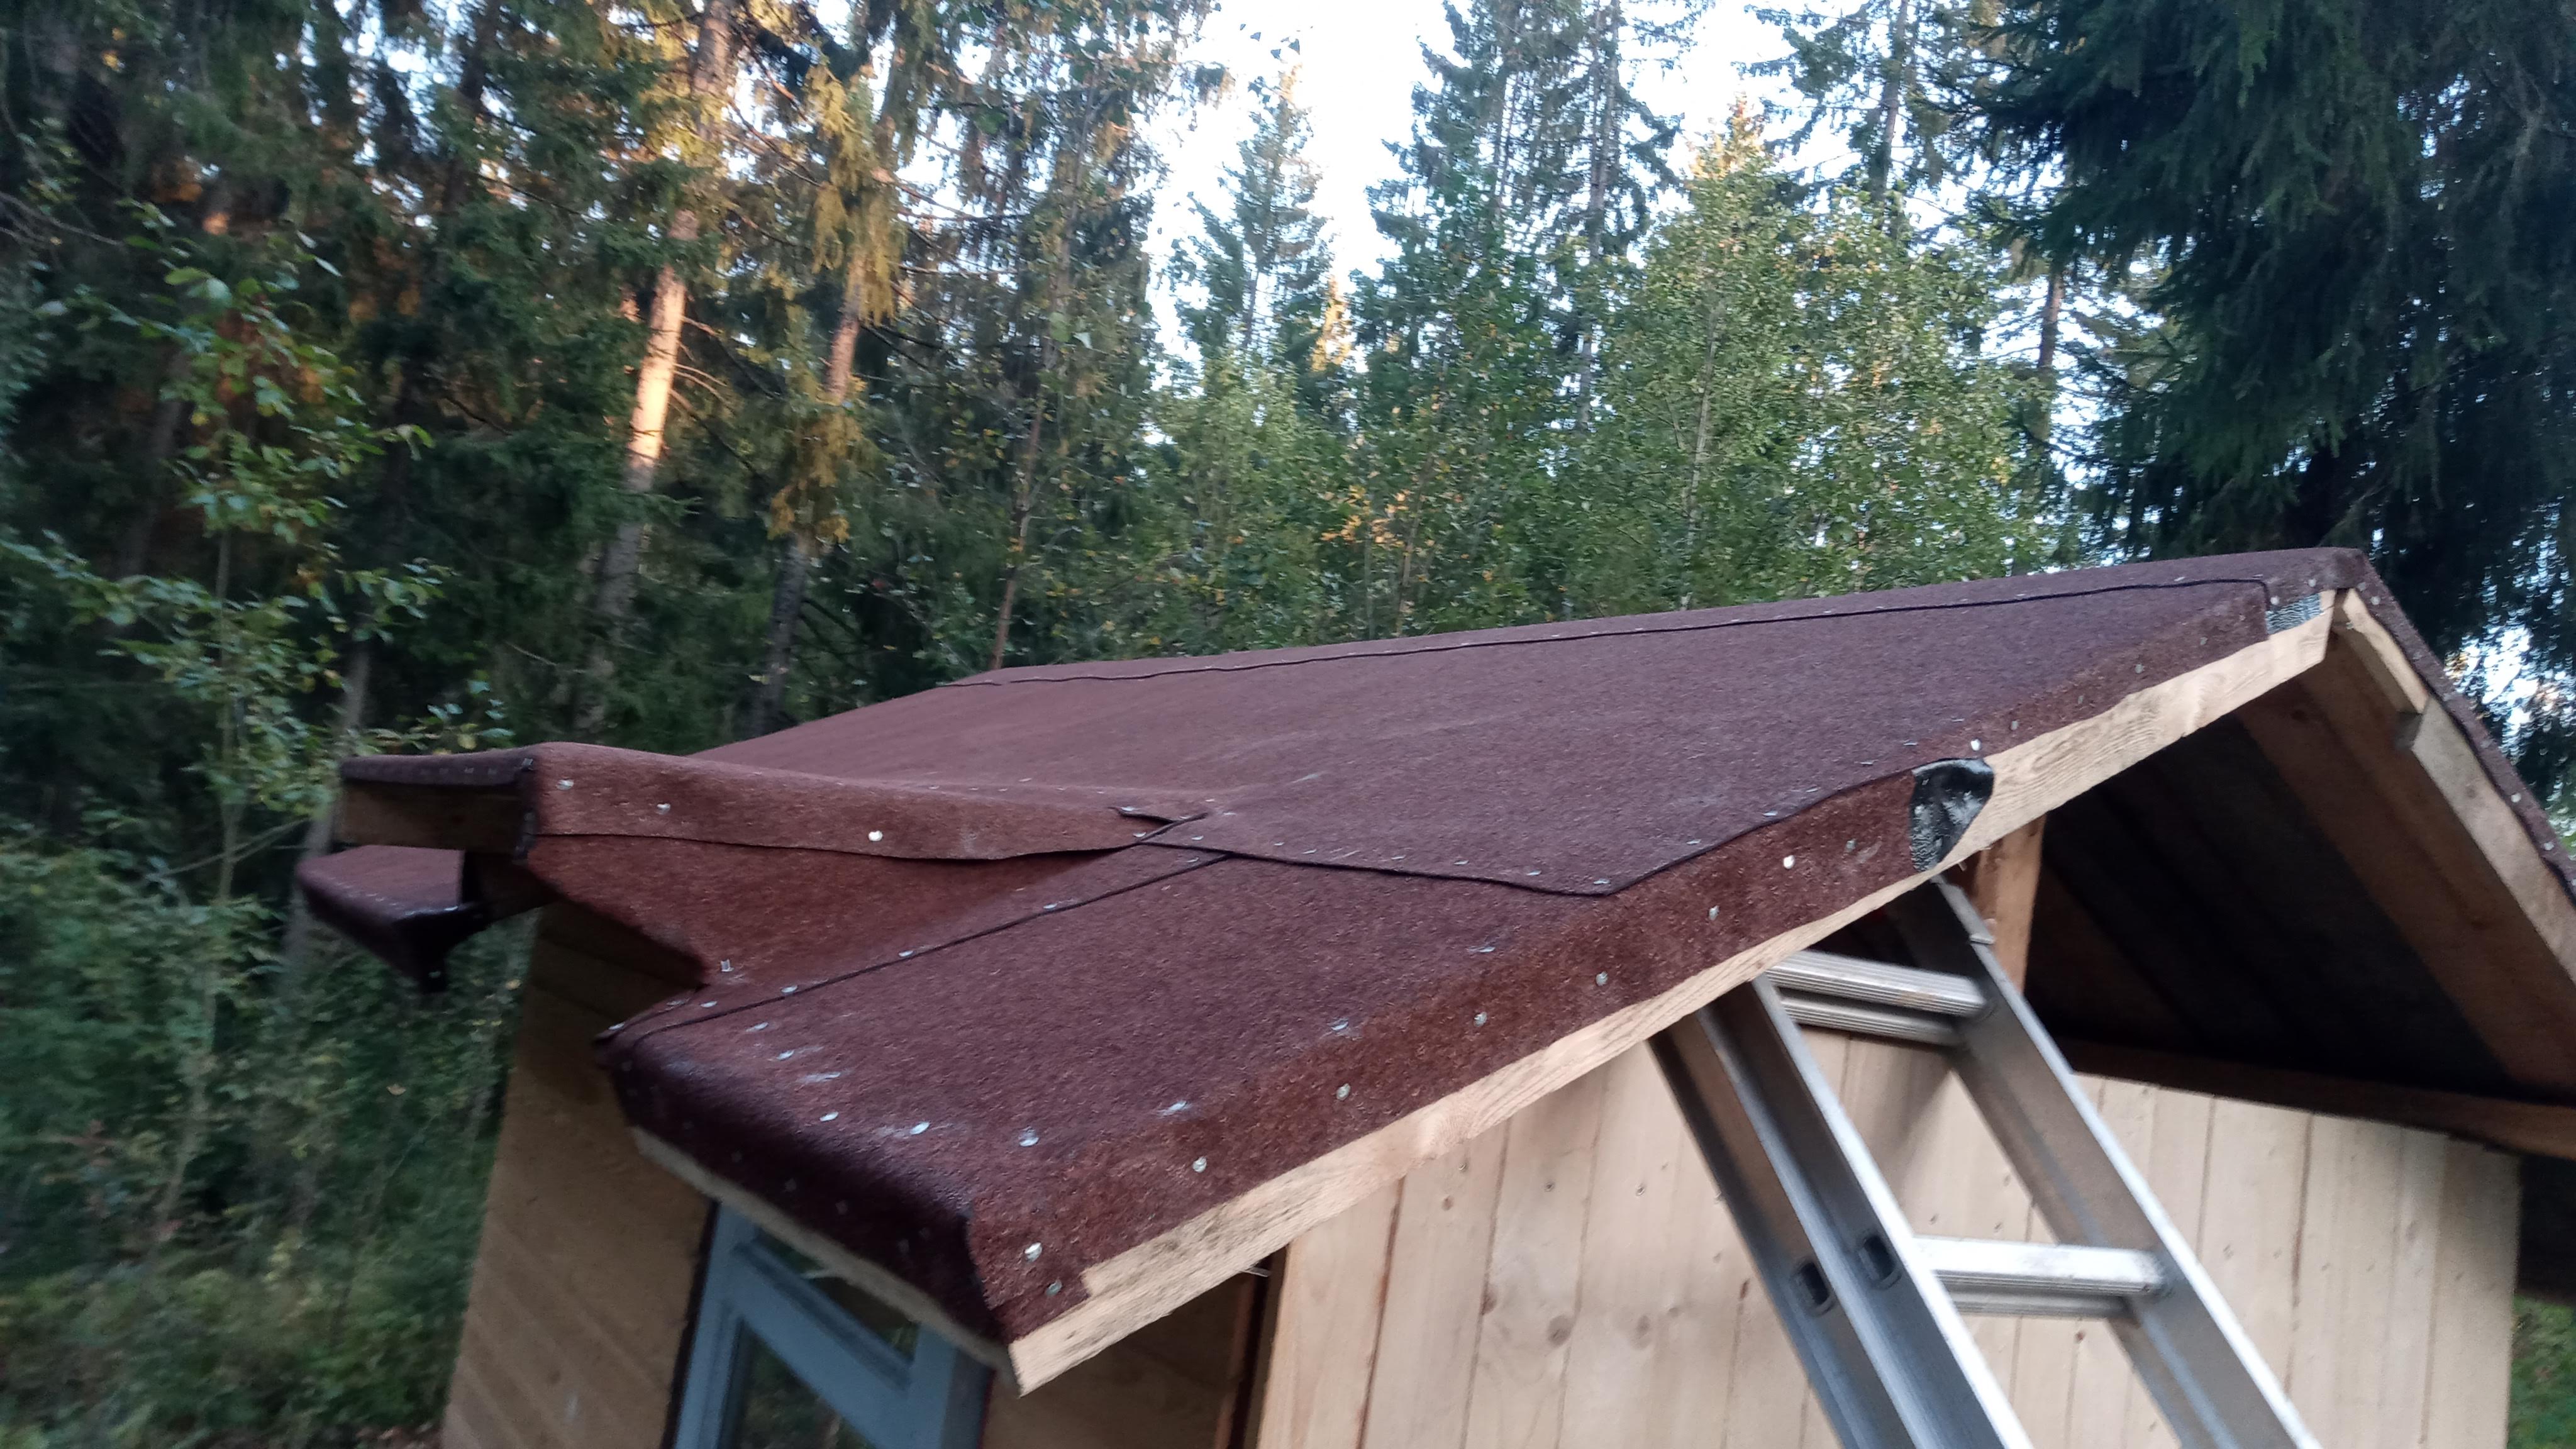 Now I've installed all of the roof material, it's not that pretty but at least it's watertight
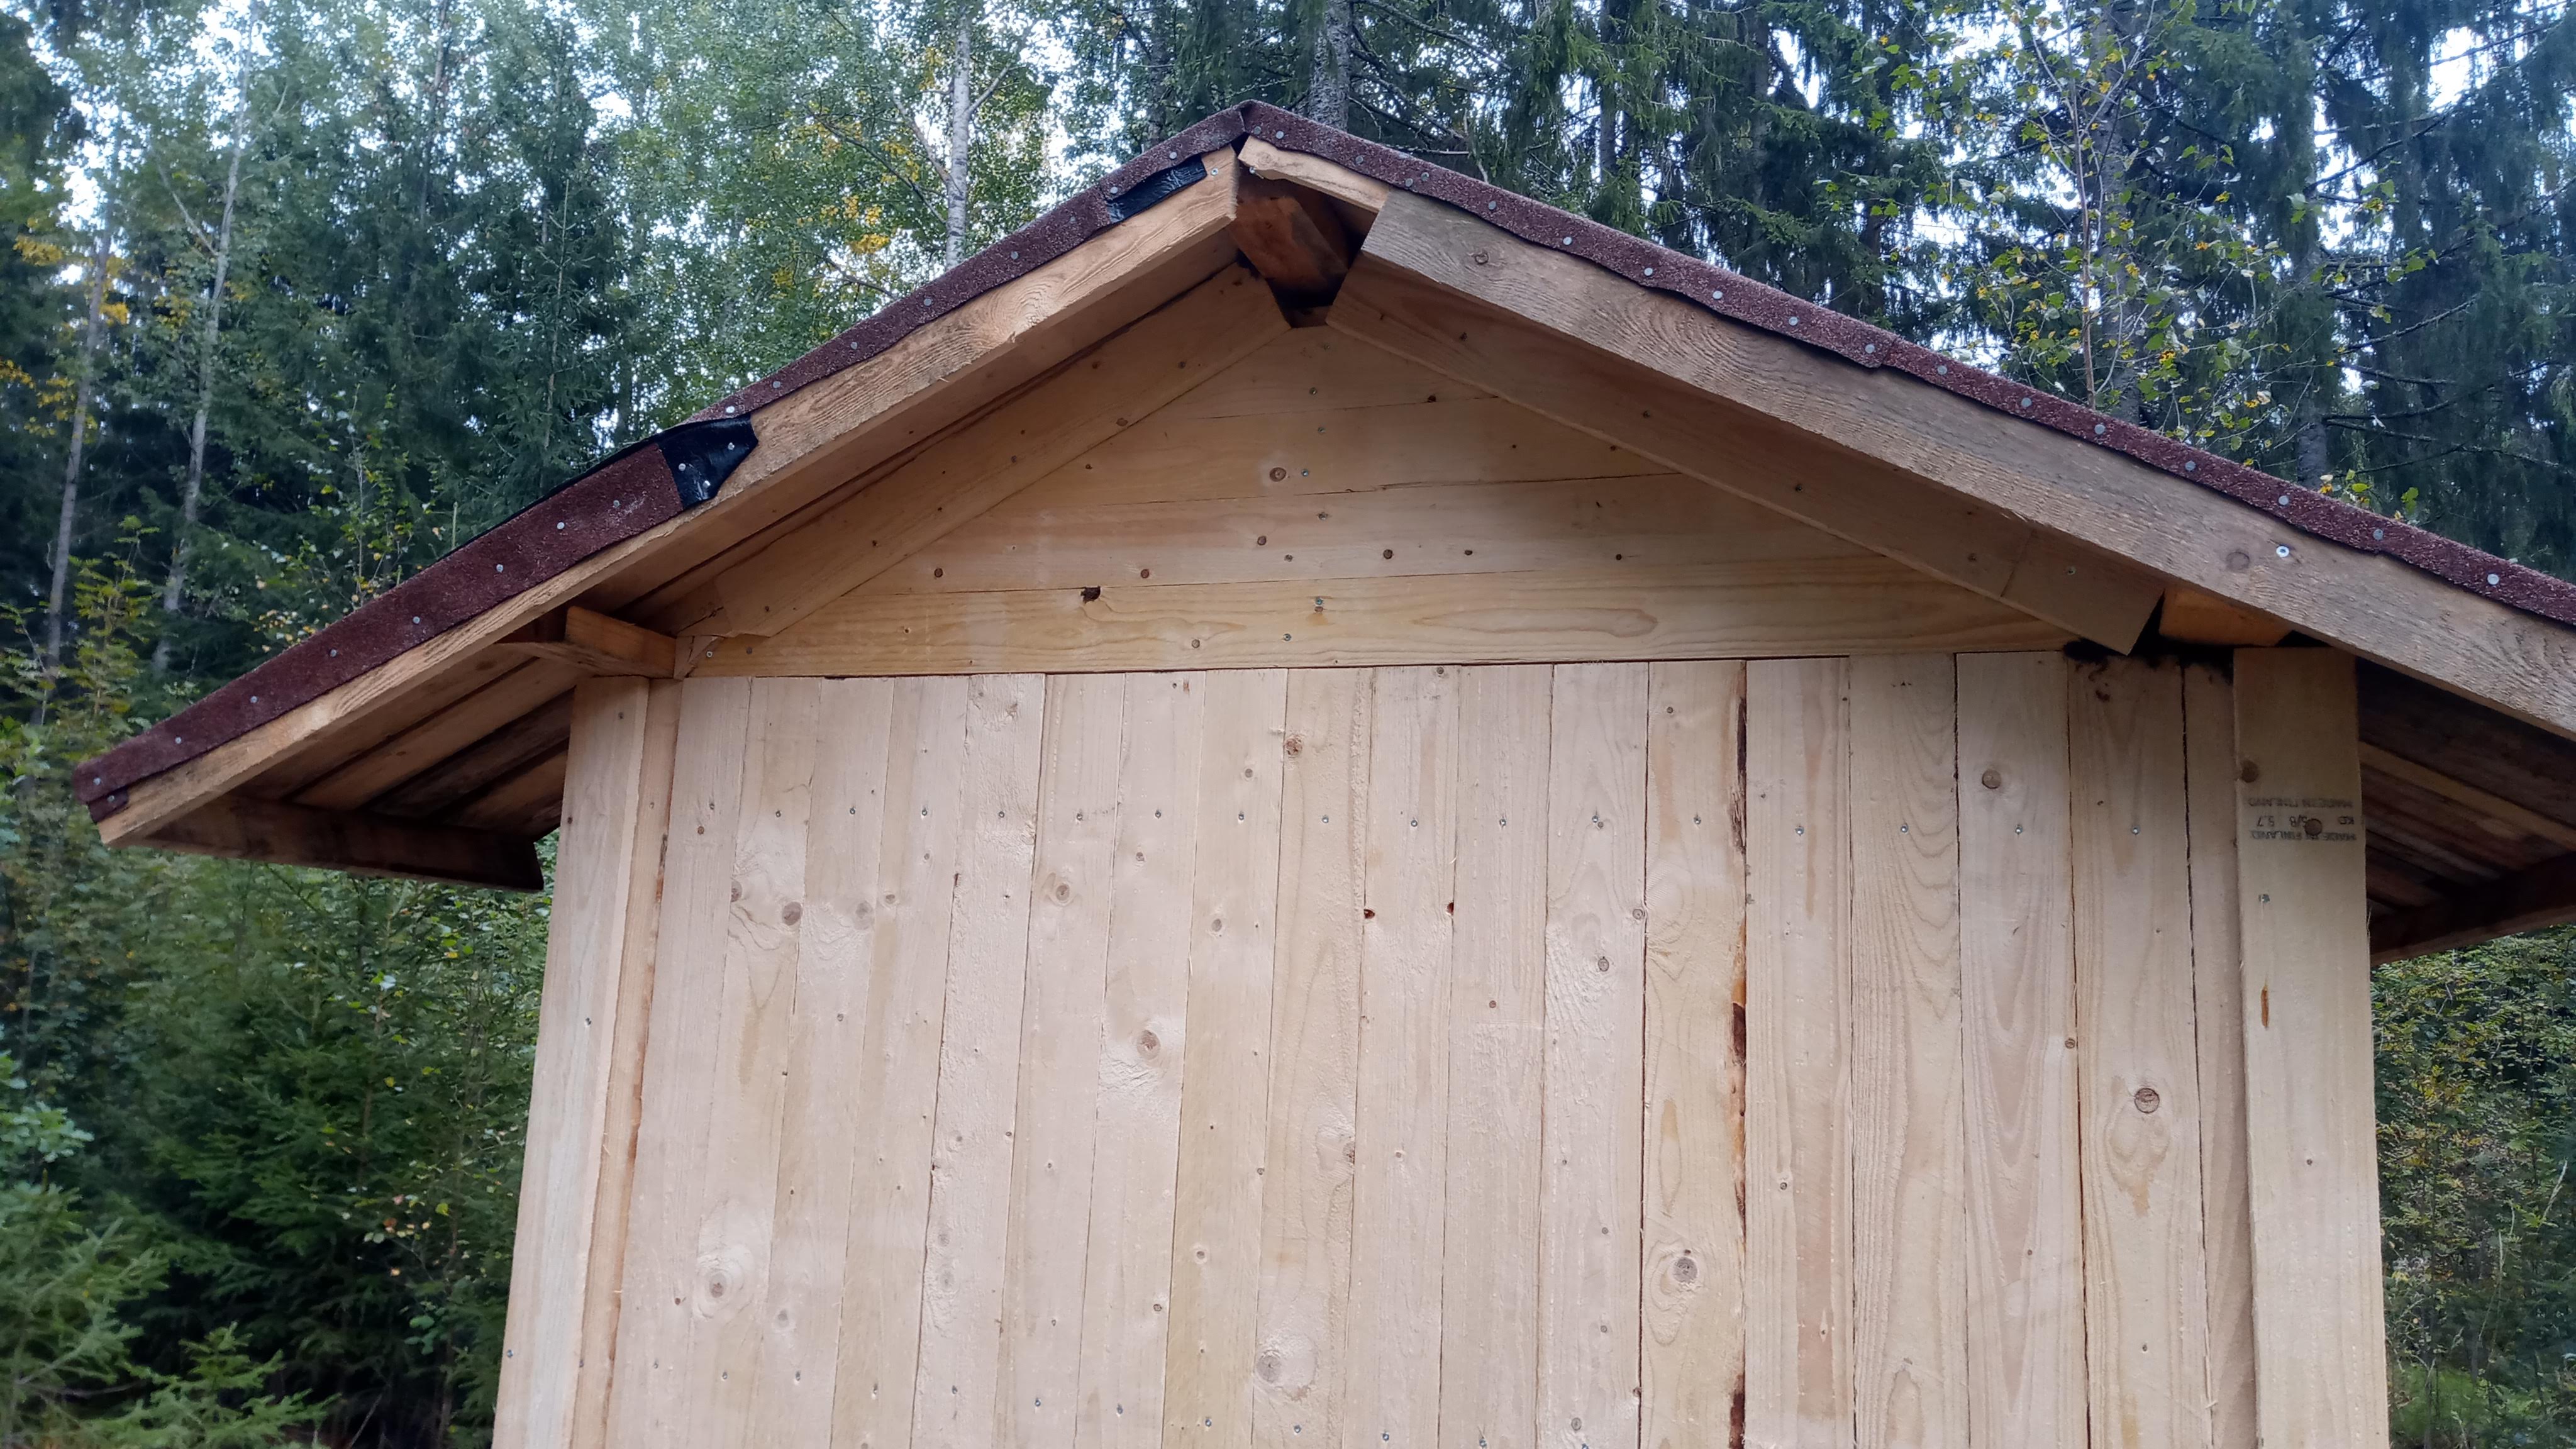 Made a kinda cheap solution on the upper portion of the wall but whatever, at least it's not just an open hole anymore
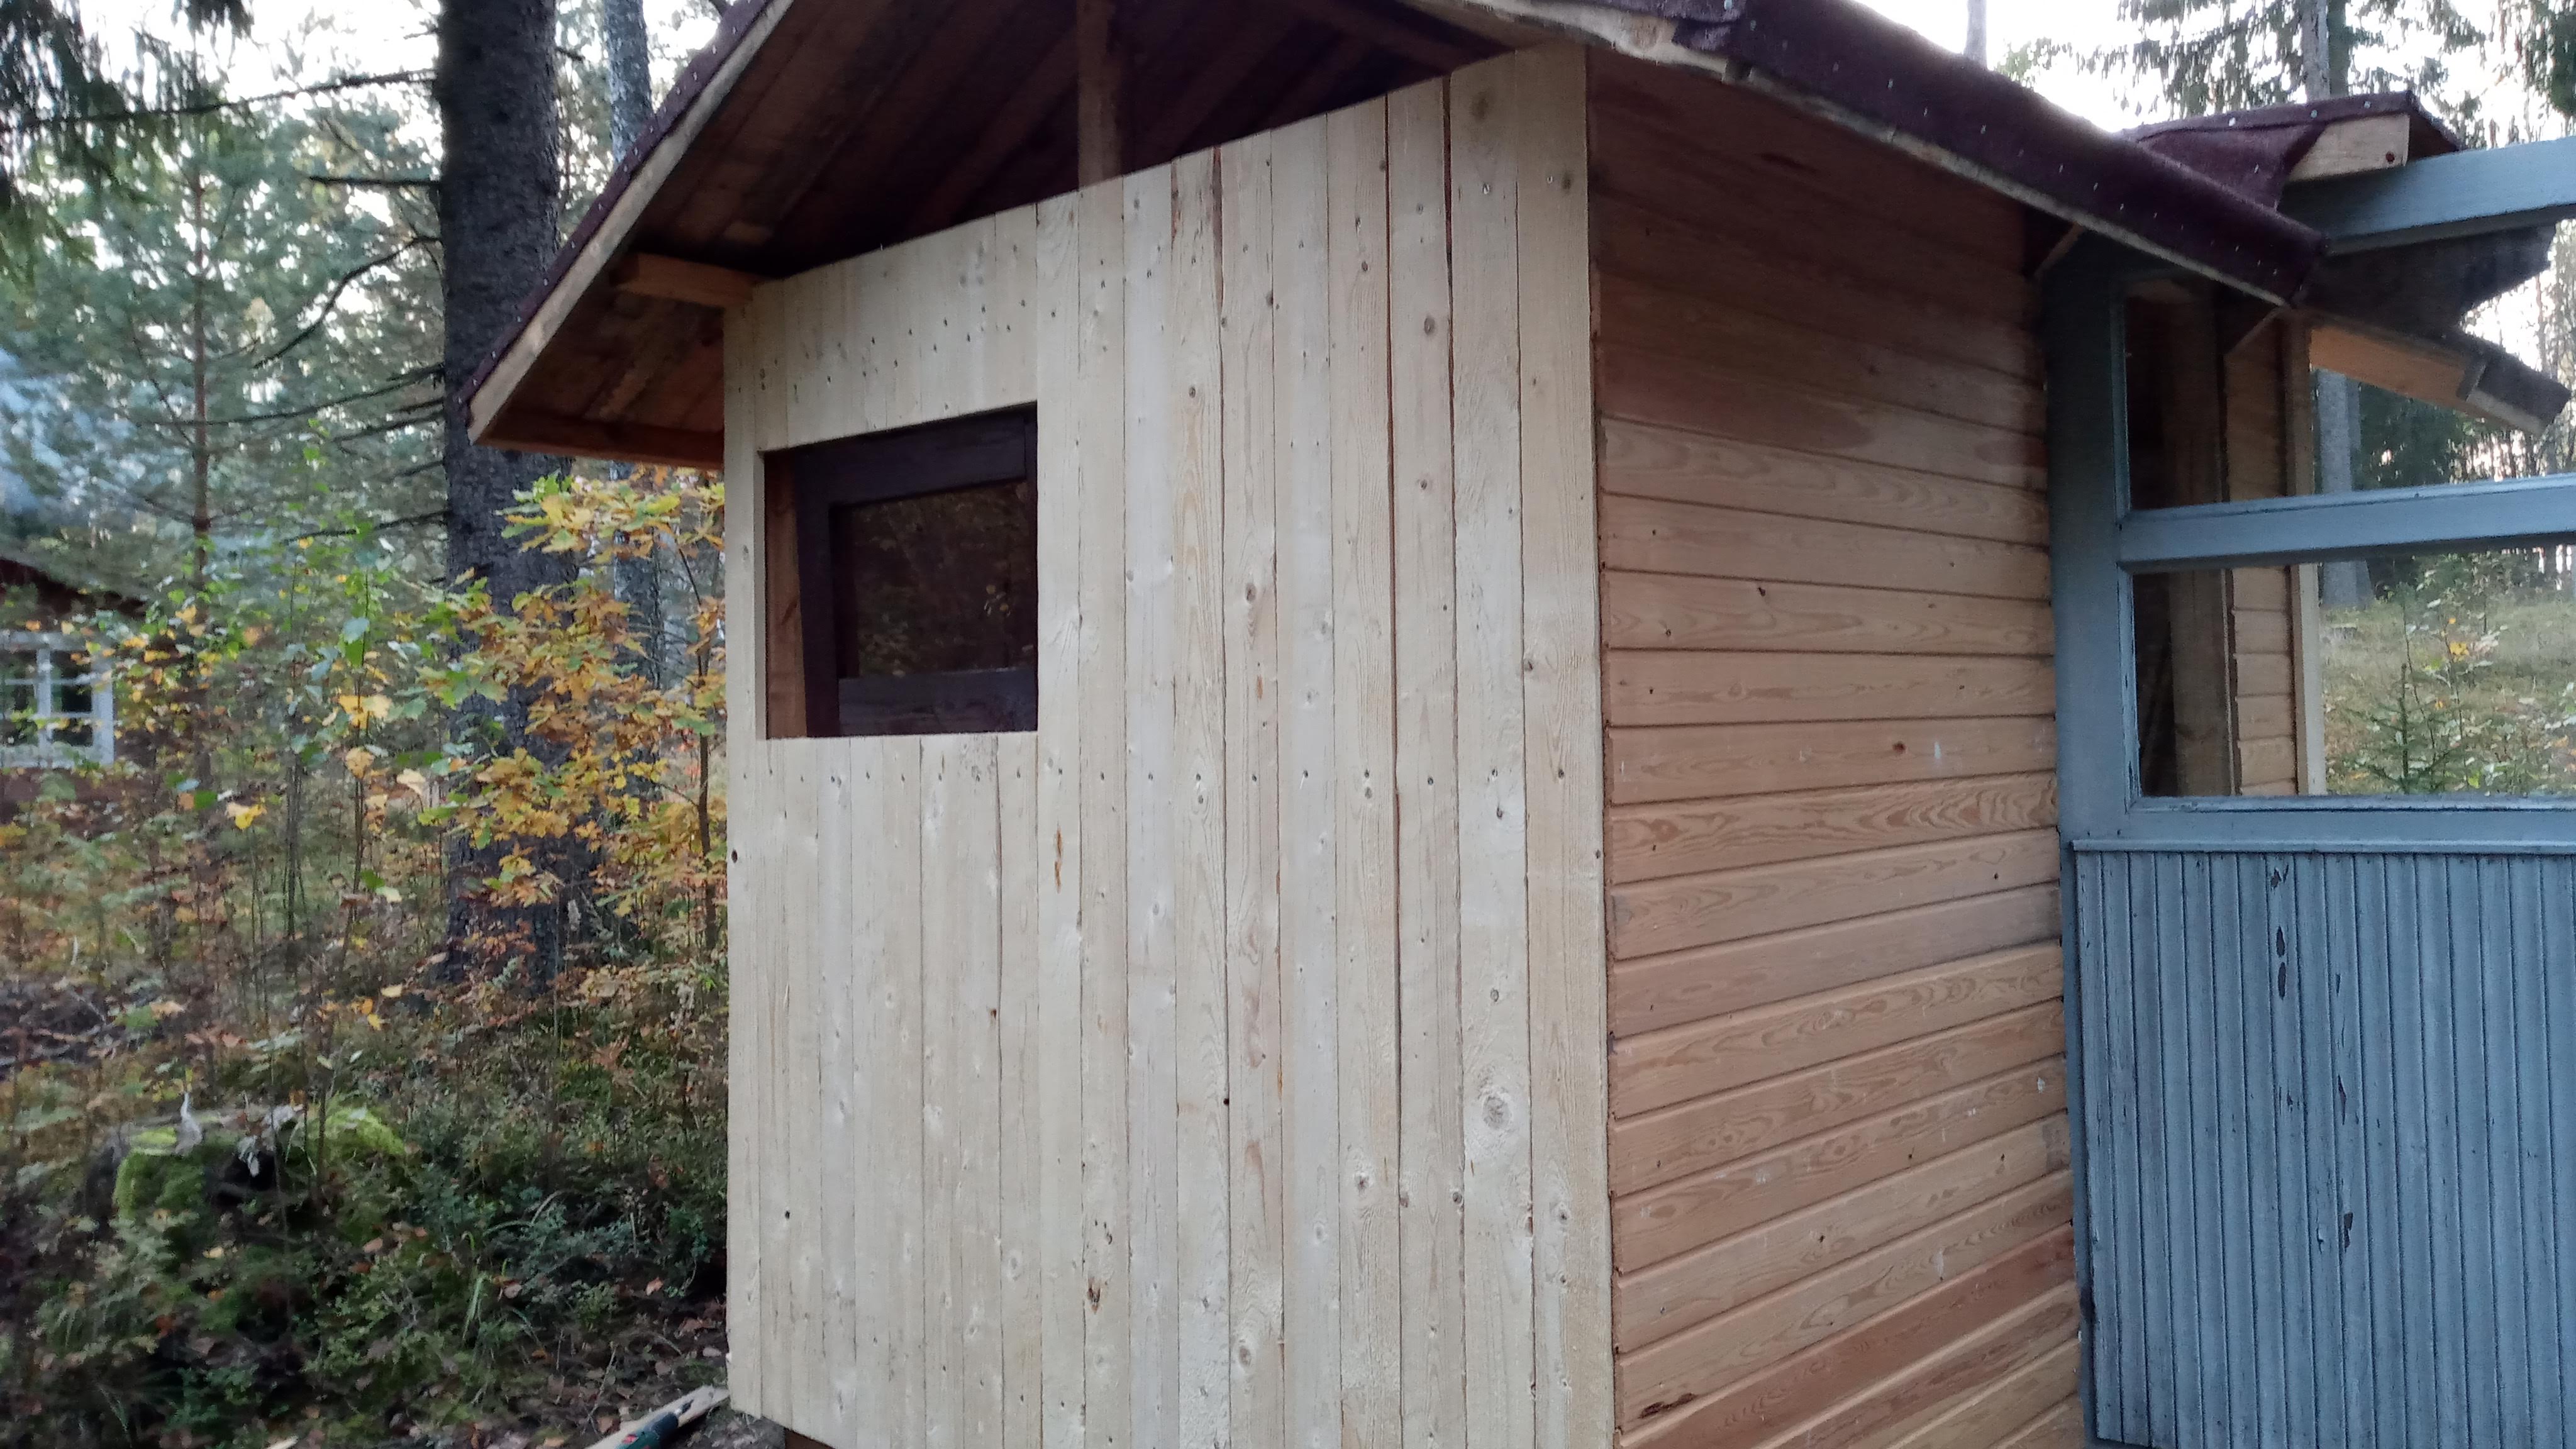 Now all four walls are in place, I also decided to make another small window from plexiglass and 22x100 wood
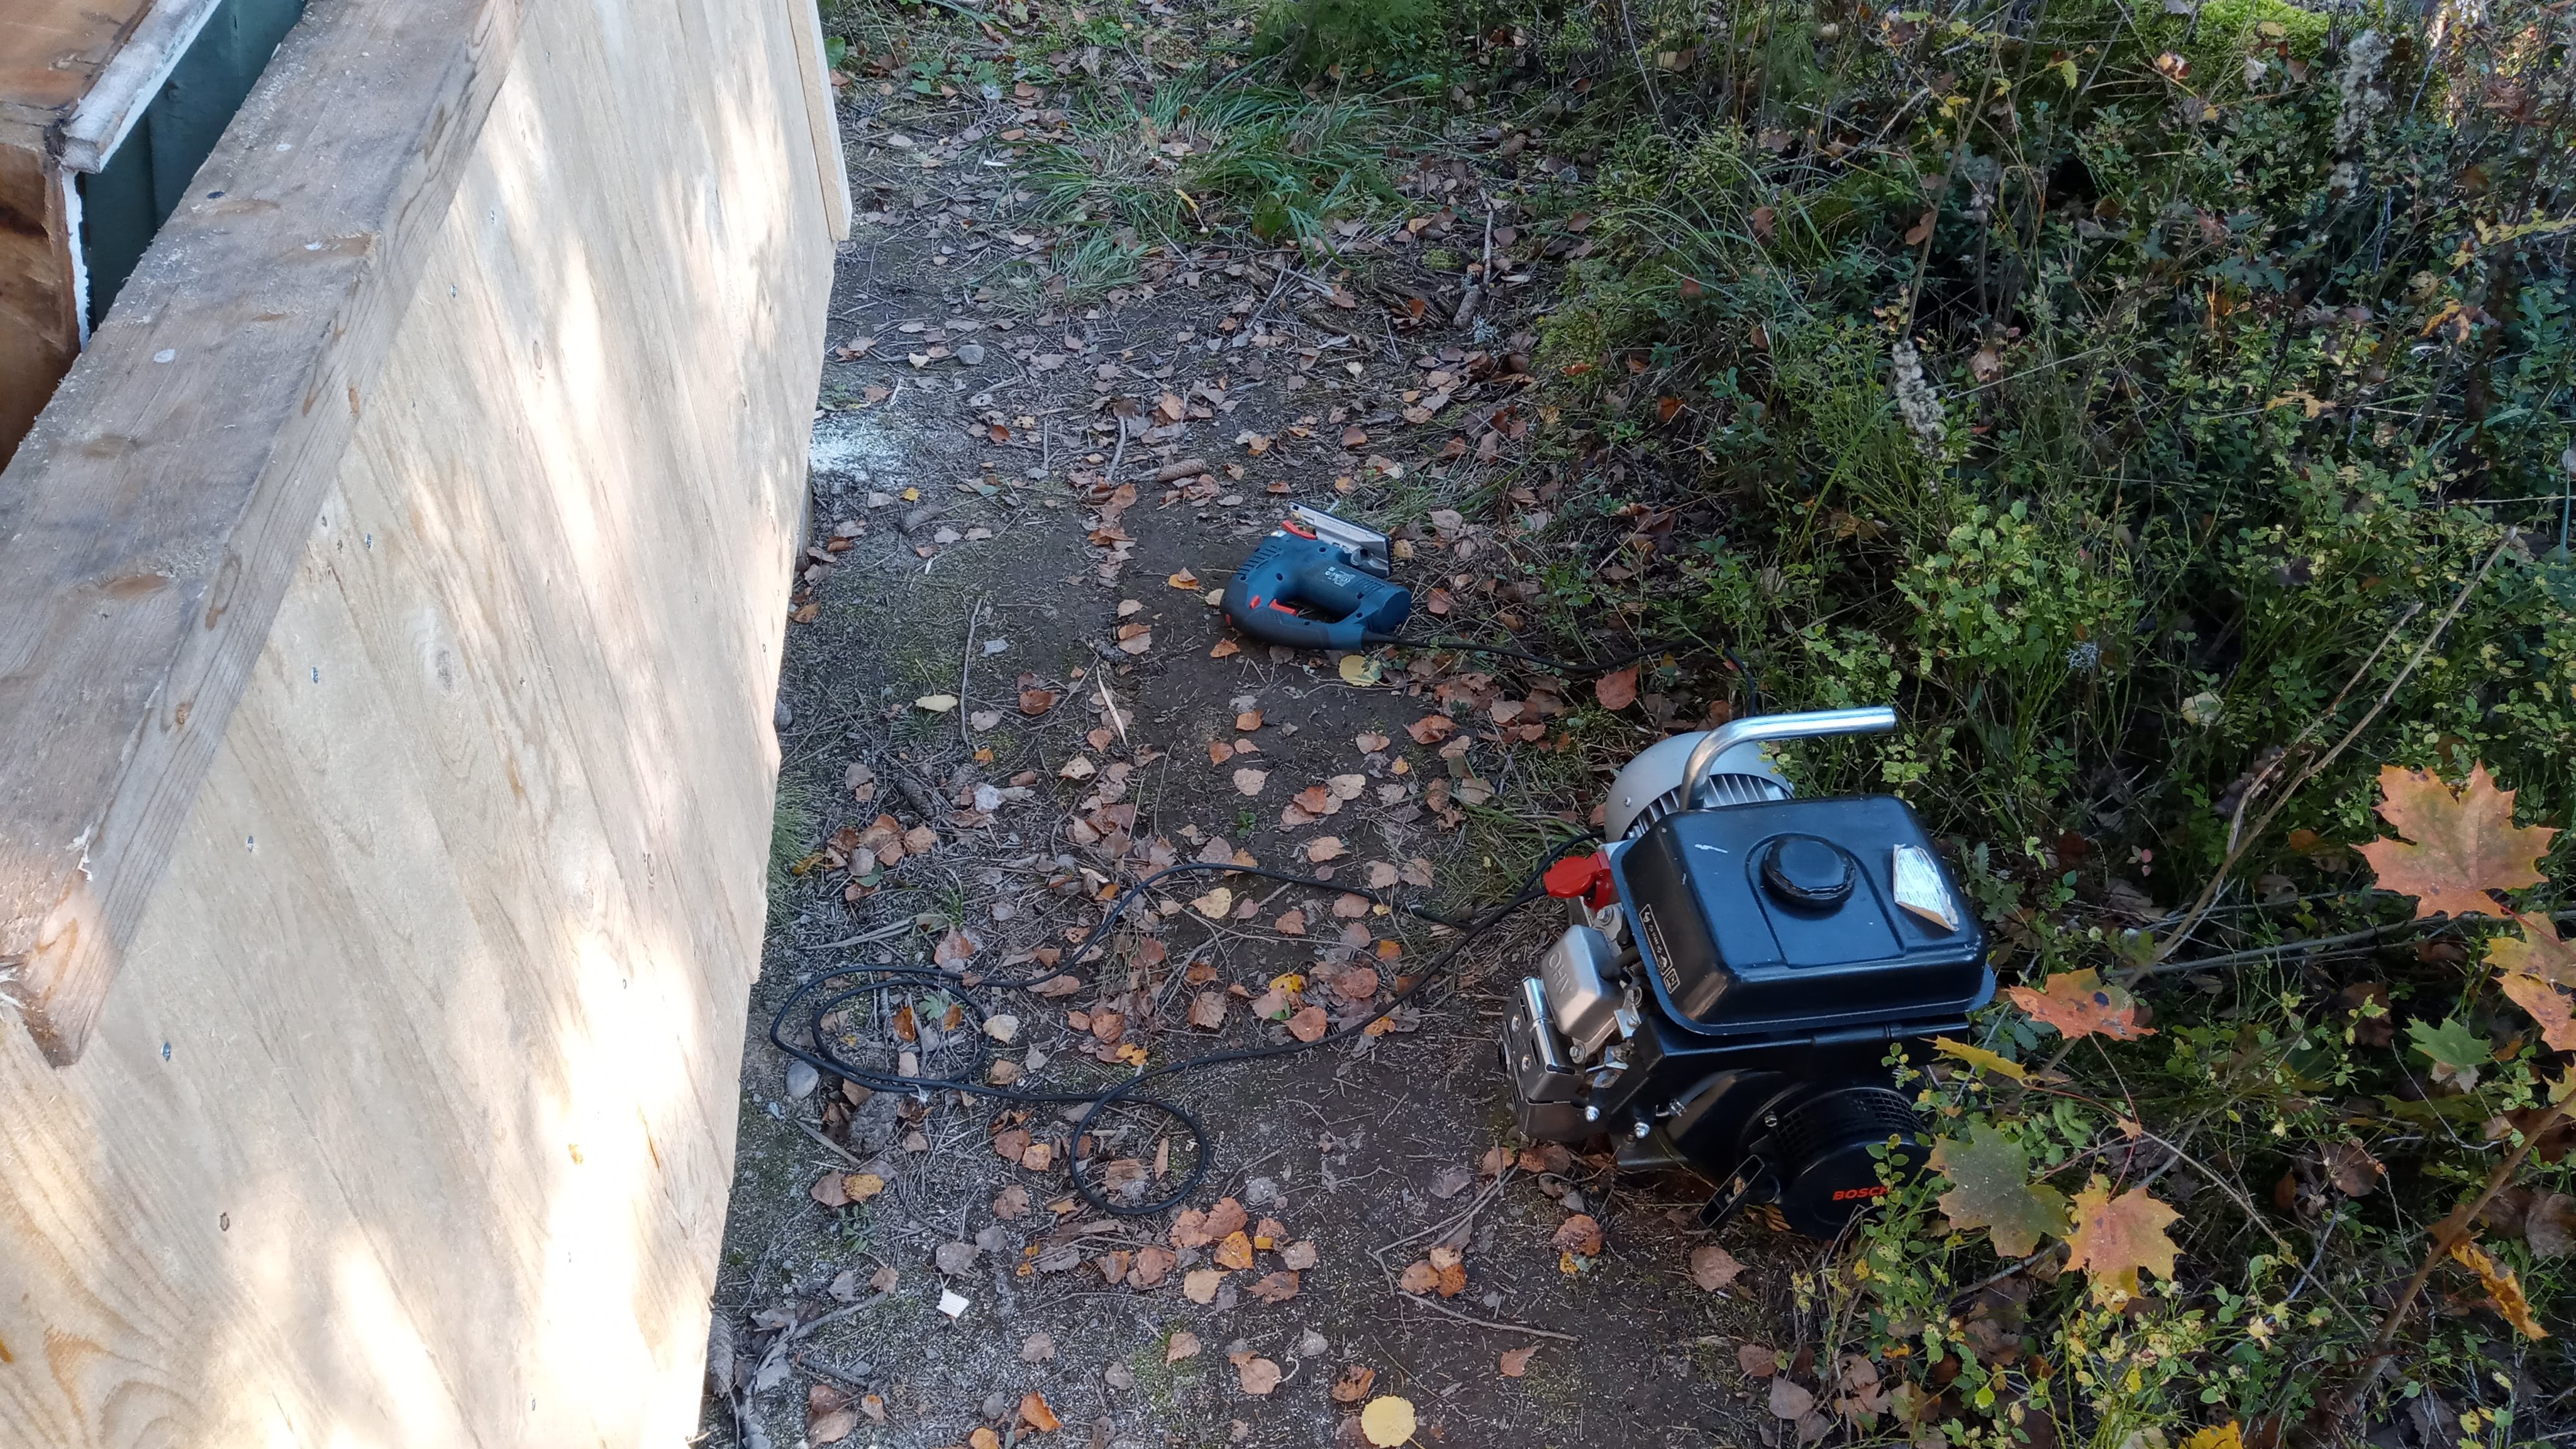 There's no electricity in the place so I had to use a generator for the powertools I used for making the window hole larger
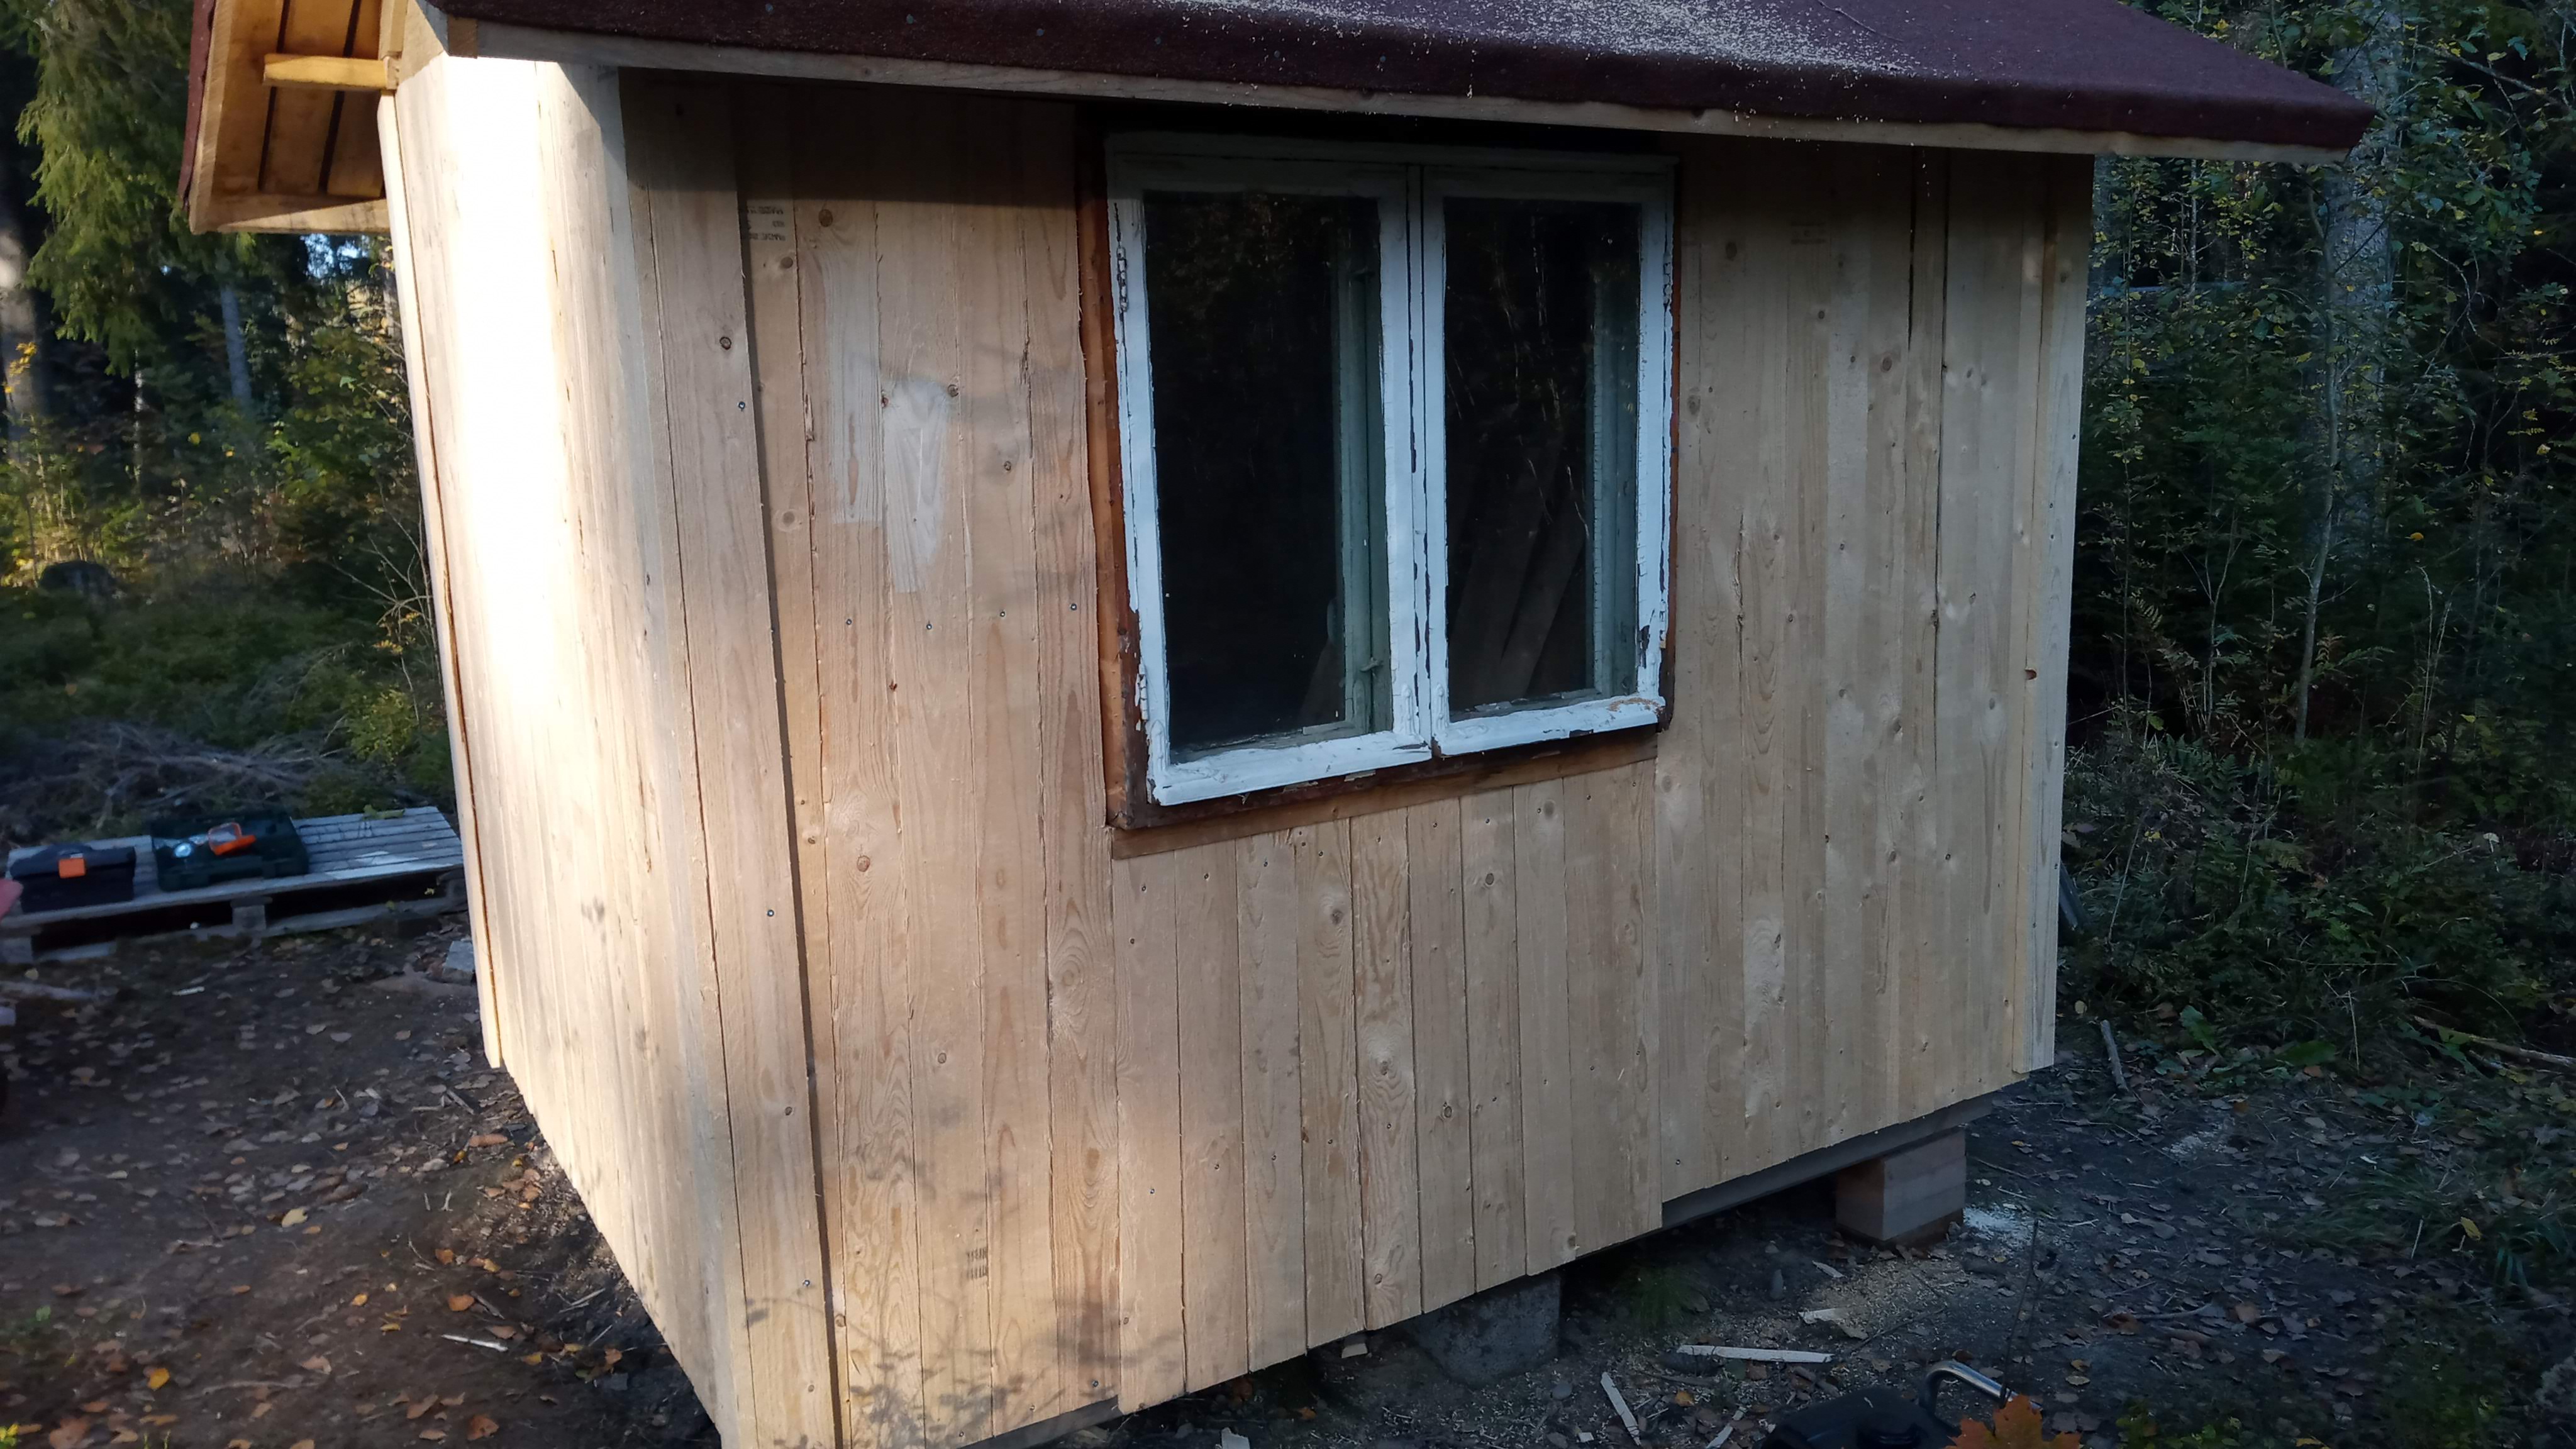 Now window is in place. The window had a rotten portion but I cut it out and replaced it with a fresh piece of wood and glued it on. Sadly no documentation of that action.
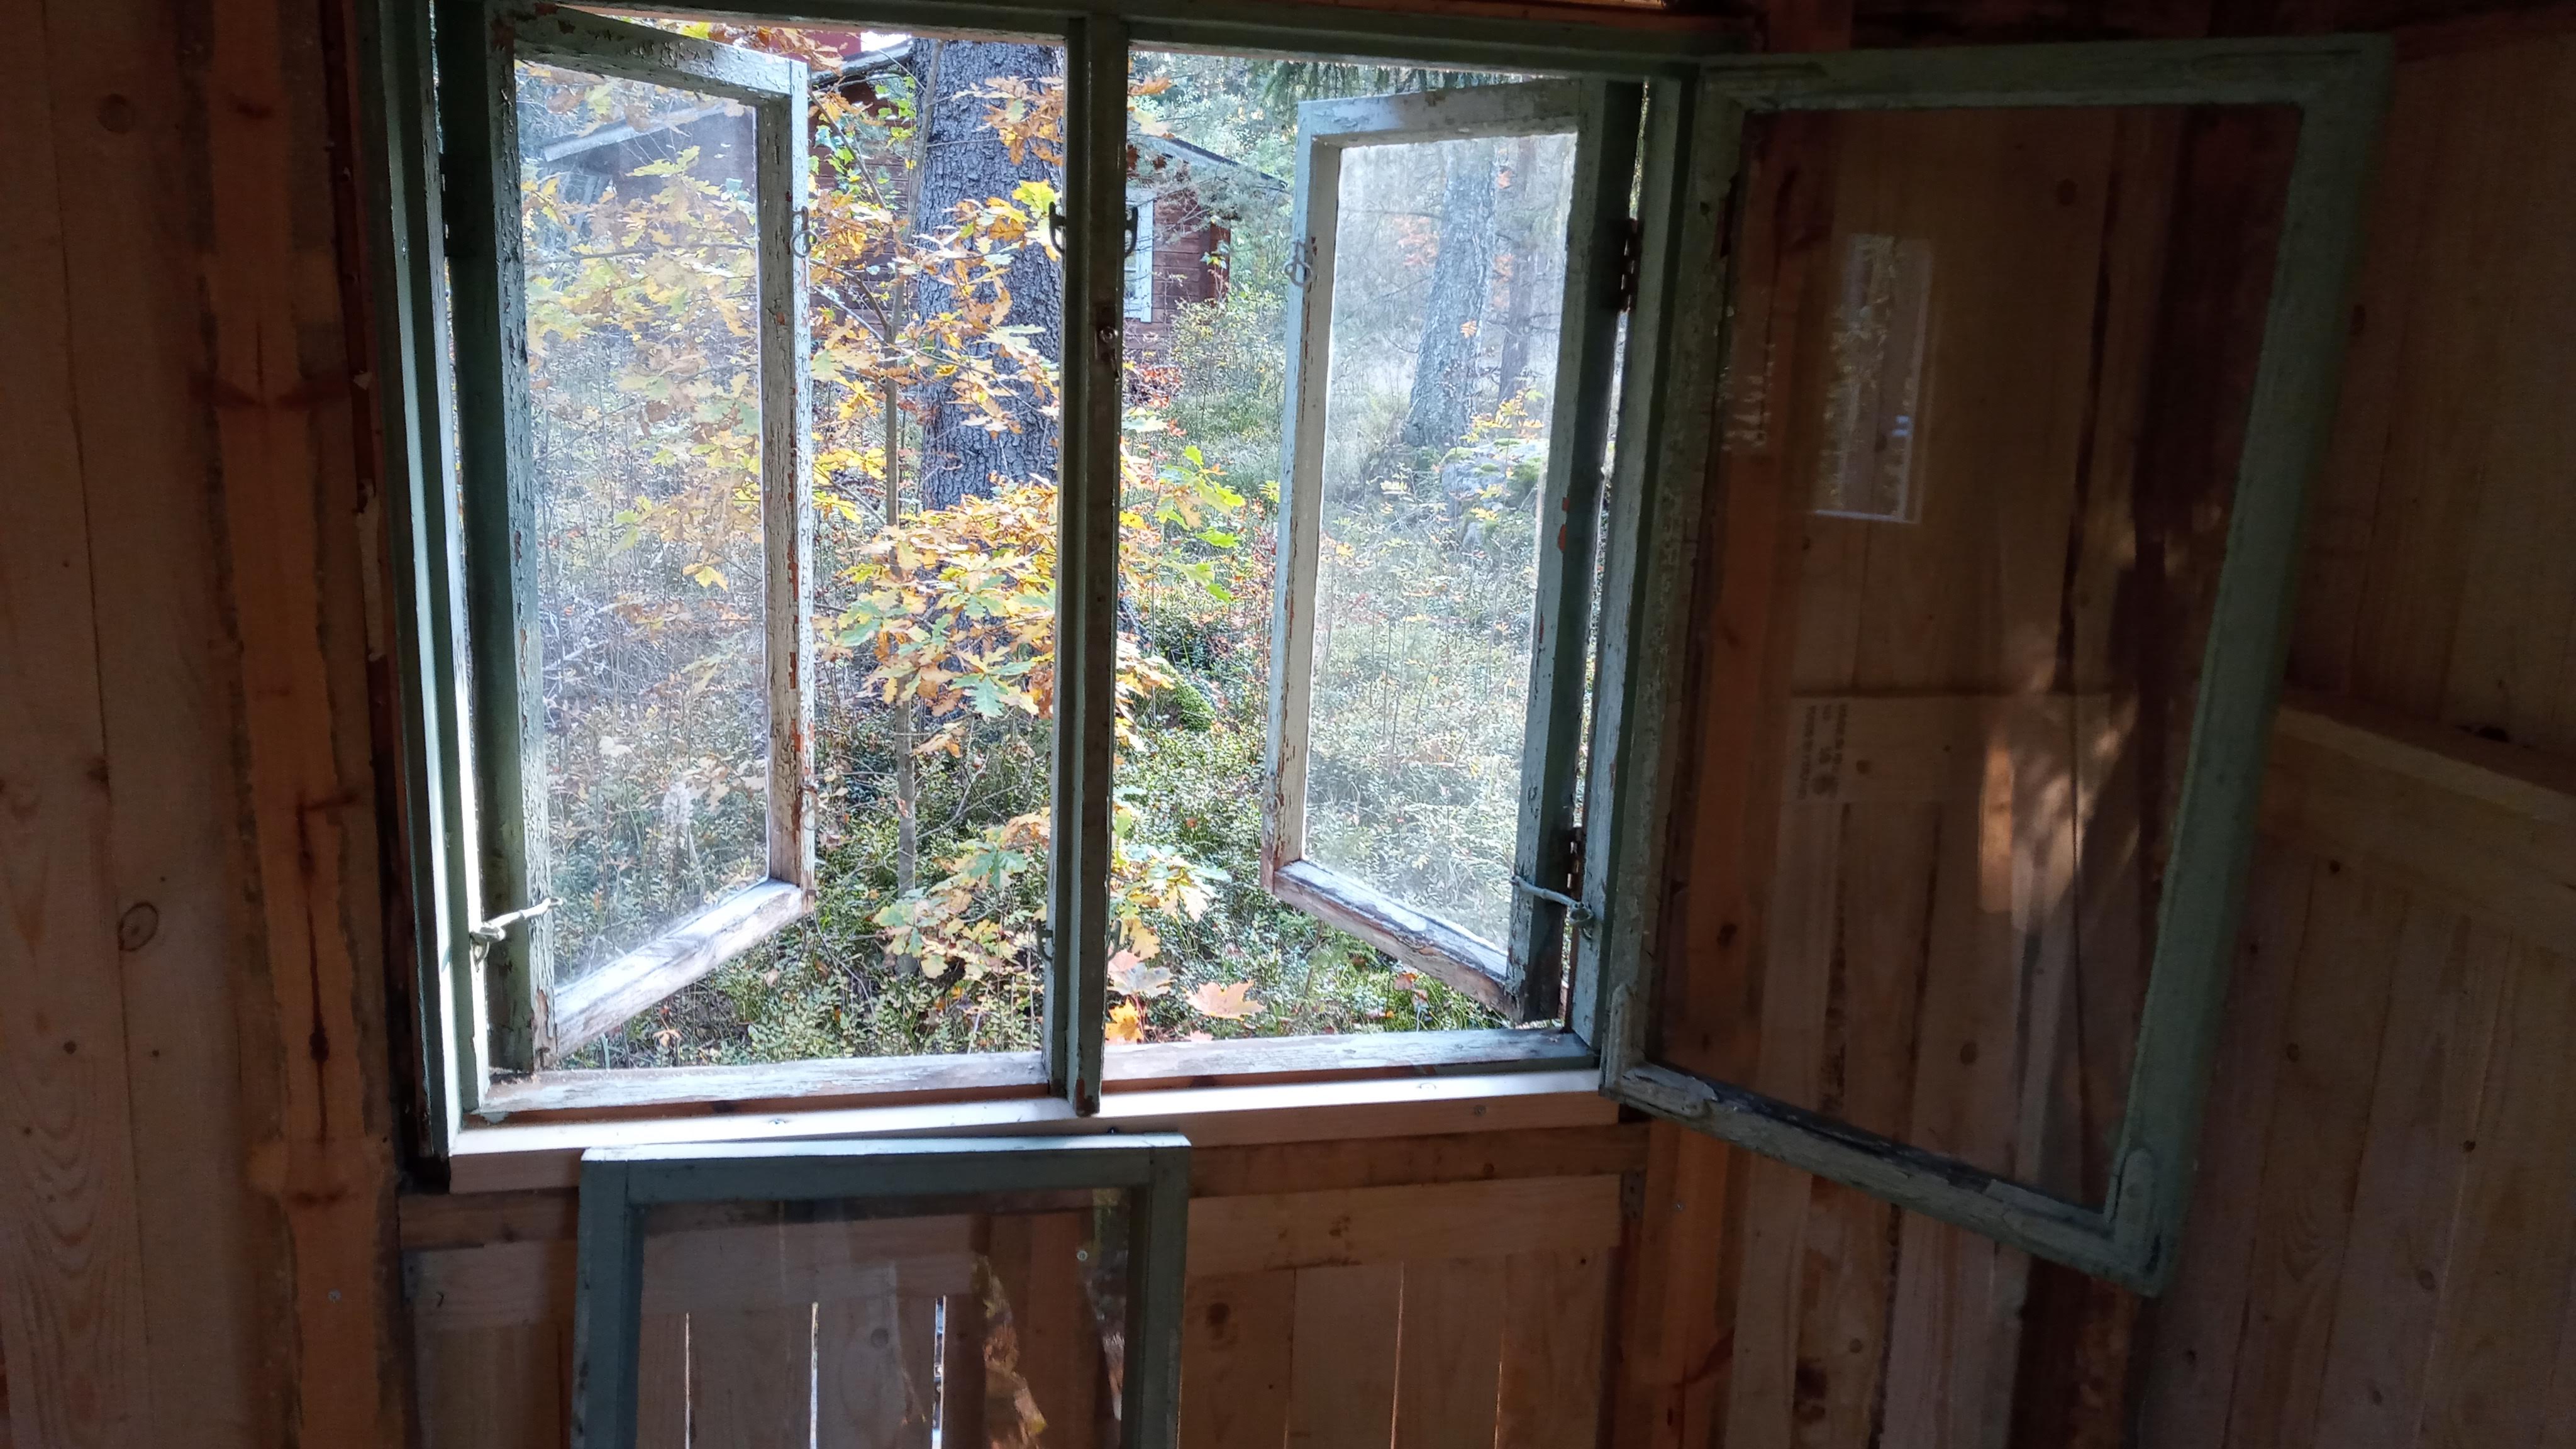 This window is from an old sauna hut which got demolished but I got to save the window and had to pay 0€ for it. Here you can see the replaced portion, the horizontal piece in the bottom, on the interior side.
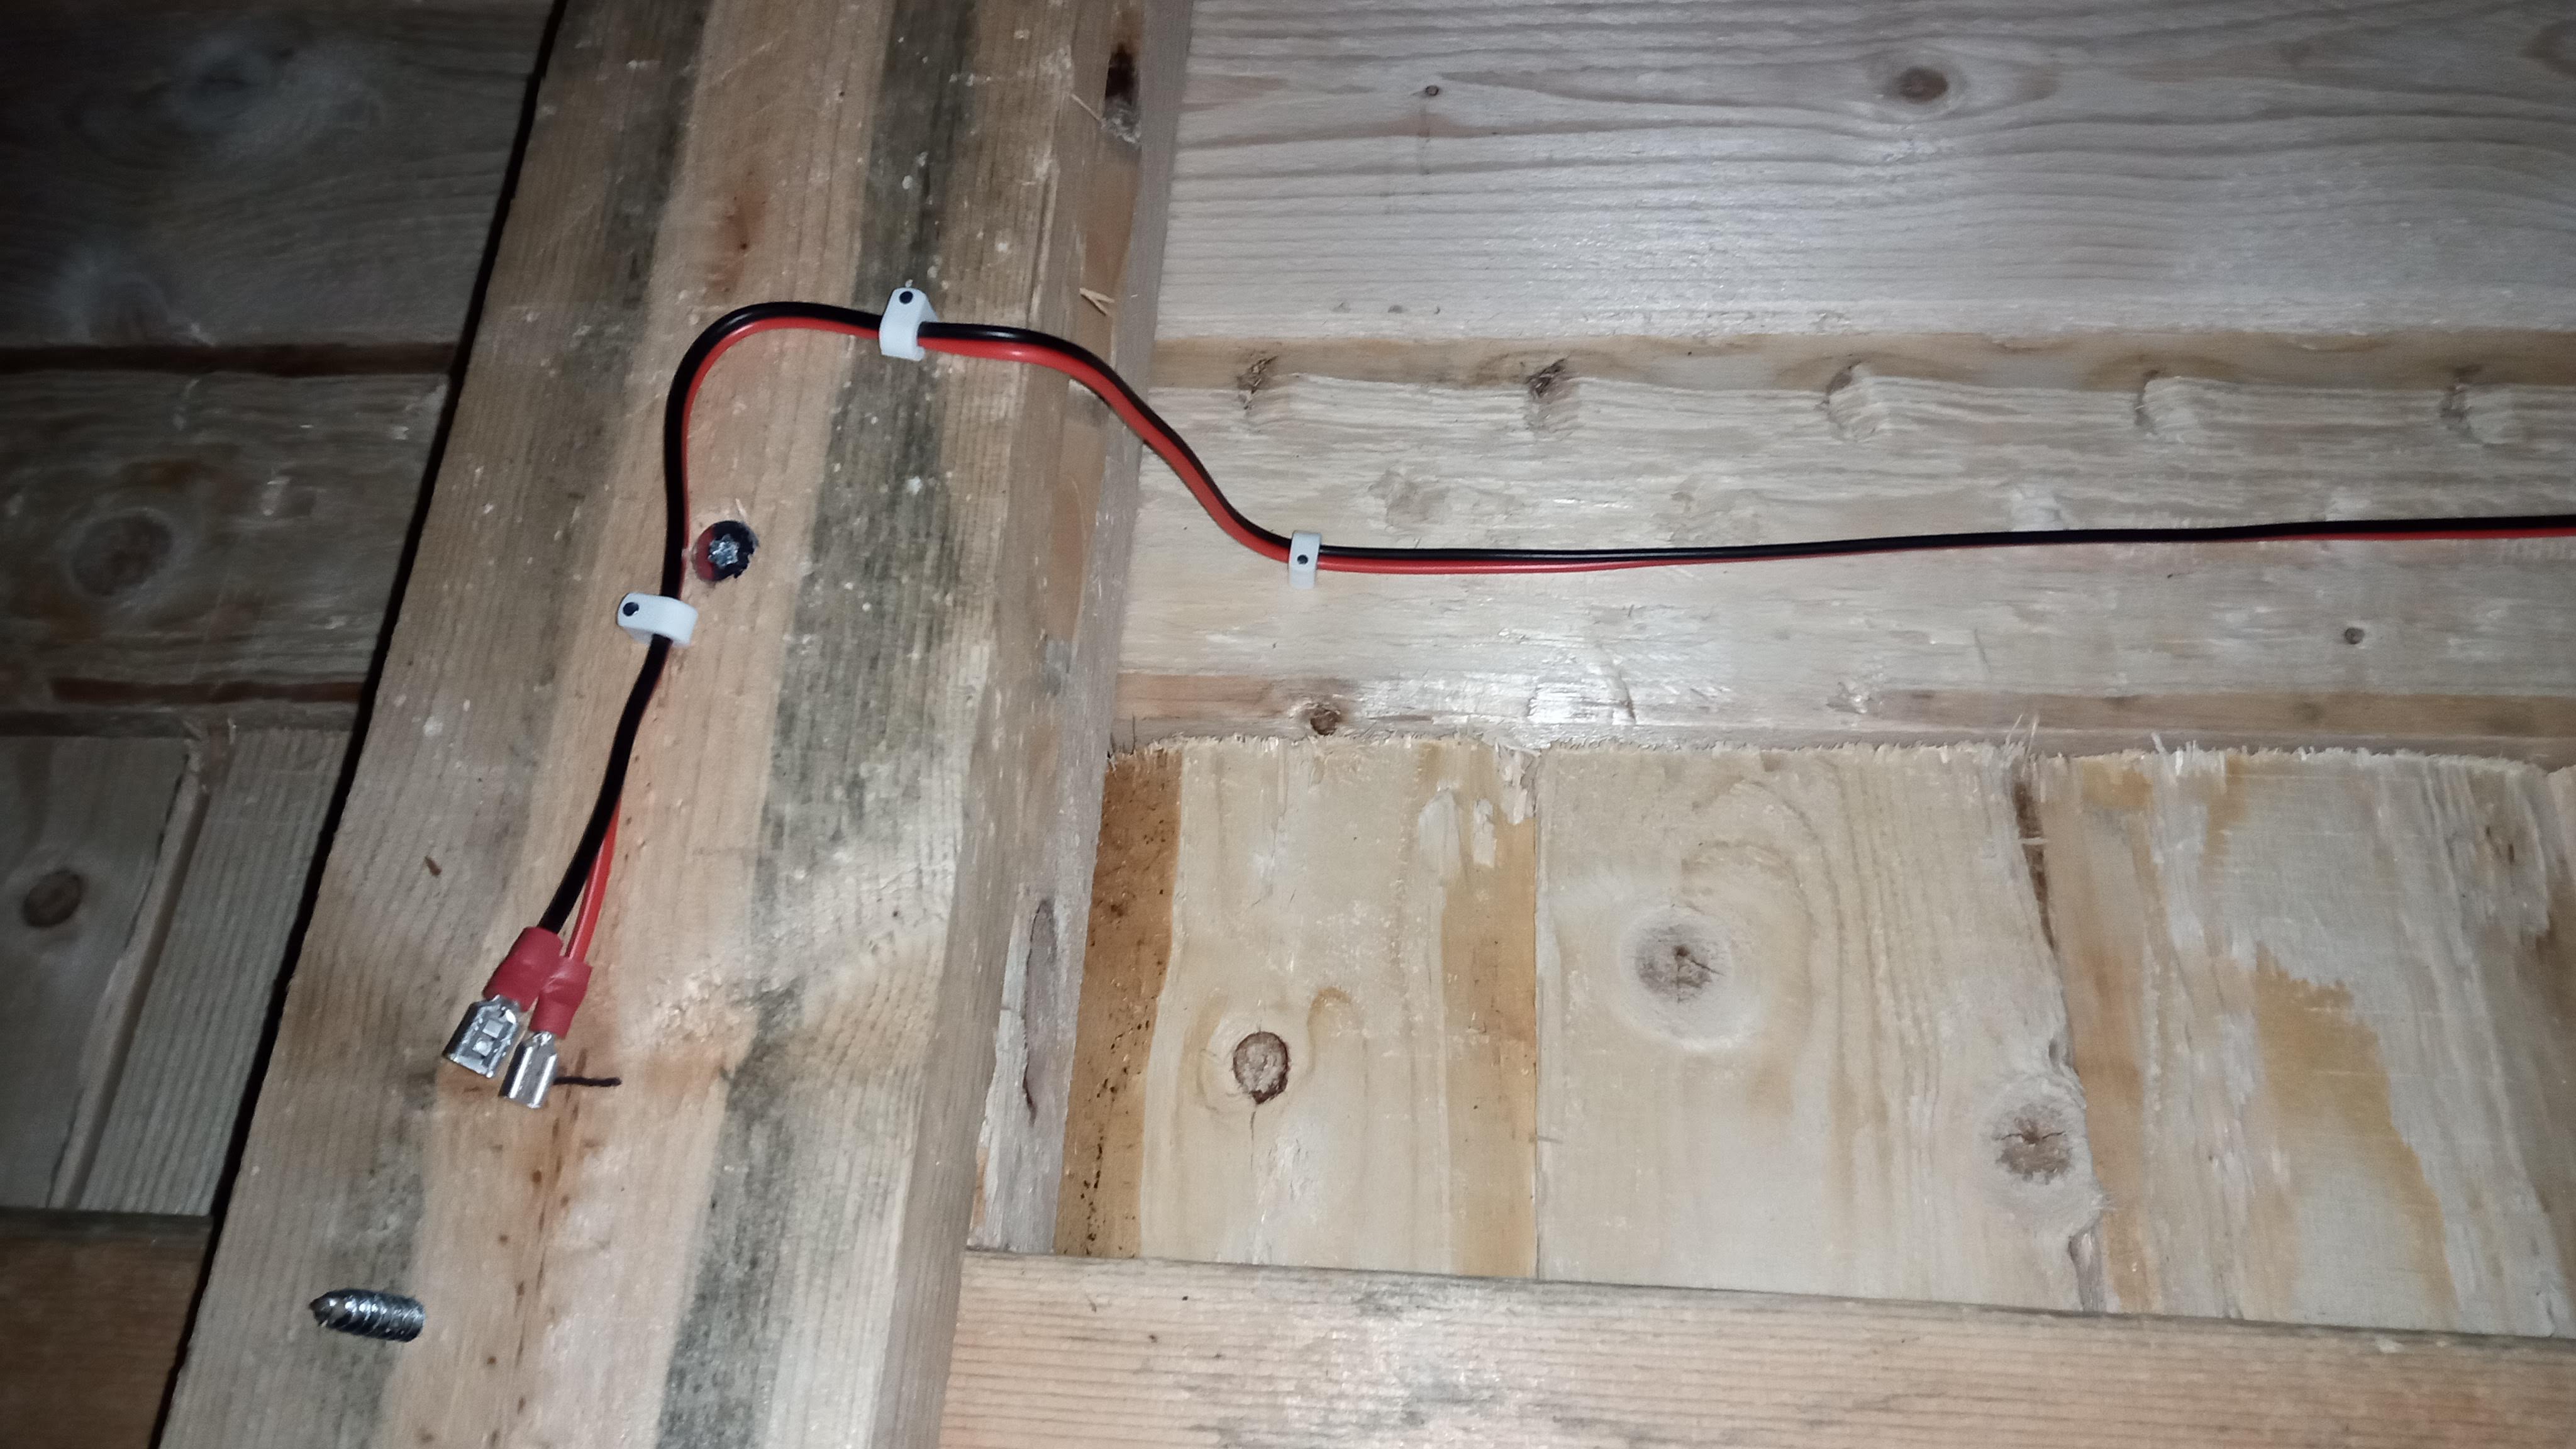 Started doing the 12V electrical wiring
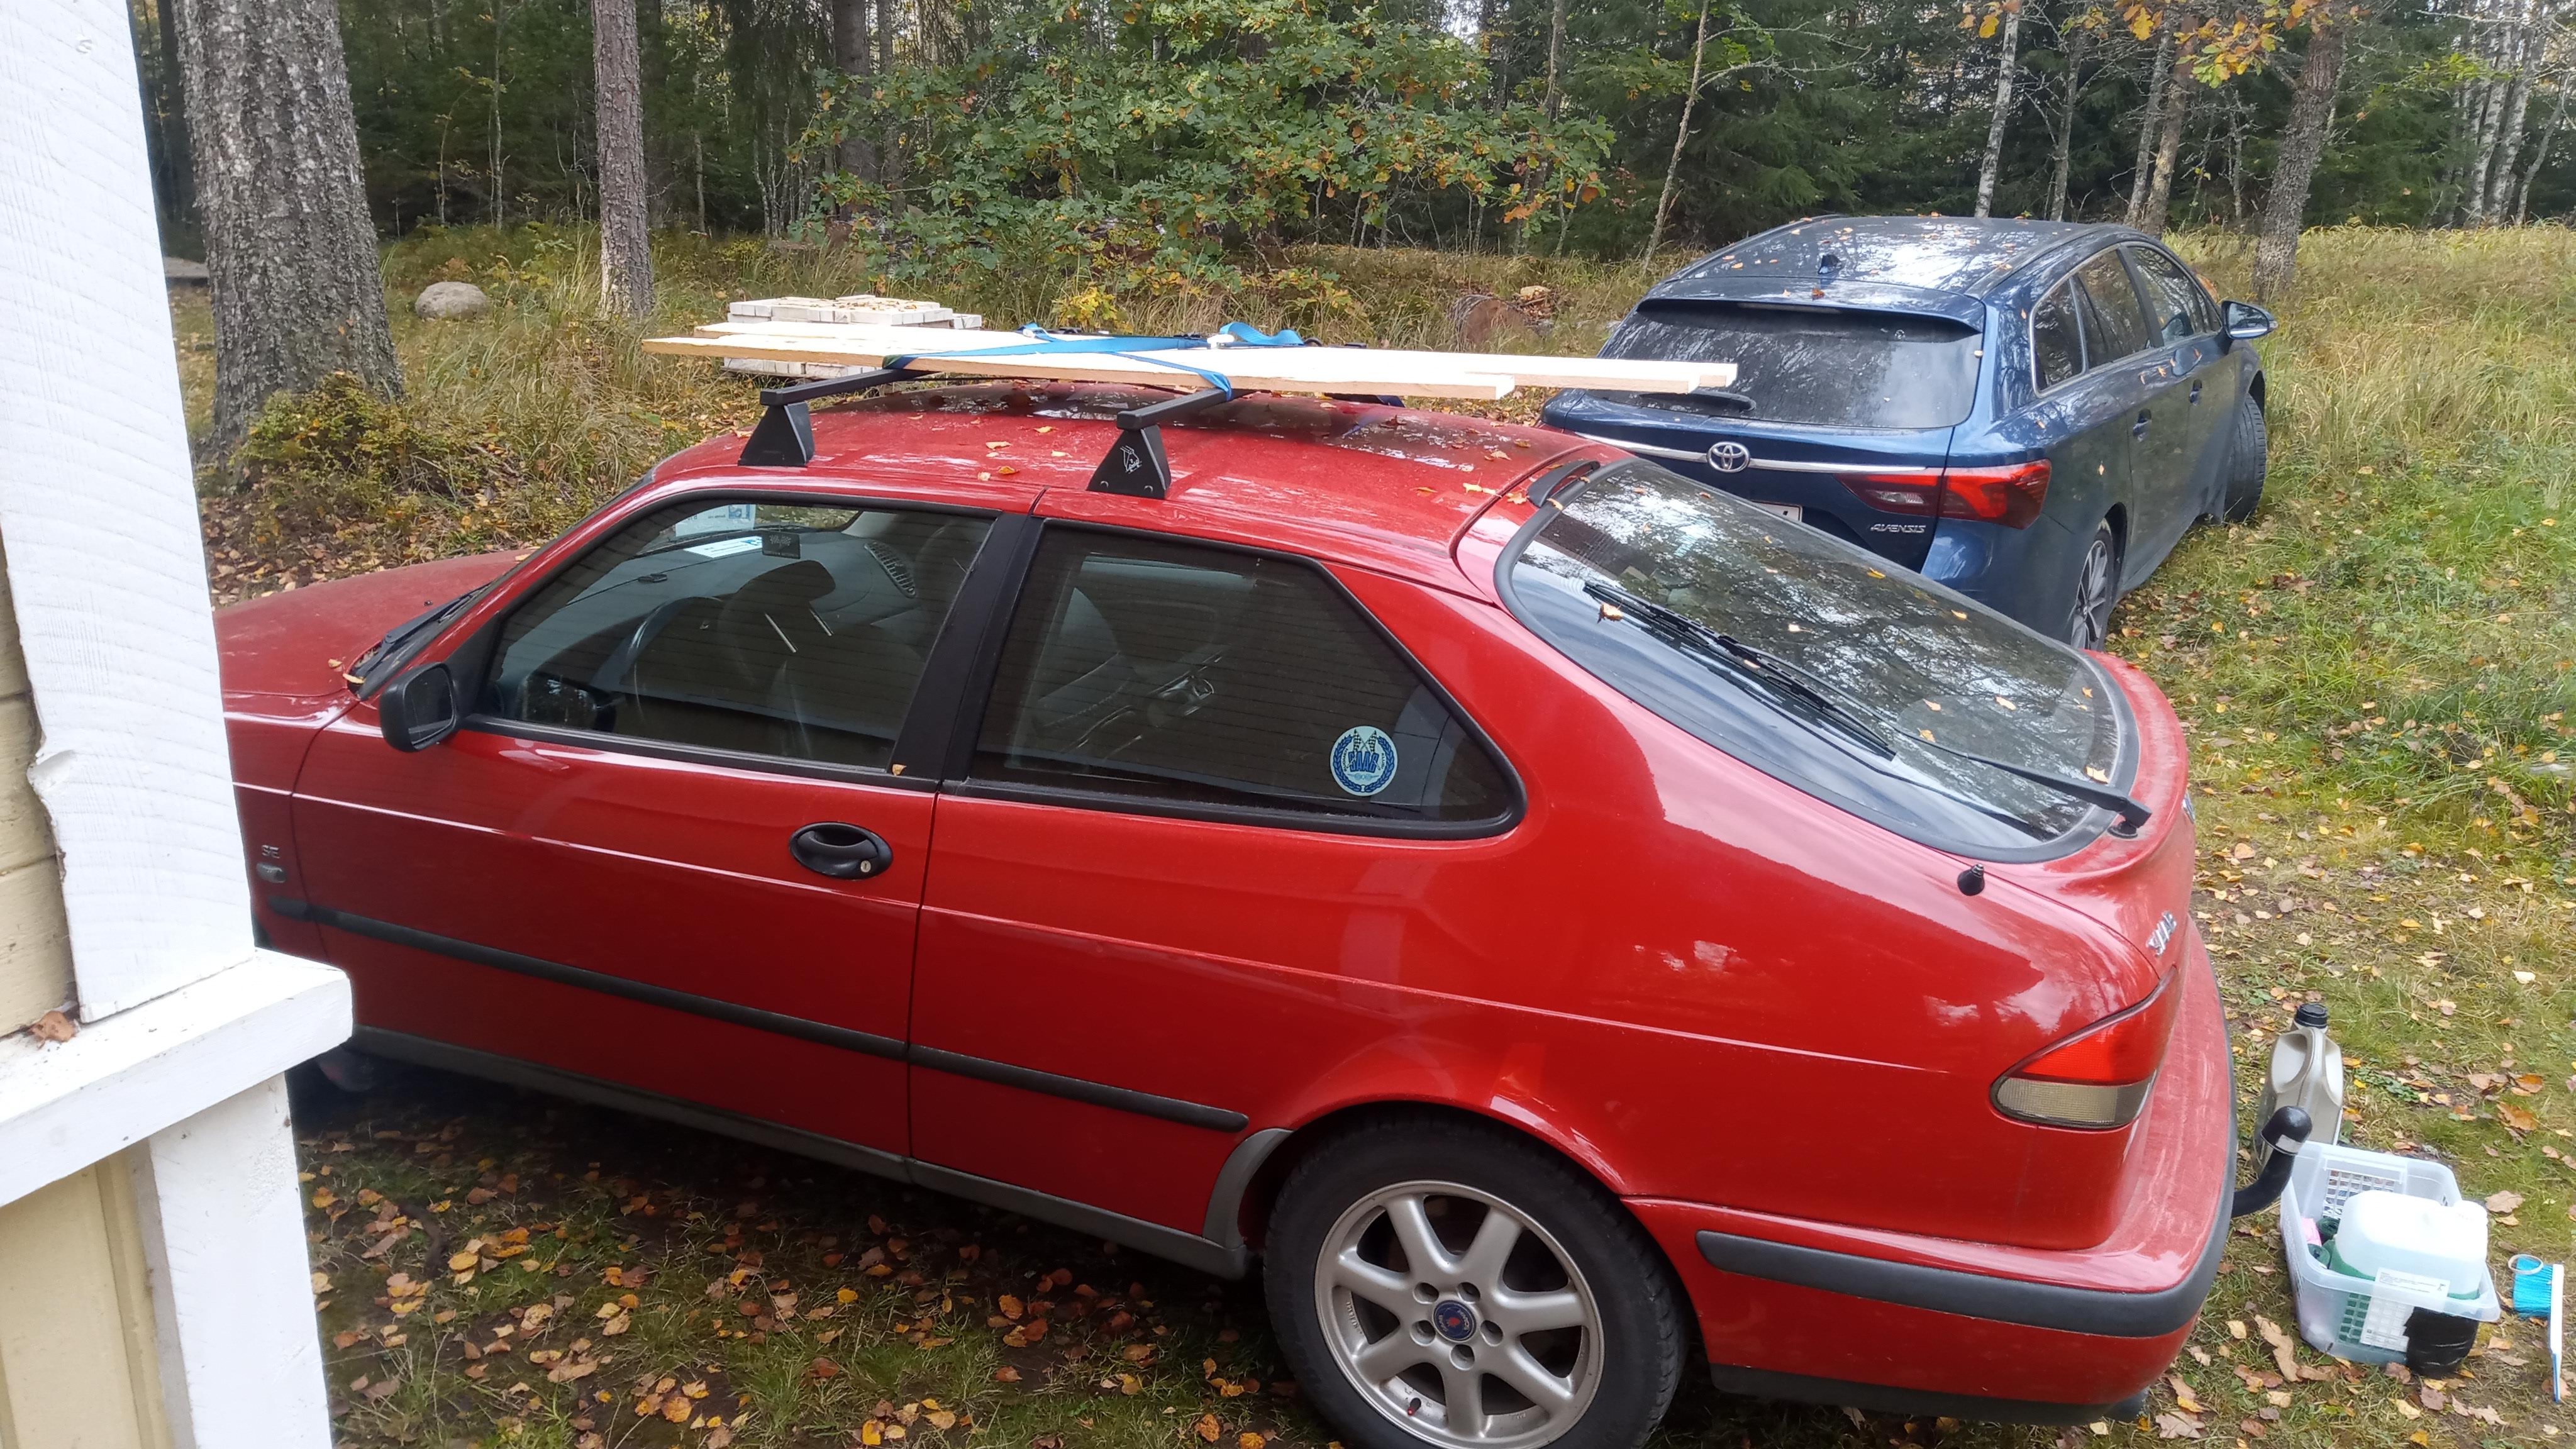 Wood hauling on my roof racks (09/2020)
 Hauling plywood for the floor and met an old Saab
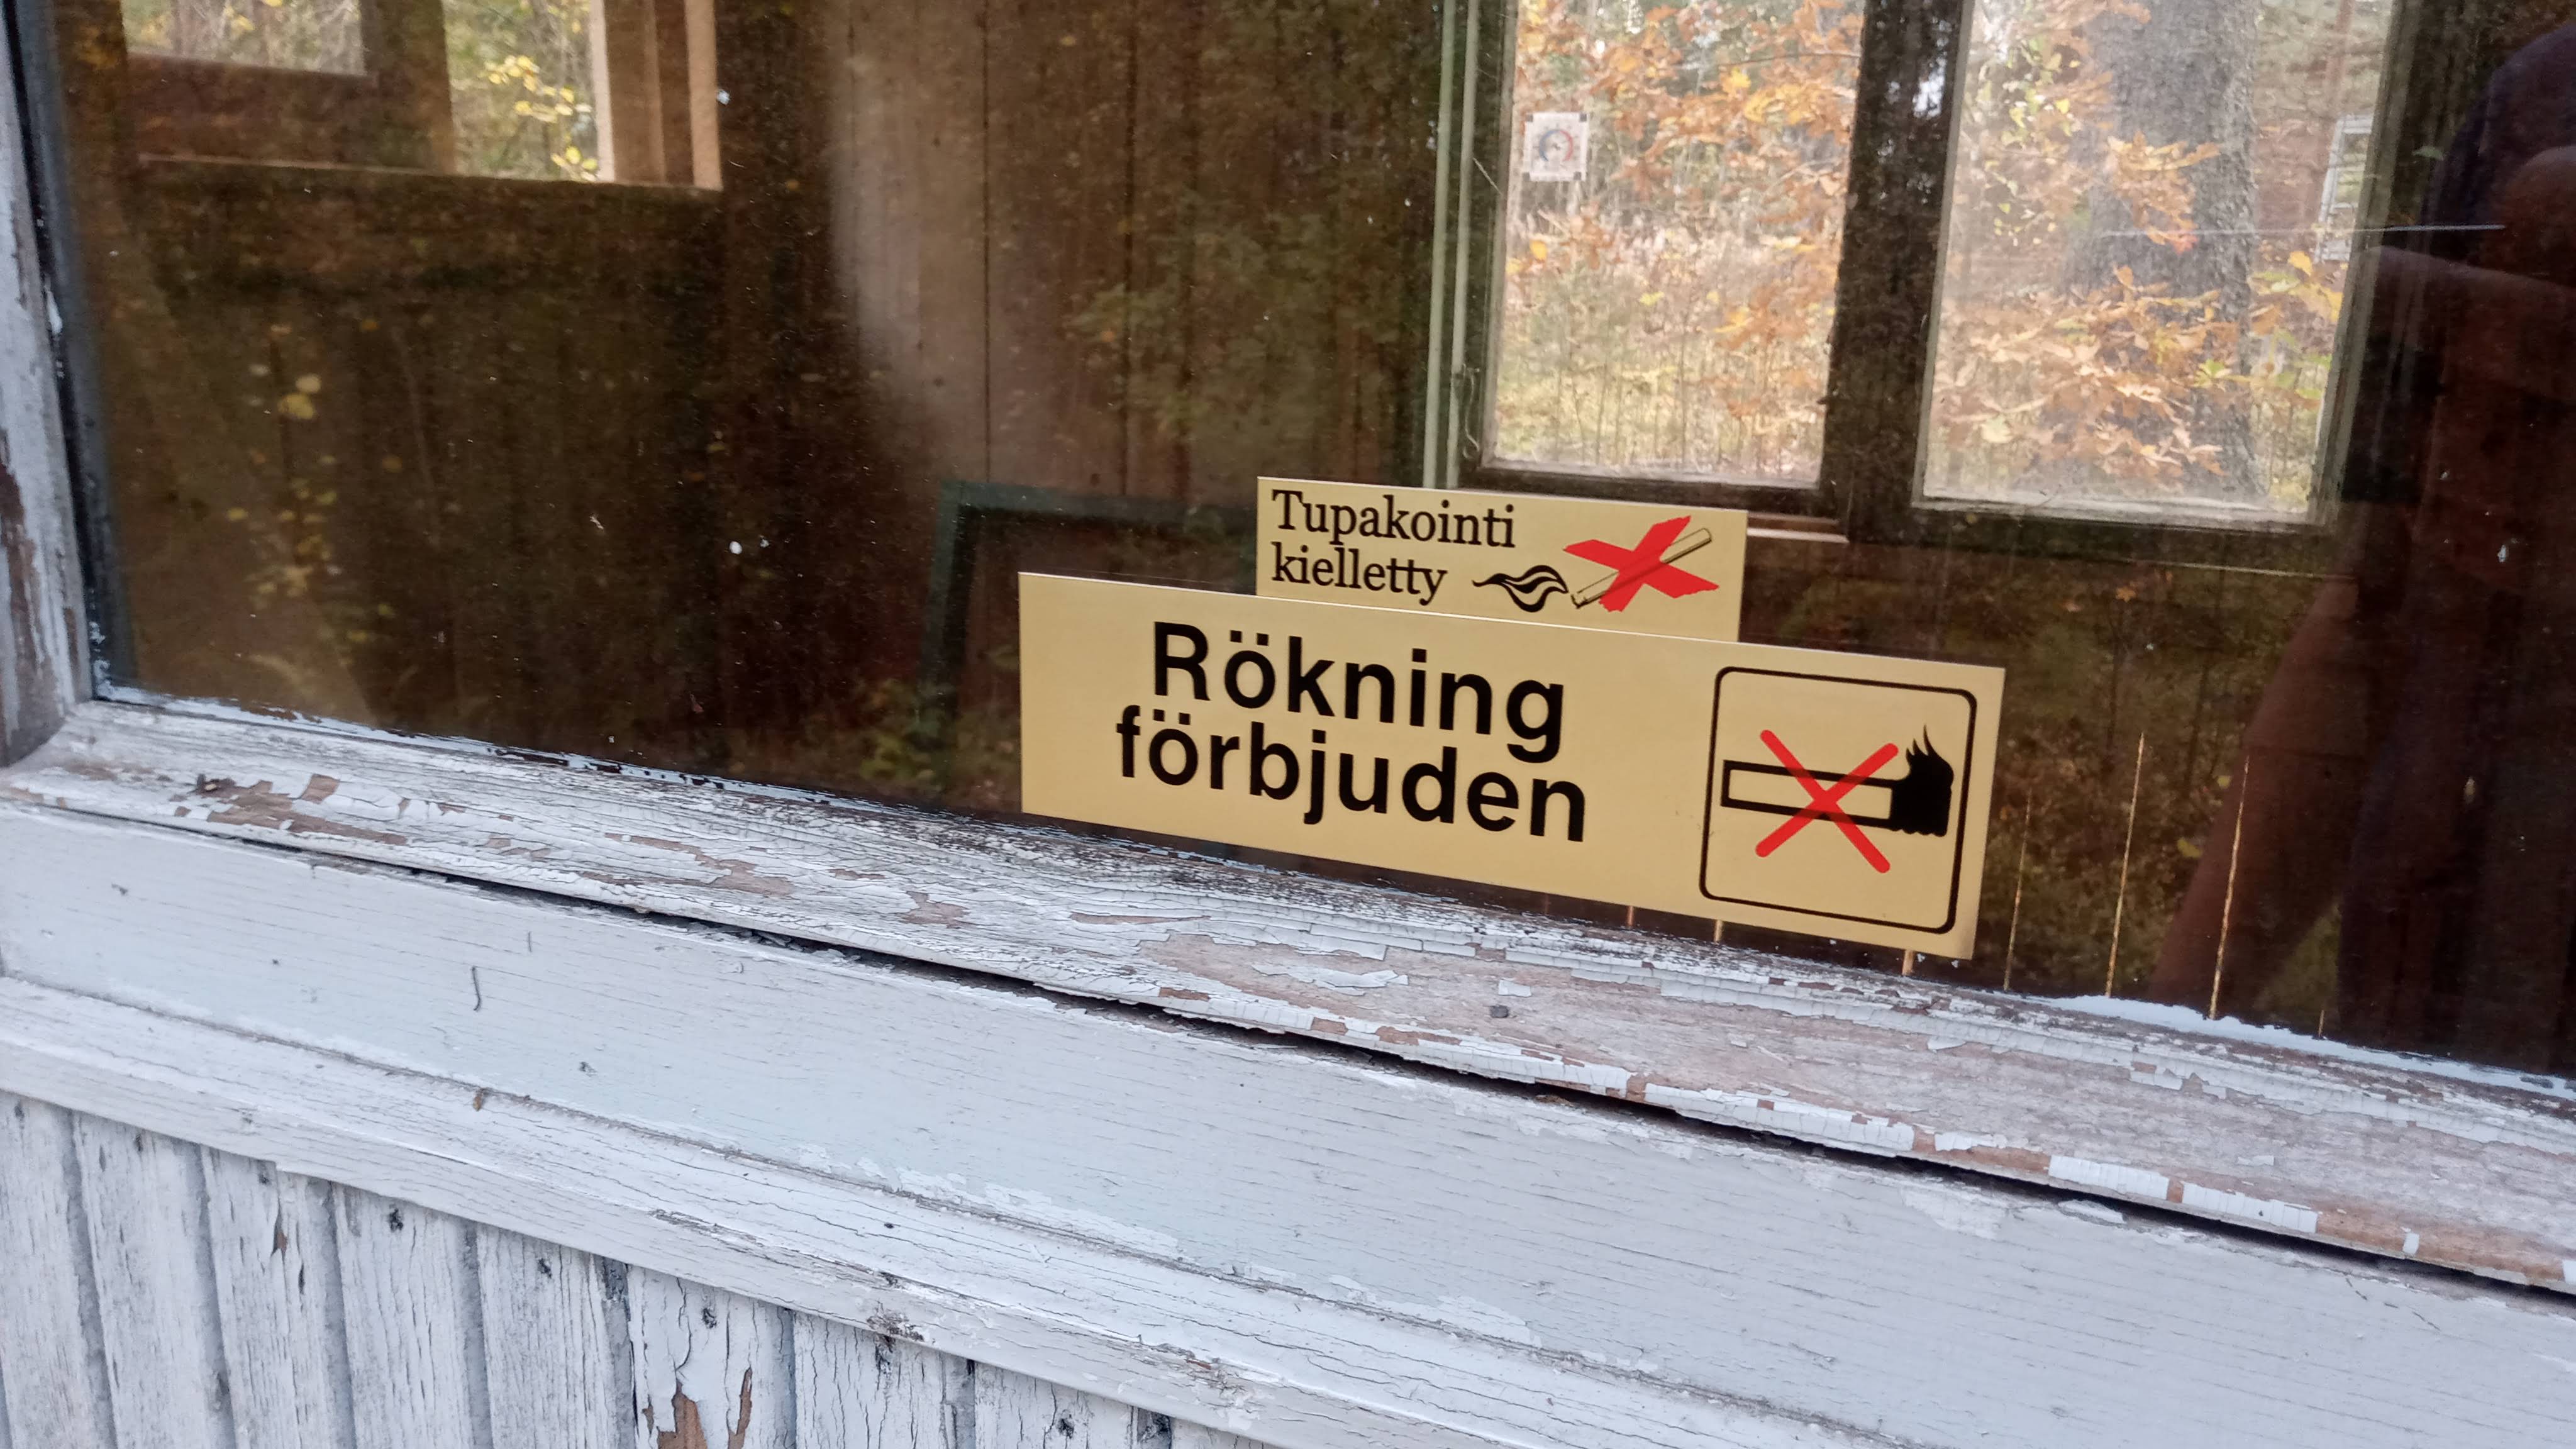 Spontaneously bought a couple little signs for the door, it says "Smoking prohibited" in Finnish and in Swedish
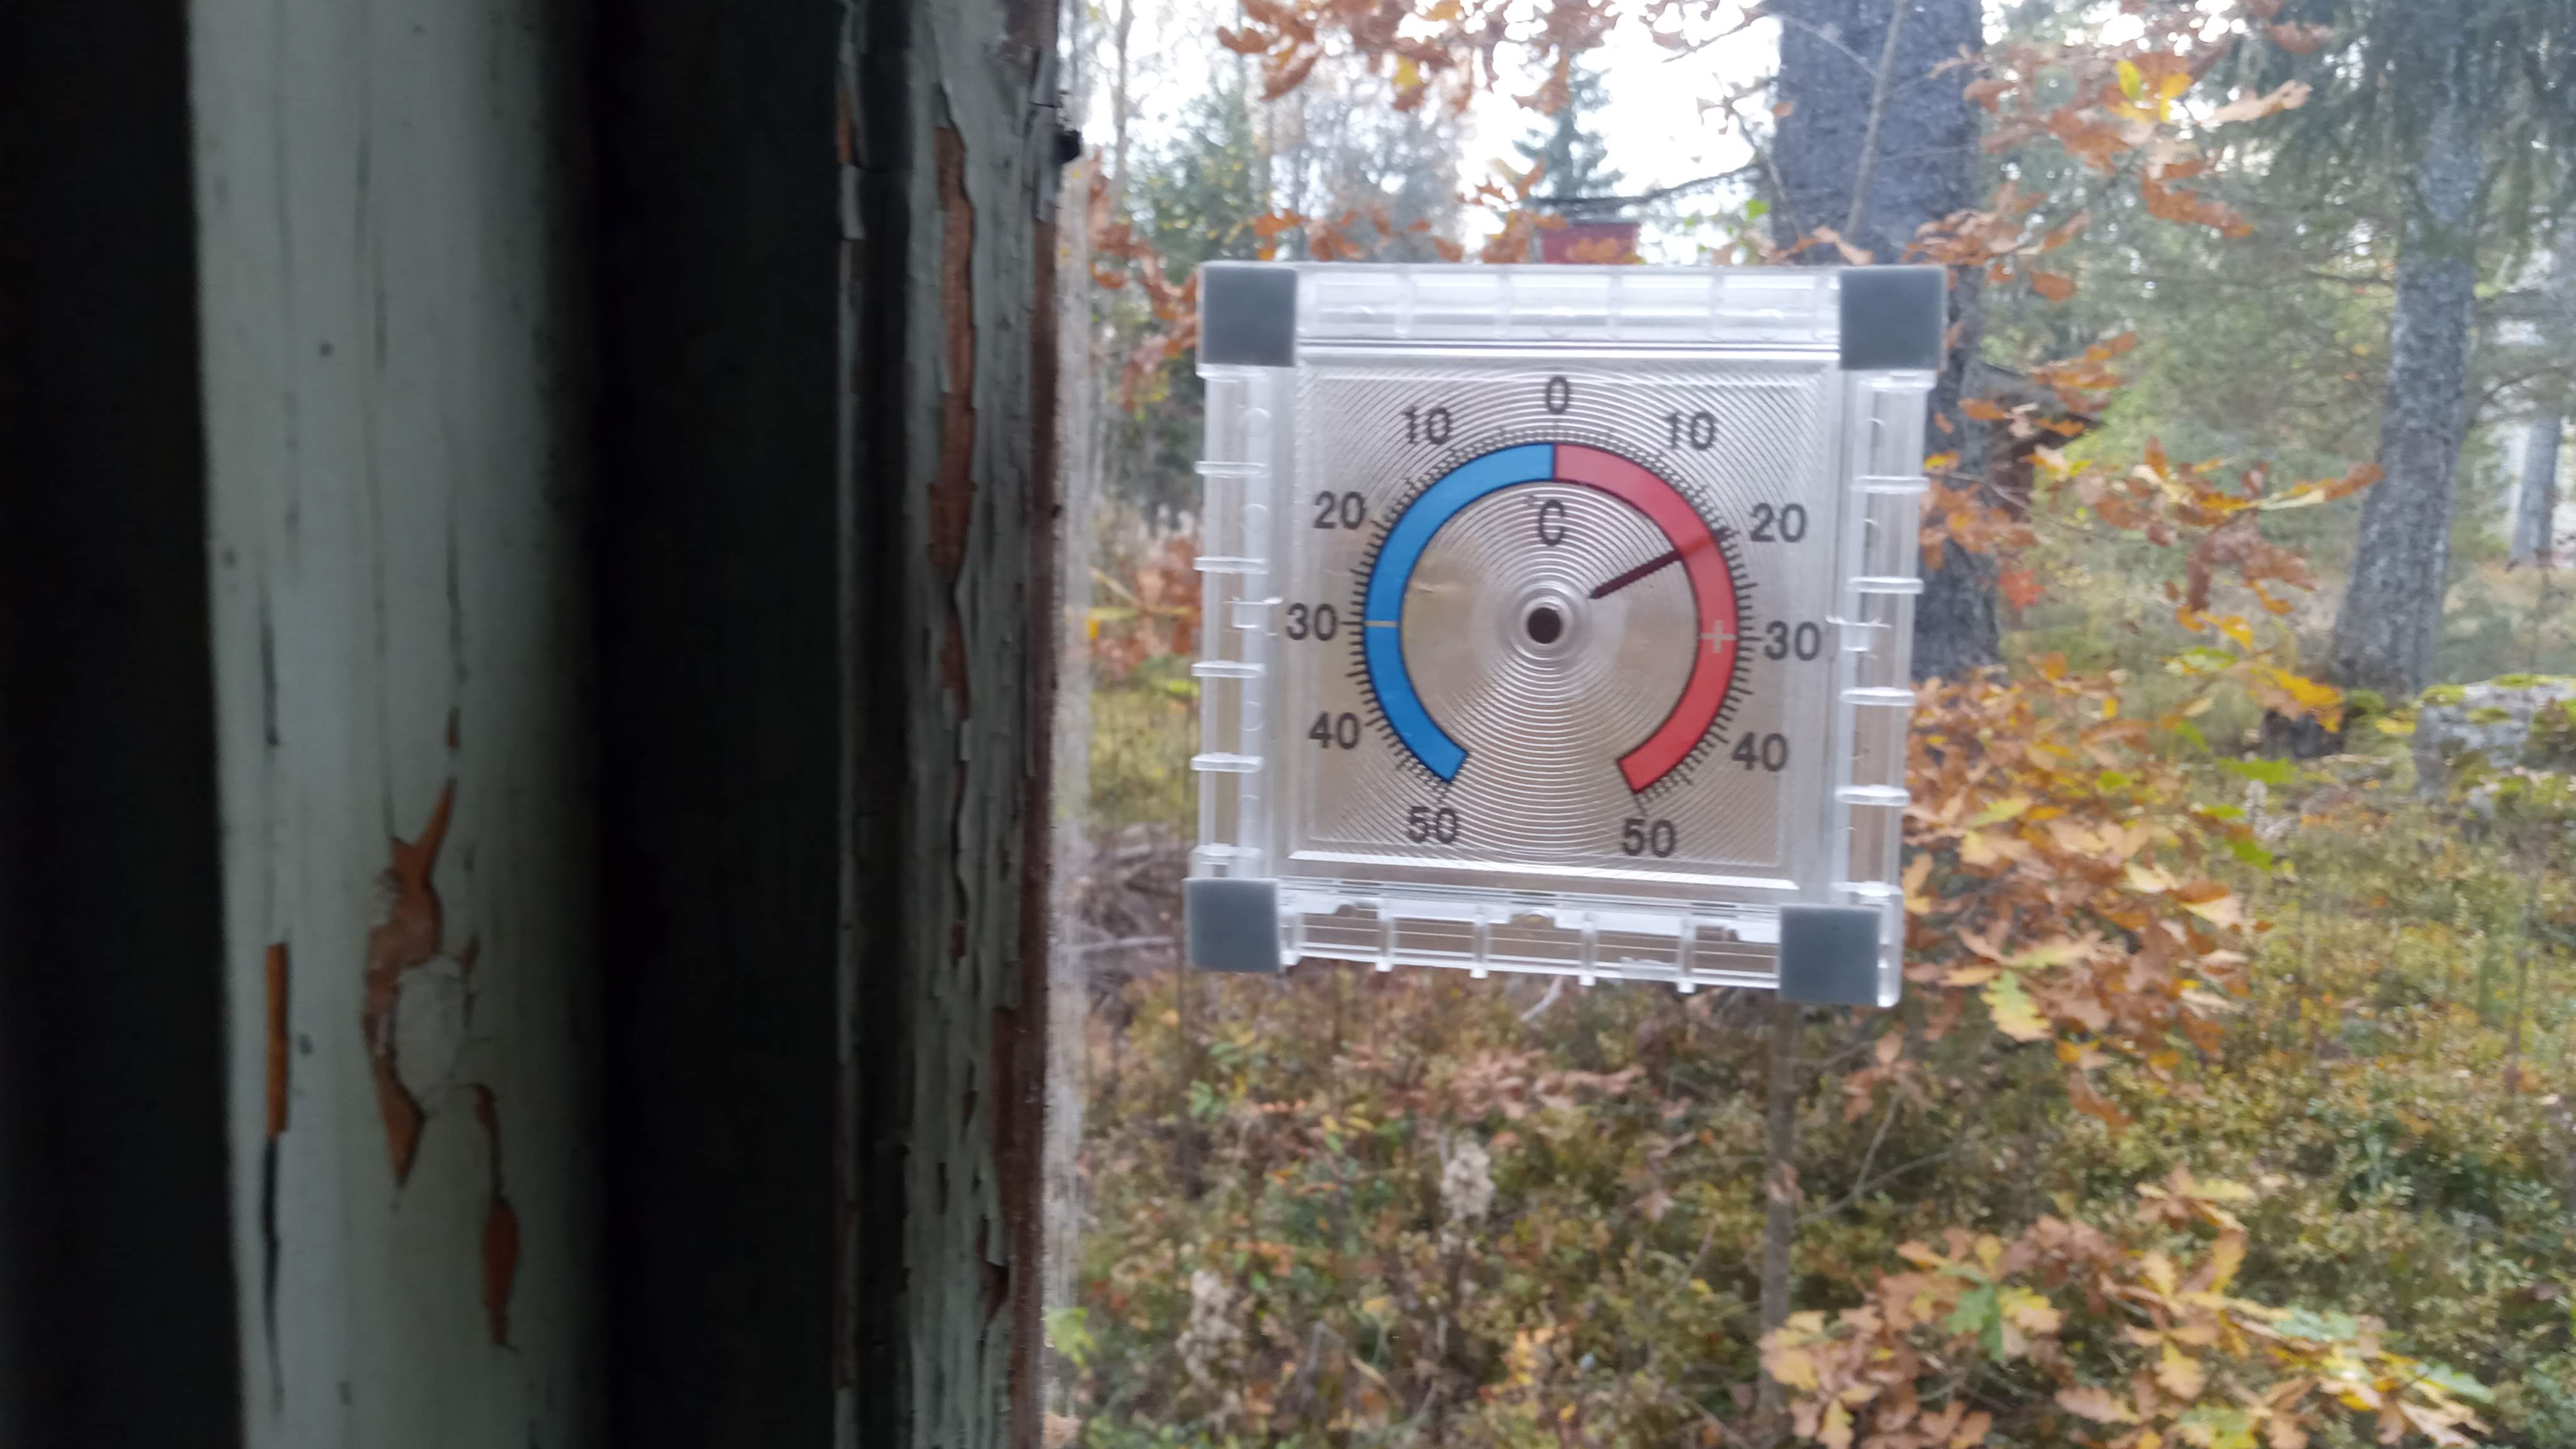 Installed my 1€ temperature meter to my window
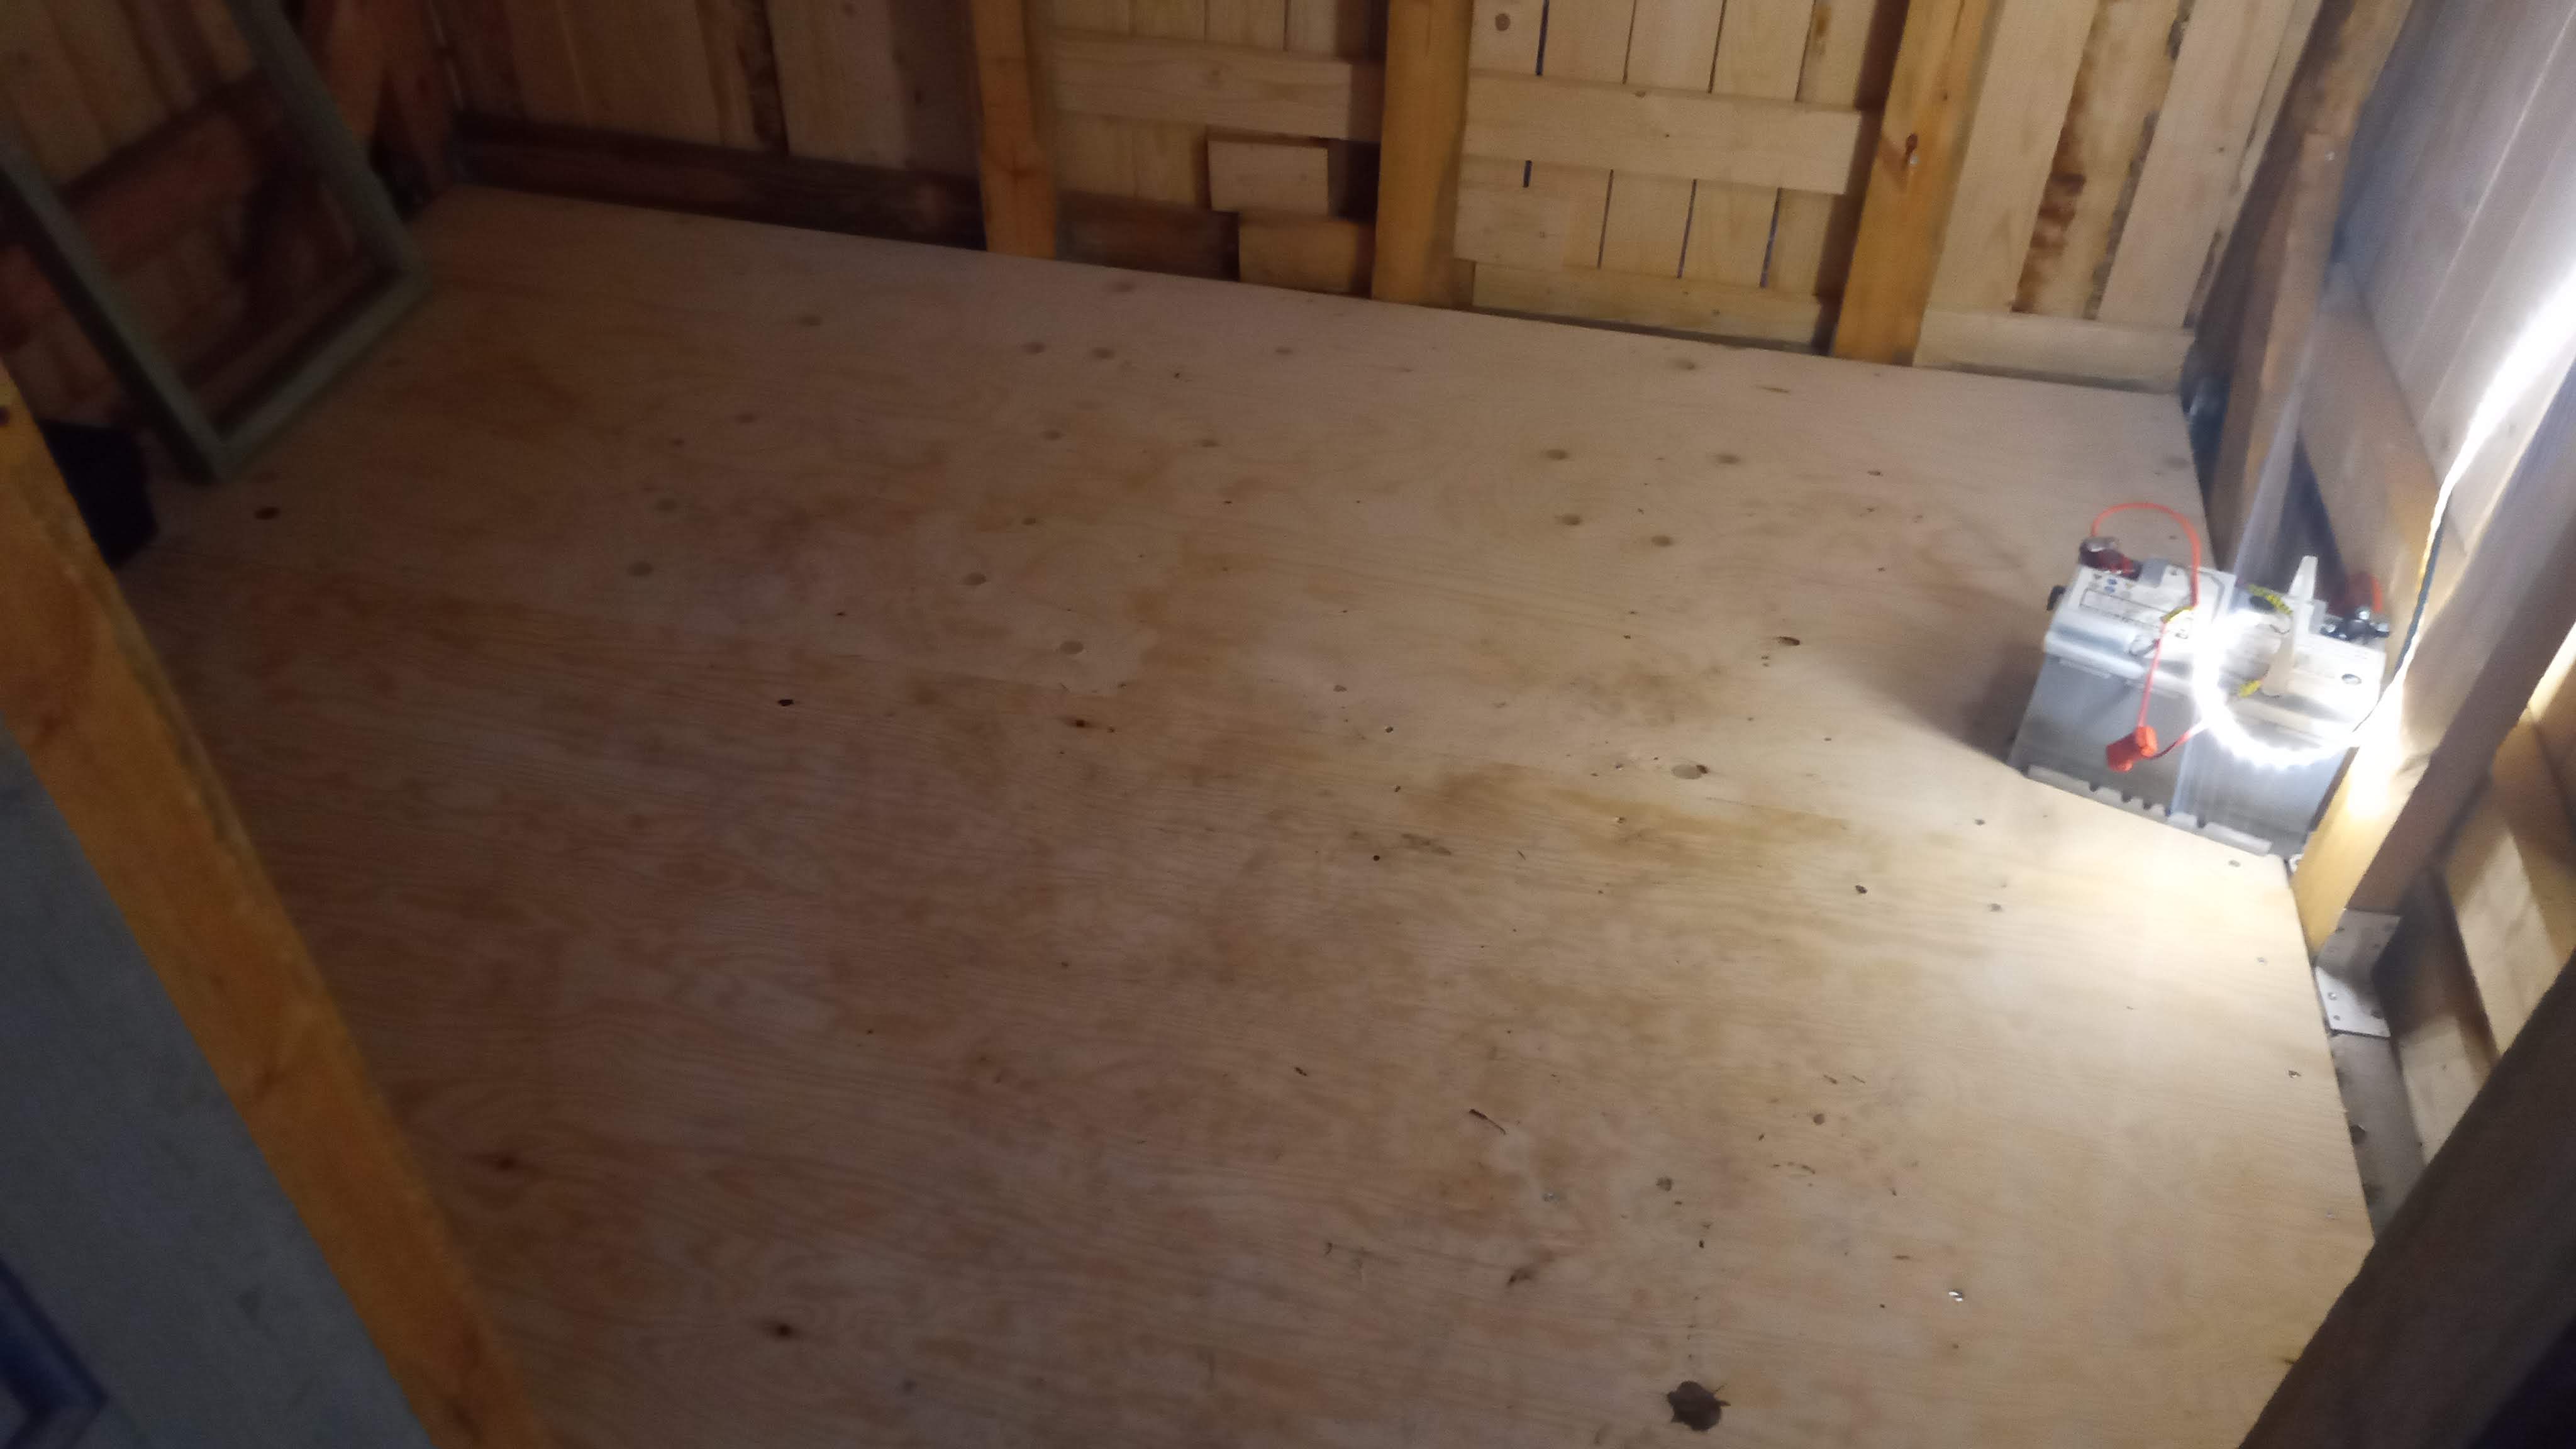 Now the floor is in place. It's not perfect but it's good enough. Might paint it later on. You can see the car battery and some led strip which I used in my electric system but later I mounted them better
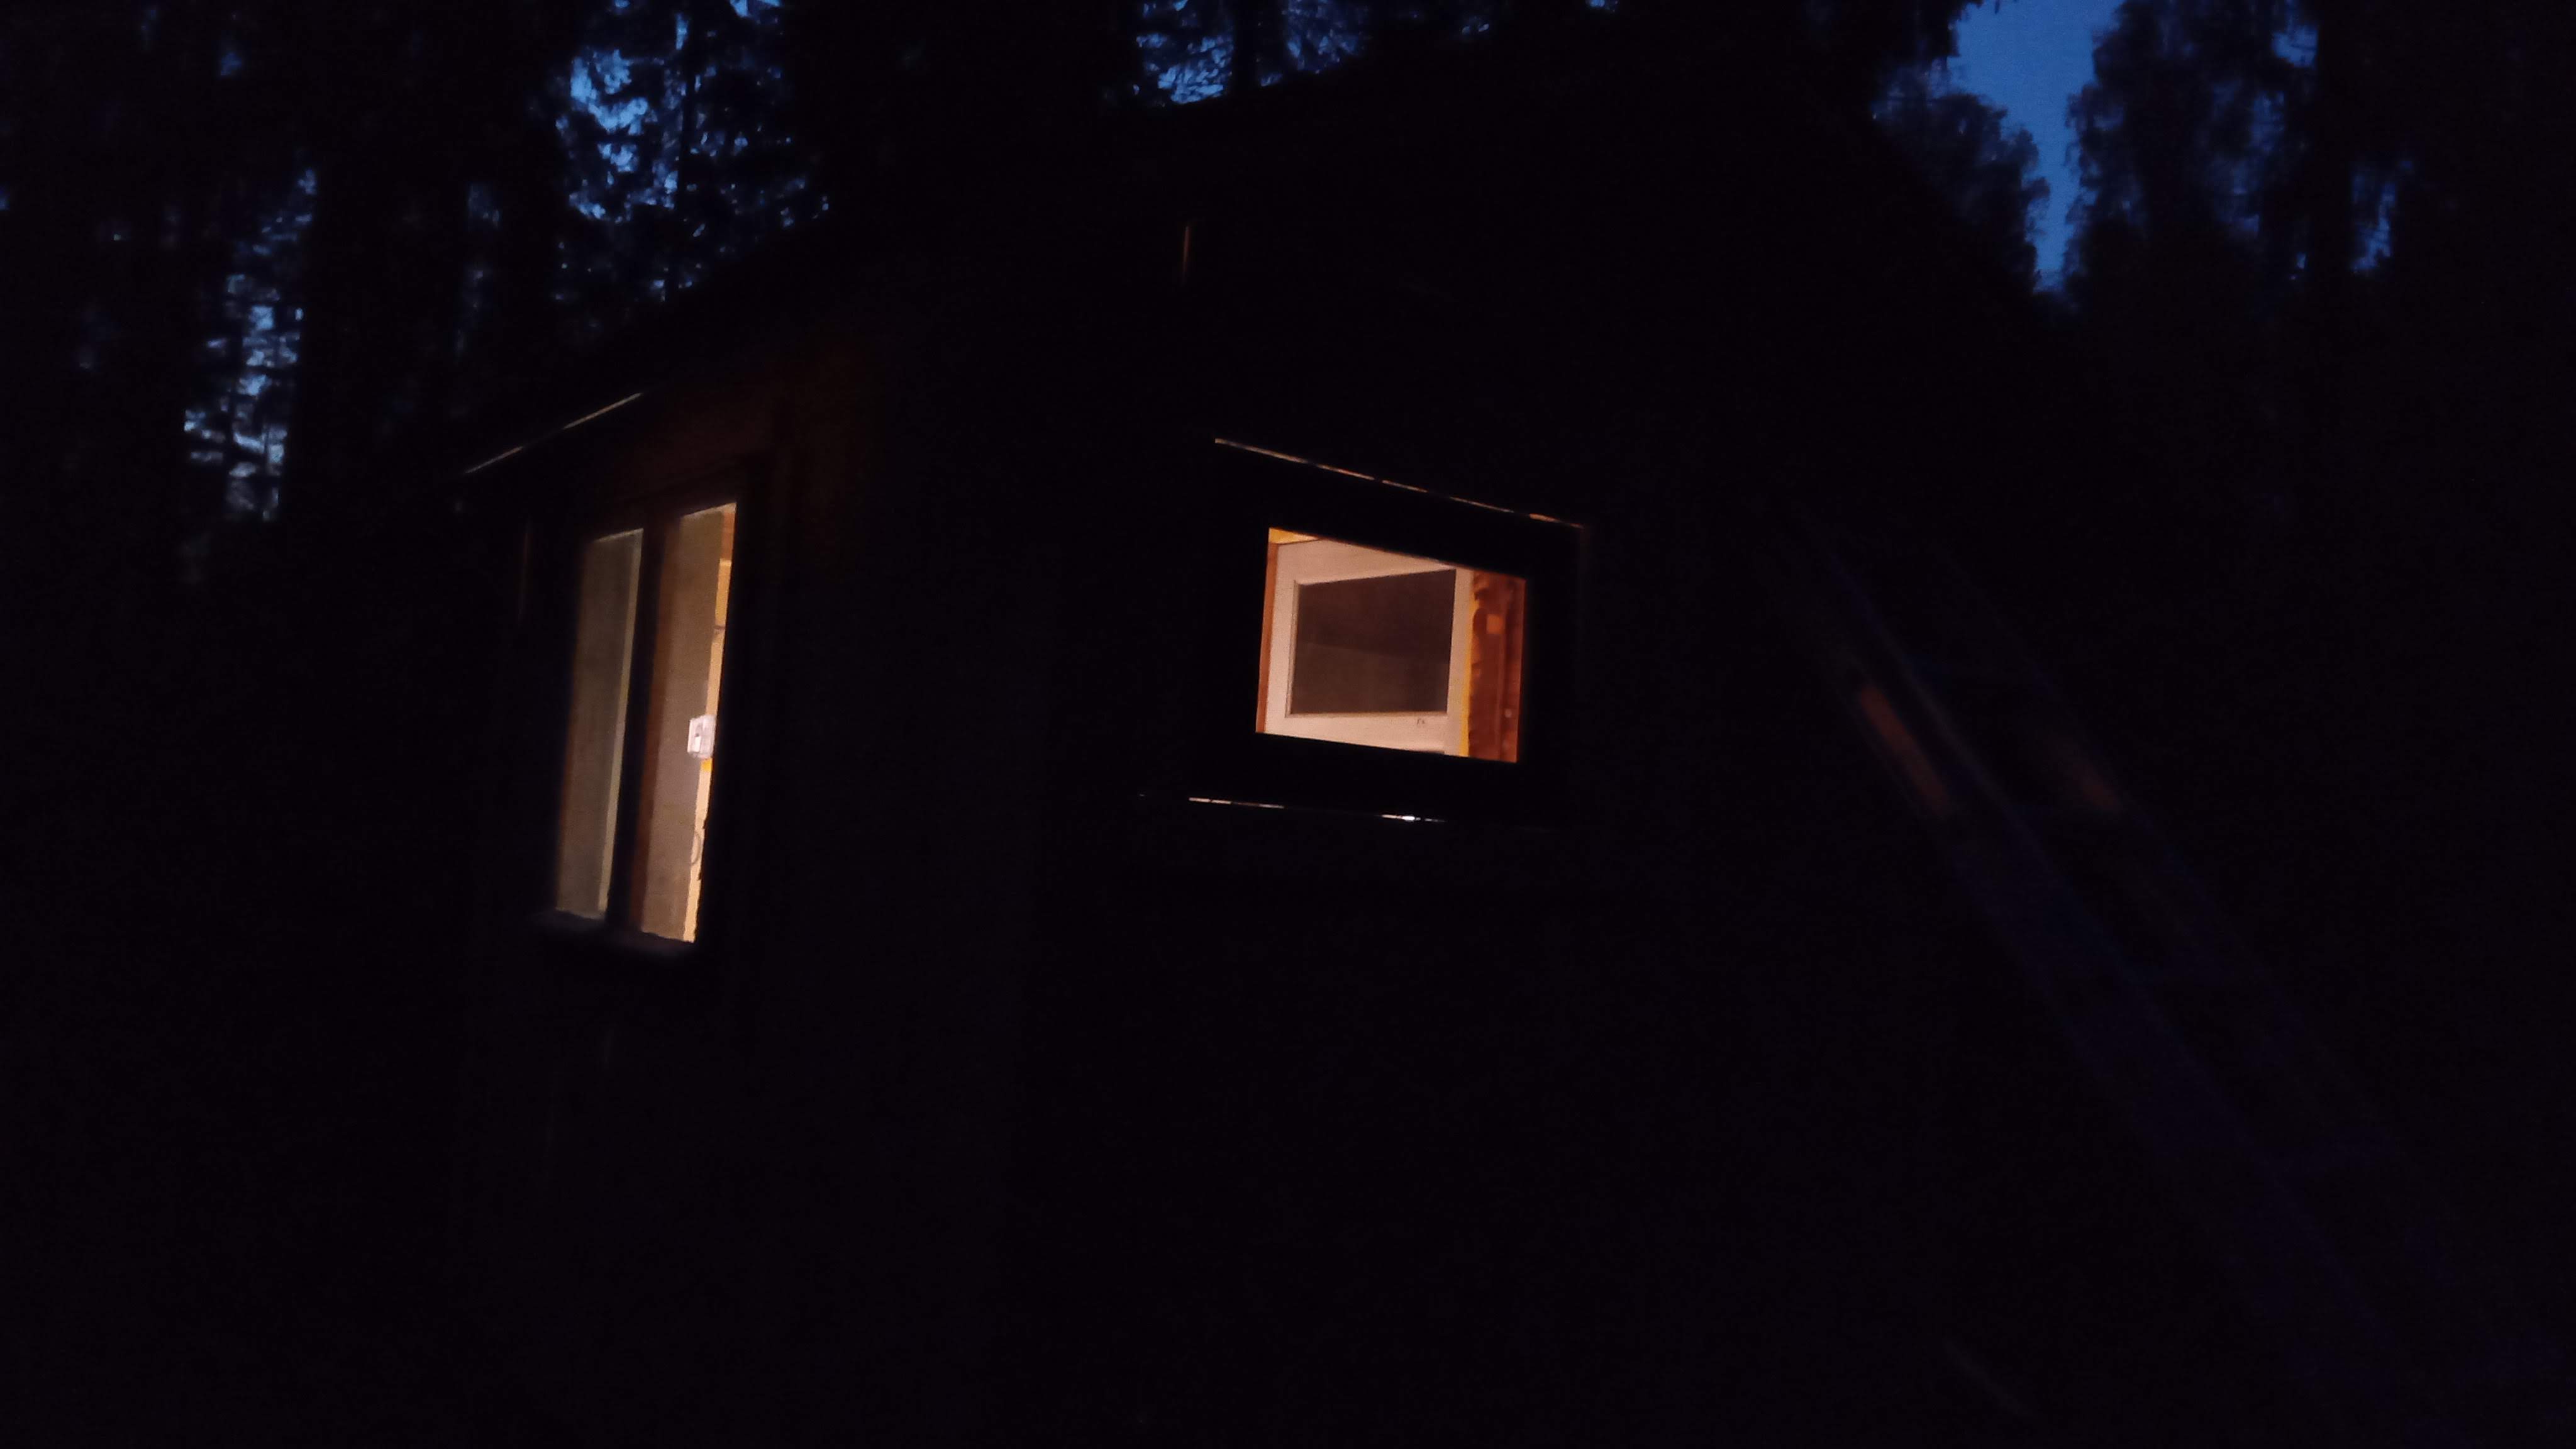 Moody picture in the darkness of the autumn
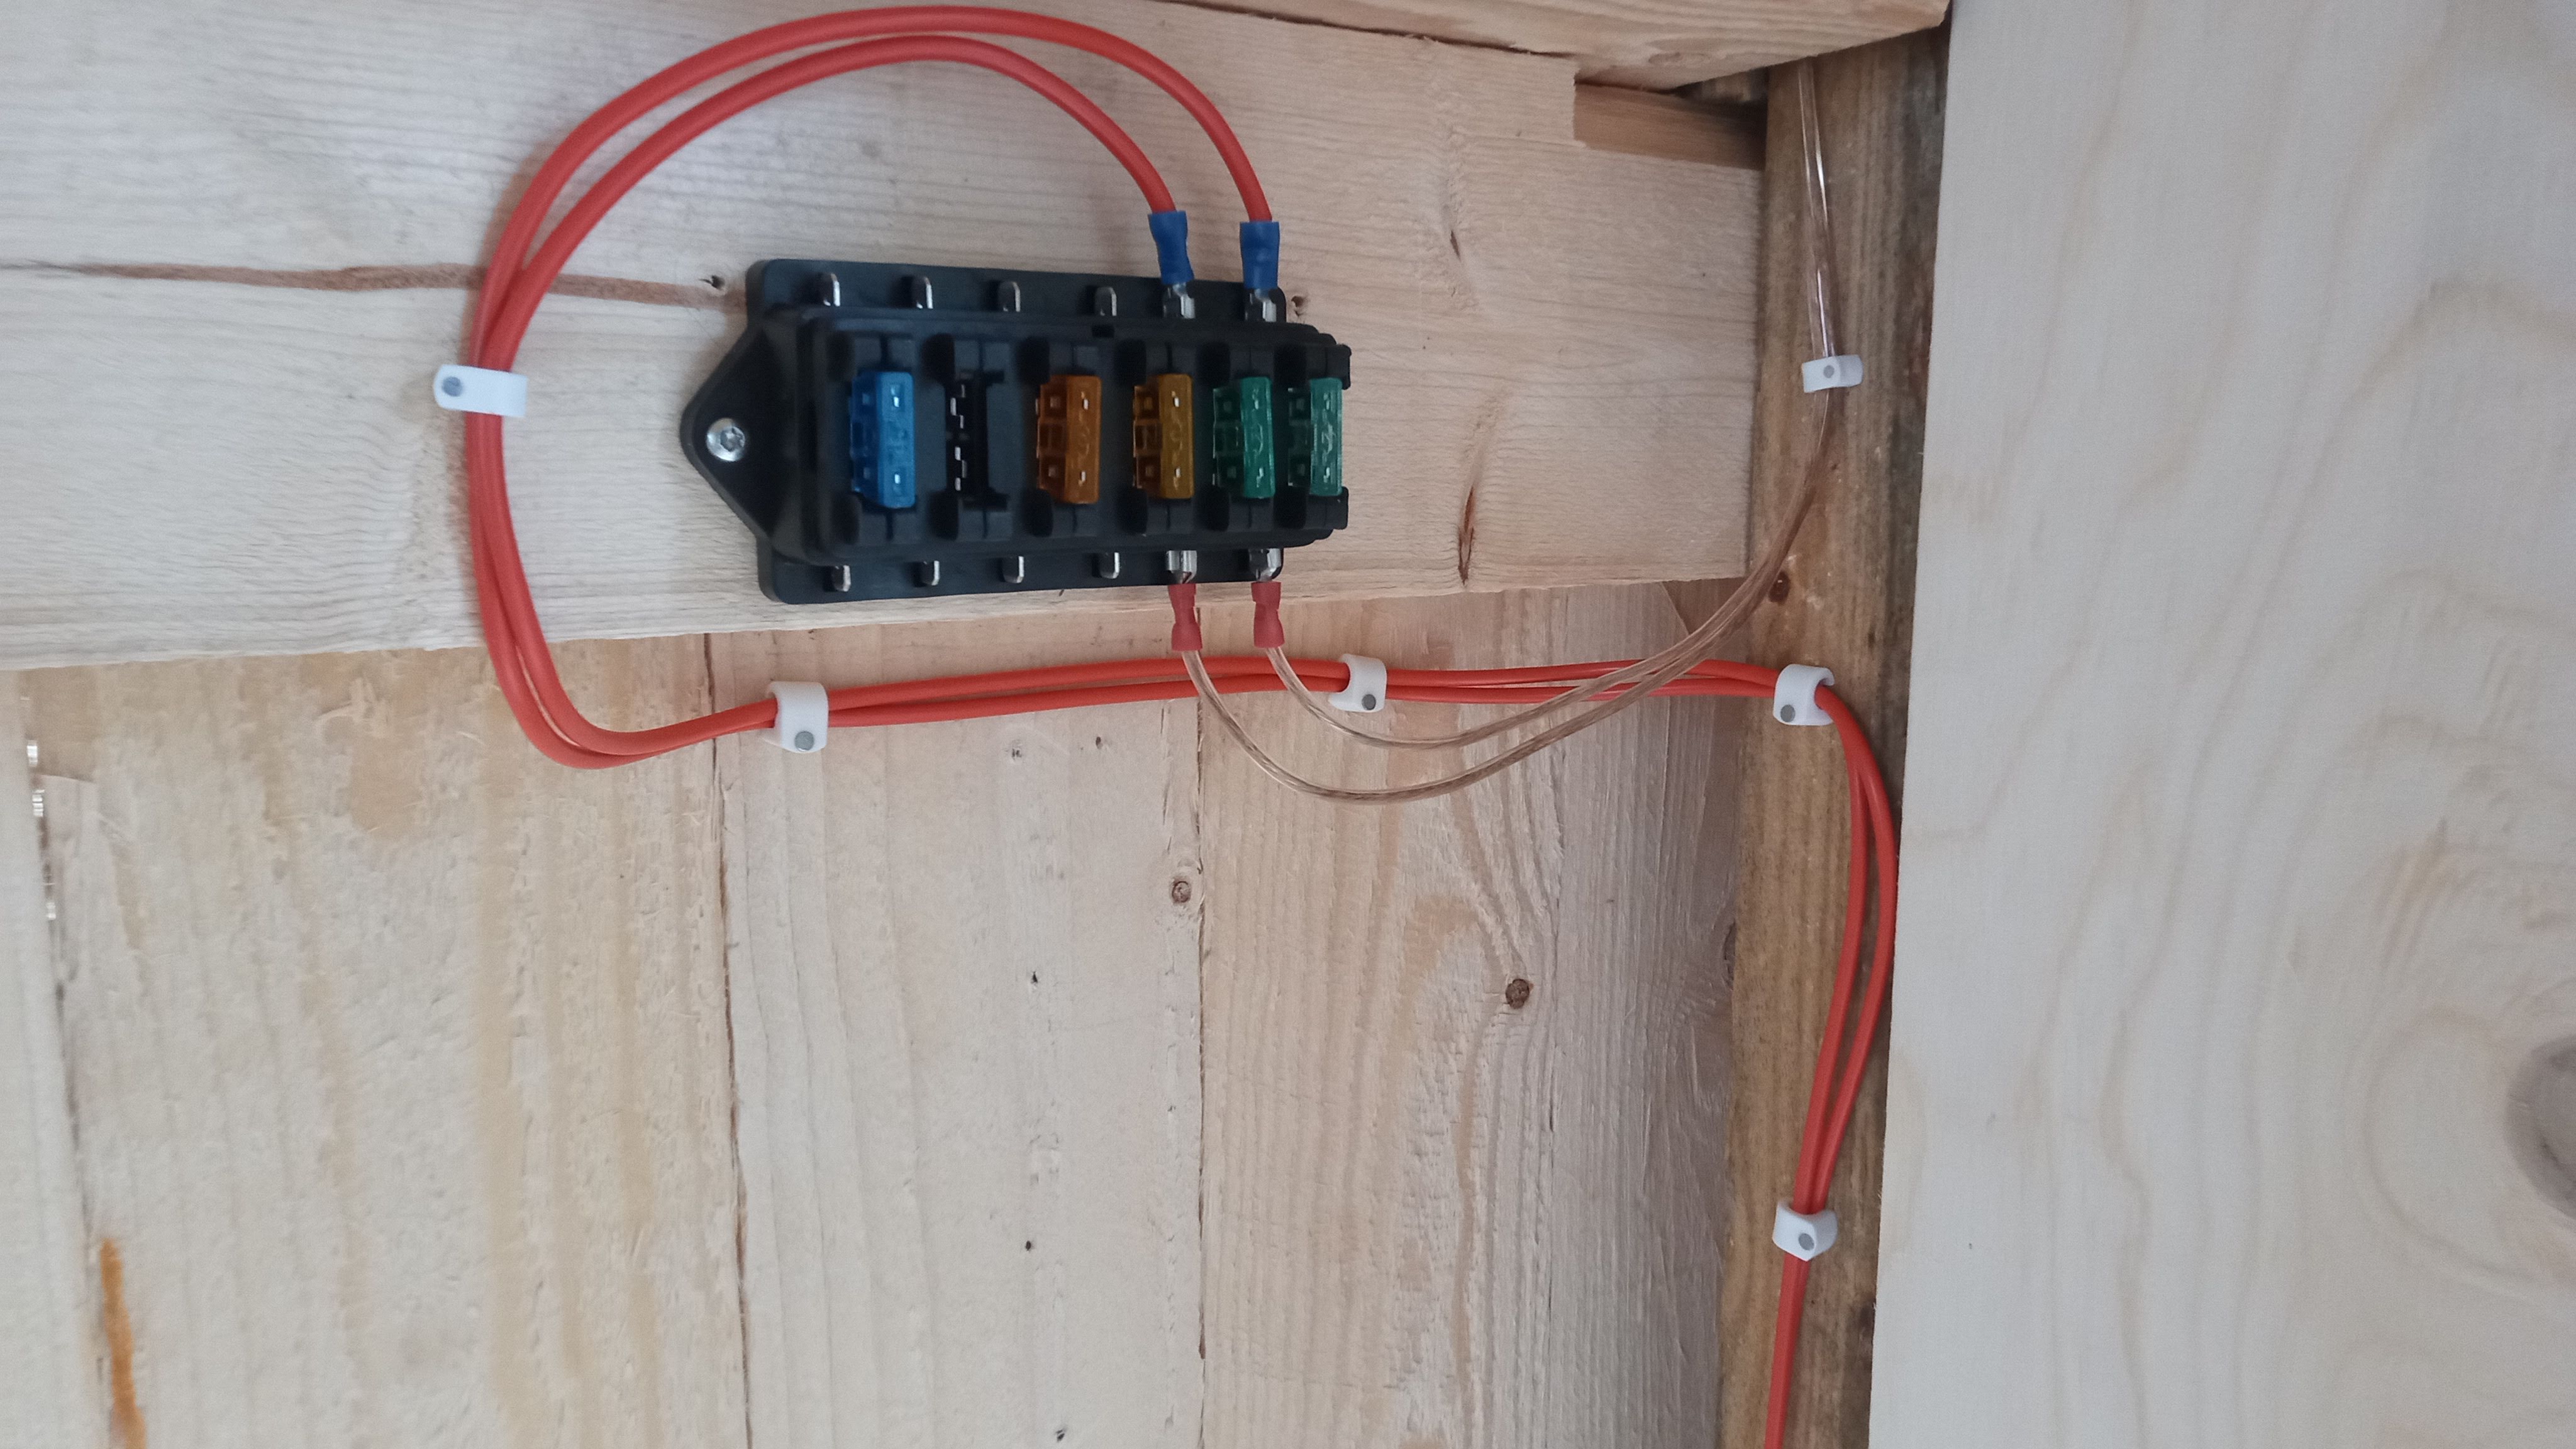 Installed a fuse box
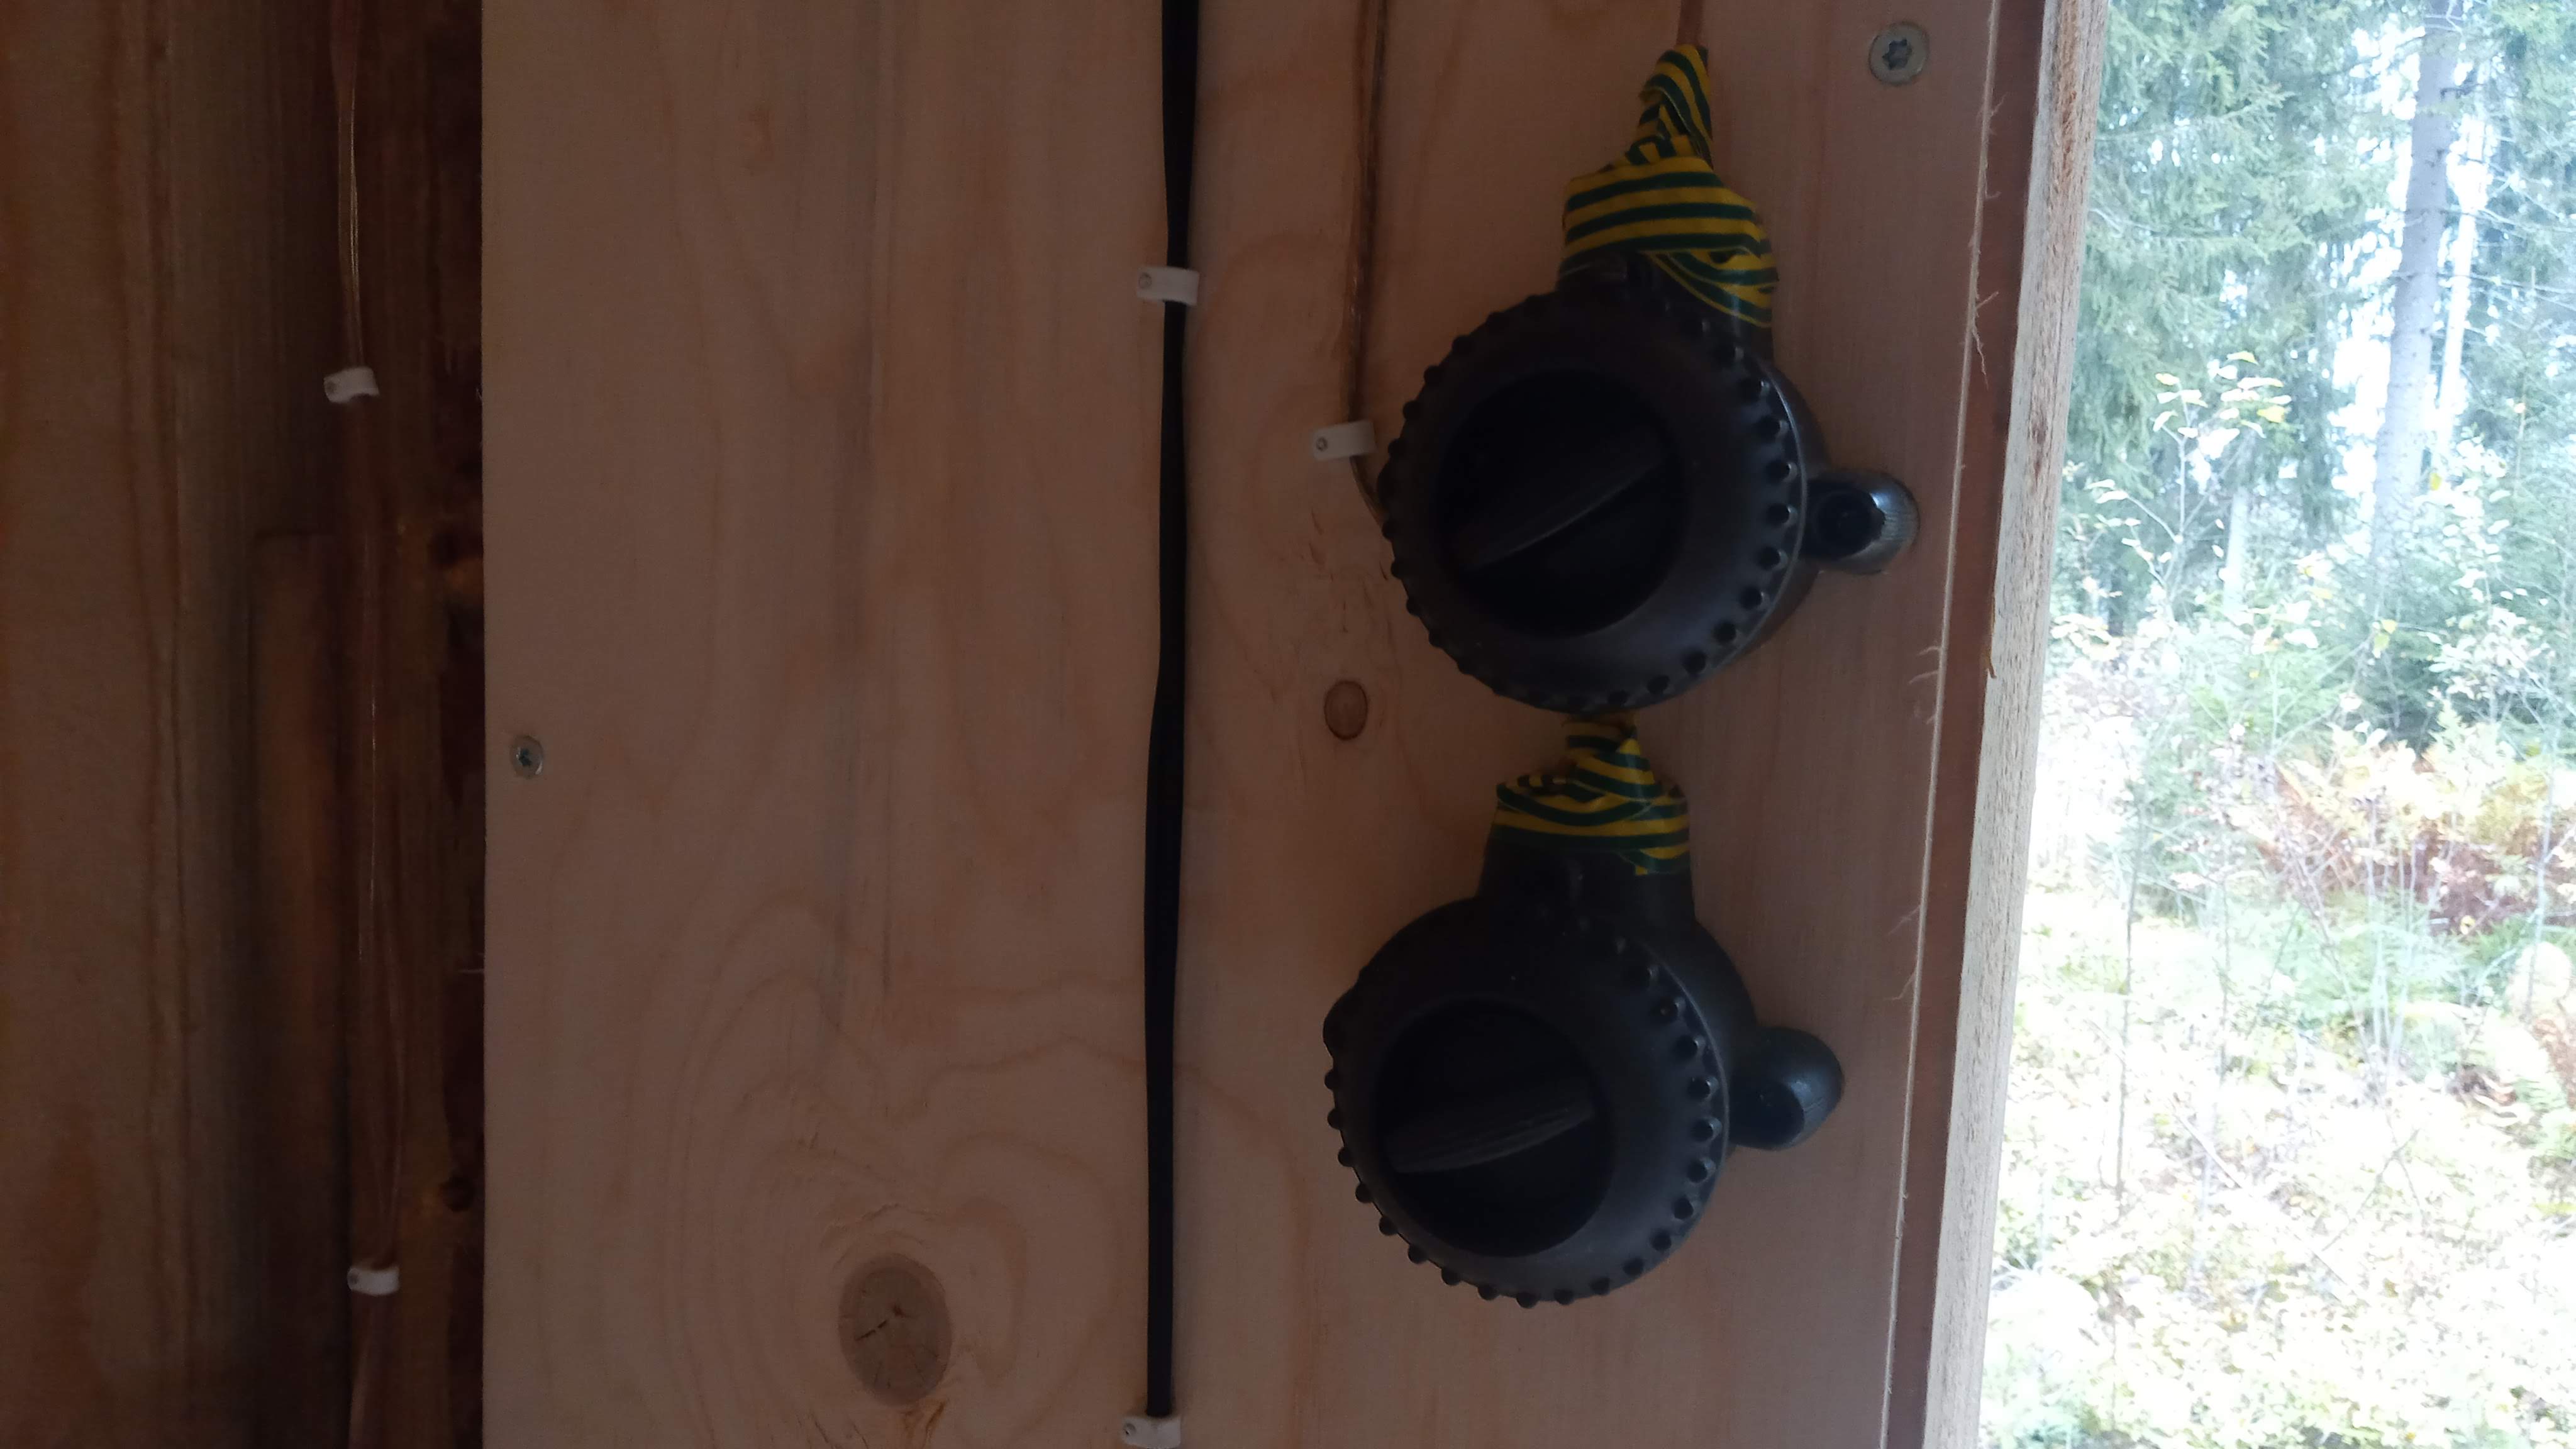 Installed my 1950s bakelite light switches which I got from the demolished sauna hut as well, for 0€
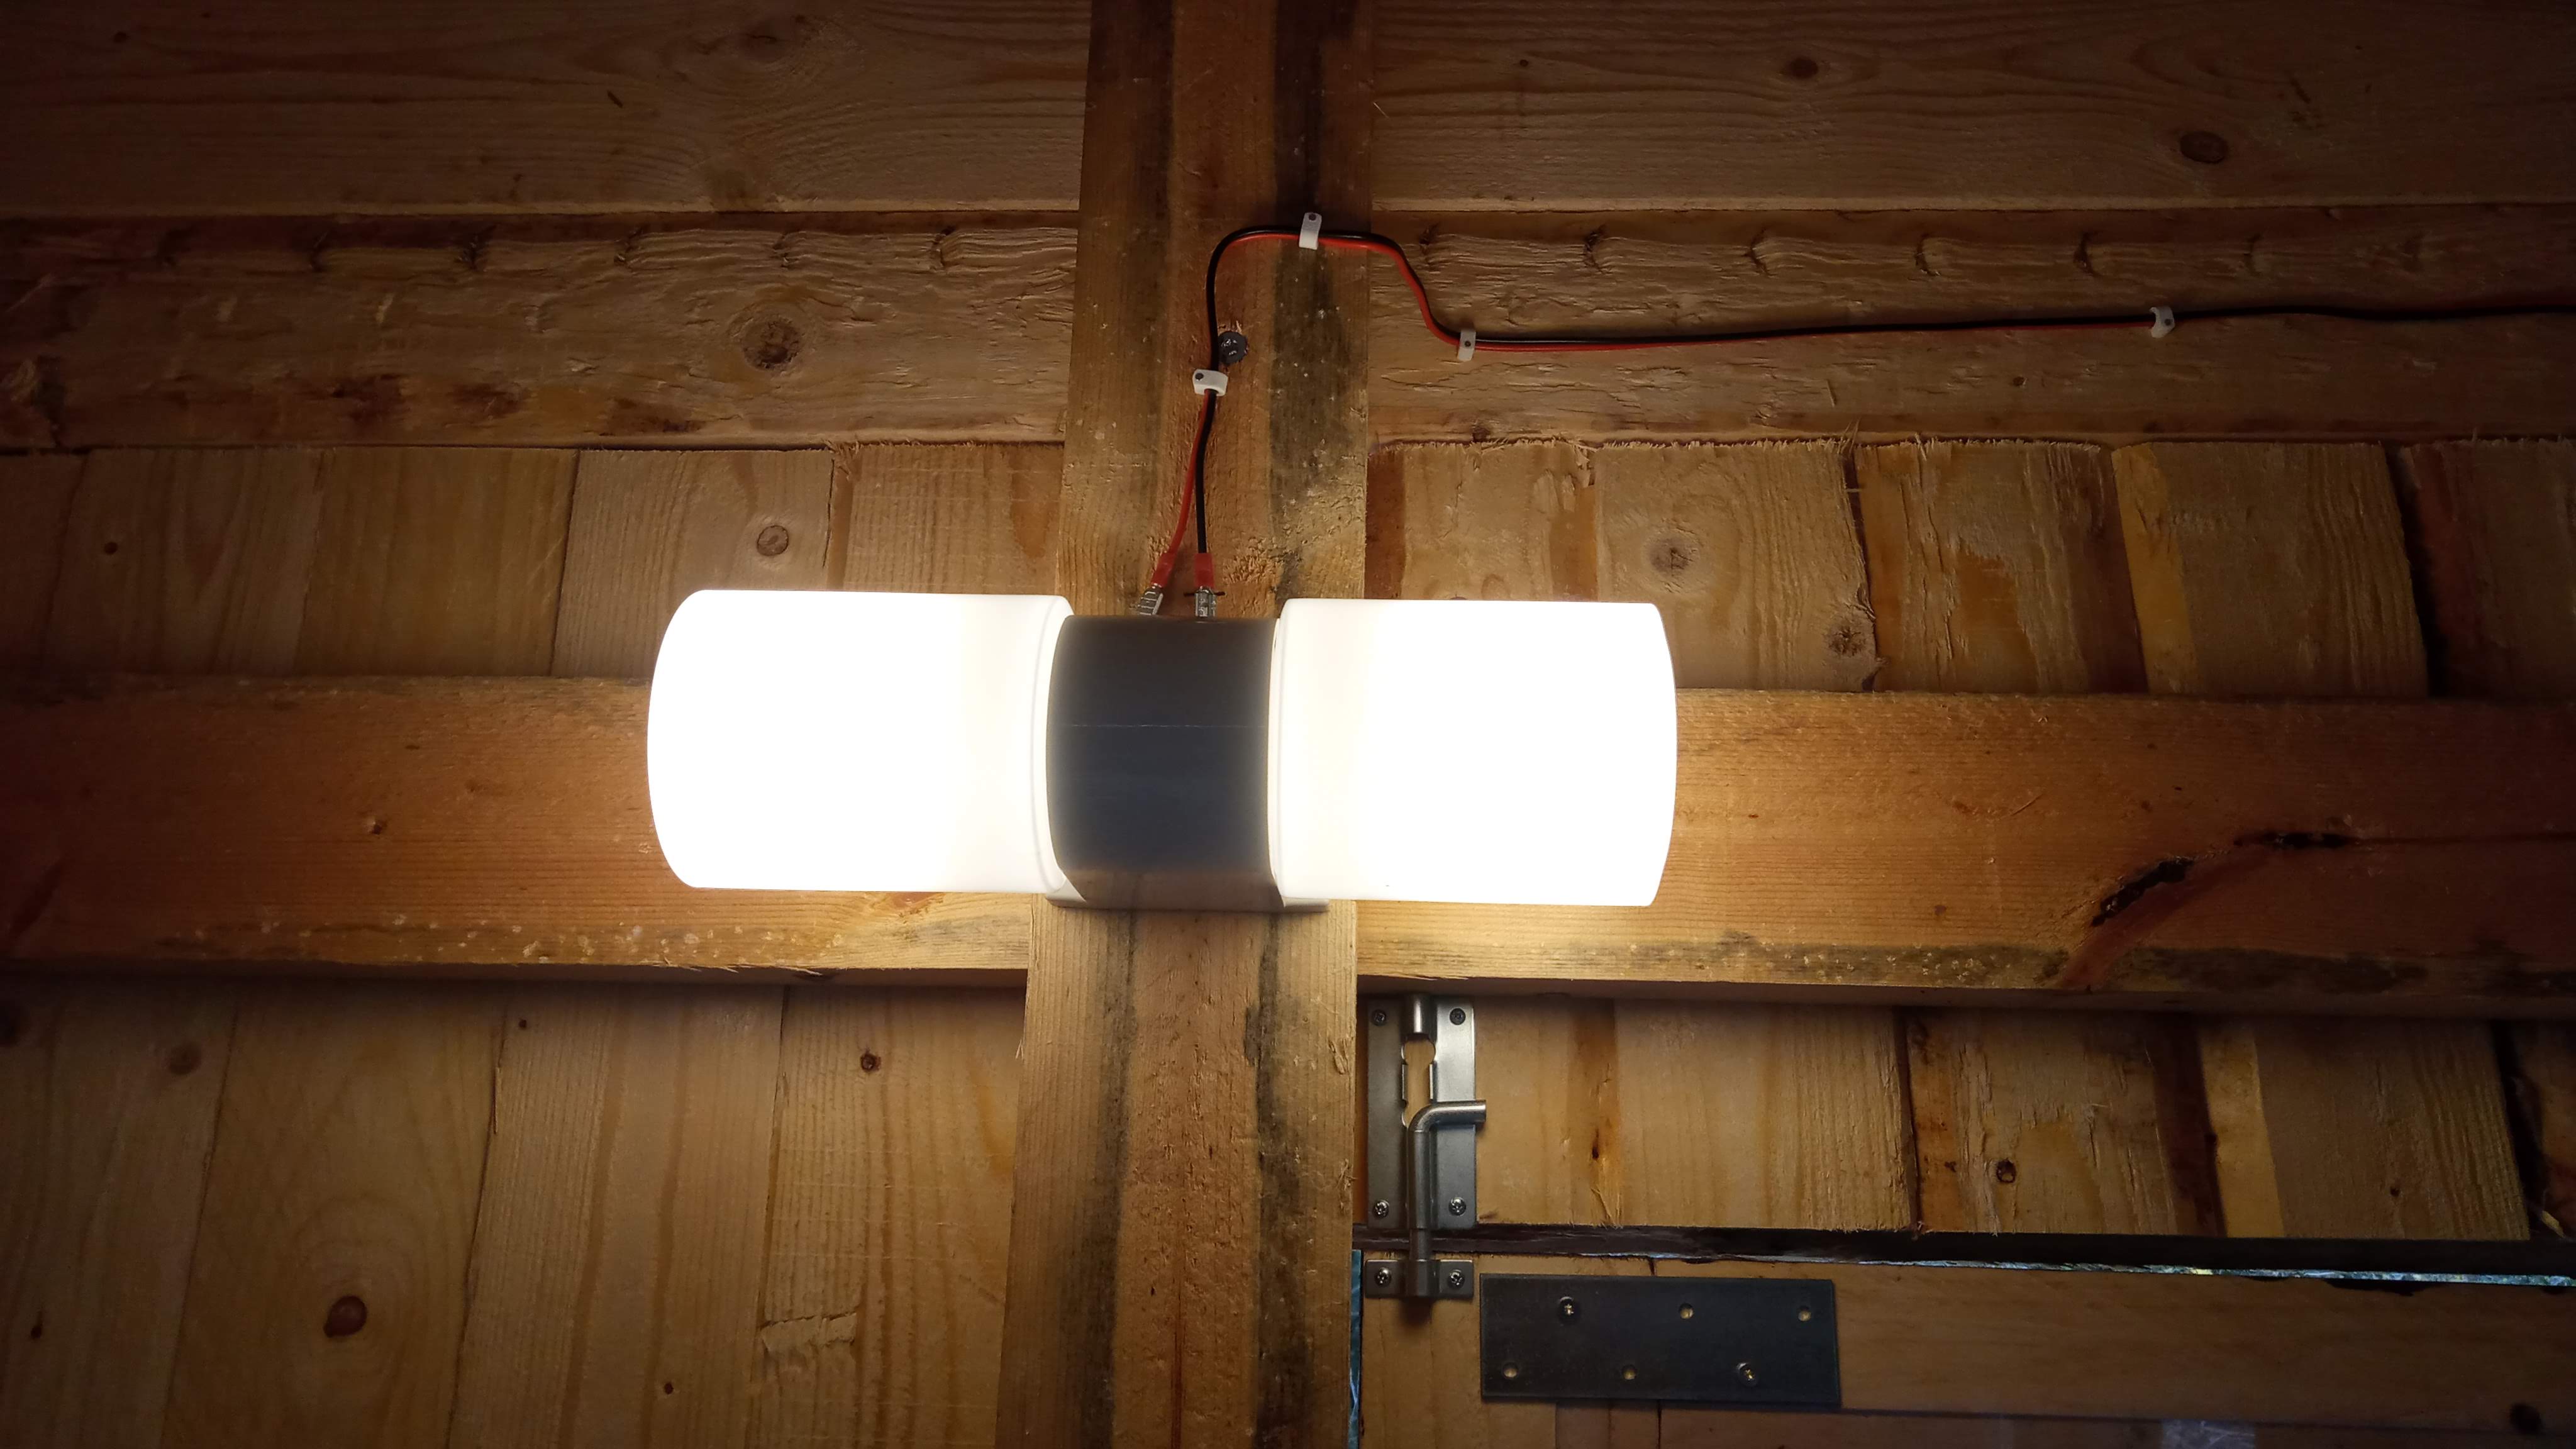 Installed my 70s kitchen/WC light which I got for 10€. You can also see the locking mechanism for the DIY window I made
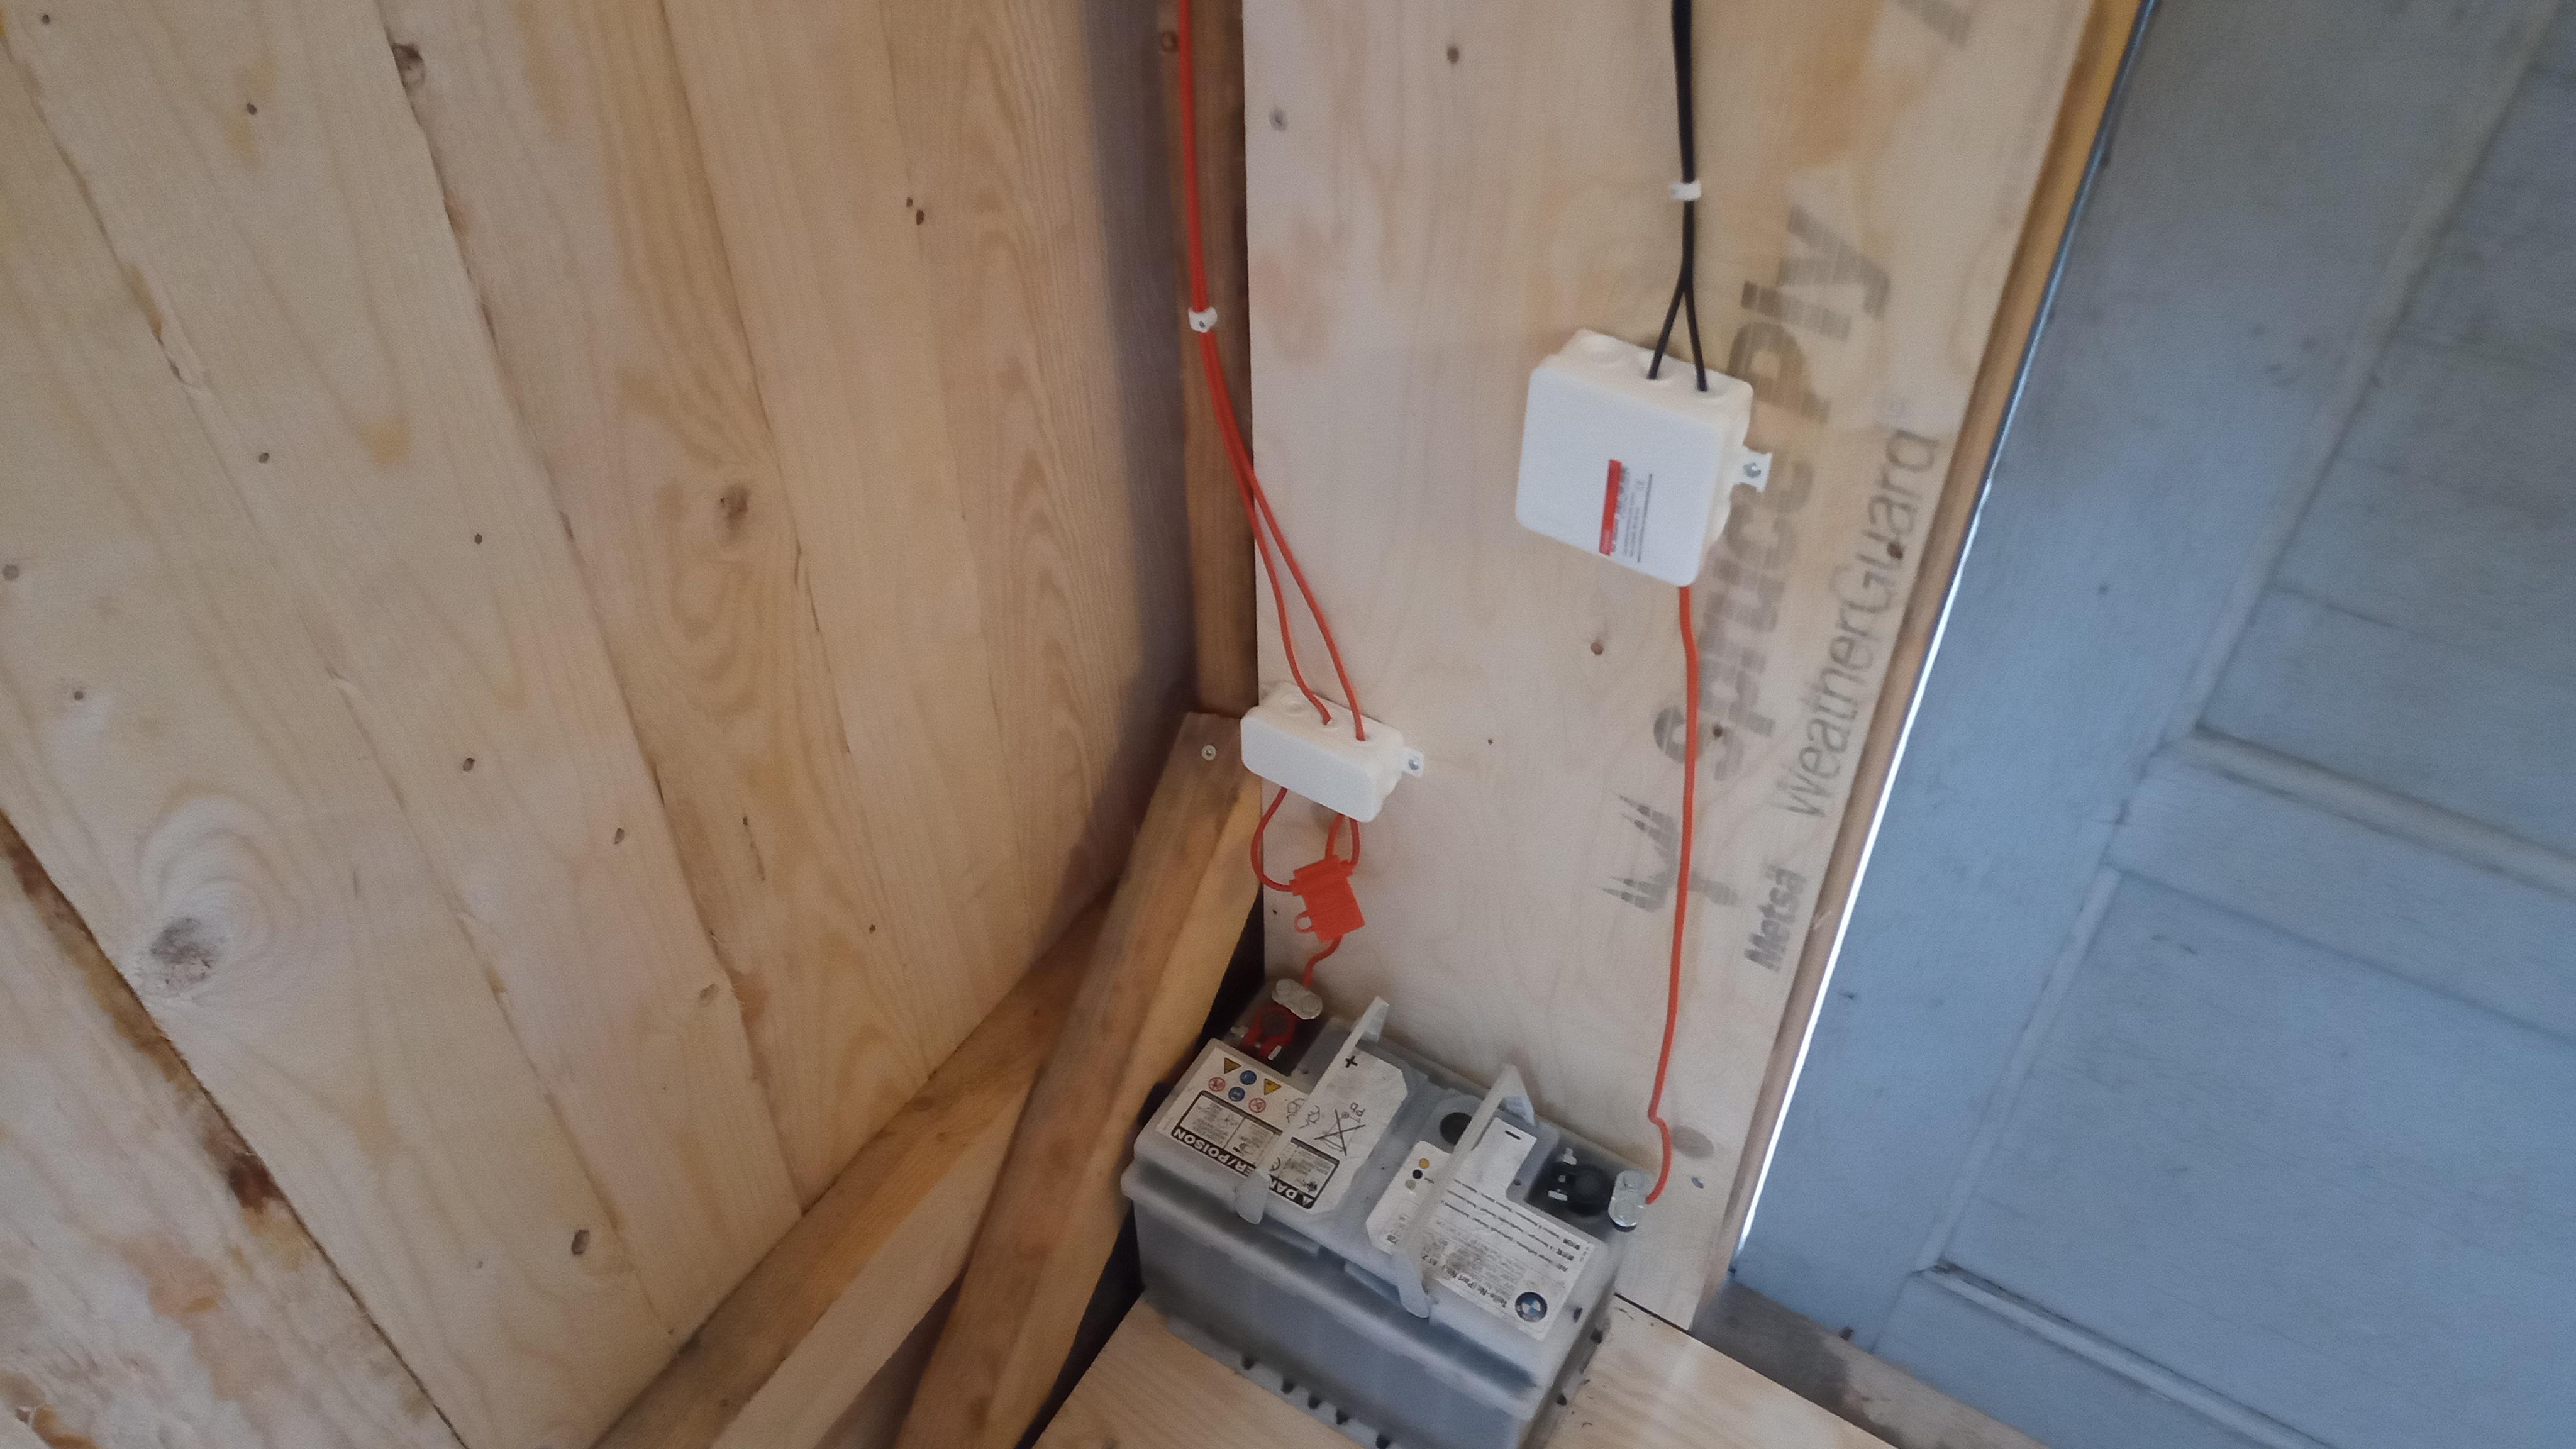 Installed the car battery in it's final position and a master fuse. This wall has a plywood on the interior because I had a spare piece of plywood. There's no insulation behind it though because this is not supposed to be winter livable. That might change at some point tho.
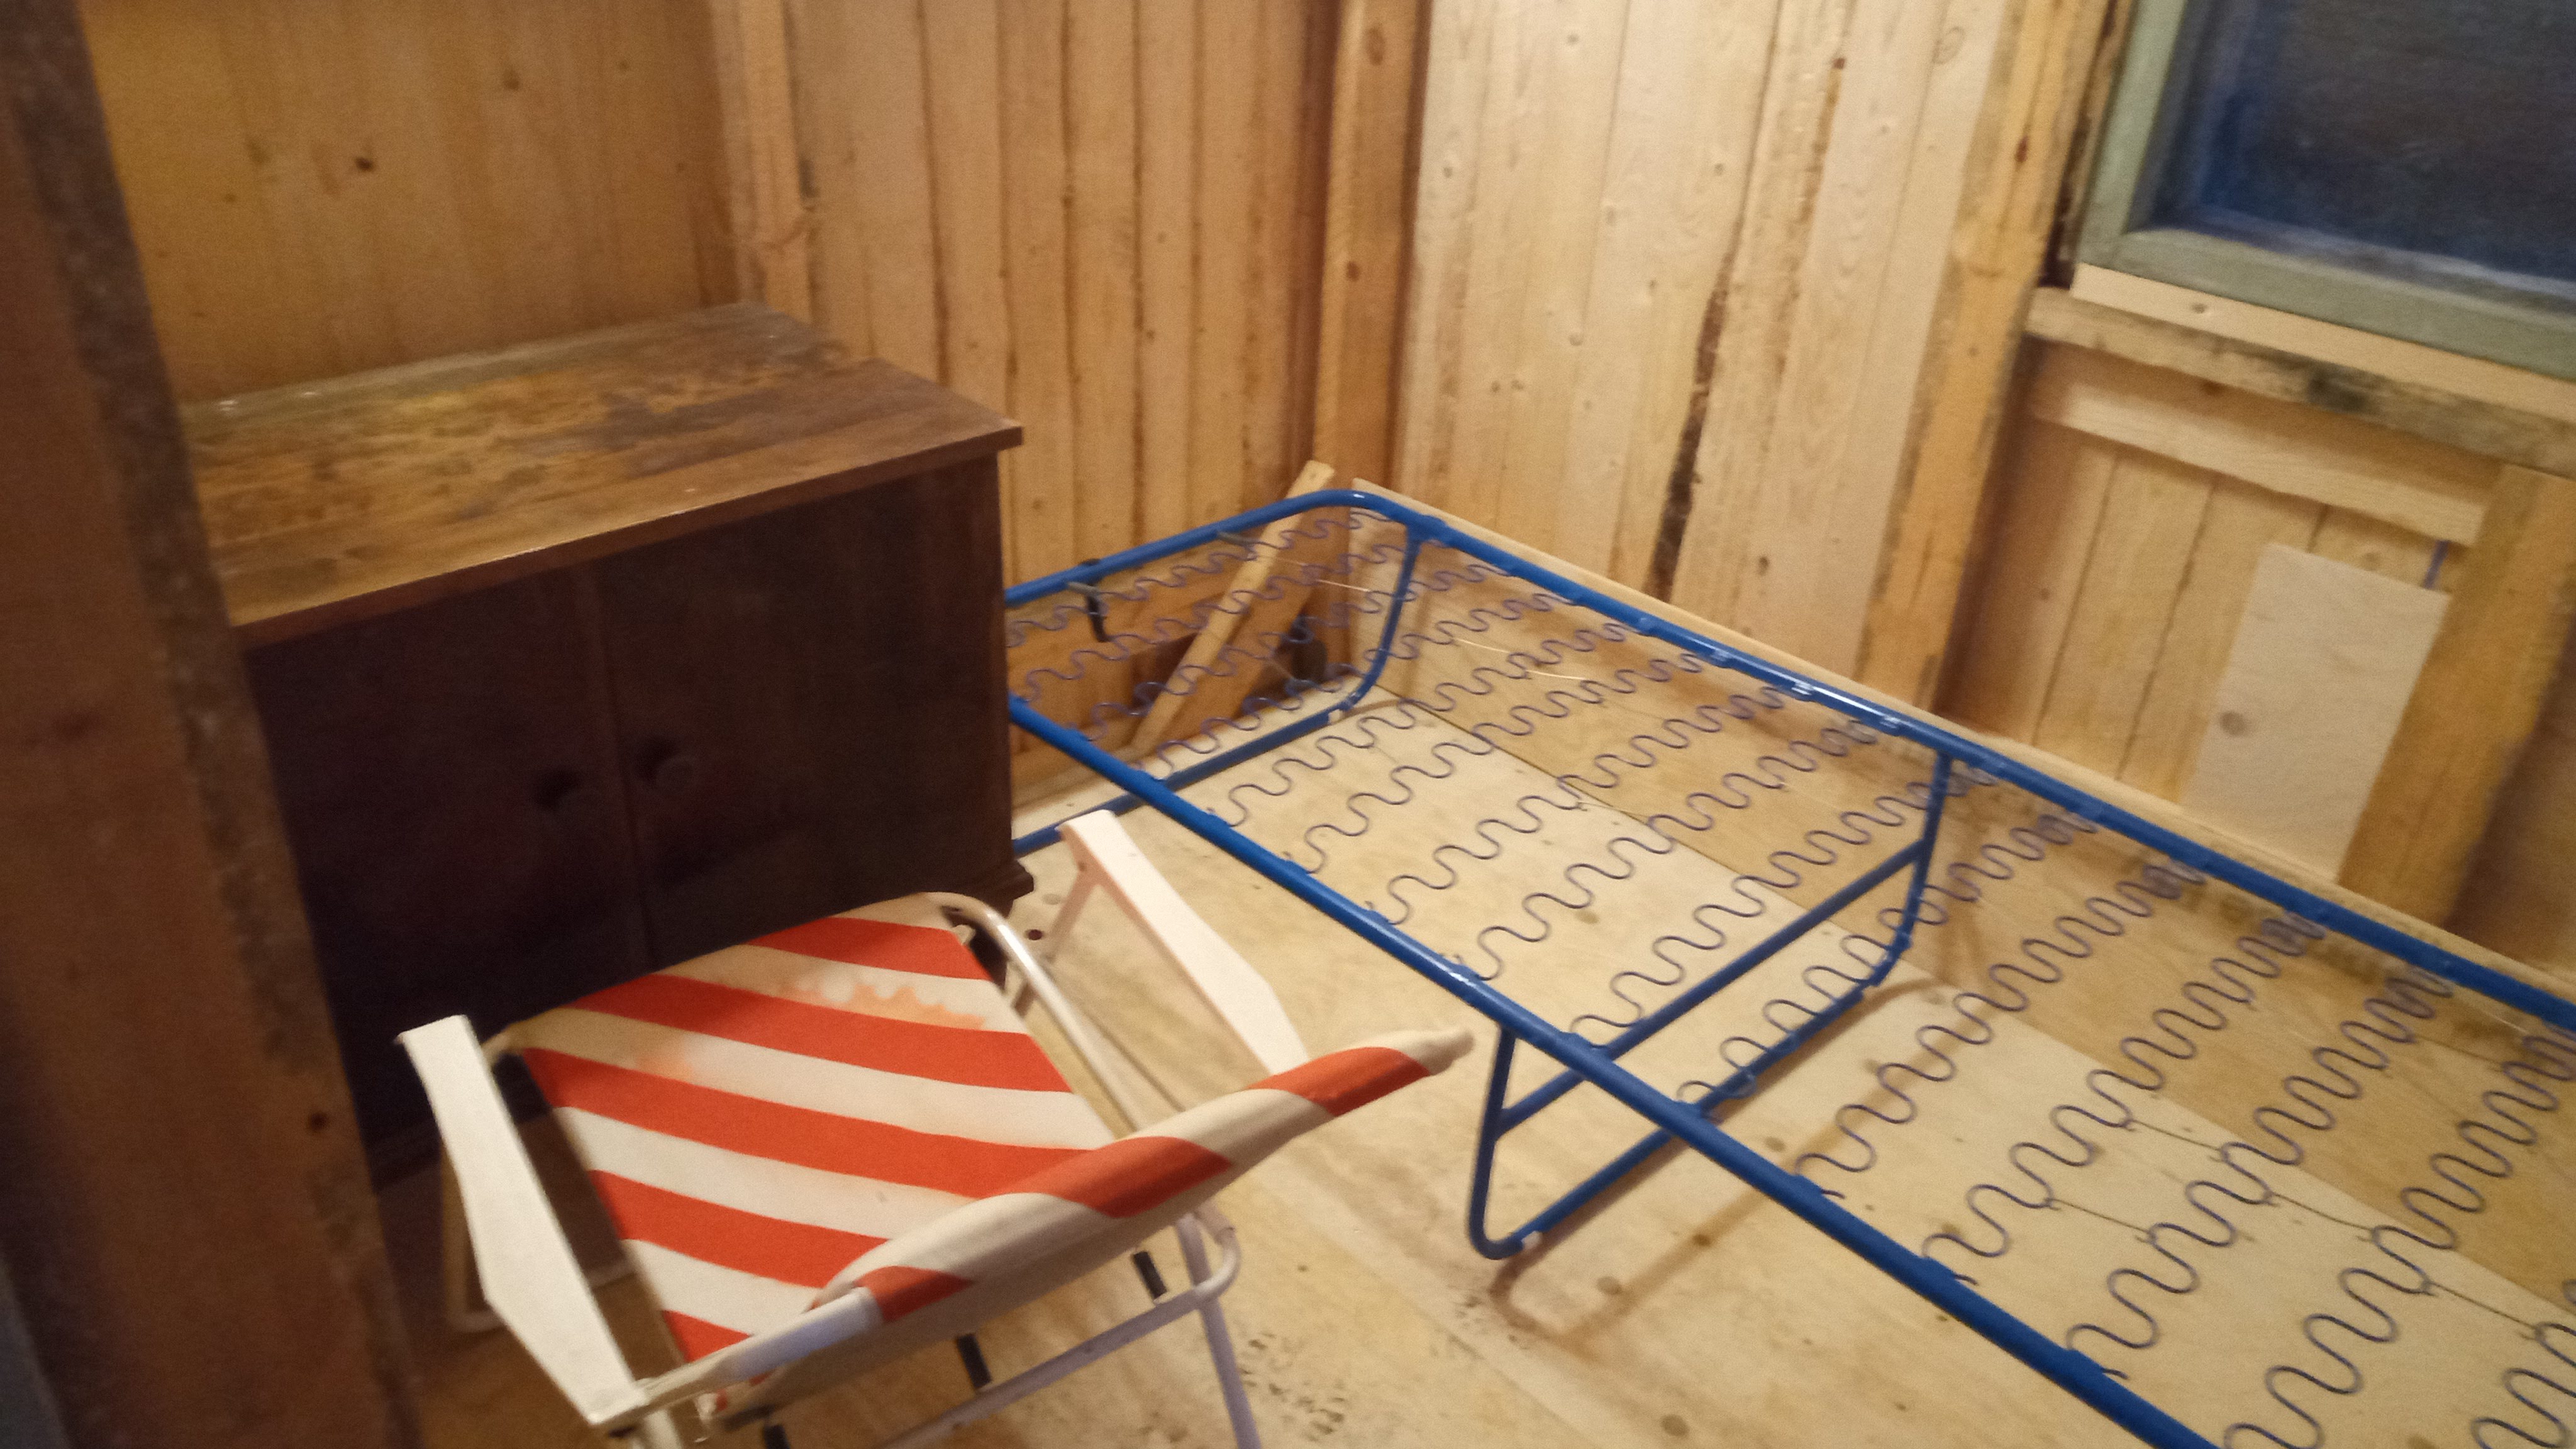 First furniture
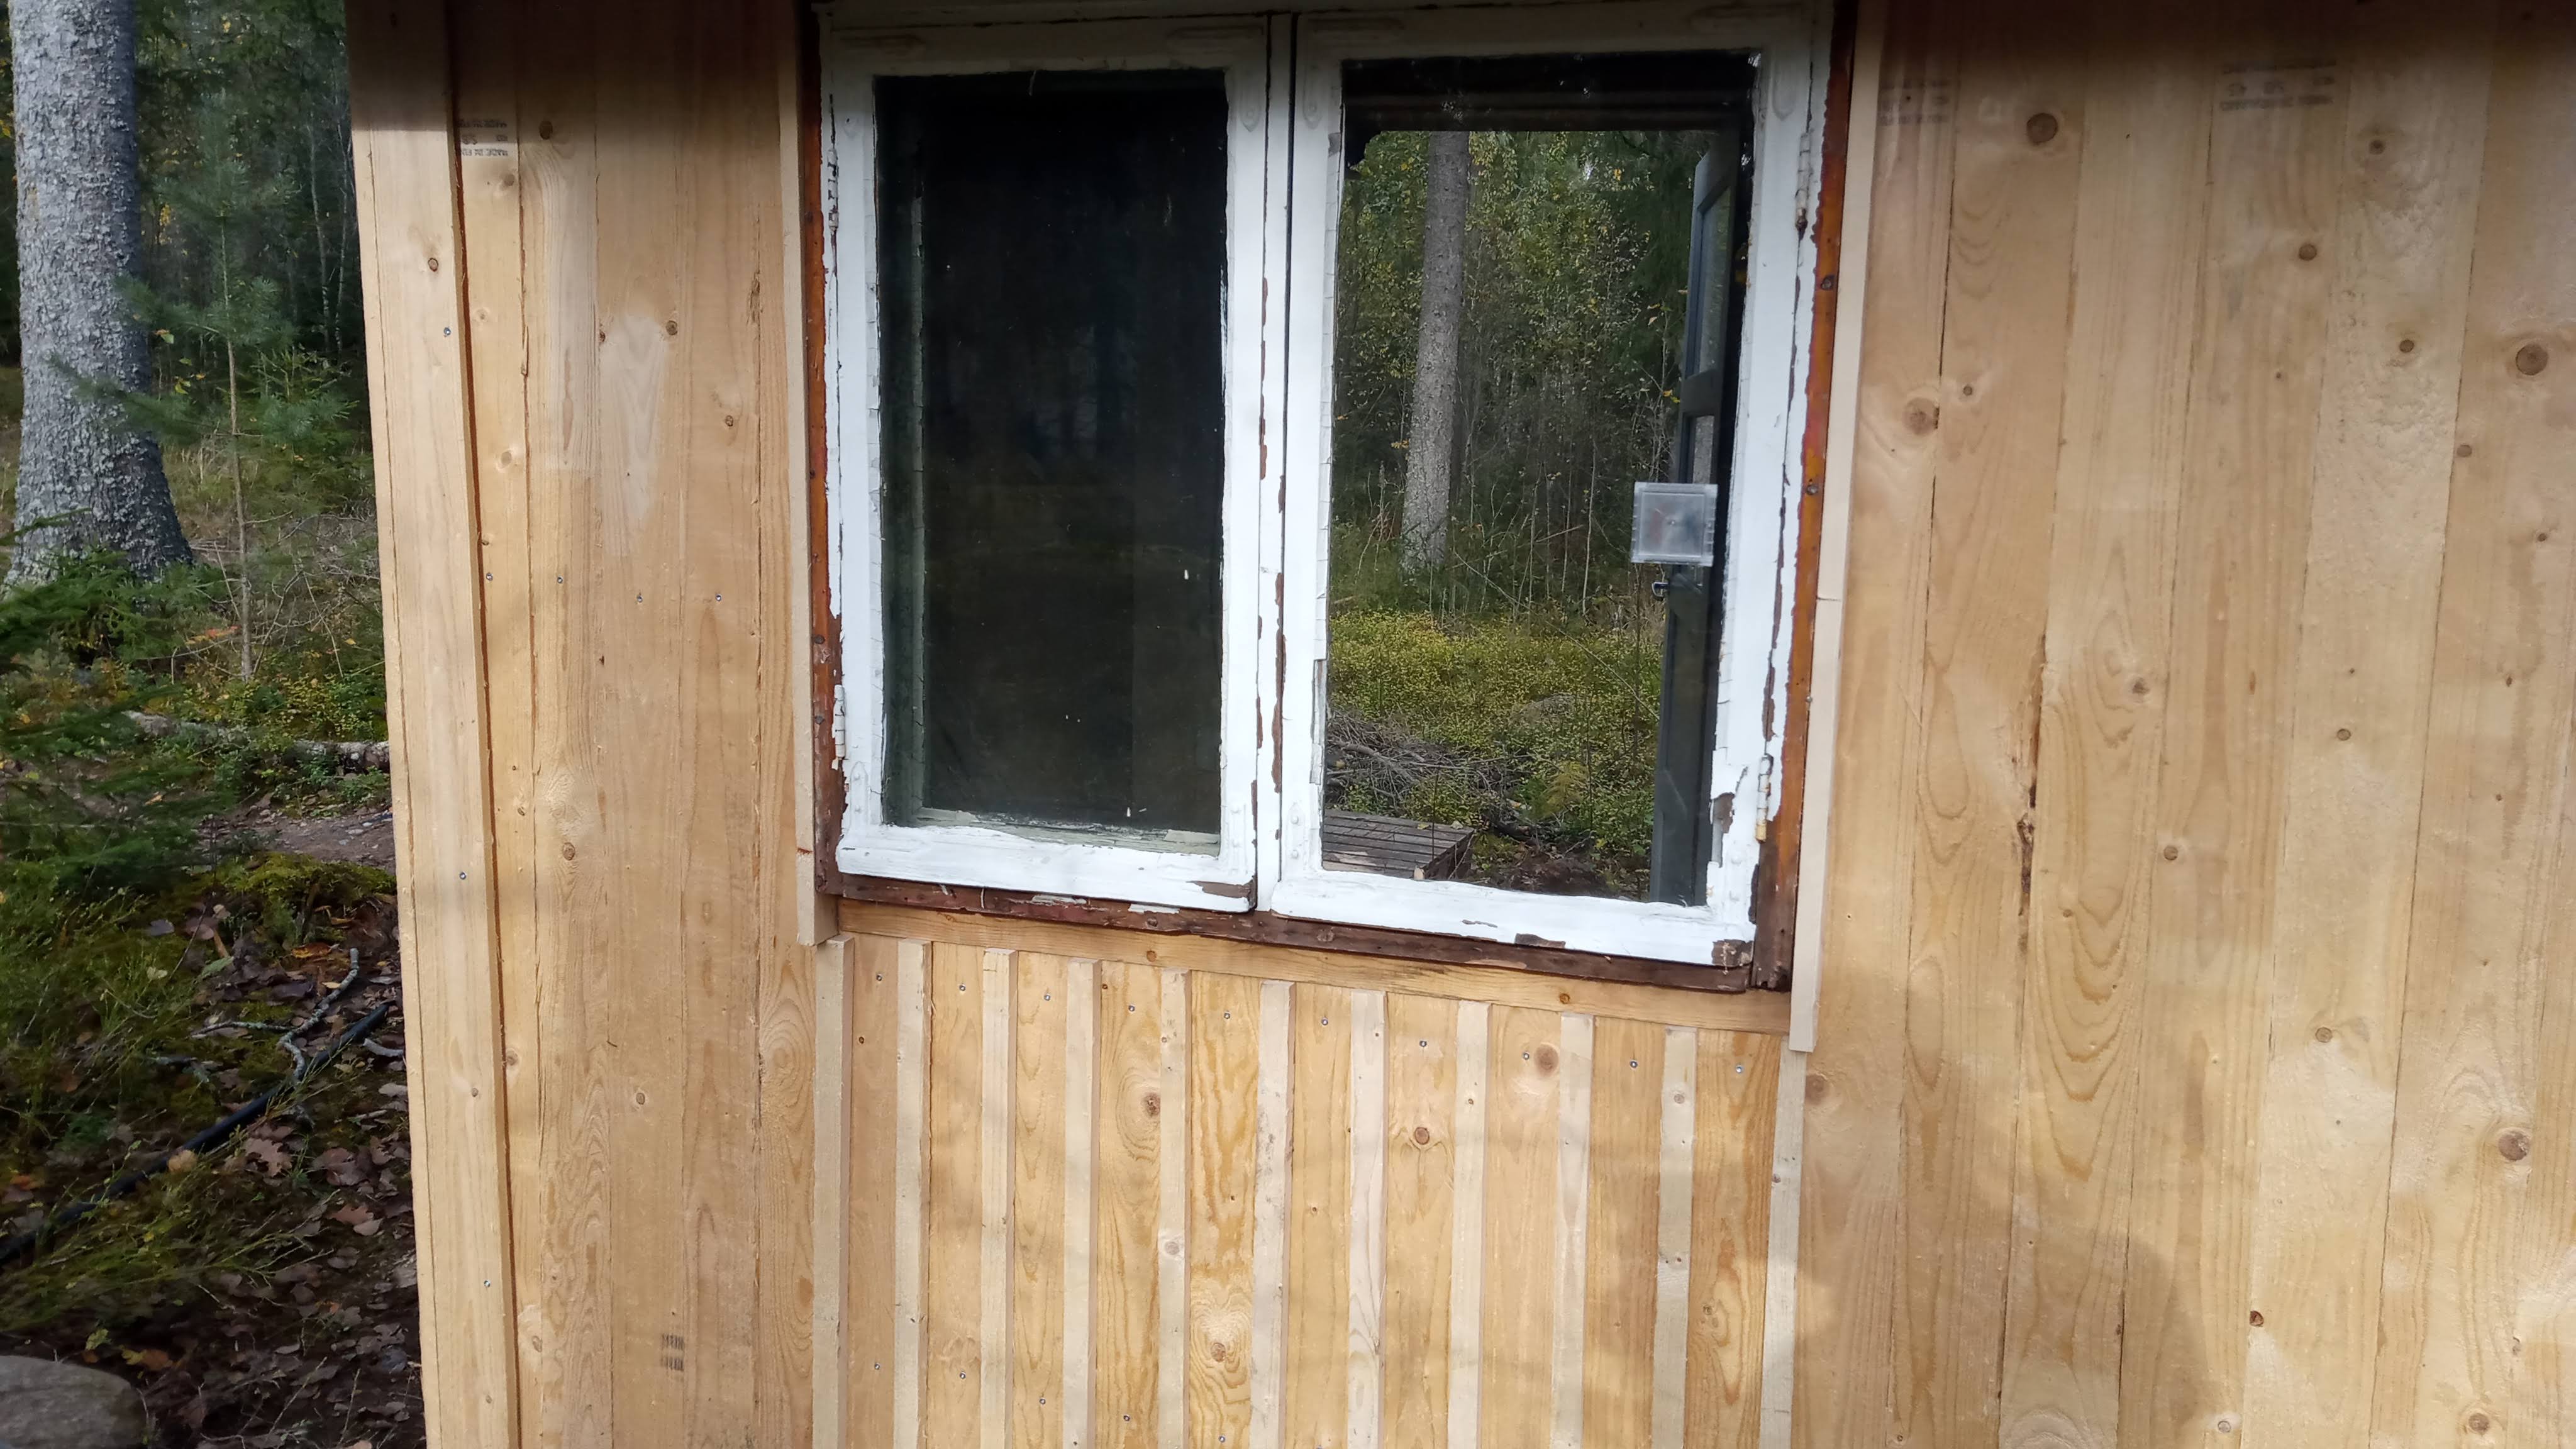 Started installing the exterior decoration planks
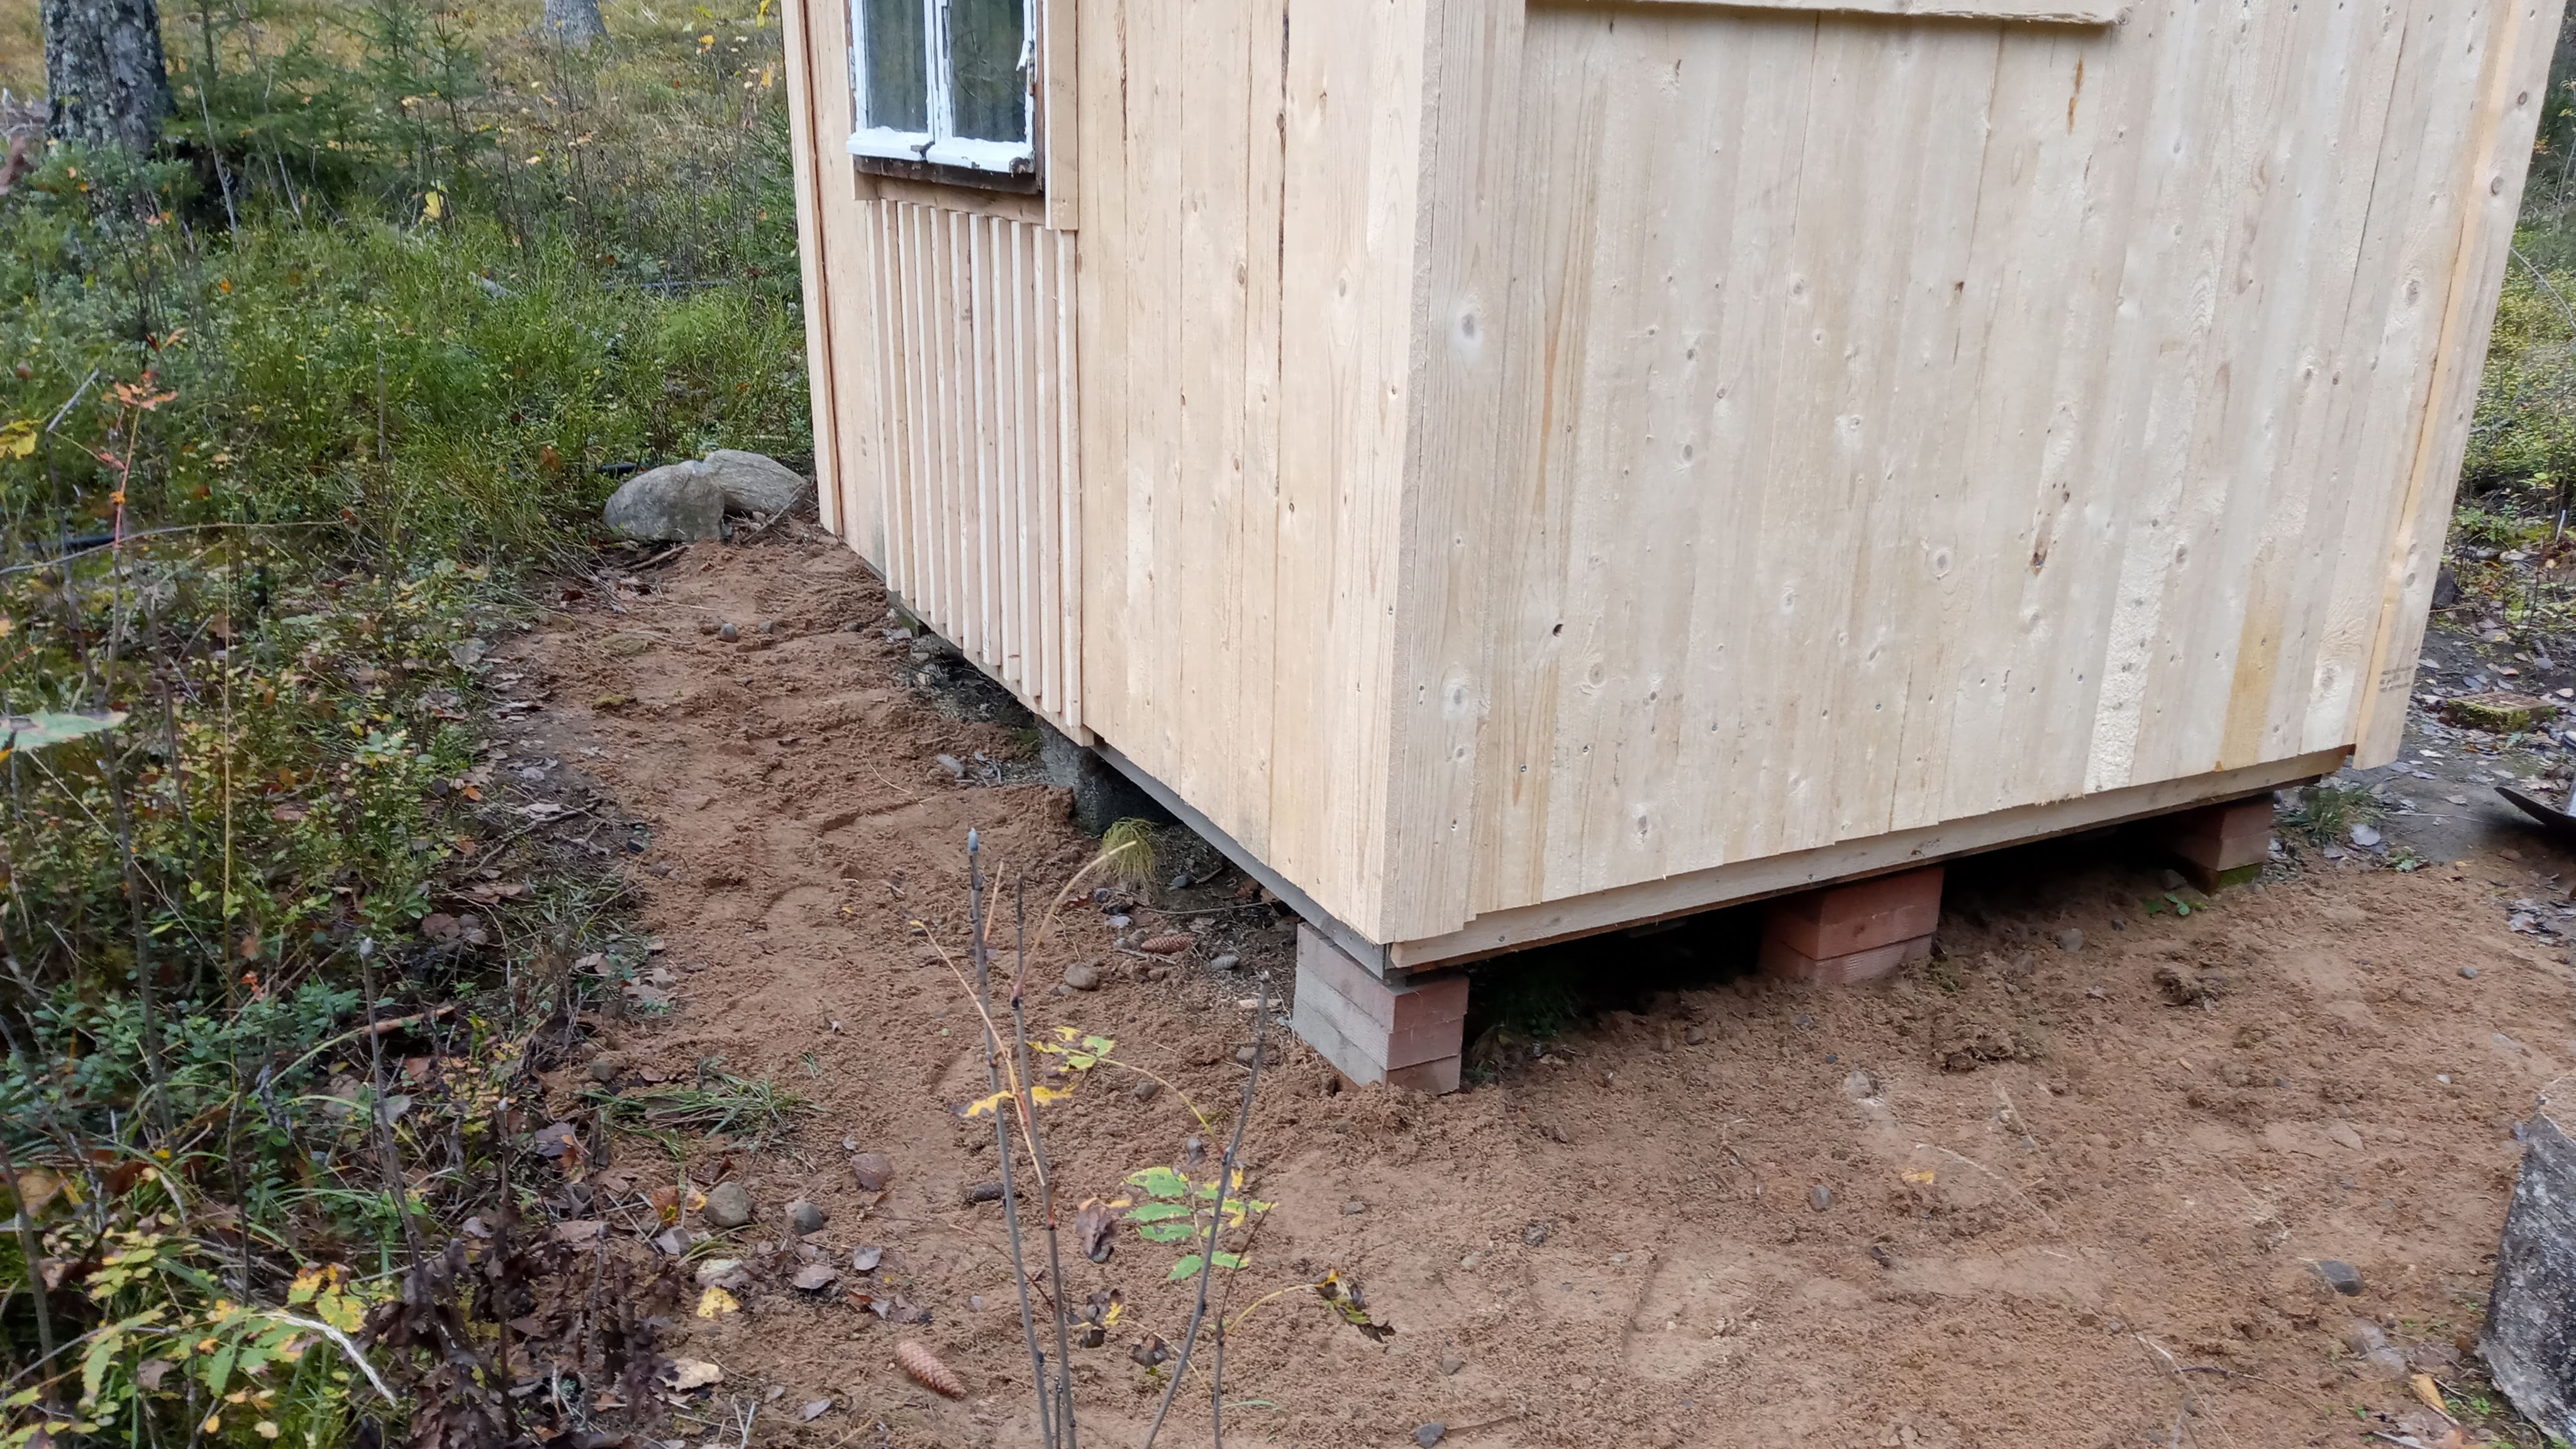 Also laid some sand around the hut to make it less muddy to walk around
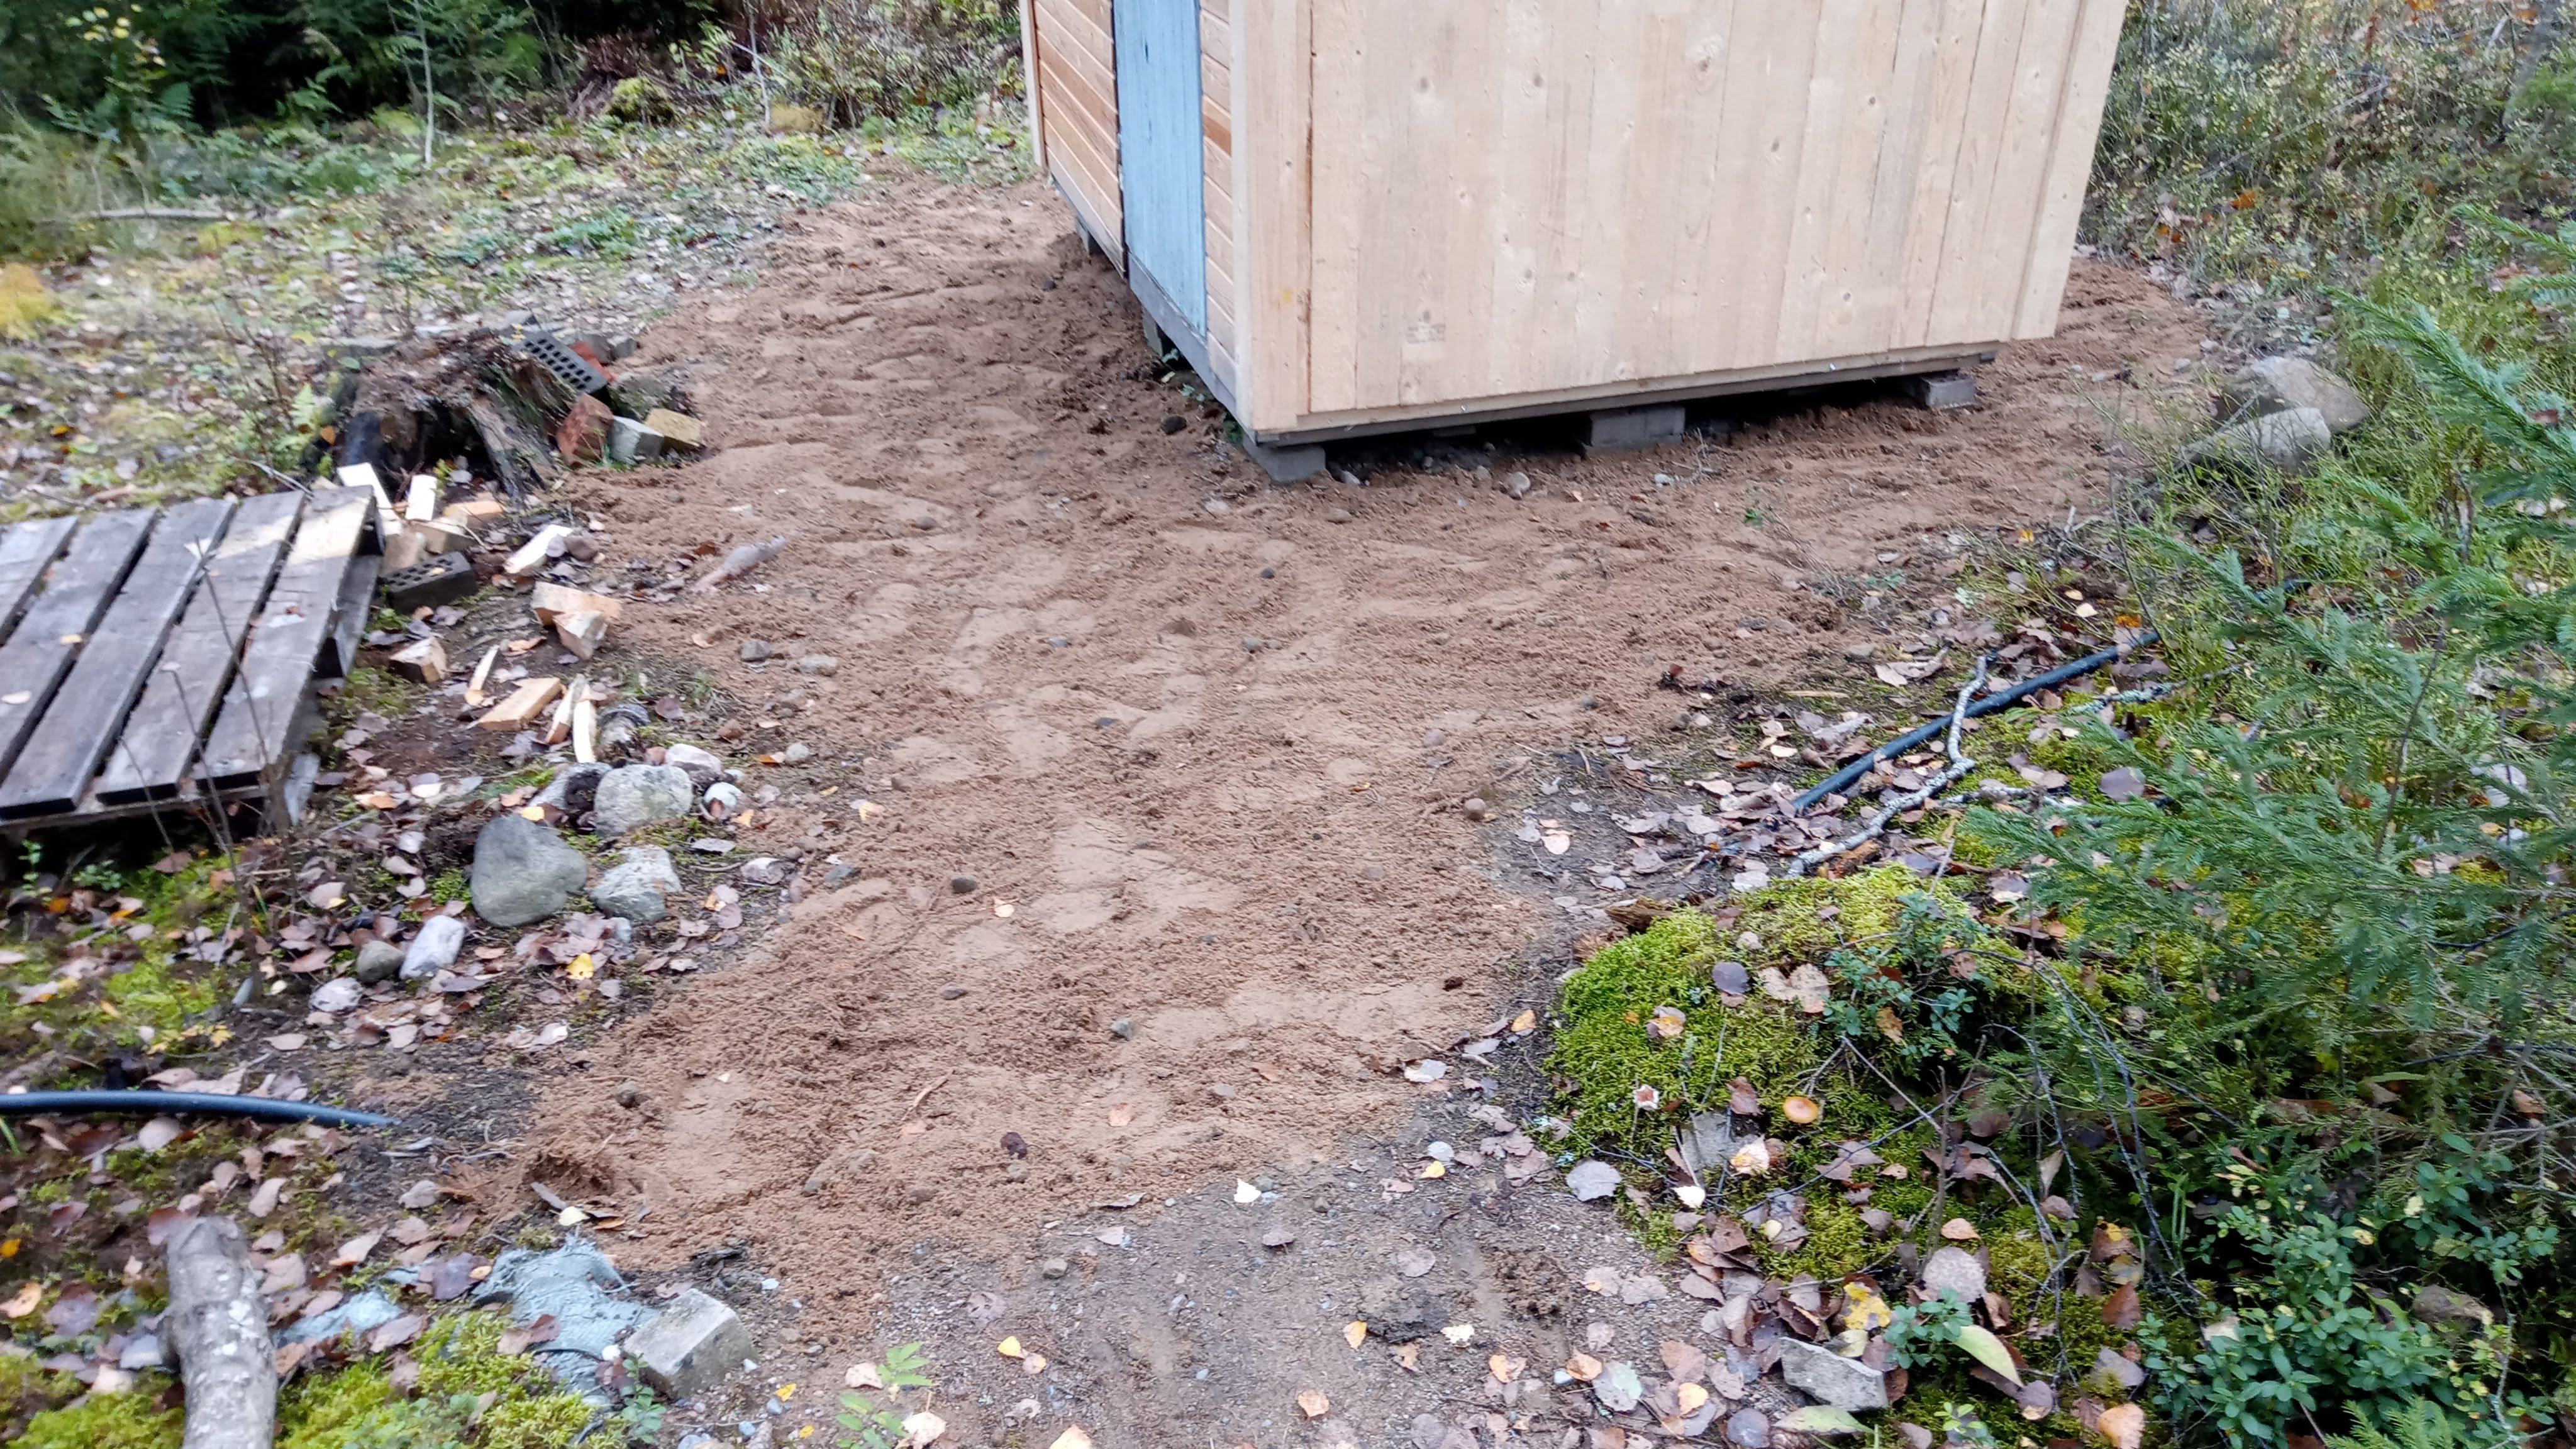 Also dug a hole for the water line coming from the well to the sink in the sauna building and put some sand over it so it's not annoying me anymore
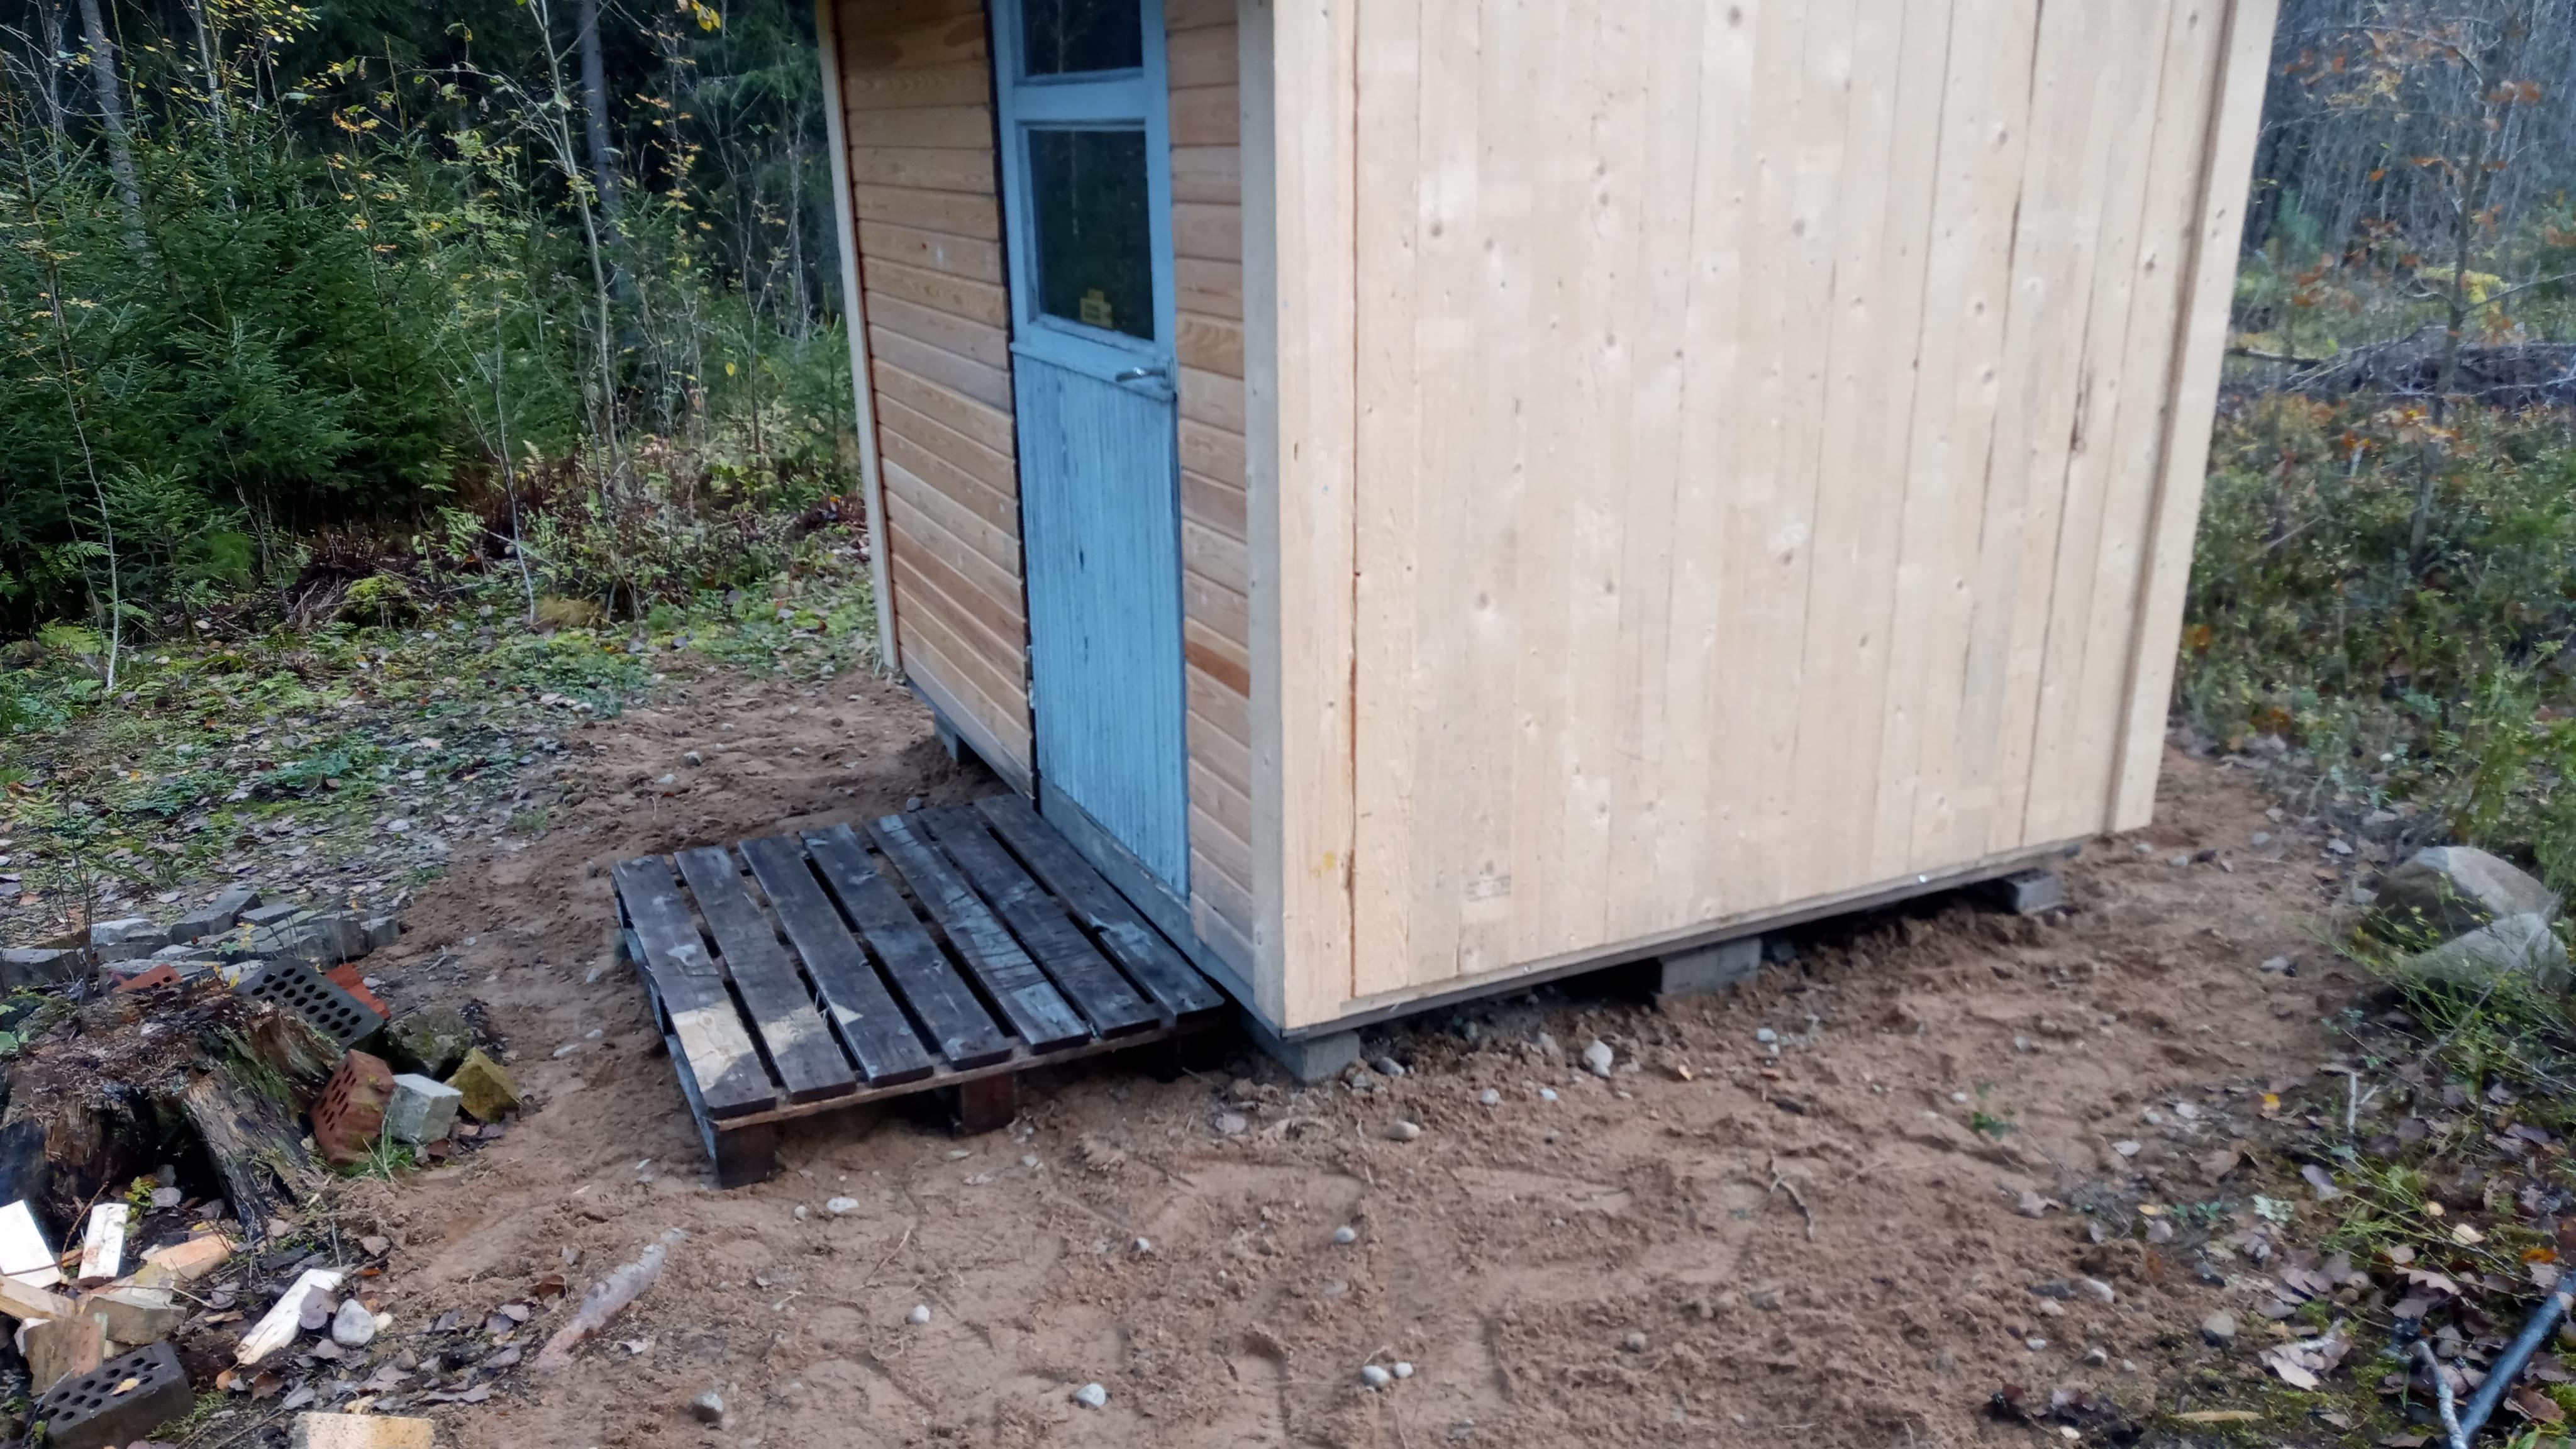 Made the remaining pallet my veranda
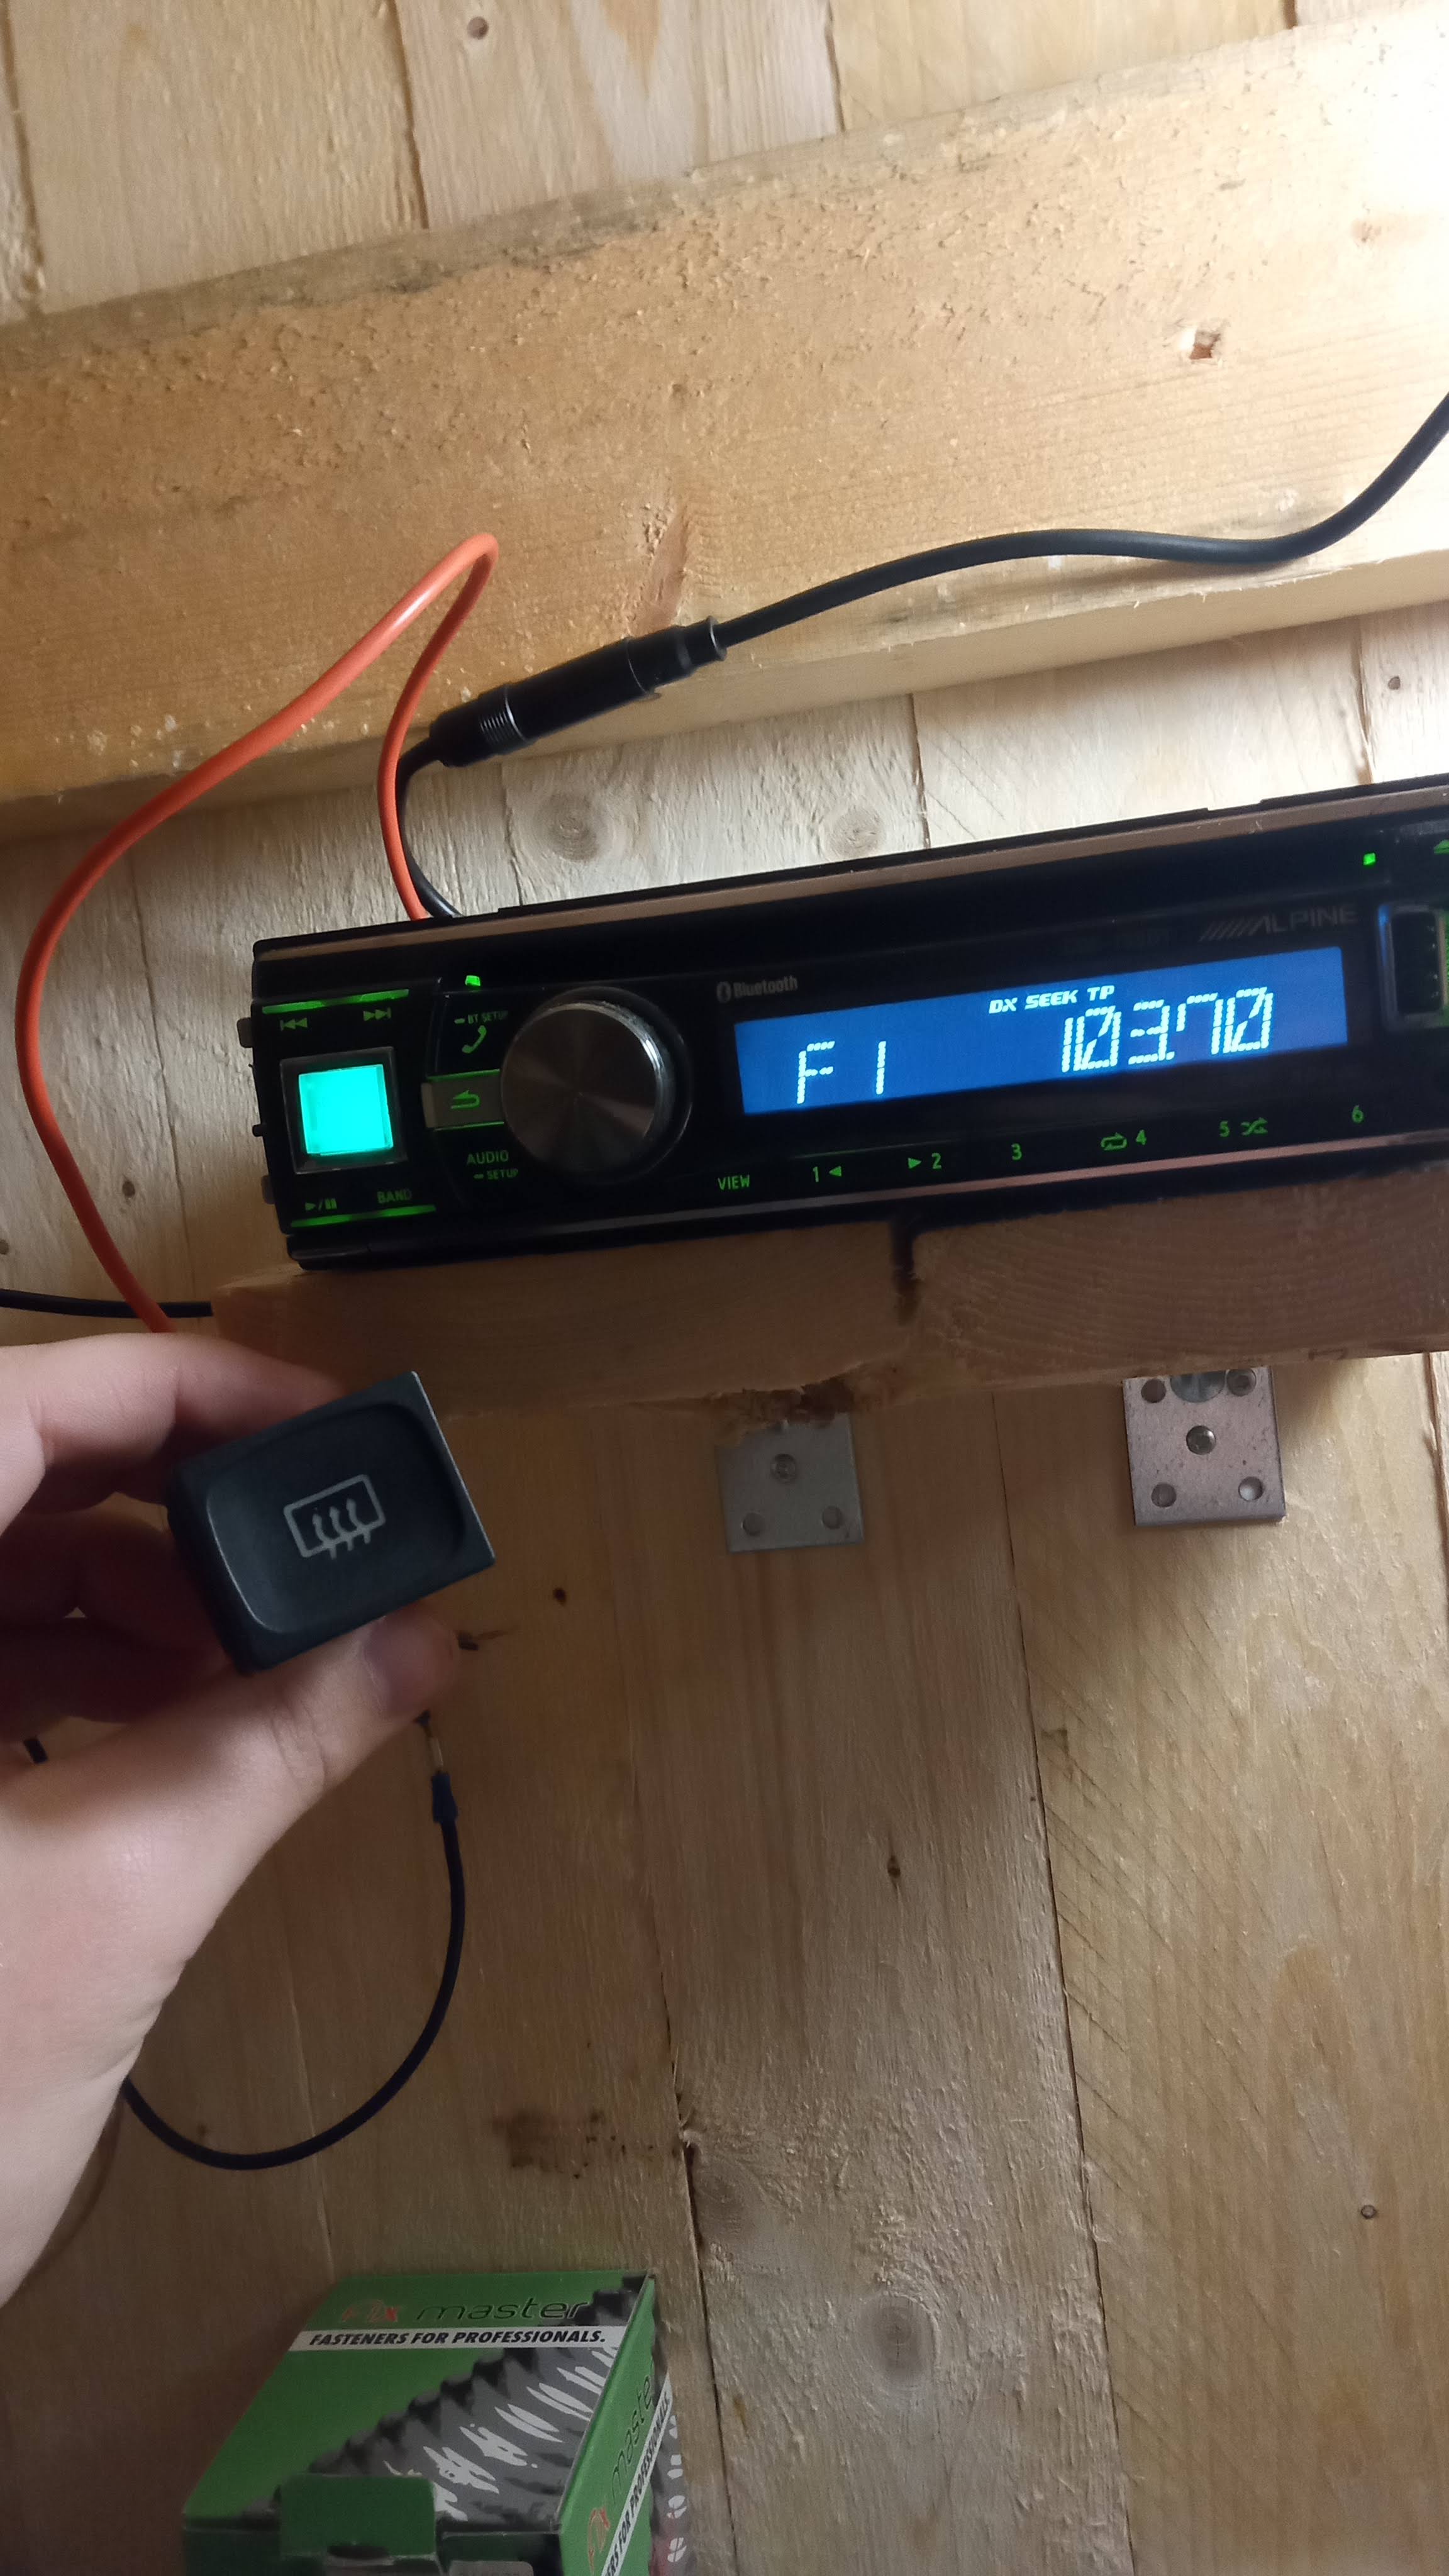 Installed entertainment systems. The Saab rear heater switch is to turn the radio power on or off, so that it won't drain the battery when in standby
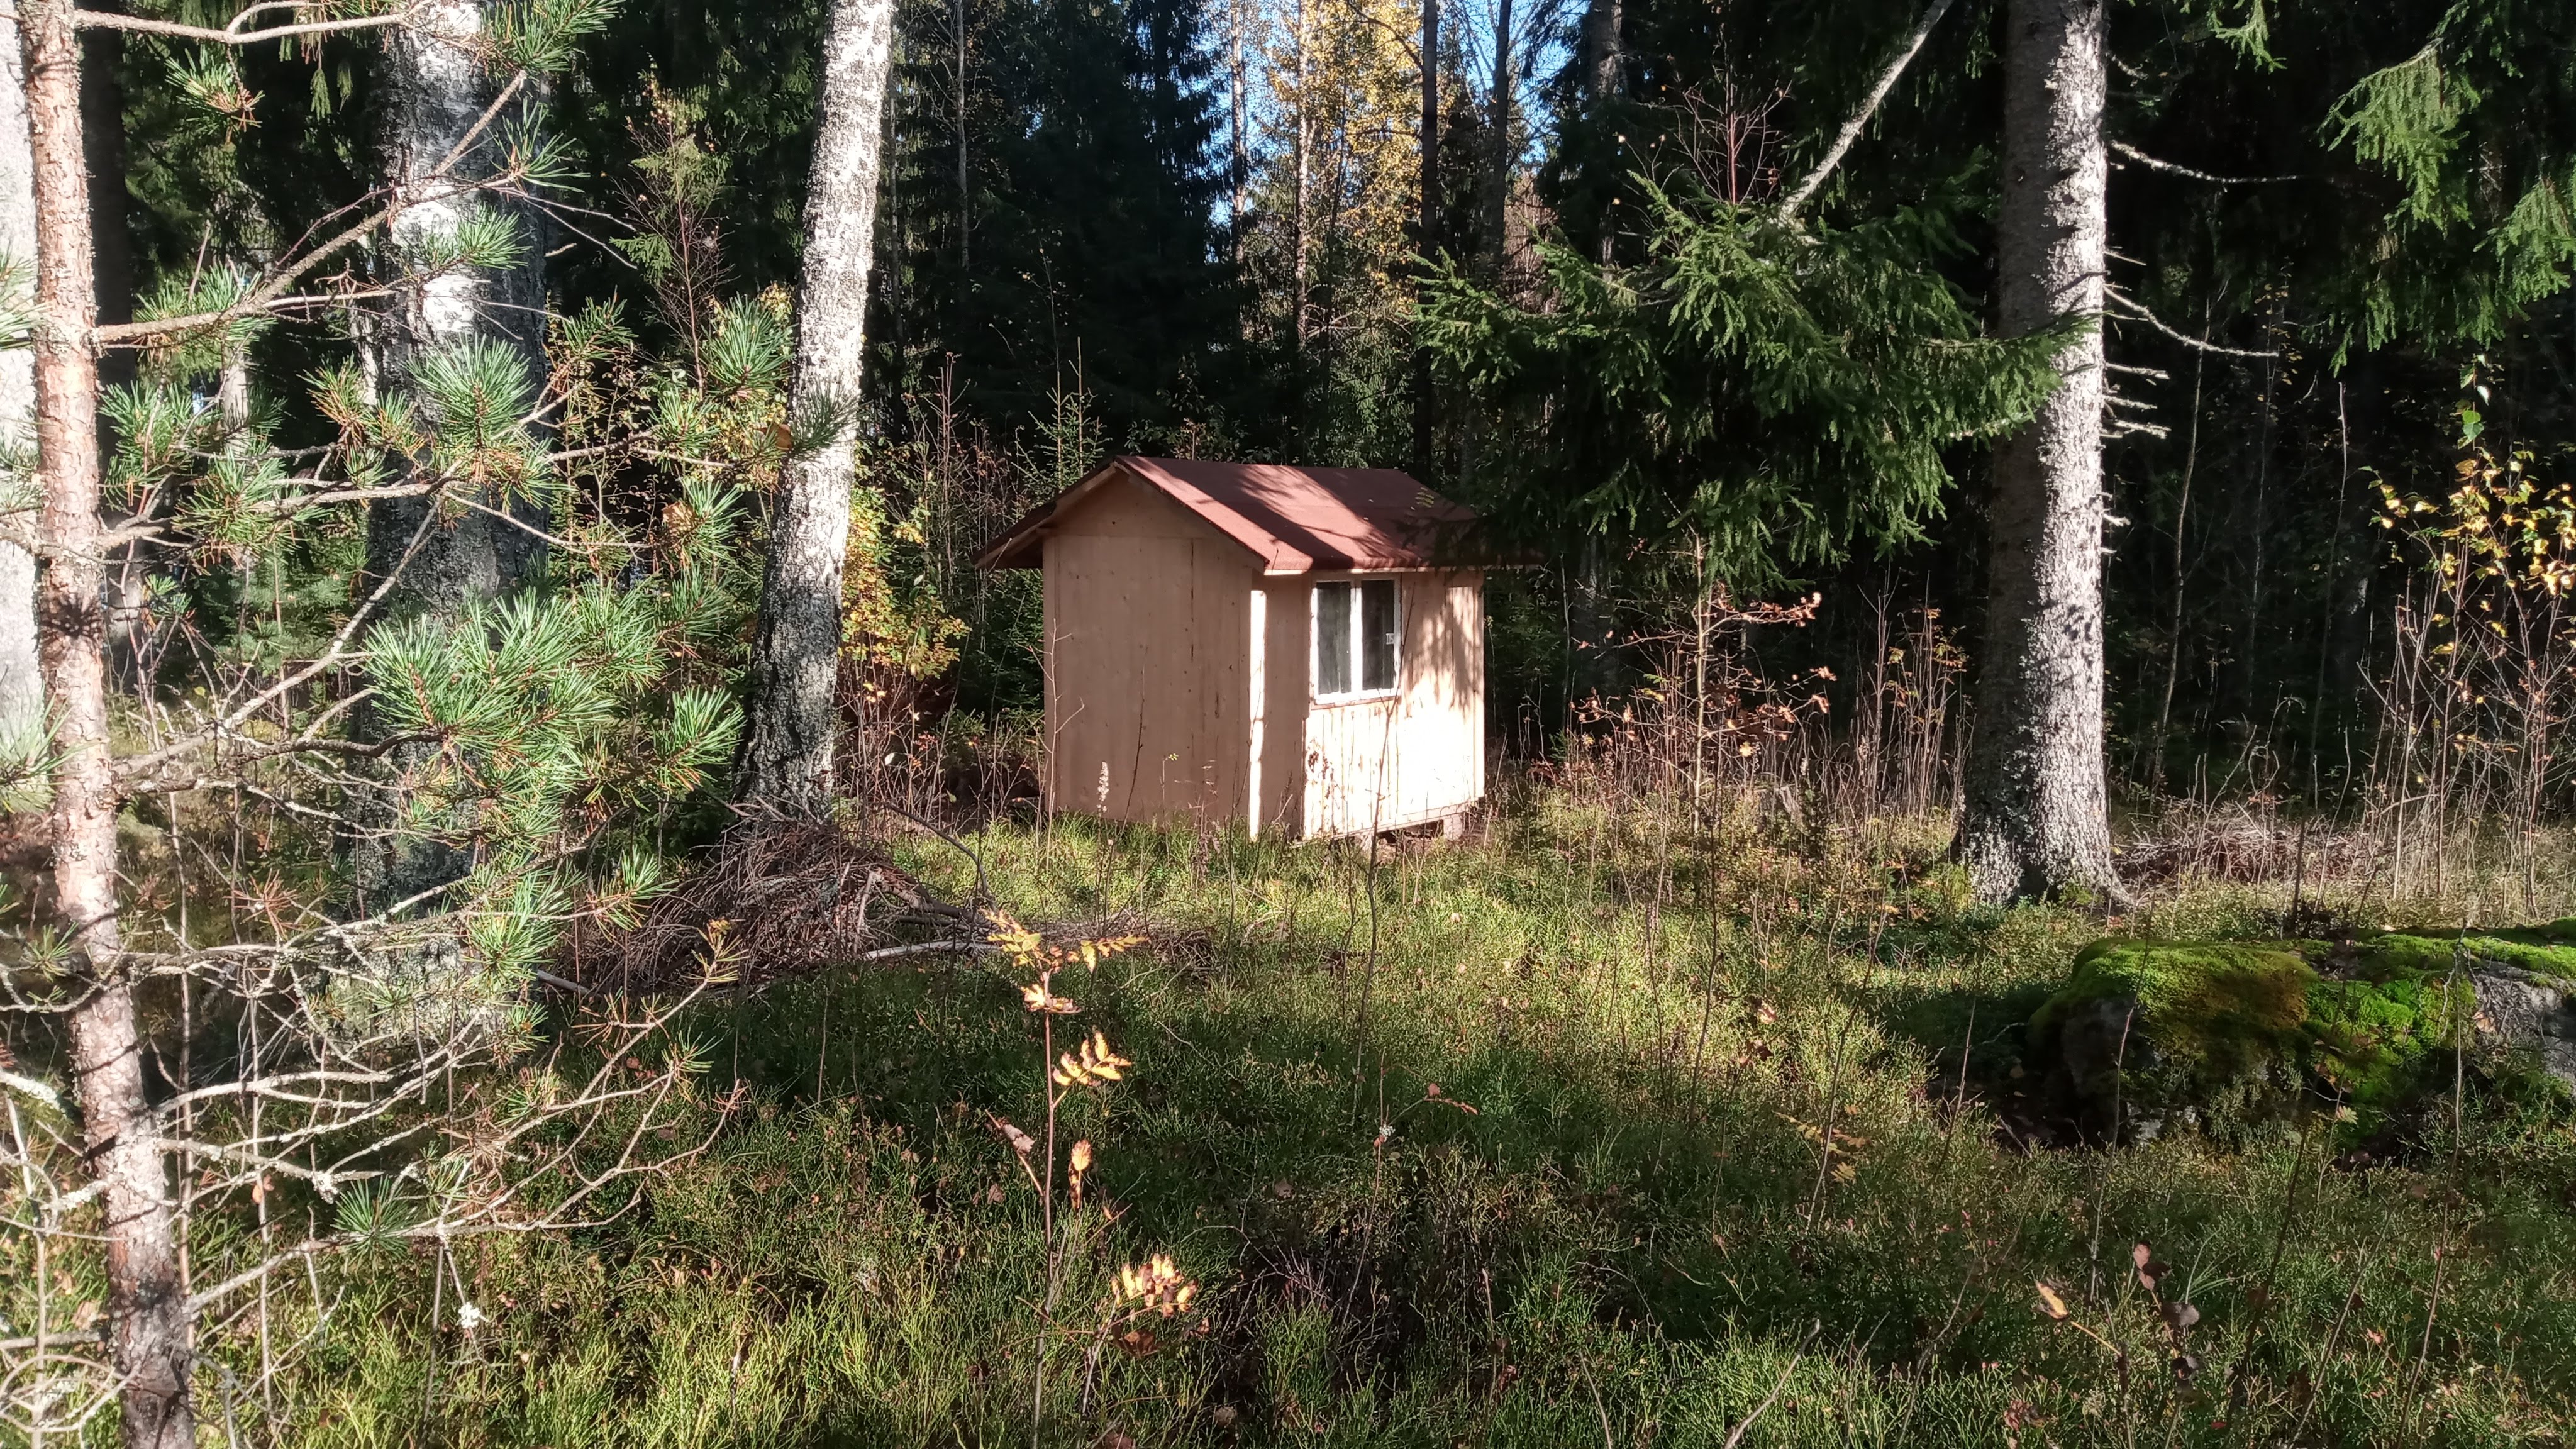 There it is, sitting in the beautiful Finnish nature landscape (10/2020)
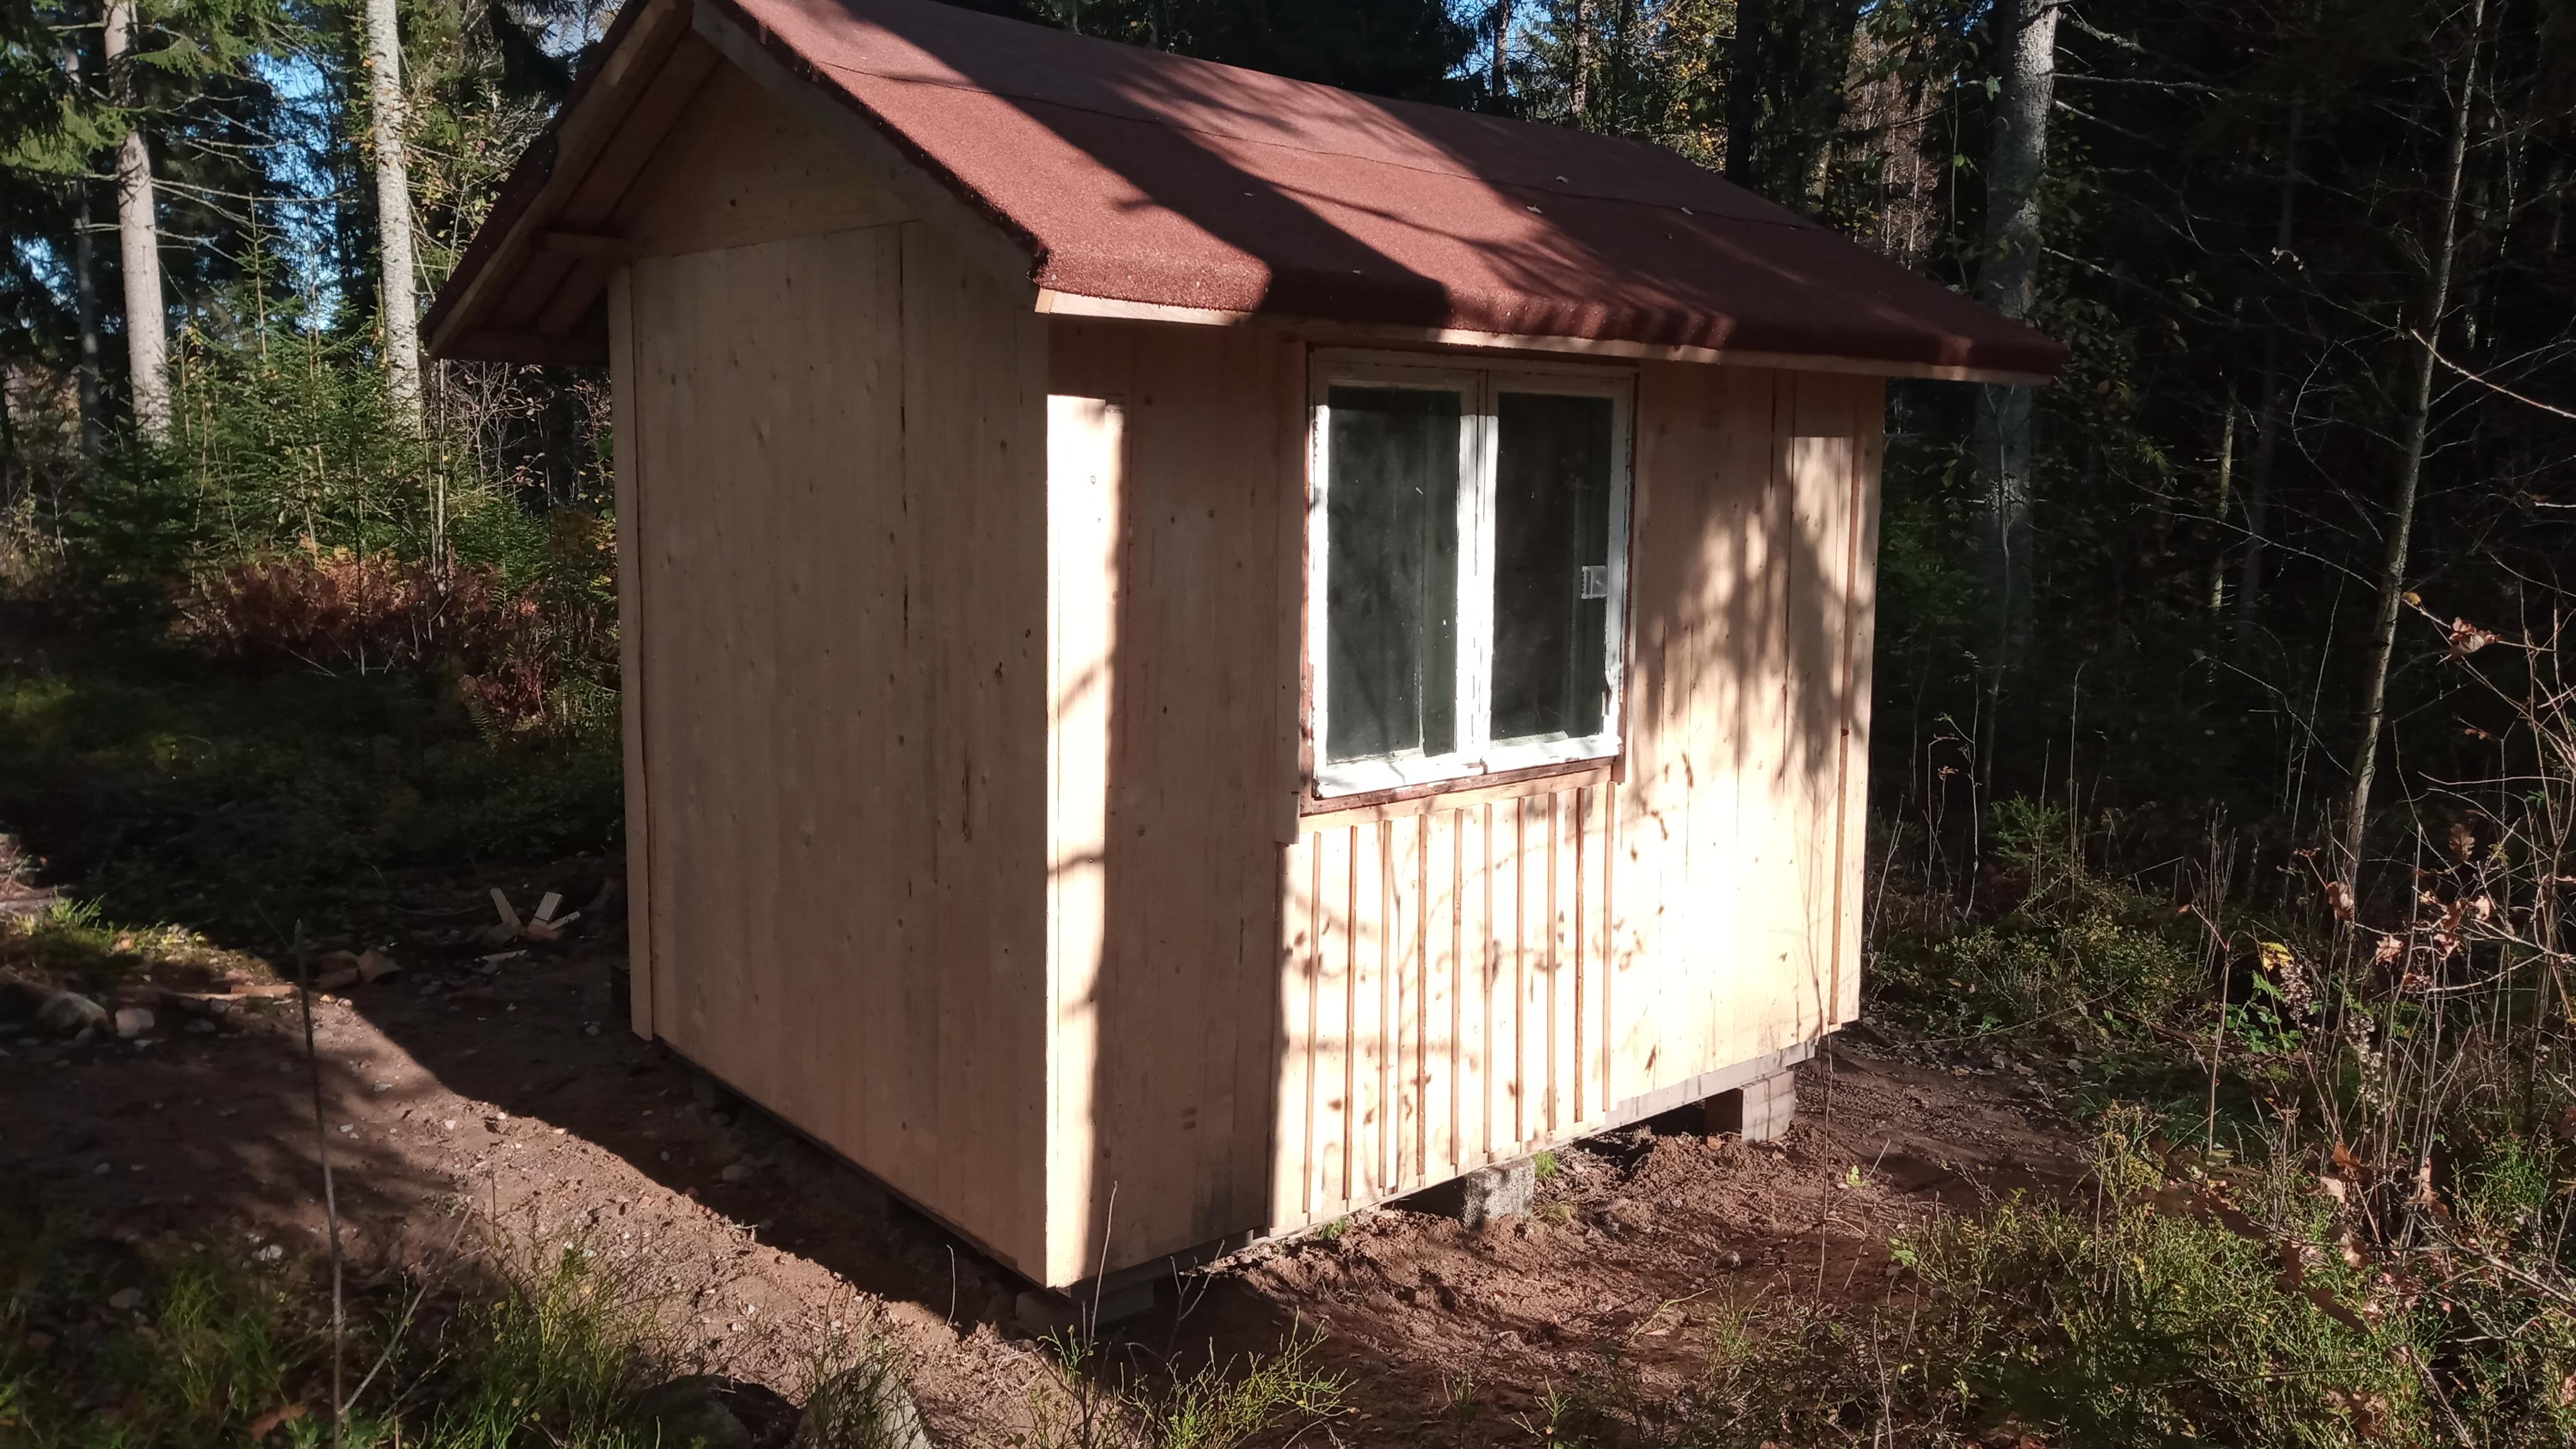 Only needs some paint and the rest of the exterior decoration planks but those are mainly just cosmetic stuff so at this point I consider the hut finished
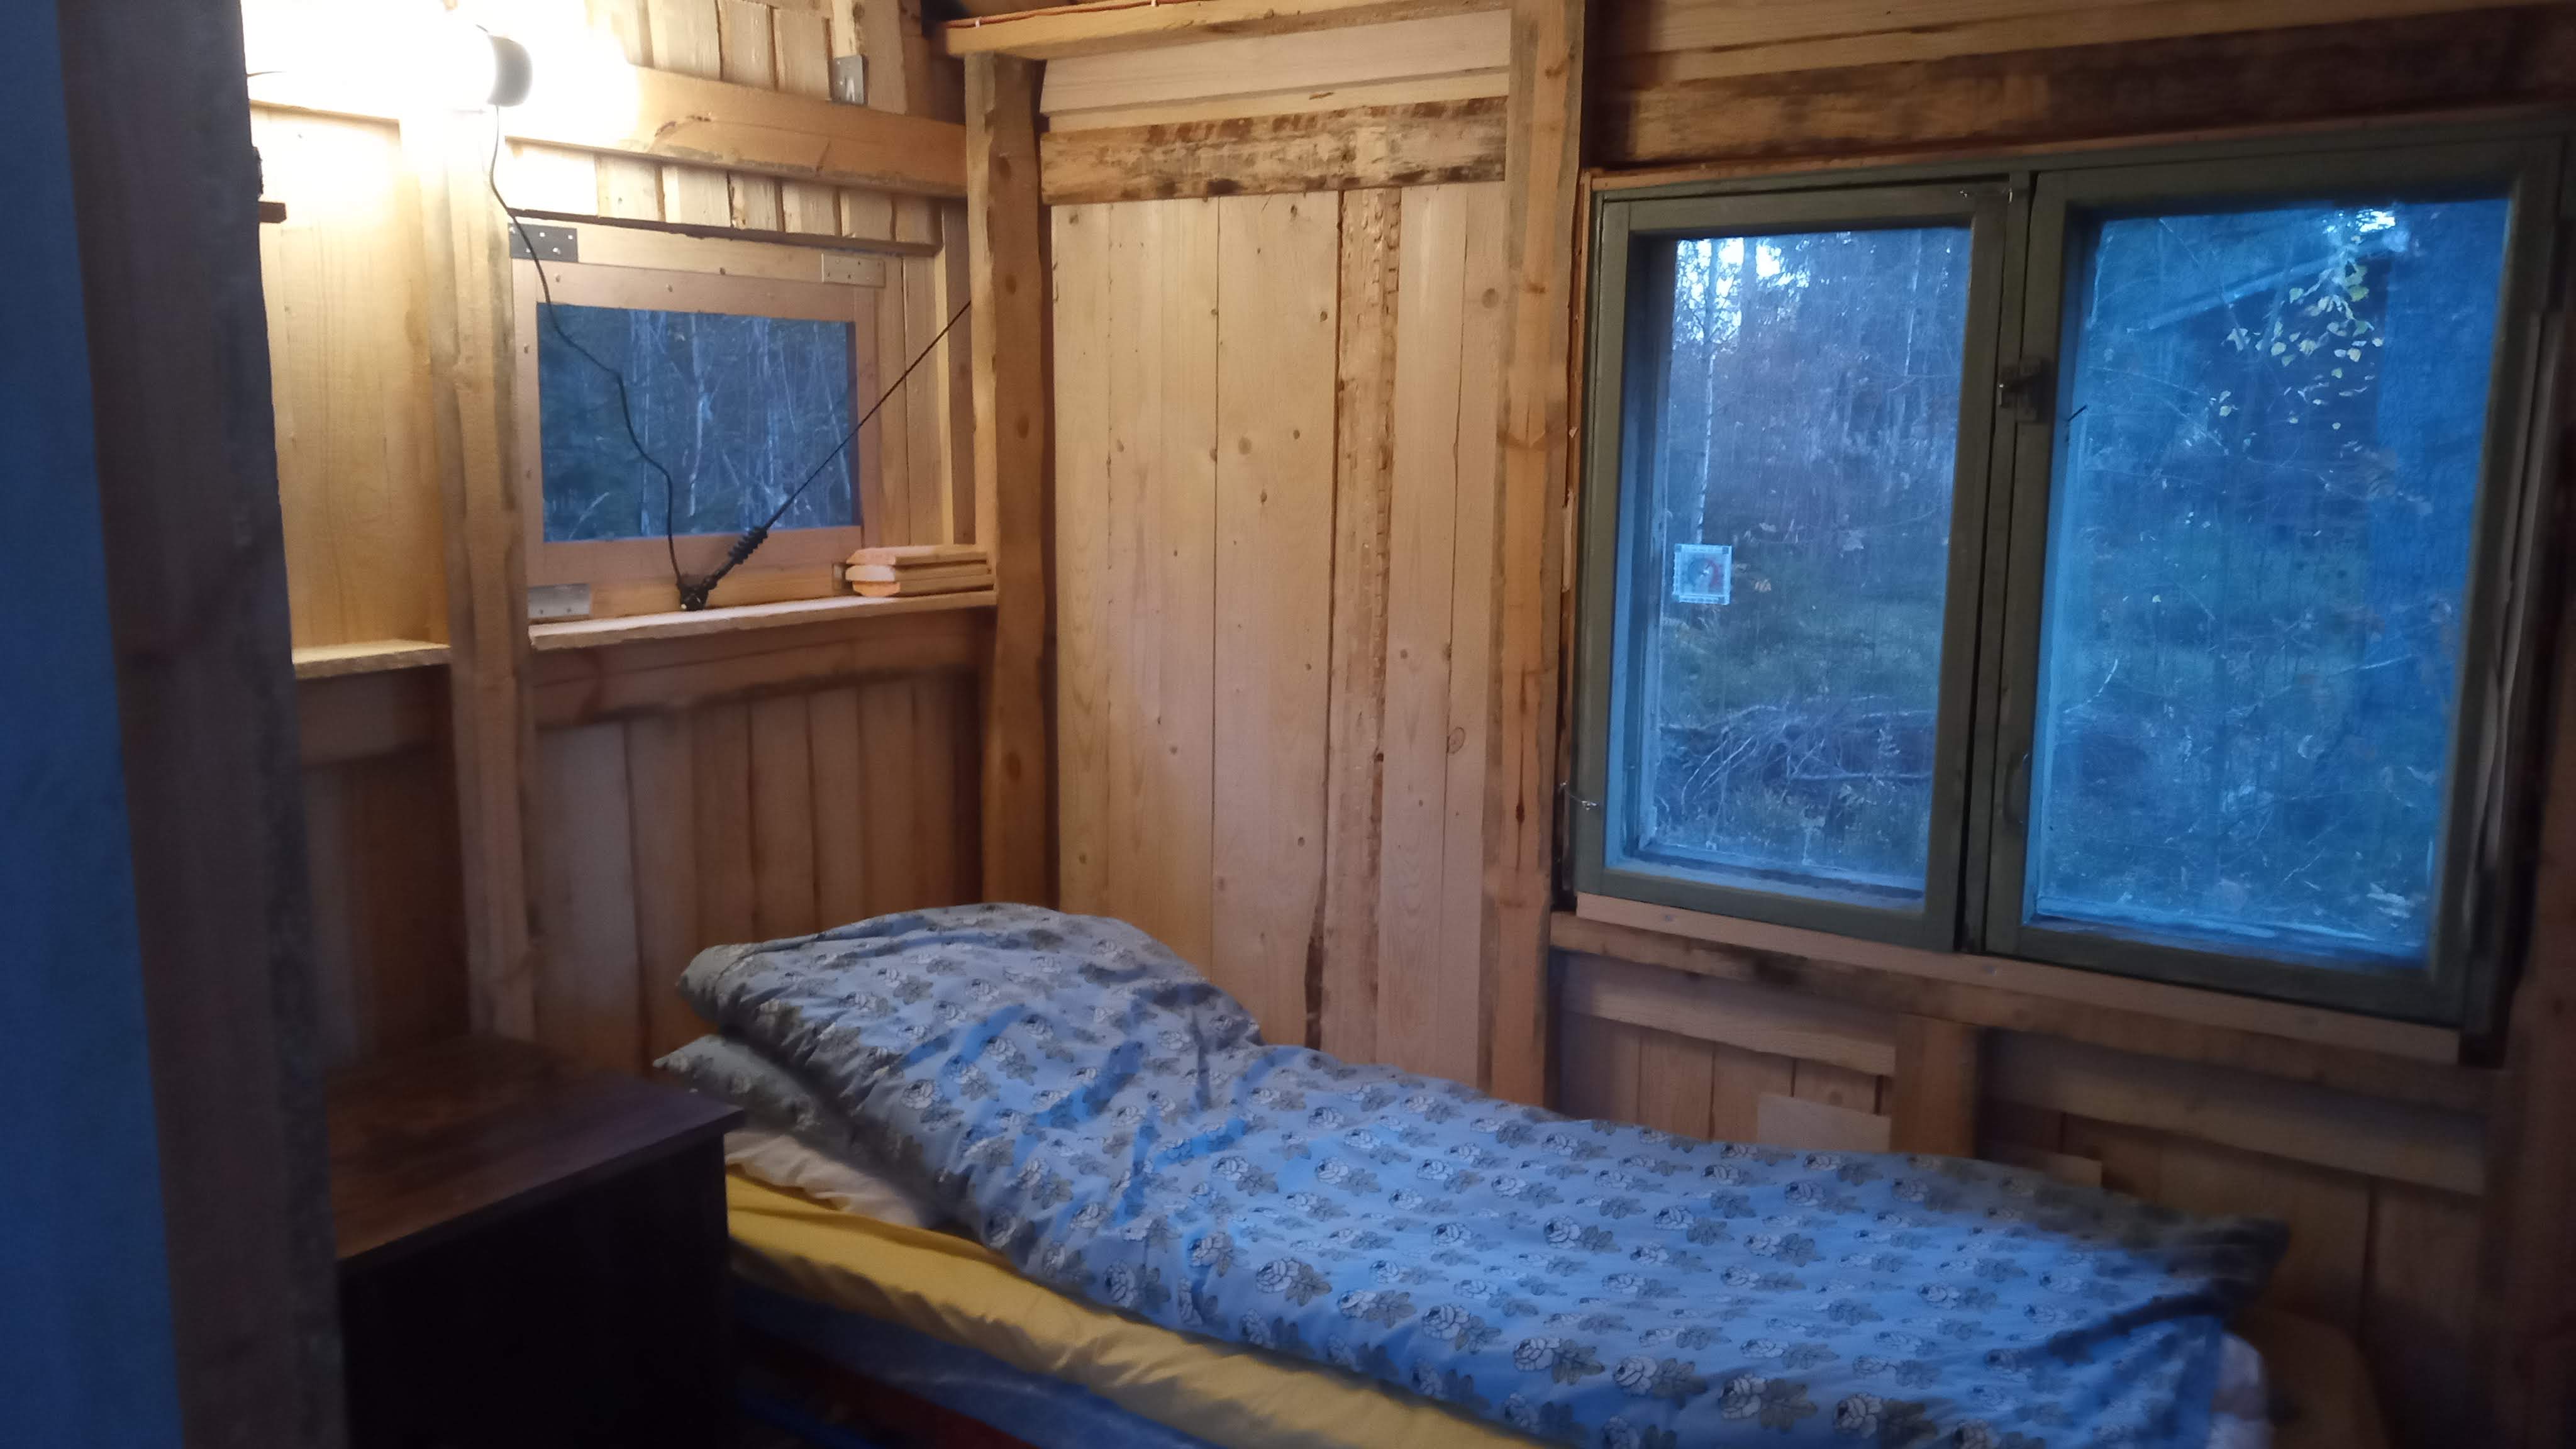 Set up my gear for the first, cold night in the hut. The thing on the smaller window's sill is a radio antenna
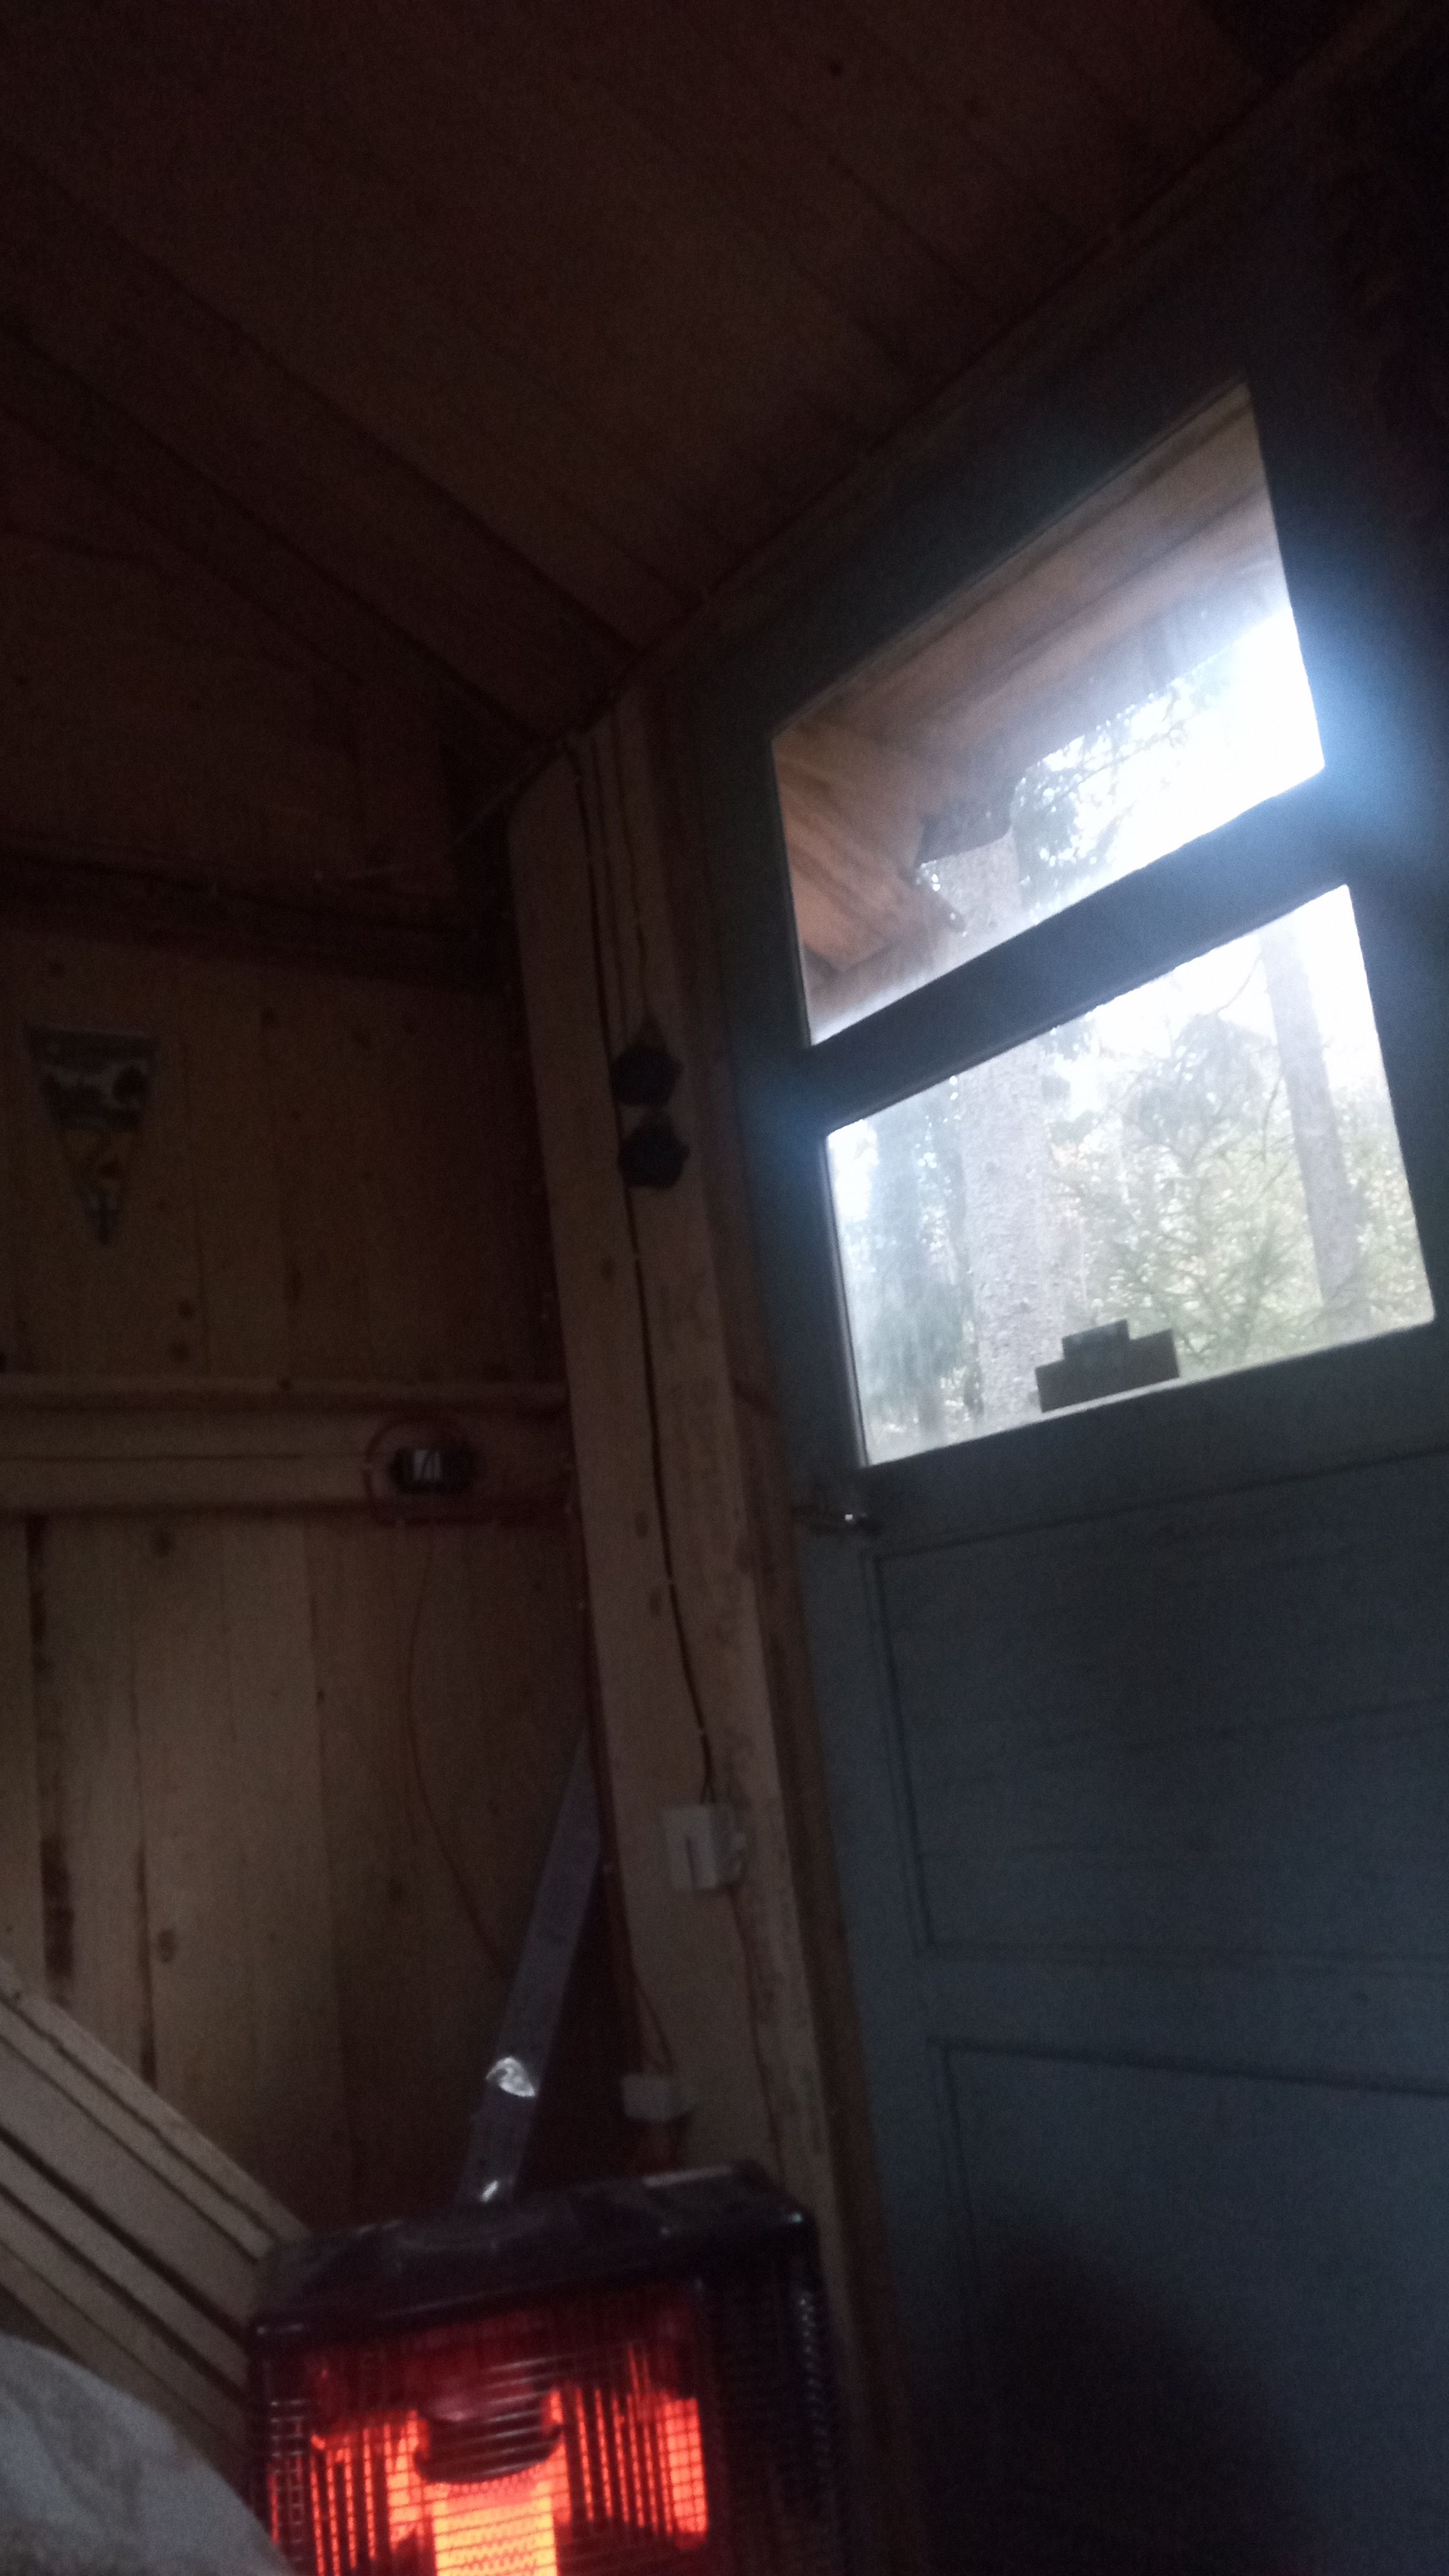 Woke up after a decent night sleep, I kept this kerosene heater on at times so I didnt freeze to death. I woke up to rain though but not too early
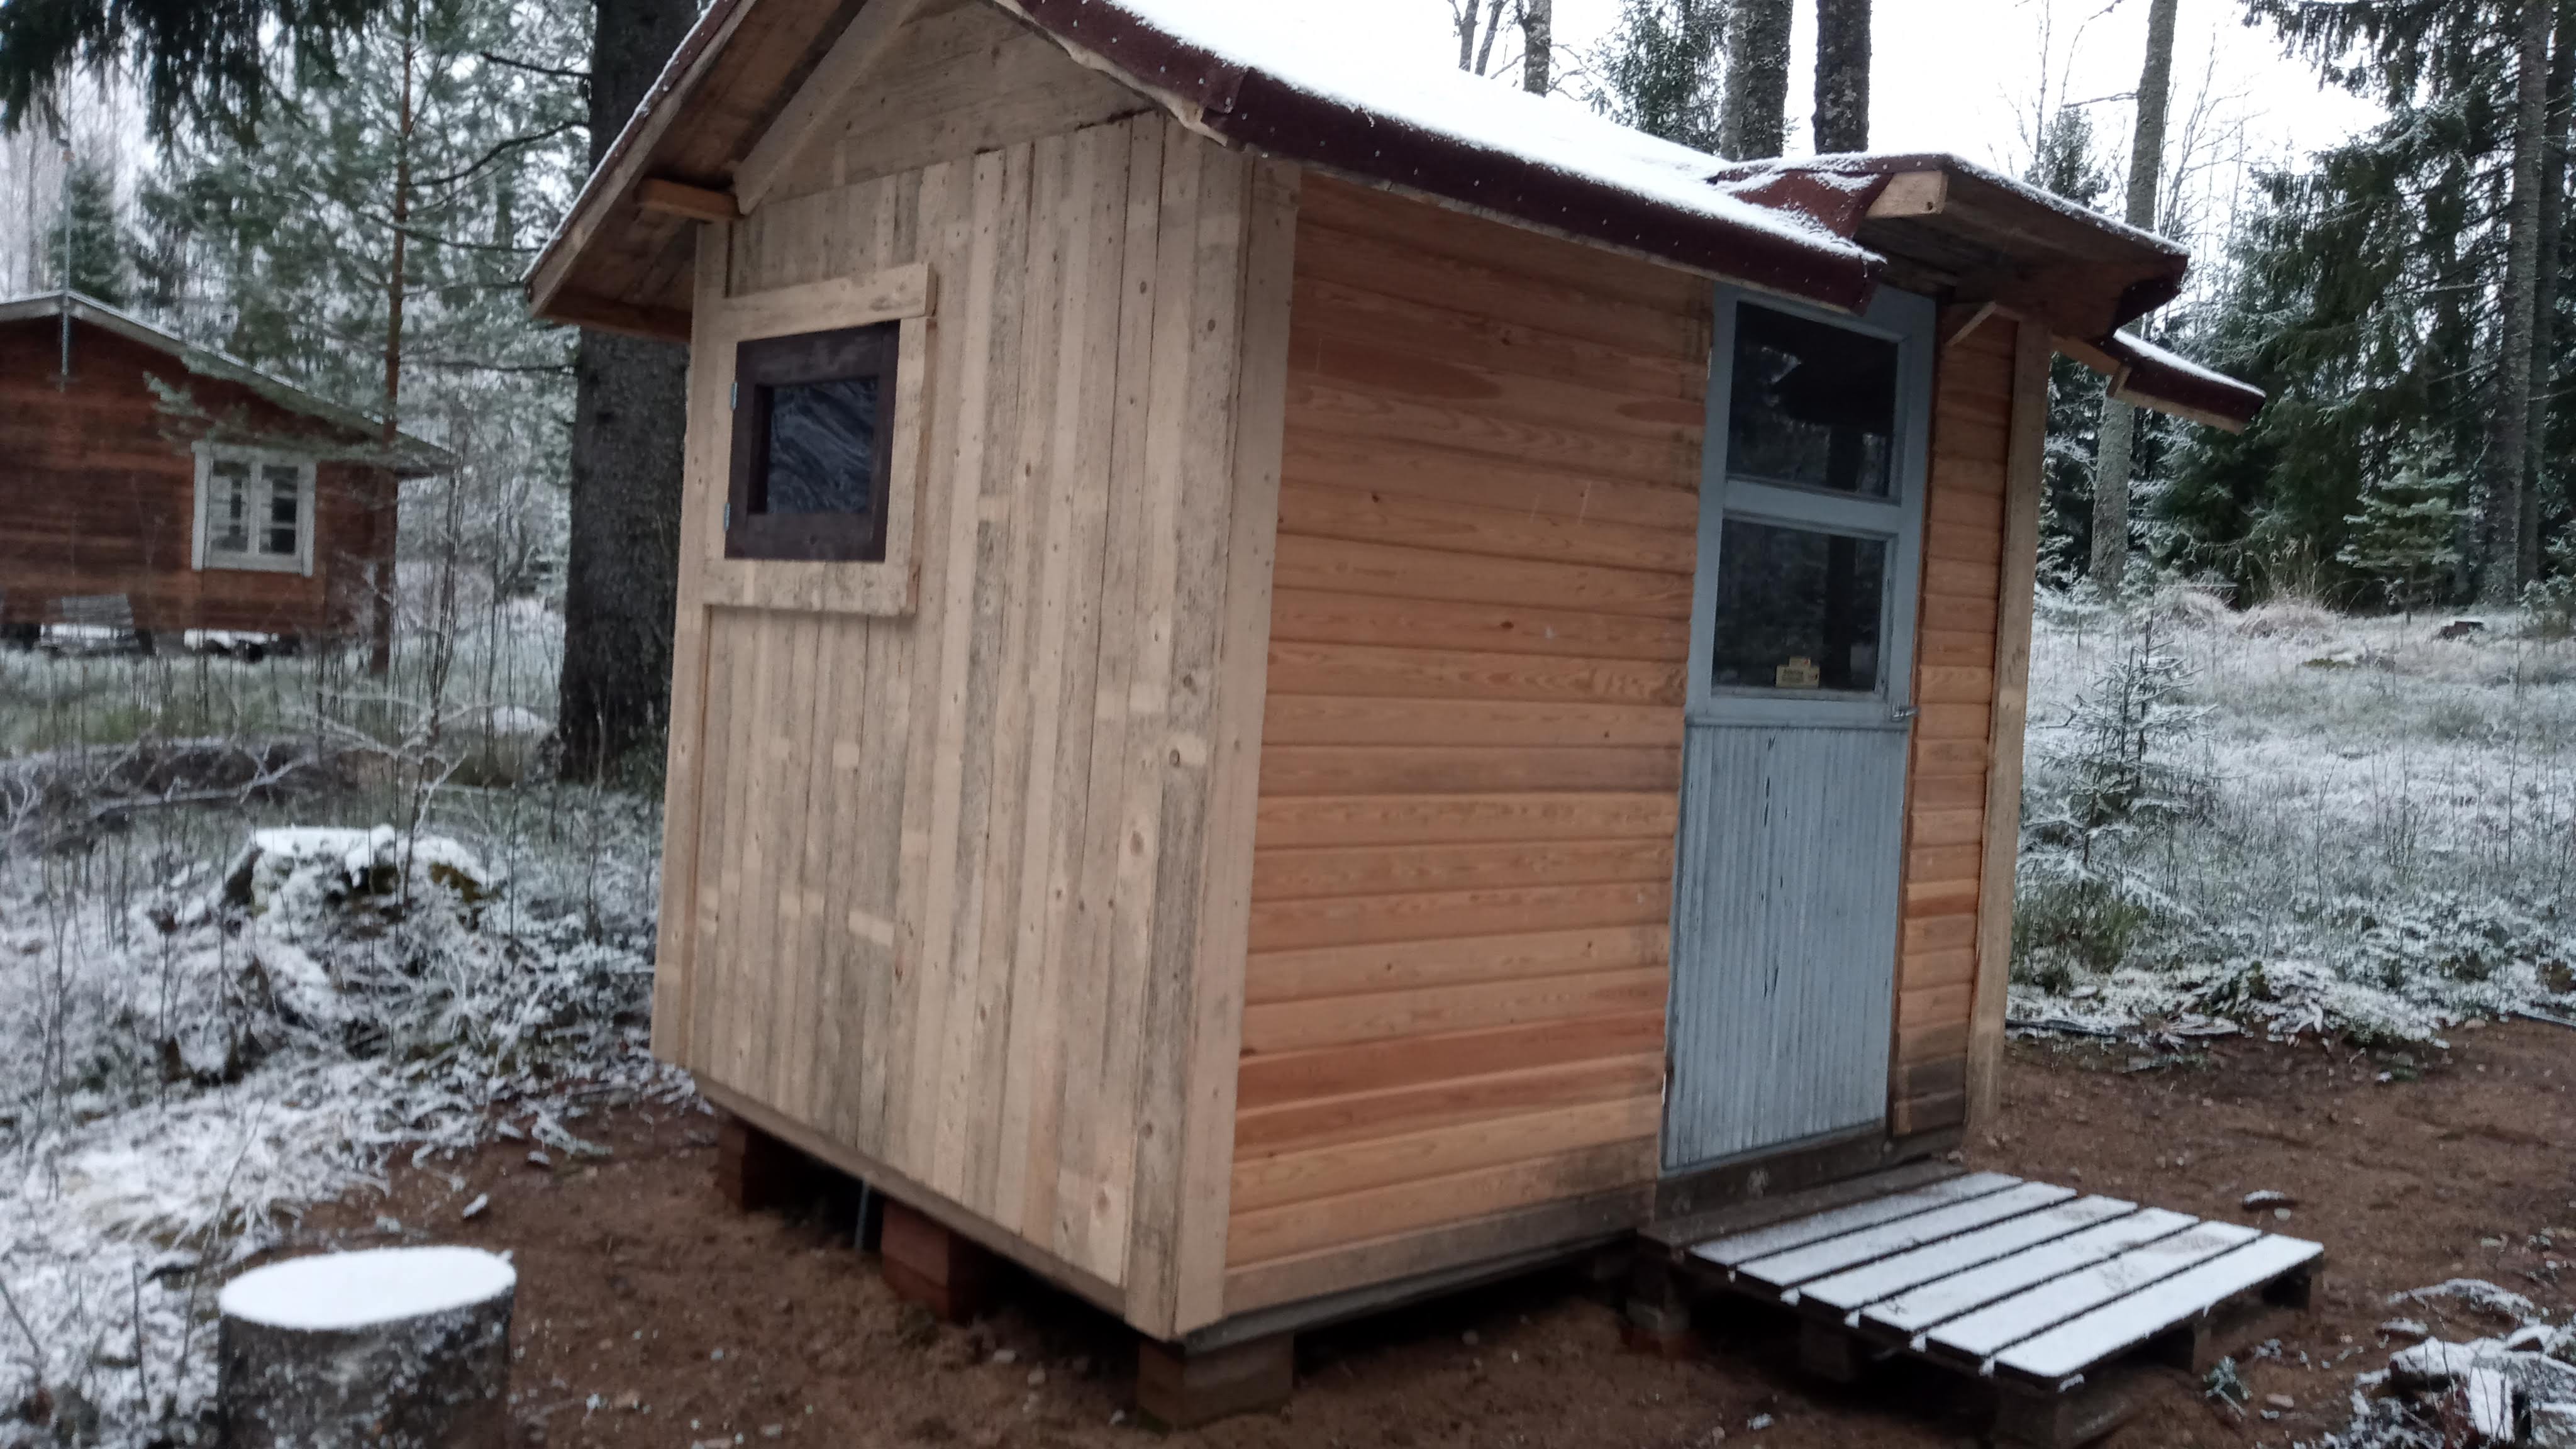 Visiting the cottage before christmas, there's a little bit of snow (12/2020)
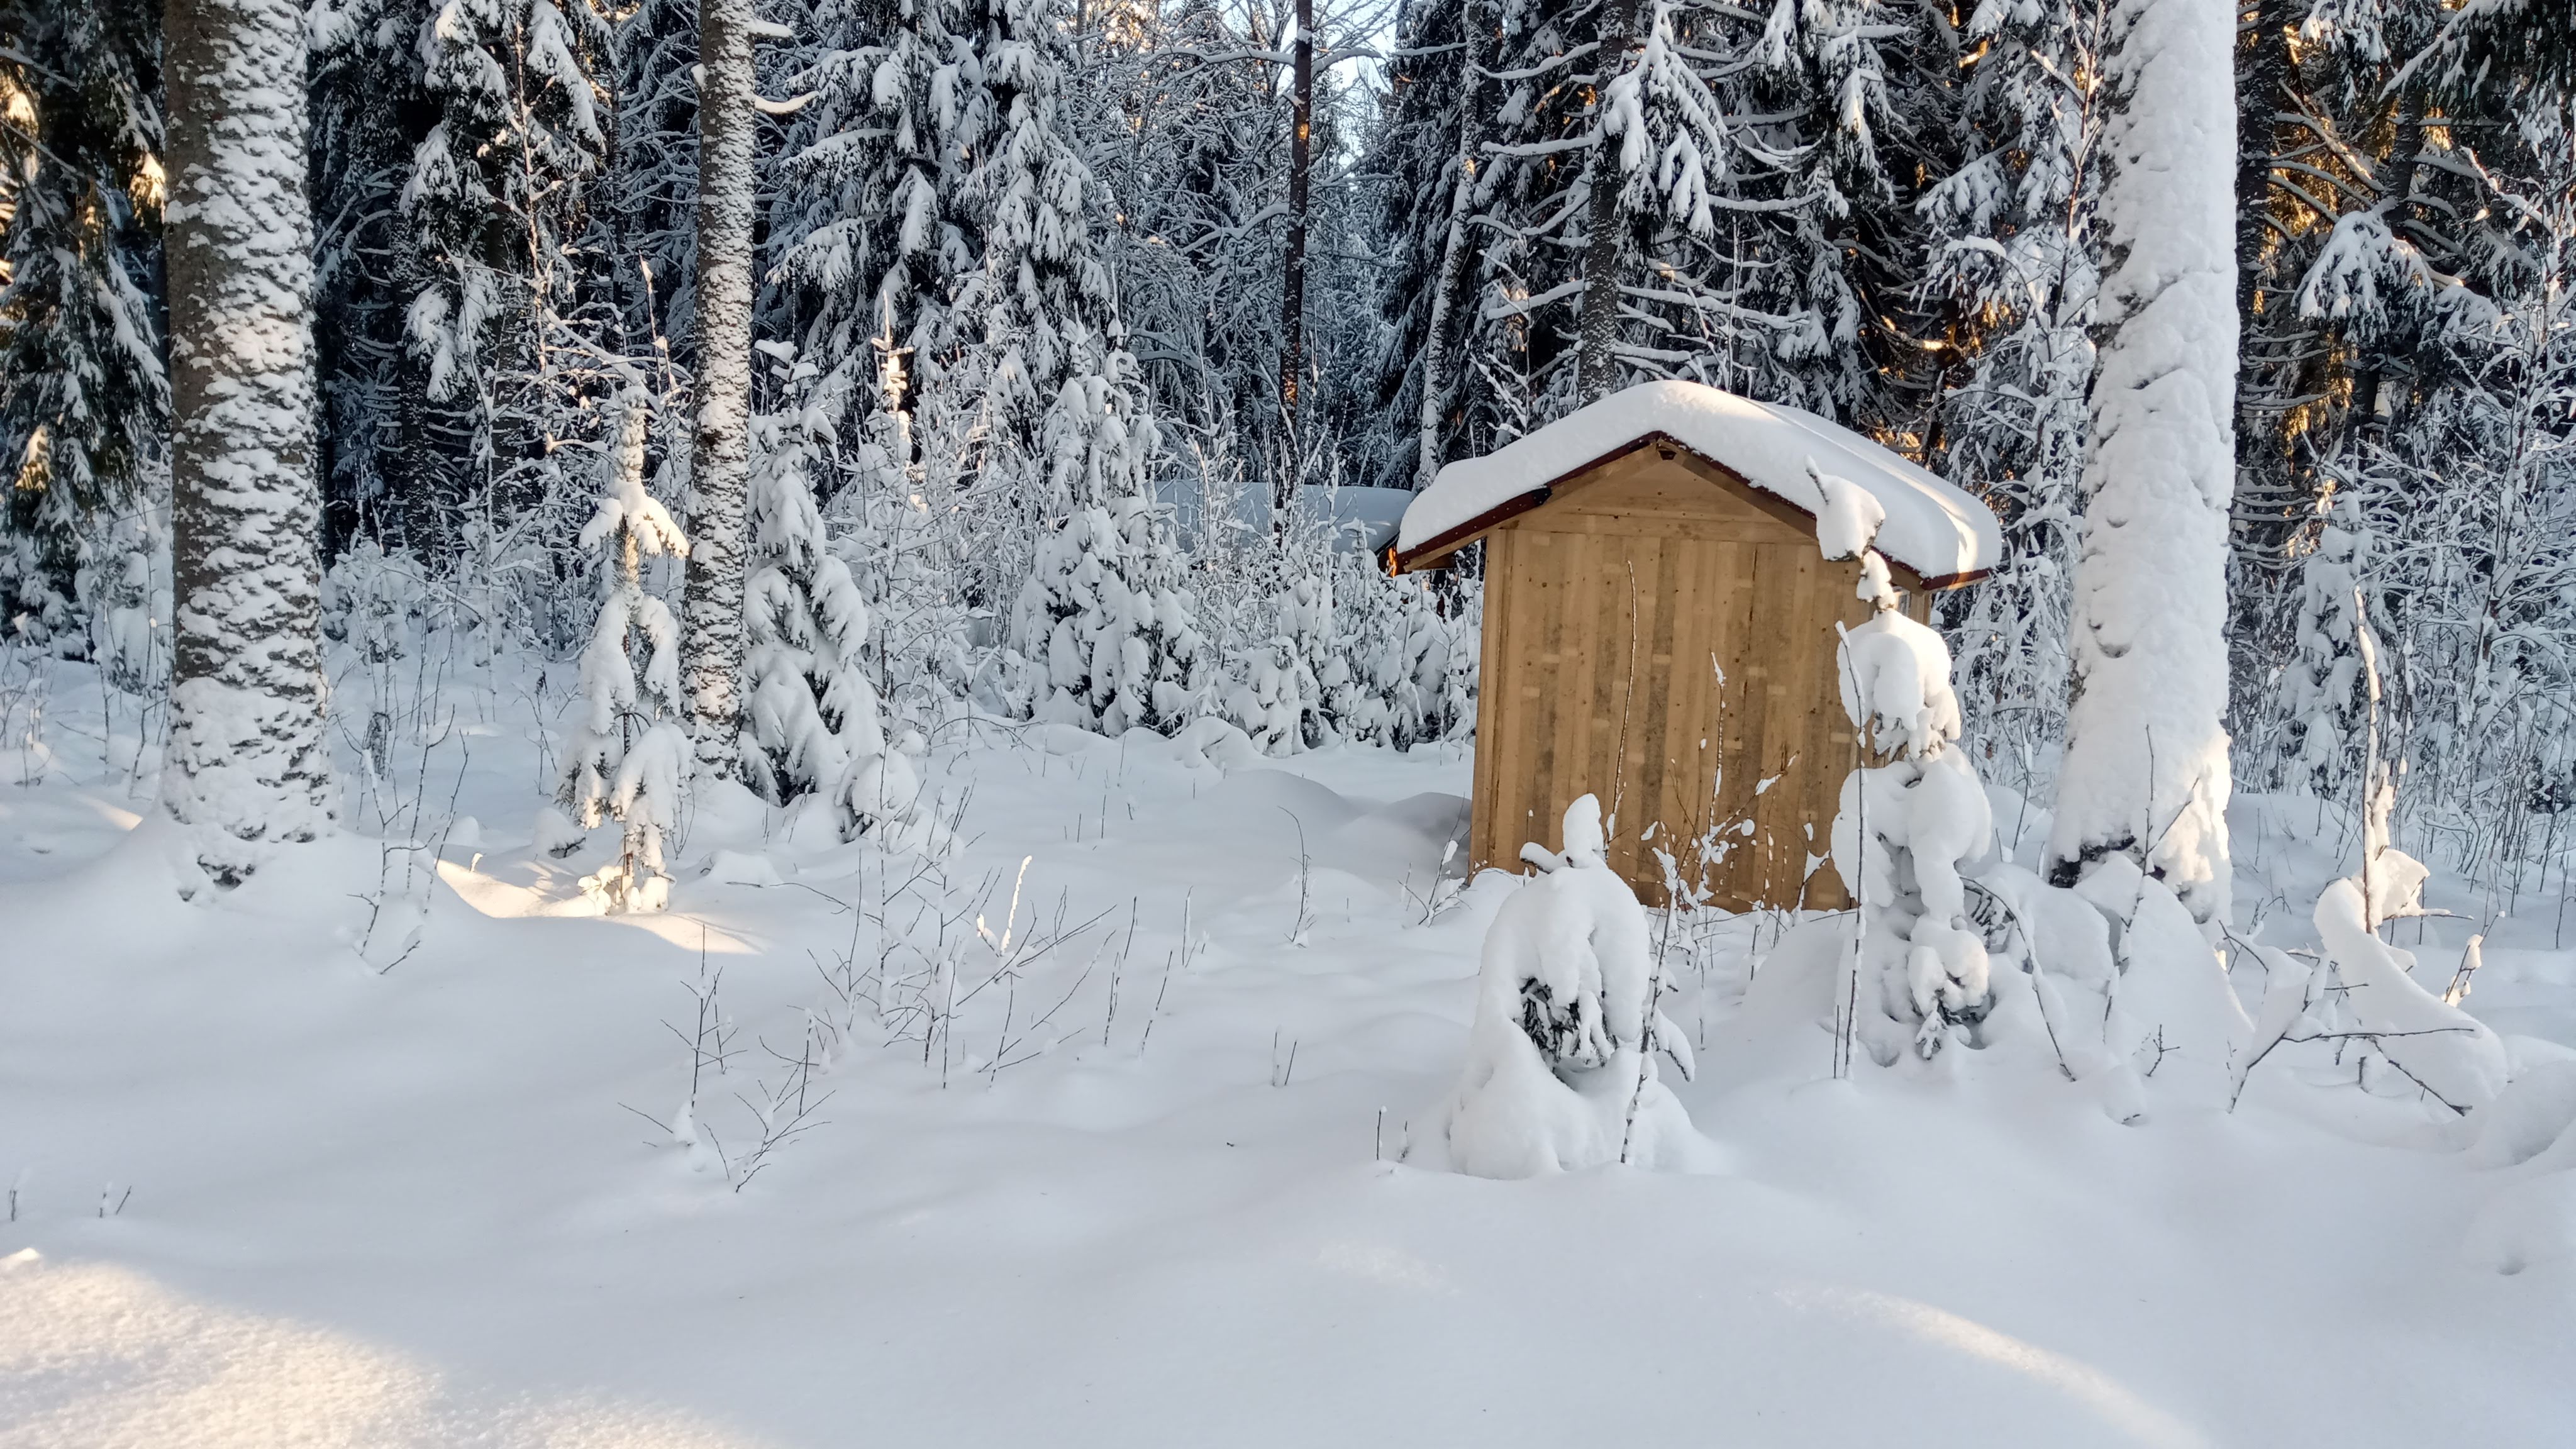 There had been loads of snowfall in Finland for the past week so I went to look at my cabin and see how it's doing
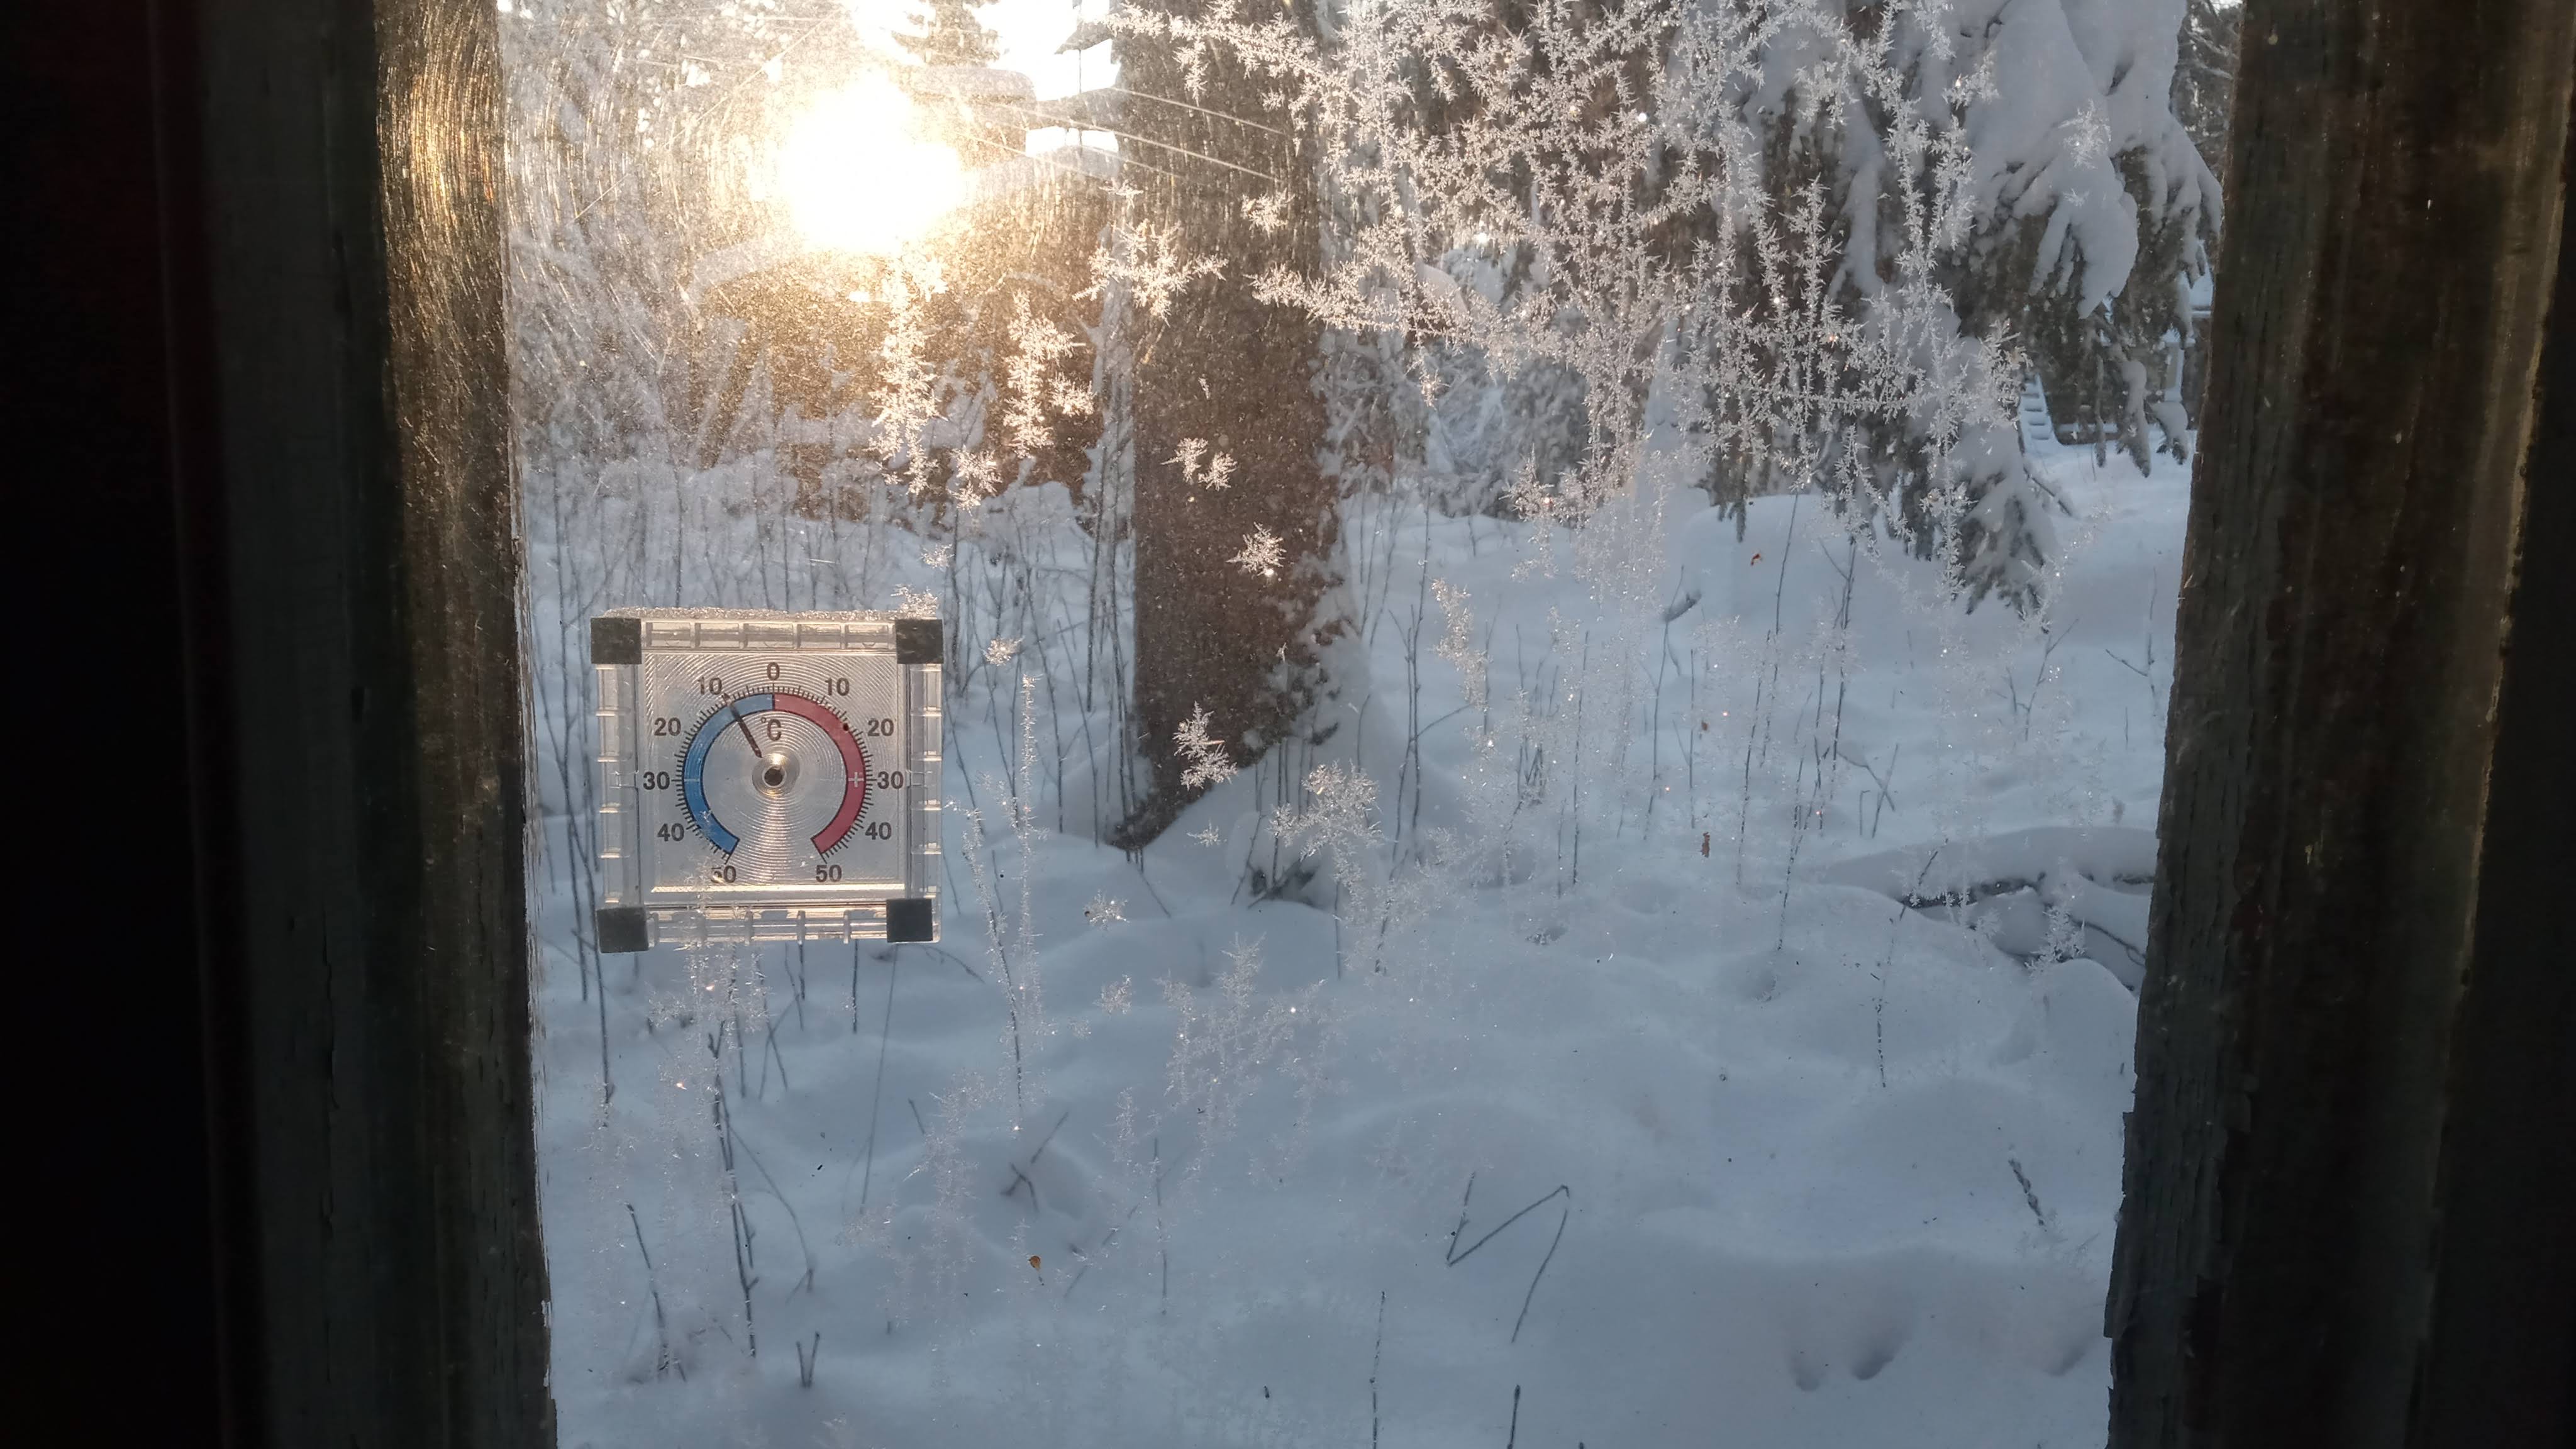 It wasn't that cold though
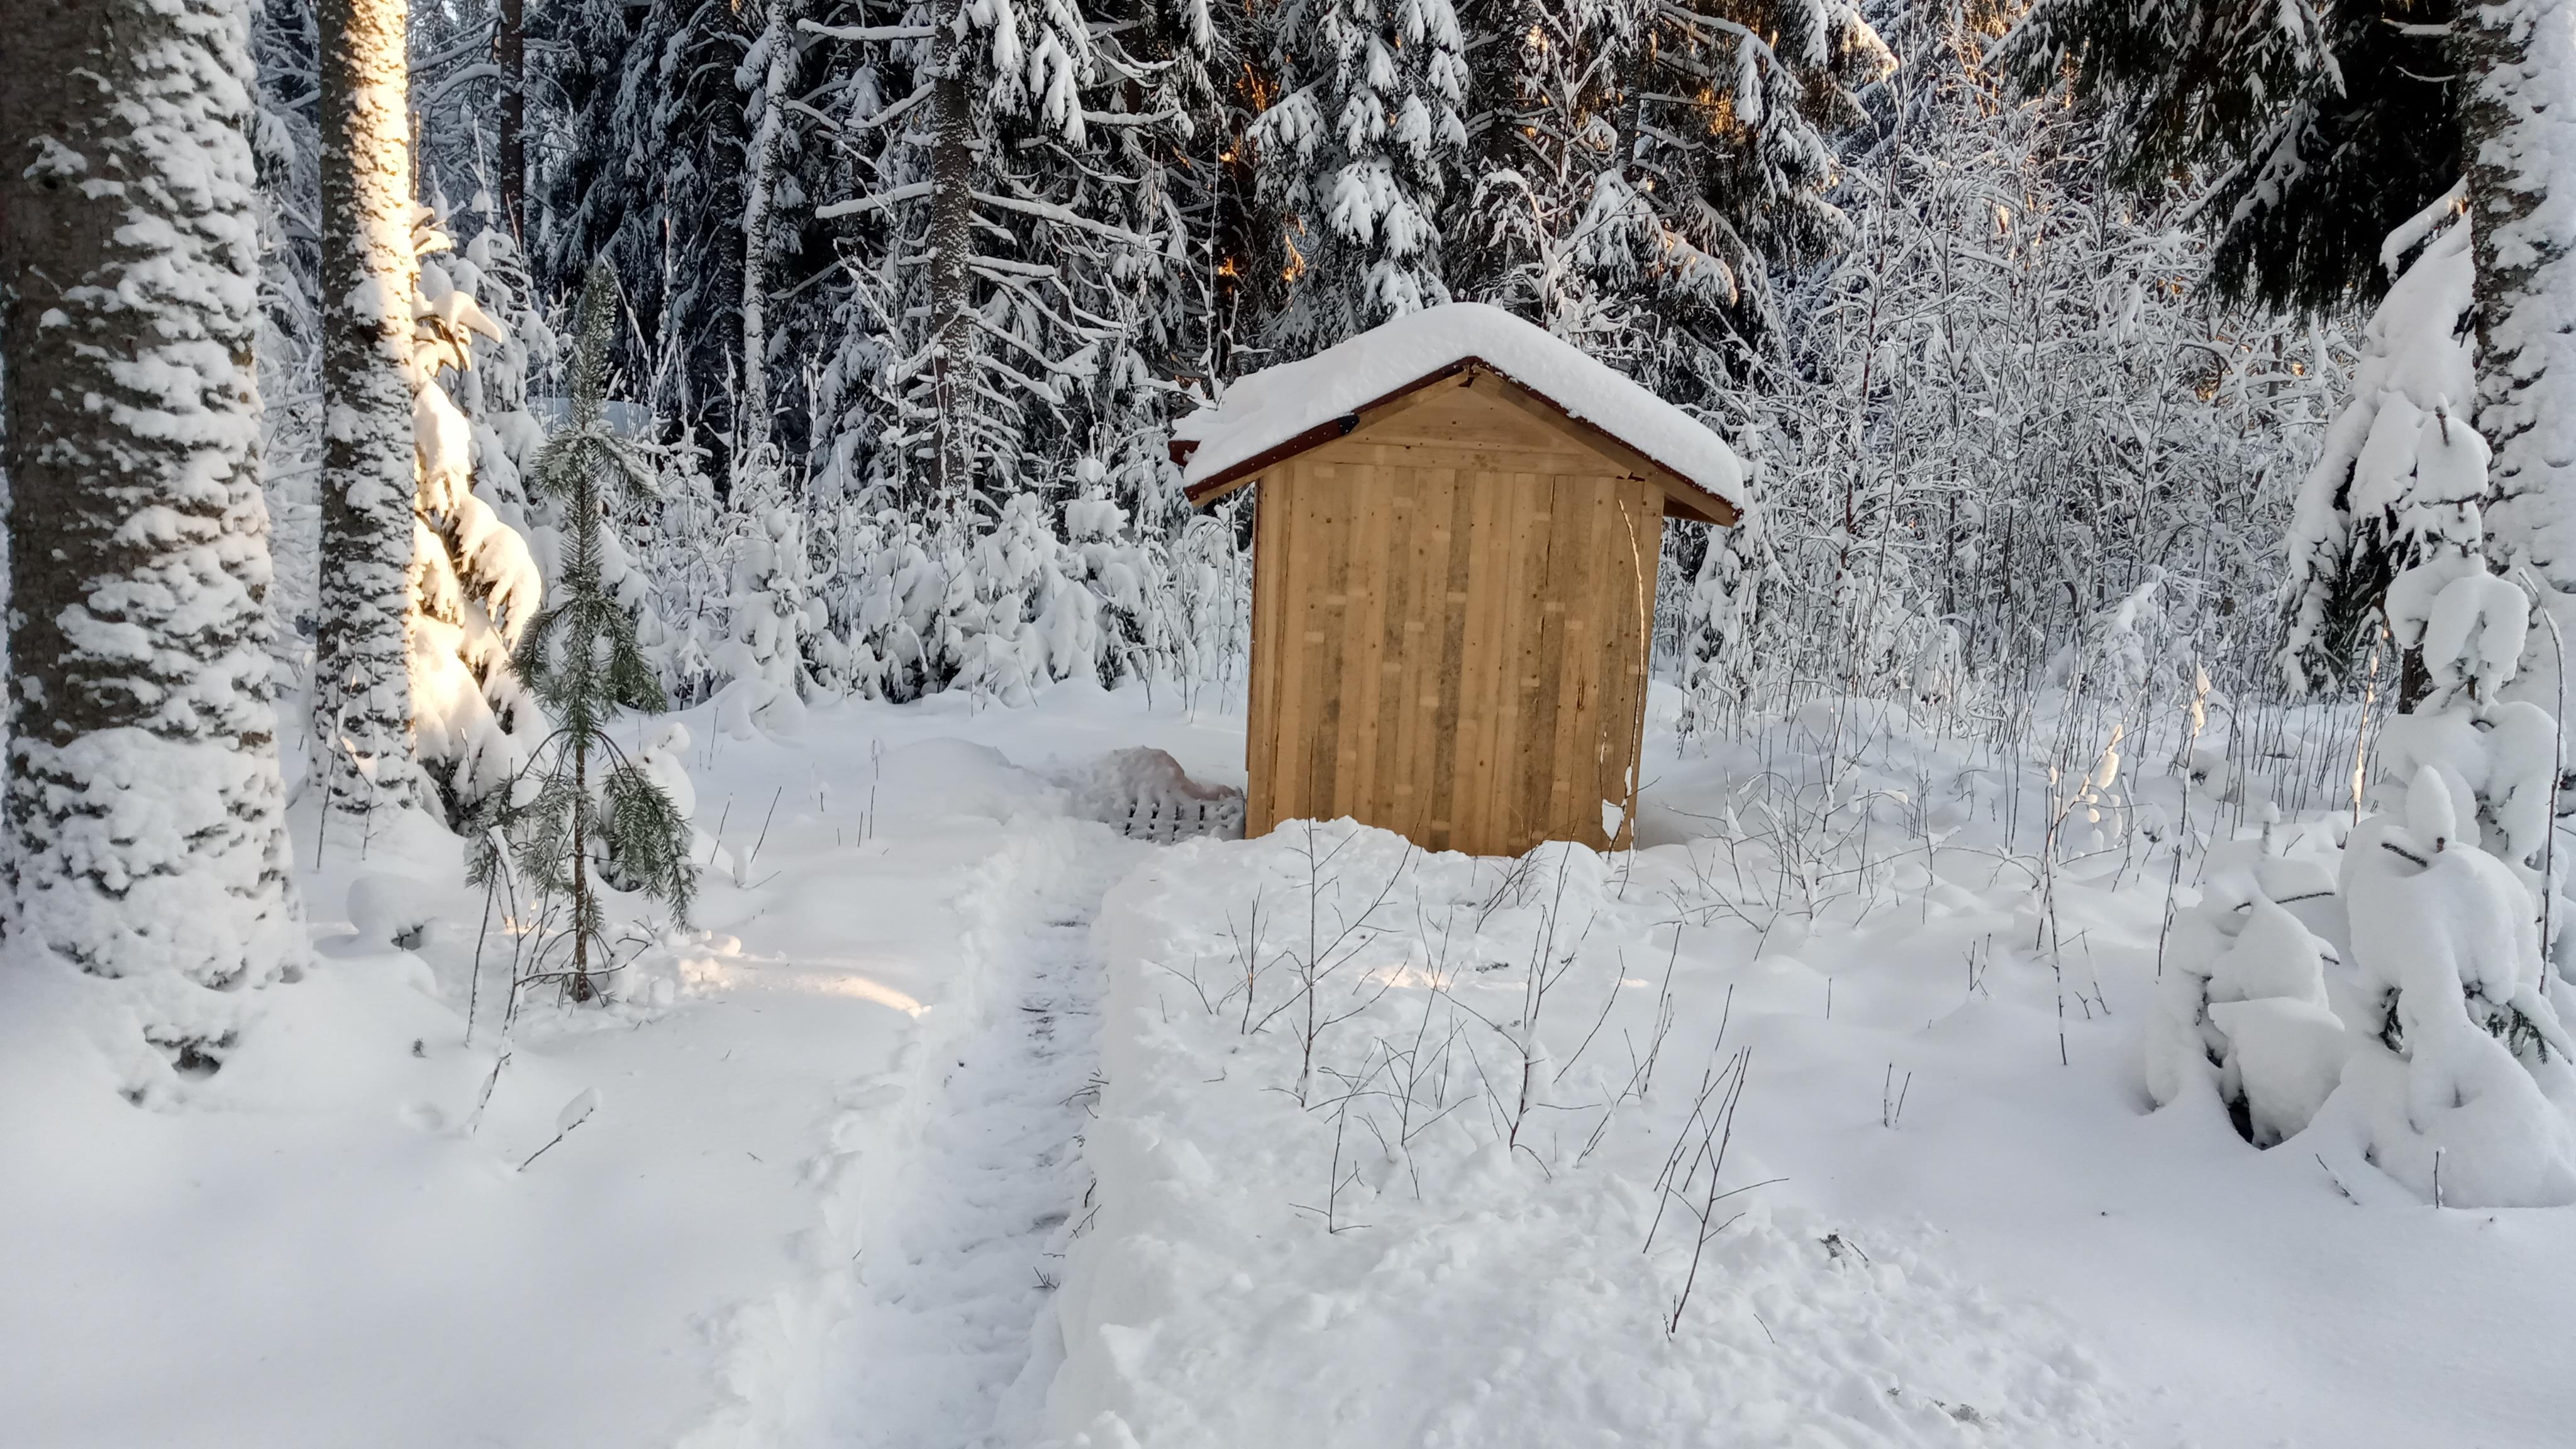 Did snow work for my little cottage, even though I wasn't gonna stay there, it was just a day visit
The project is mostly finished but there's some little cosmetic stuff I still have to do. That includes attaching the rest of the decoration planks on the exterior wall as well as painting some surfaces.
But you are able to stay in the cabin for the night, etc. so I thought it's finished enough to post about


